 EN
 IT Italiano
 ES Español
 FR Français
 DE Deutsch
Description
What it is
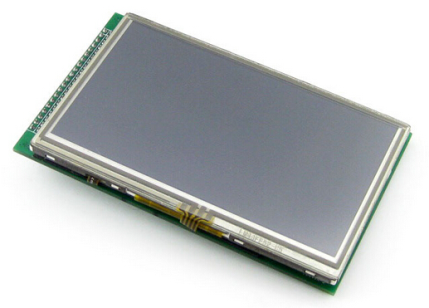
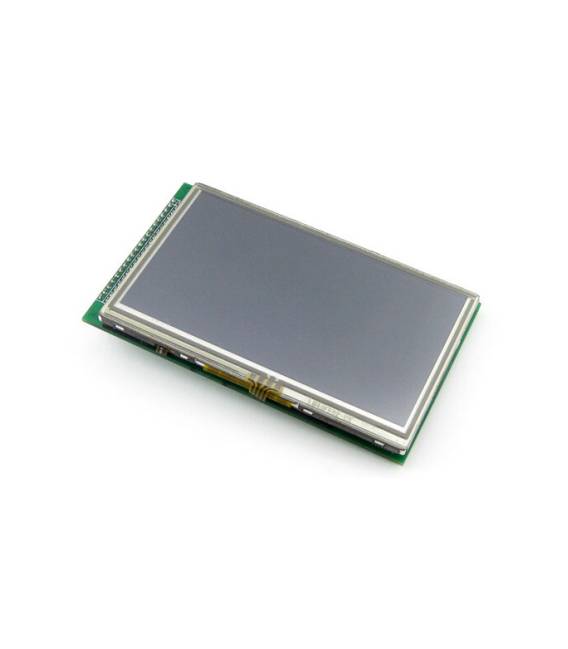
4.3 Inch Touch Screen LCD Display with 480×272 Pixels and Controller is a 4.3 inch touch screen LCD display with a resolution of 480×272 pixels. It includes an integrated controller for touch screen management.
Features
- Size: 4.3 inches
- Resolution: 480×272 pixels
- Type: LCD Touch Screen
- SKU: ARD009323
- Price: 25.45 €
What it is for
This display is ideal for simple and interactive user interface projects on Arduino and Raspberry Pi. It can be used to create control screens for robots, home automation systems, and information systems. Example usage: a simple button counter on the display, connecting a button to pin D2 of Arduino and adding a sketch to increment the count.
Tutorial: How to Use the 4.3 Inch Touch Screen LCD Display
This 4.3 inch touch LCD display is perfect for simple and interactive user interface projects. It is ideal for creating control screens for robots, home automation systems, and information systems.
What you need
- Arduino
- Power cable
- Data cable (I2C or SPI)
- Pull-up resistor
- ESD protection
Steps
- 1. Installation: Assemble the display on your project, make sure the connections are secure.
- 2. Power connection: Connect the VCC and GND pins to the Arduino.
- 3. Data connection: Connect the SDA and SCL pins (for I2C) or MOSI, MISO, and SCK pins (for SPI) to the Arduino.
- 4. Pull-up resistor: Connect a pull-up resistor between SDA and GND (for I2C).
- 5. Load the code: Use an editor like Arduino IDE to load the code.
- 6. Initialization: Insert the instructions to initialize the display.
- 7. Test: Display a welcome message on the display.
- 8. User Interface: Add touch interactions to control your project.
Example code
```
#include <Adafruit_ILI4460.h>
#include <Wire.h>

Adafruit_ILI4460 tft = Adafruit_ILI4460();

void setup() {
  tft.begin();
  tft.fillScreen(TFT_BLACK);
  tft.setCursor(50, 50);
  tft.print("Benvenuto!");
}

void loop() {
}
```
Mini project
Create a simple button counter on the display. Connect a button to pin D2 of Arduino and add a sketch to increment the count.
Common mistakes
- Do not initialize the display correctly.
- Connect the wrong pins.
- Omit the pull-up resistors.
- Forget to check the datasheet for power supply specifications.
Recommended accessories
- Buttons
- Menu buttons
- Sensors
- Arduino UNO
Frequently asked questions
How can I protect the display from shock?
Connect a pull-up resistor and ensure the display is physically well-protected.
Which pins do I use for touch?
For I2C use SDA and SCL, for SPI use MOSI, MISO and SCK.
Does the display support colors?
The display supports 16-bit colors.
Reviews
There are no reviews yet.