 EN
 IT Italiano
 ES Español
 FR Français
 DE Deutsch
Description
What it is
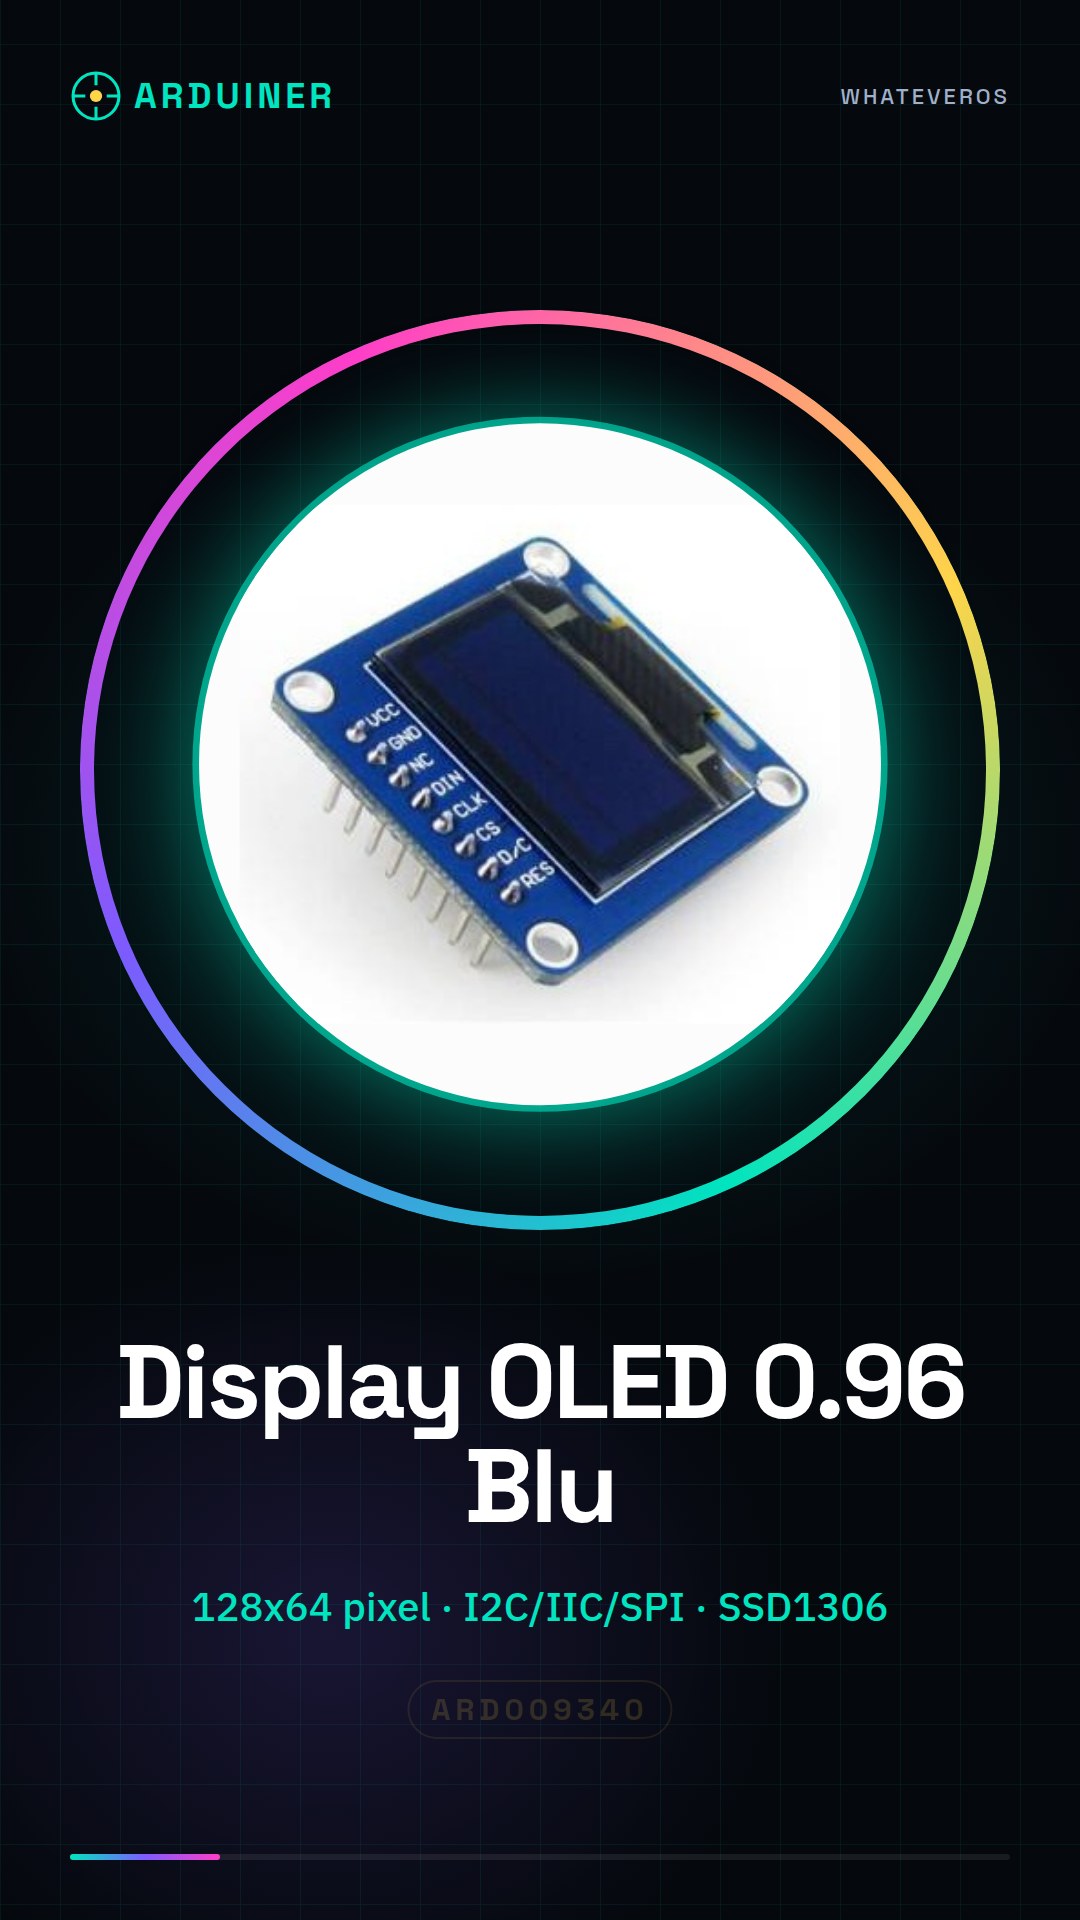
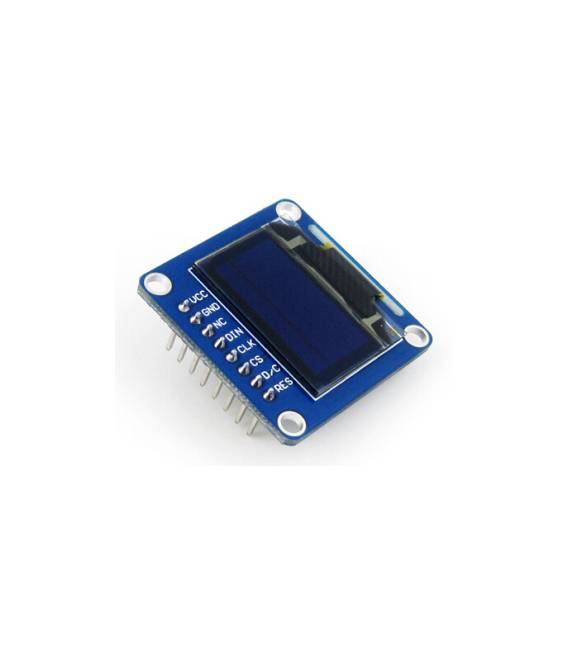
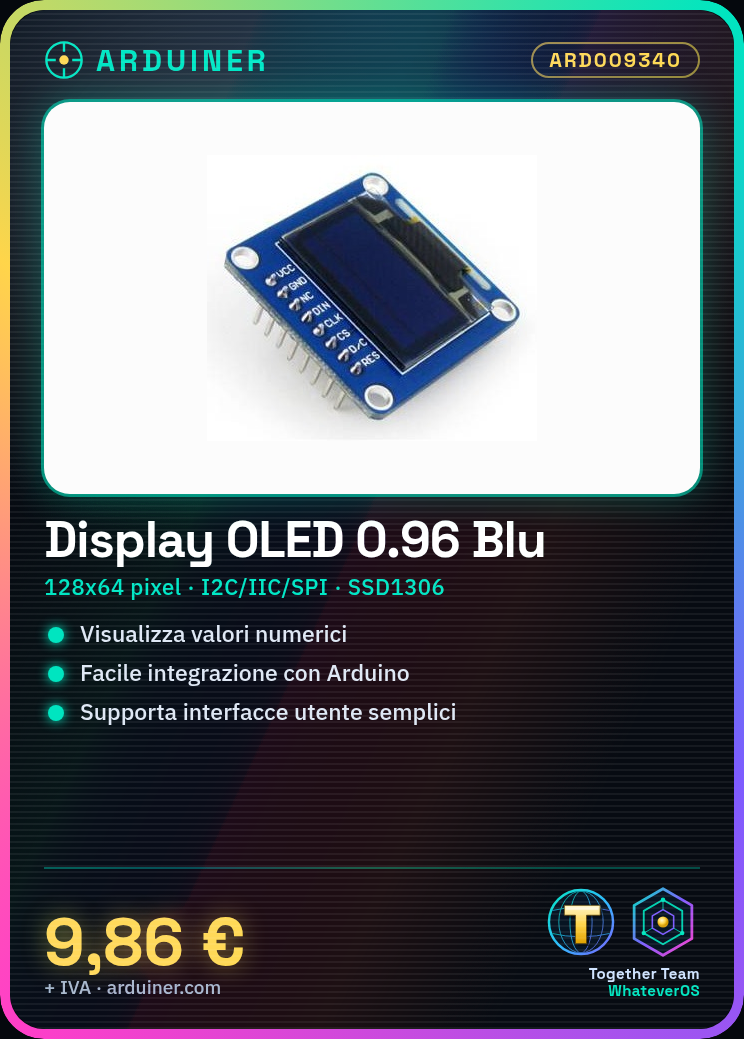
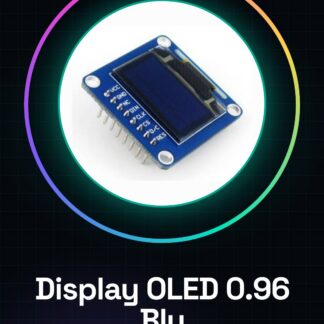
The 0.96 inch OLED Display Module is a small but powerful electronic component, ideal for displaying simple information in Arduino or Raspberry Pi projects.
Features
- Resolution: 128×64 pixels
- Connection Technology: I2C/IIC/SPI
- Driver Chip: SSD1306
What it is for
This OLED display is used to show information such as timelines, numerical values, or simple user interfaces. It is suitable for both beginners and intermediate makers and can be easily integrated into Arduino or ESP-based projects.
Tutorial: How to Use the 0.96 inch Blue OLED Display 128 * 64 Pixel
This small but powerful OLED display is ideal for projects that require a simple information display, such as timelines or numerical values. Useful for beginners and intermediate makers.
What you need
- Arduino or Raspberry Pi
- I2C cable
- Pull-up resistor (10kΩ)
- SSD1306 library
Steps
- 1. Download and install the SSD1306 library on Arduino IDE.
- 2. Connect the display to the Arduino or Raspberry Pi: D0/D1 to SDA, D2 to SCL, GND to GND, VCC to 3.3V.
- 3. Connect the pull-up resistor between SDA and GND.
- 4. Load the following sketch onto the Arduino:
- 5. `#include
#include#define SCREEN_WIDTH 128 // screen horizontal side
#define SCREEN_HEIGHT 64 // screen vertical sideAdafruit_SSD1306 display(SCREEN_WIDTH, SCREEN_HEIGHT, &Wire, -1);
void setup() {
if(!display.begin(SSD1306_SWITCHCAPVCC, 0x3C)) {
Serial.println(F(“Cannot initialize the screen! Check connections.”));
for (;;); // does not work, stop execution
}
display.clearDisplay();
display.display();
delay(2000); // wait 2 seconds
}void loop() {}`
- 6. Verify the power supply voltage in the datasheet.
- 7. Load the sketch and verify that the display turns on and displays text.
- 8. Print “Hello, Maker!” on the screen.
Example code
vedi passo 5Mini project
Create a simple stopwatch with the OLED display.
Common mistakes
- Forgot to install the SSD1306 library.
- Connect VCC to 5V instead of 3.3V.
- Forgot to connect the pull-up resistor.
- Used the wrong I2C address.
Recommended accessories
- Temperature sensors
- 3.7V li-ion battery
- Buttons for interaction
Frequently asked questions
How can I customize the displayed text?
Modify the string within the Arduino code.
The display turns on but doesn’t show anything.
Check connections and power supply voltage. Review the SSD1306 library.
What is the difference between I2C and SPI?
I2C is easier to configure, while SPI offers higher communication speed.
Reviews
There are no reviews yet.