 EN
 IT Italiano
 ES Español
 FR Français
 DE Deutsch
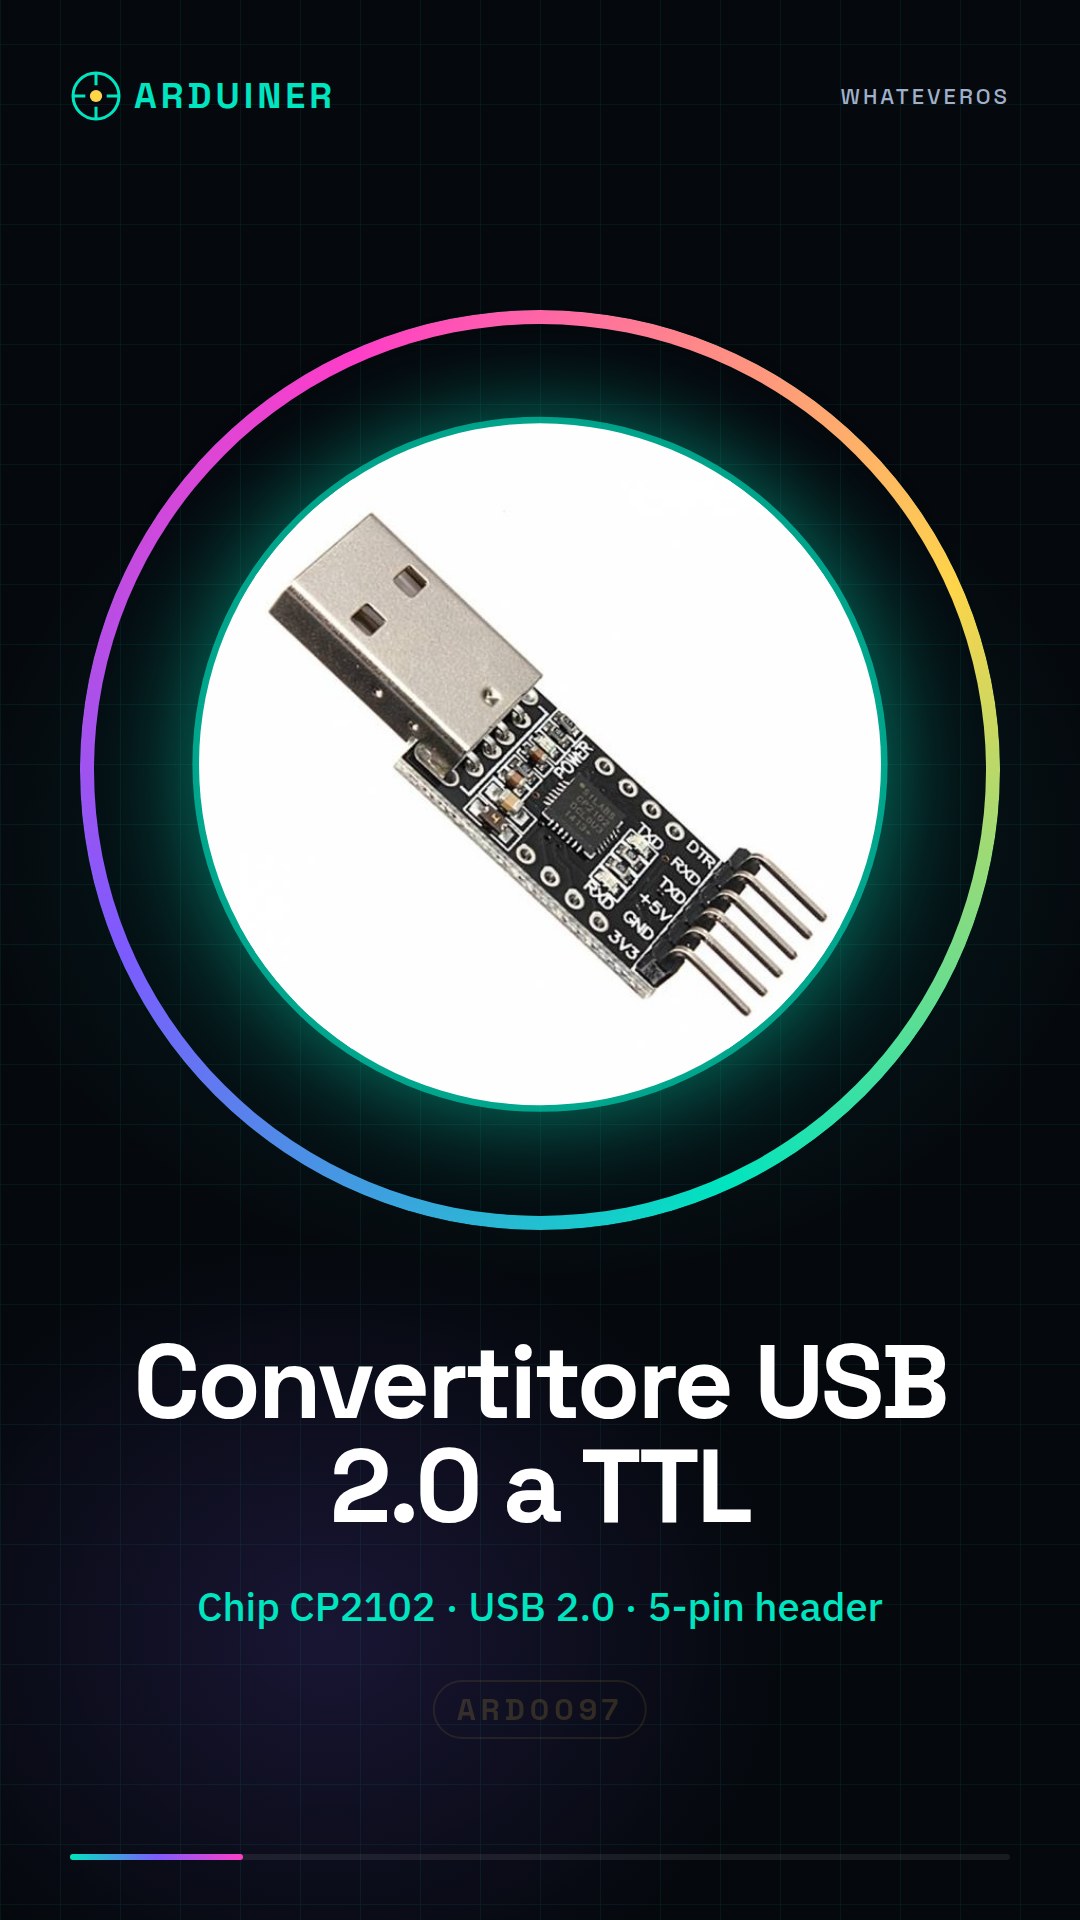
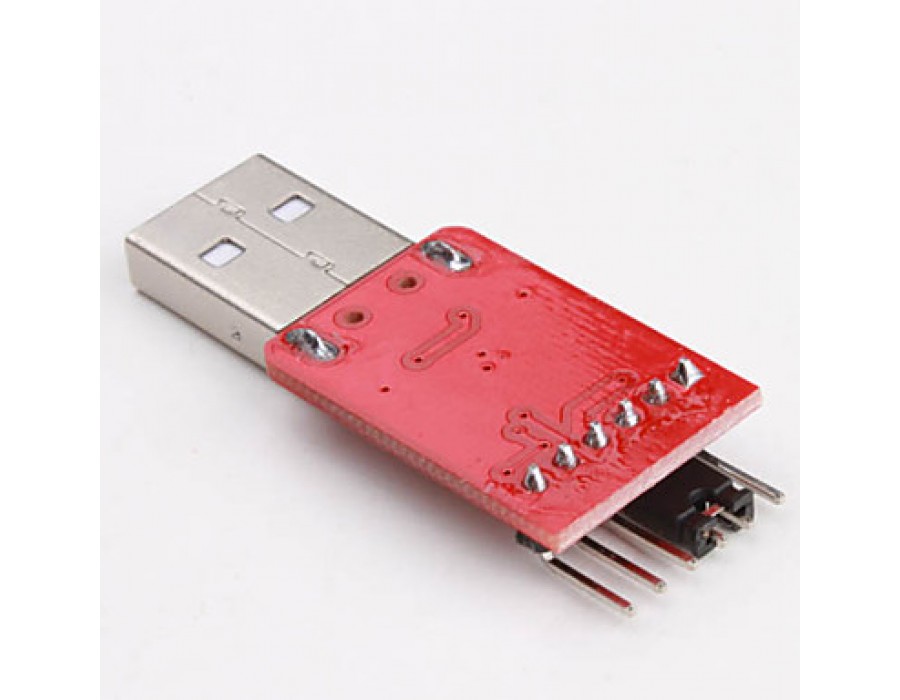
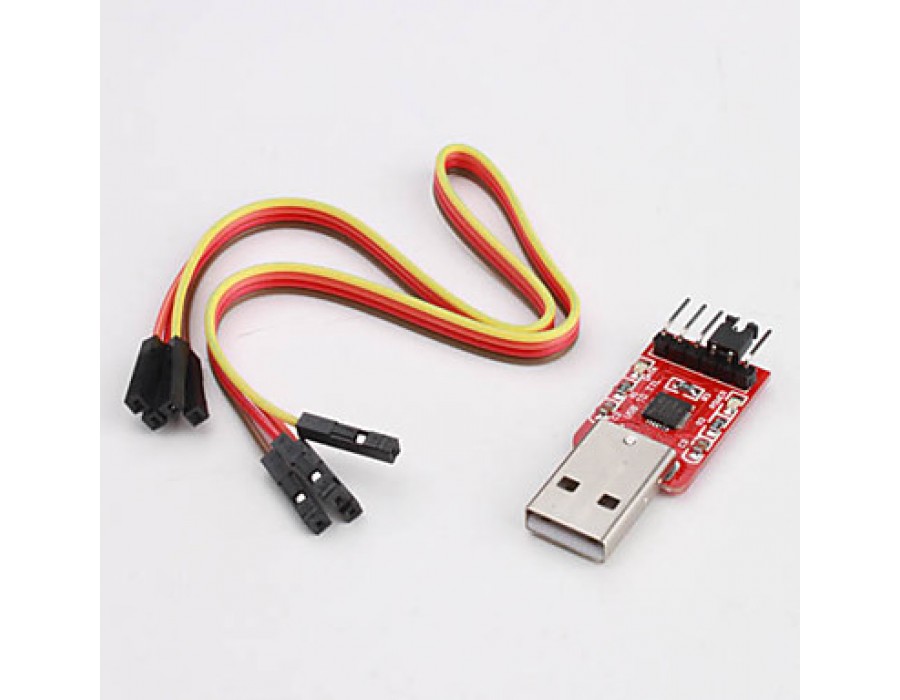
Description
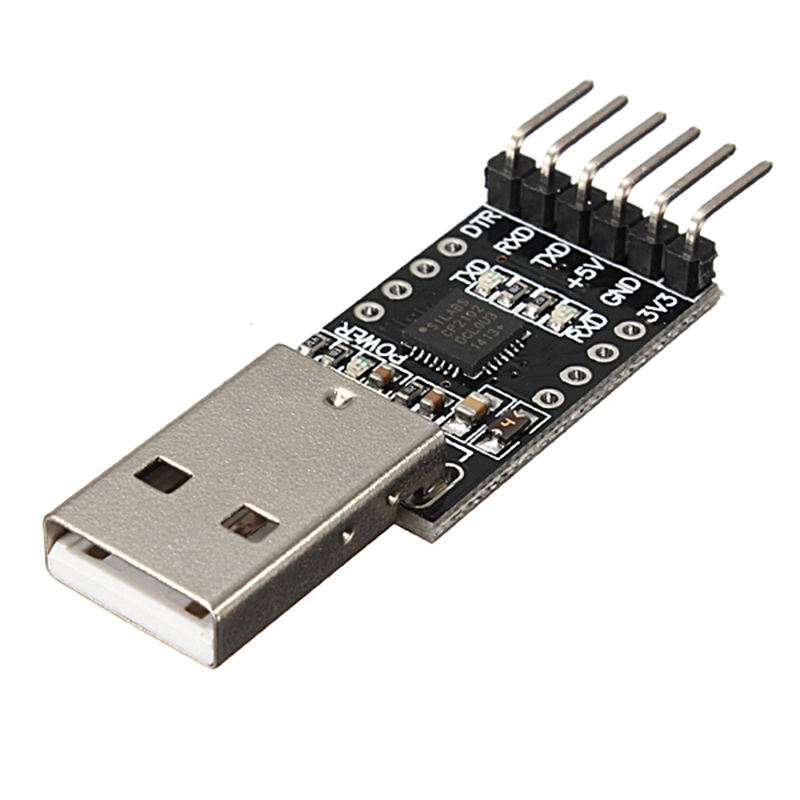
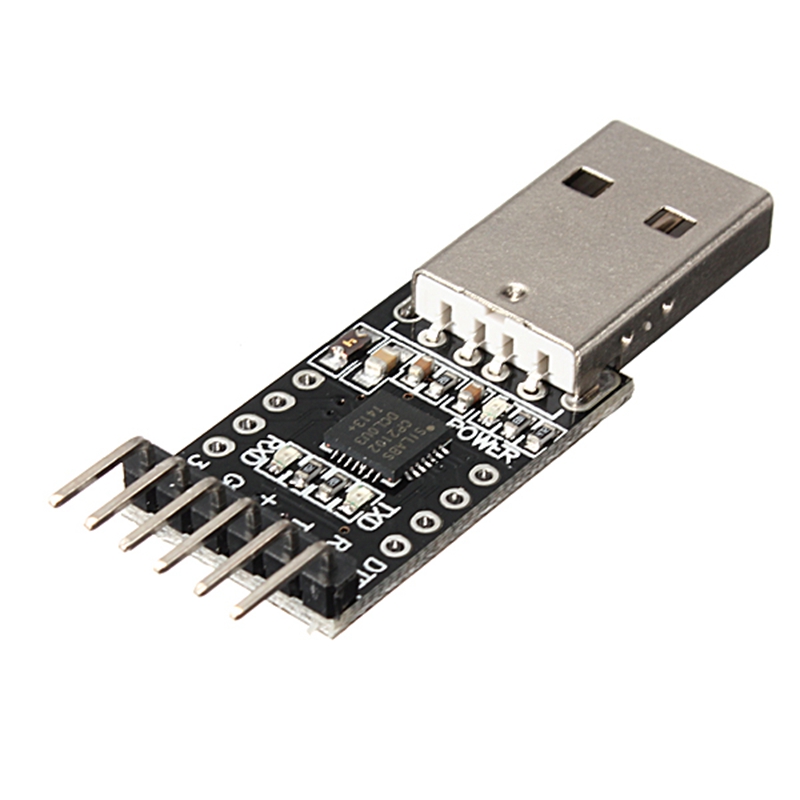
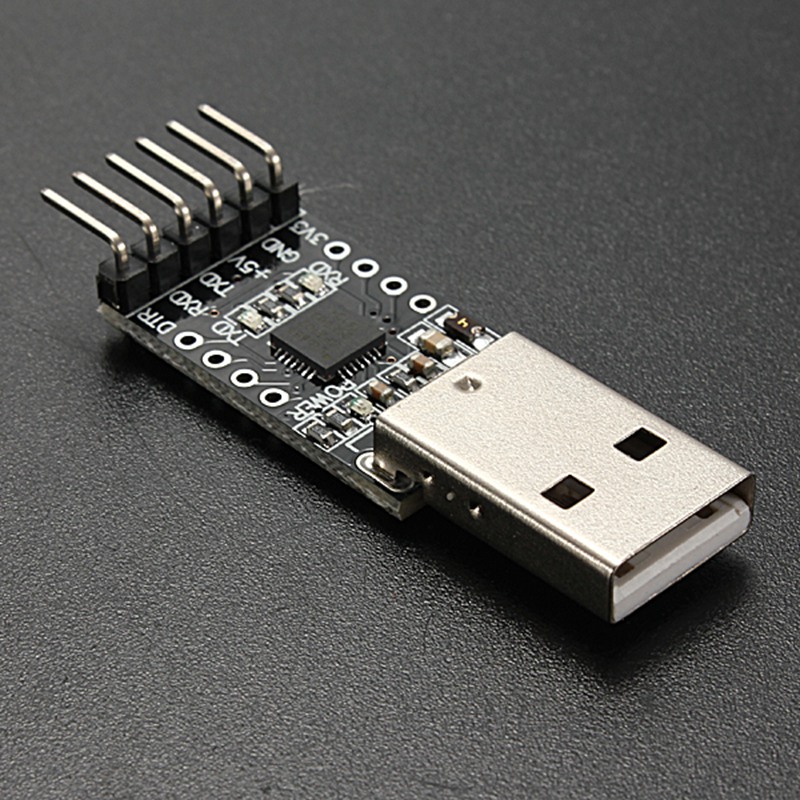
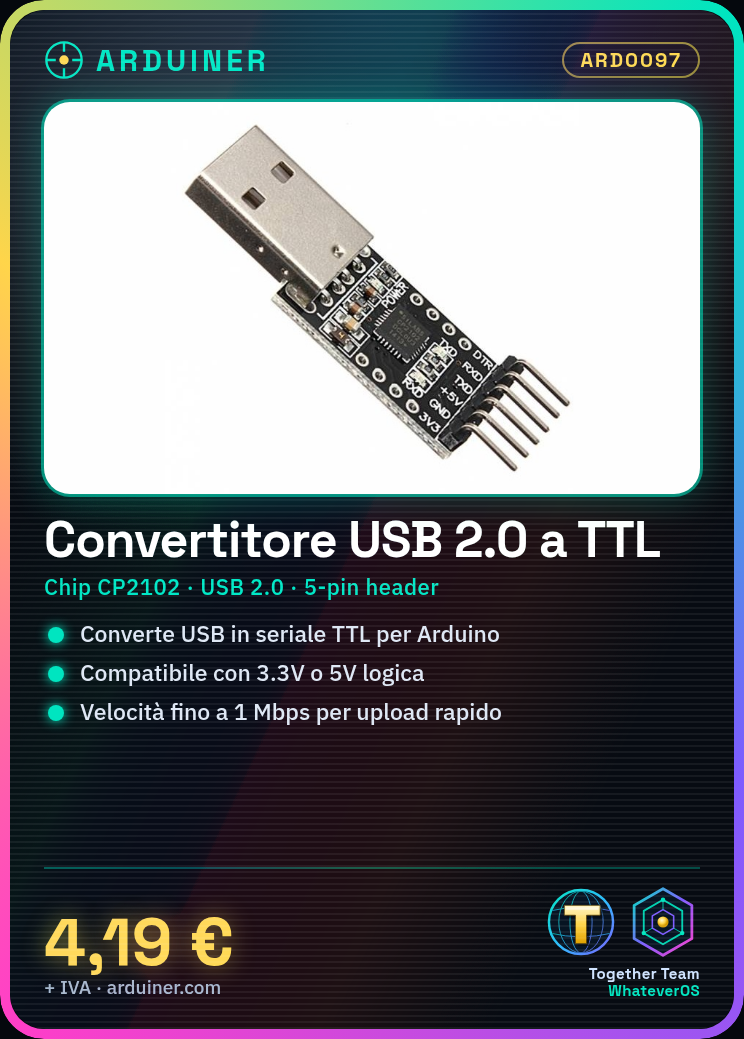
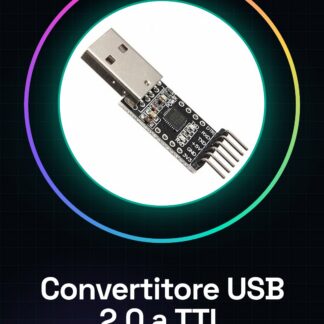
🔌 USB 2.0 to Serial TTL RS232 Converter Module with CP2102 chip (5 pin)
✅ General Description
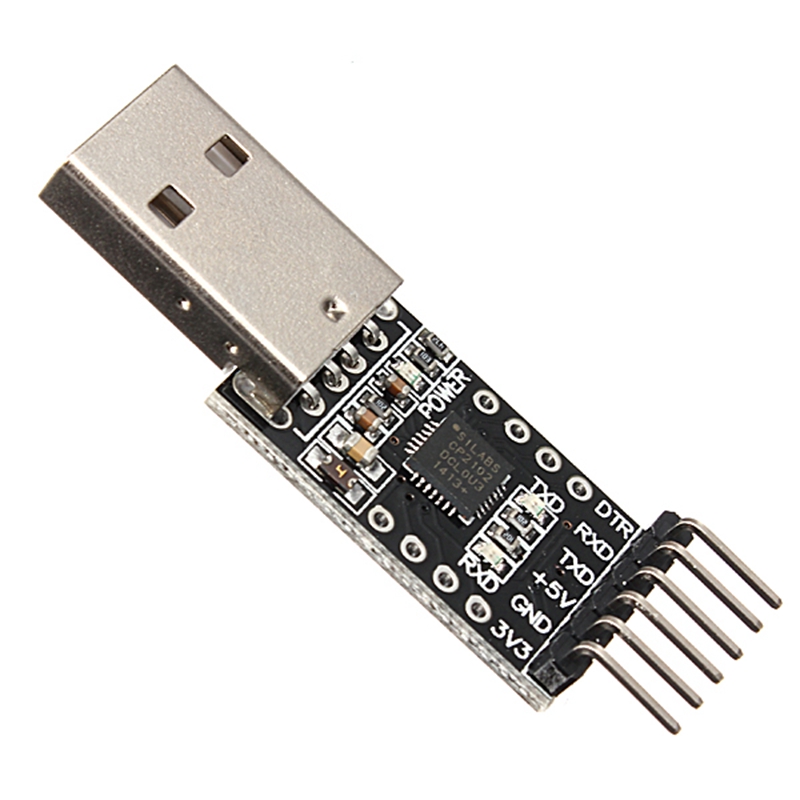
The module based on Silicon Labs CP2102 is a USB-to-serial converter that allows establishing a serial communication between a computer and a microcontroller (e.g., Arduino) through the USB port.
This module converts the signals USB to TTL UART serial (not electrically RS232, but protocol compatible, attention to the distinction), commonly used in microcontrollers and embedded devices.
🧩 Technical Specifications
| Specification | Details |
|---|---|
| Chip | CP2102 |
| Interface | USB 2.0 to TTL UART |
| Logic Voltage | 3.3V or 5V selectable |
| Baud Rate Speed | Up to 1 Mbps |
| USB Connector | Type A |
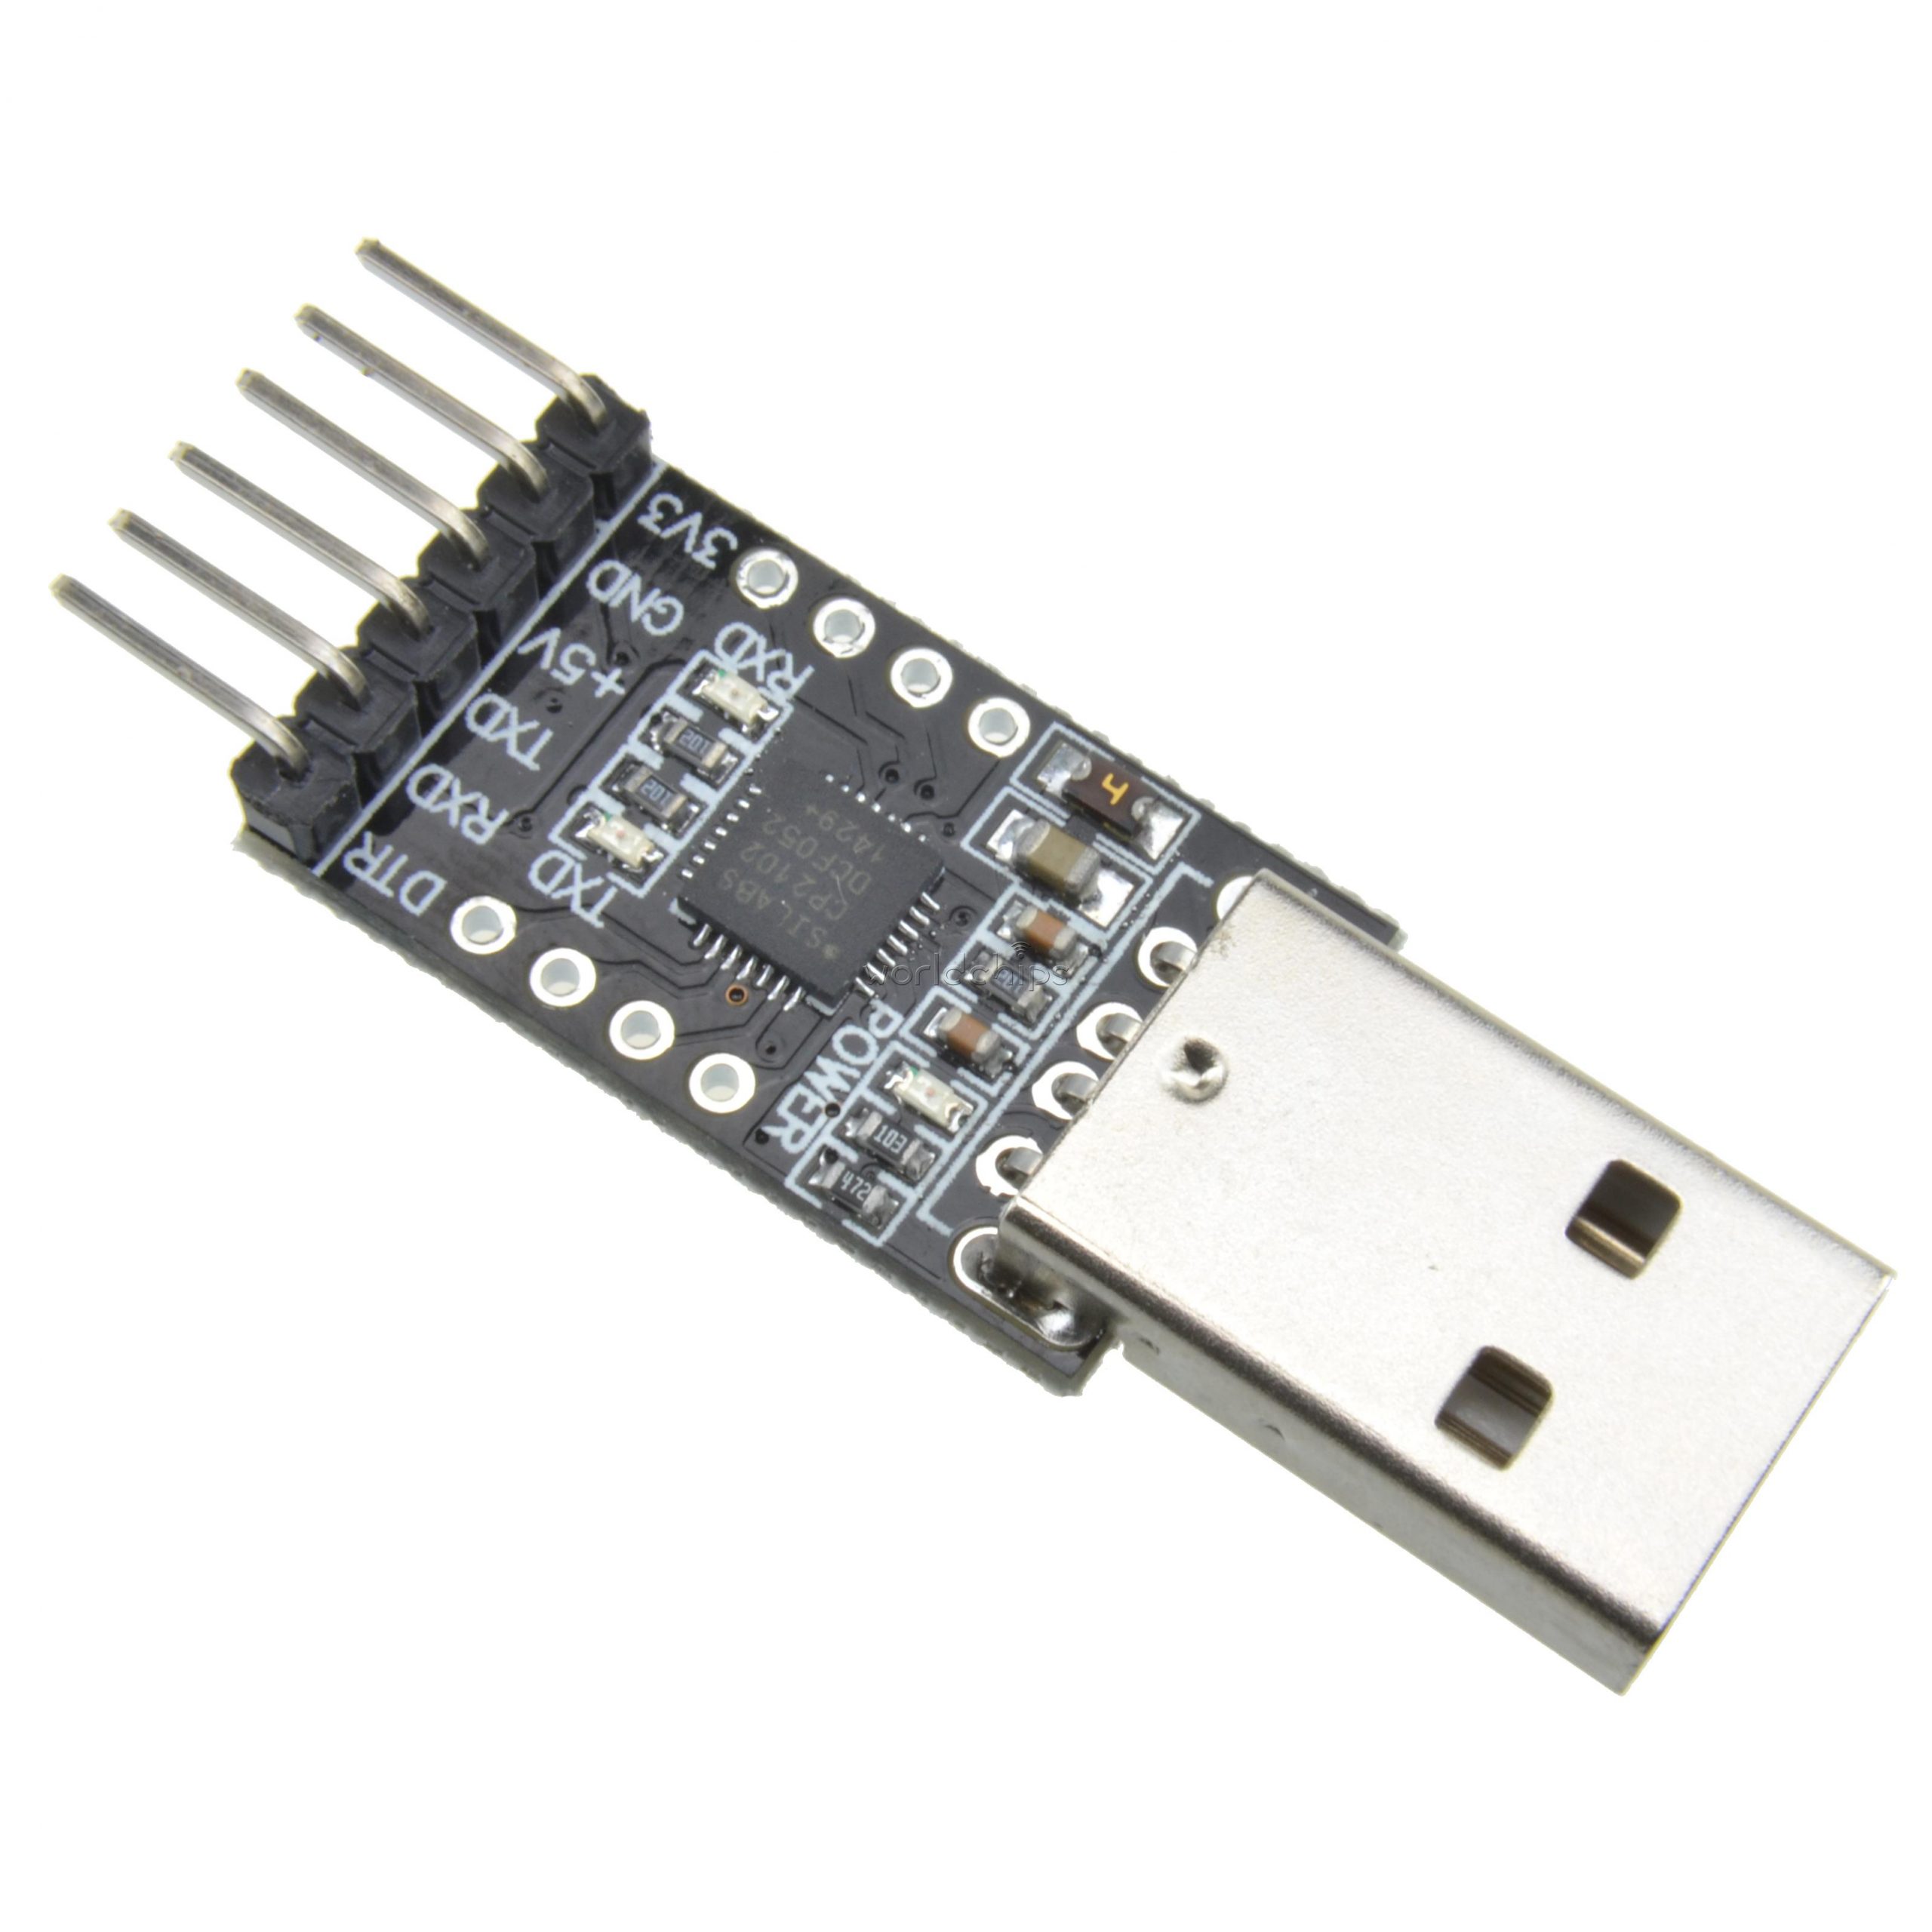
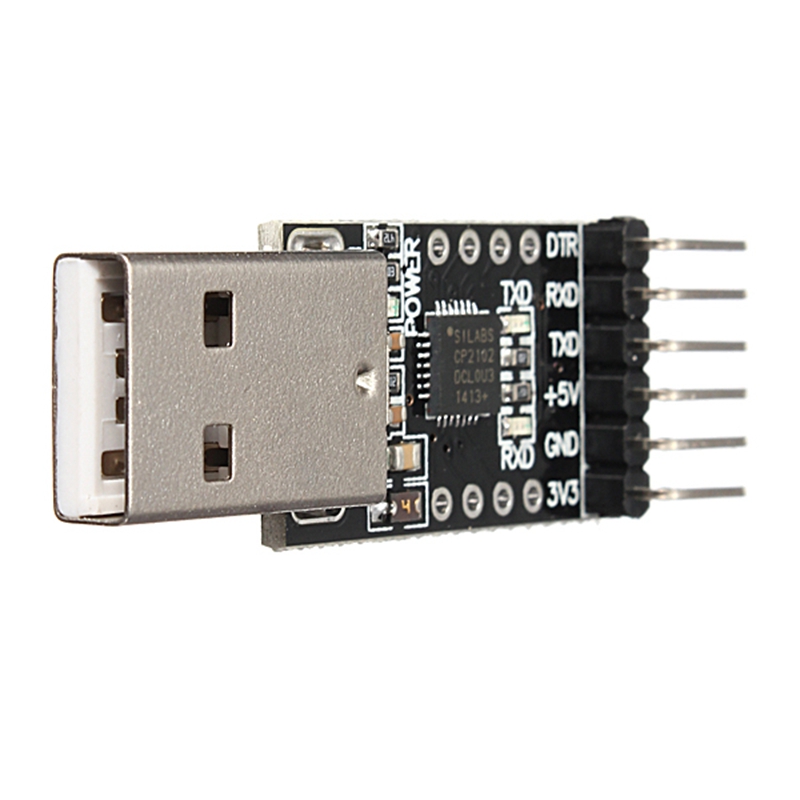
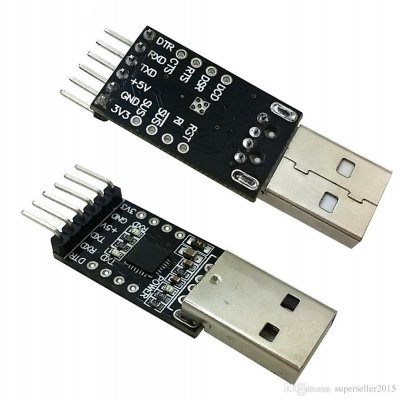
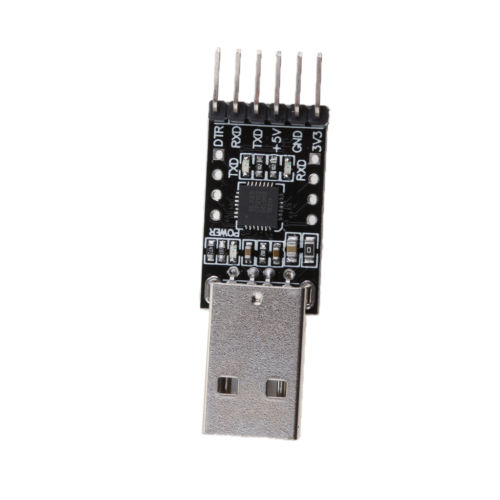
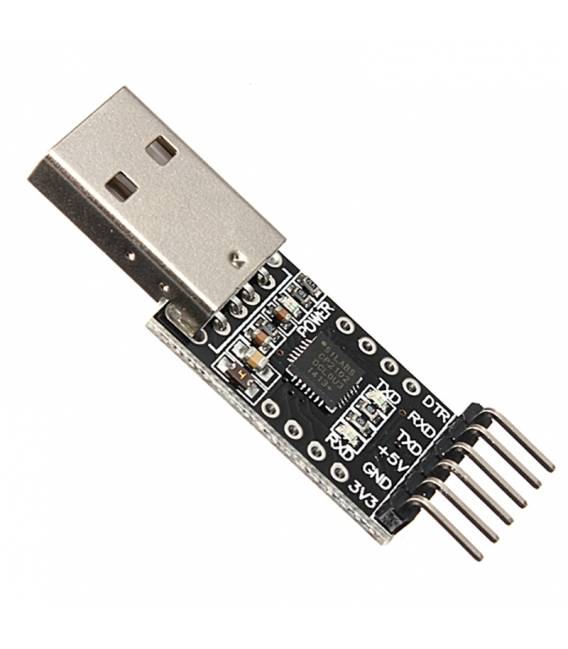
| Pin Header (5 pin) | TXD, RXD, GND, VCC (5V), DTR |
| Driver | Available for Windows, Linux, macOS |
🔌 Module Pinout (typical 5 pin)
| Pin | Function |
|---|---|
| VCC | Power Supply (5V) |
| GND | Ground |
| TXD | Transmits data (connect to RX of Arduino) |
| RXD | Receives data (connect to TX of Arduino) |
| DTR | Data Terminal Ready (for automatic reset on sketch upload) |
💻 Install CP2102 Driver
1. Download official drivers
Go to the official Silicon Labs website:
https://www.silabs.com/developers/usb-to-uart-bridge-vcp-drivers
2. Install the drivers
Choose your operating system (Windows/macOS/Linux) and install the package.
3. Check recognition
Connect the module to the PC → open the Device Manager (Device Manager) → you should see a COM port assigned to the “Silicon Labs CP210x USB to UART Bridge”.
🔧 Connection with Arduino (e.g., Arduino Pro Mini or standalone)
The module is particularly useful for program Arduino Pro Mini, barebone ATmega328, or read serial data from an Arduino without a USB port.
⚠️ Warning:
- Do not use with Arduino UNO/Nano with an existing USB port, unless you want to bypass the existing USB chip.
🔌 Connection Diagram
| CP2102 | Arduino (e.g., Pro Mini) |
|---|---|
| VCC | VCC (5V) |
| GND | GND |
| TXD | RX |
| RXD | TX |
| DTR | DTR / RESET (through a 0.1µF capacitor, optional for automatic reset) |
📦 Guide to Using Arduino IDE
✅ Upload Sketch (e.g., Blink) to Arduino Pro Mini
- Connect the pins as indicated above.
- Open Arduino IDE.
- Go to Tools > Board → select Arduino Pro or Pro Mini.
- Select the correct processor (e.g., ATmega328P 5V/16MHz).
- Select the COM port assigned to CP2102.
- Upload the sketch.
// Esempio: Blink LED sul pin 13
void setup() {
  pinMode(13, OUTPUT);
}

void loop() {
  digitalWrite(13, HIGH);
  delay(500);
  digitalWrite(13, LOW);
  delay(500);
}
📡 Use as Serial Interface (Serial Monitor Monitoring)
You can also use the module to read data from Arduino via serial:
Connections (if Arduino already has USB):
- Disconnect the TX of CP2102 during upload (to avoid conflicts).
- Connect only RX of CP2102 to TX of Arduino and GND↔GND.
- Open a software like Arduino Serial Monitor, TeraTerm, PuTTY, etc.
Example code on Arduino:
void setup() {
  Serial.begin(9600);
}

void loop() {
  Serial.println("Ciao dal mondo seriale!");
  delay(1000);
}
💡 Other Usage Examples
📲 Serial communication between PC and sensor via Arduino
- Connect the CP2102 module to an Arduino that collects data from a sensor (e.g., temperature, humidity).
- The Arduino sends the data via
Serial.print(). - The module forwards it via USB to the PC, where you can read it in real-time.
🛠 Standalone microcontroller programming
You can use the CP2102 to upload sketches even to an ATmega328P microcontroller with bootloader, using the DTR pin for automatic reset.
✅ Advantages of the CP2102 module over others (e.g., CH340, FT232)
| CP2102 | FT232 | CH340 |
|---|---|---|
| High compatibility | High | Good |
| Official and signed drivers | Yes | Yes |
| Automatic reset support (DTR) | Yes | Yes |
| Compact size | Yes | No |
📌 Conclusion
The USB-to-Serial converter with CP2102 is an essential tool for every maker or Arduino developer. It allows you to:
- Program a compact Arduino like the Pro Mini
- Establish a reliable serial communication
- Monitor real-time data from sensors or embedded systems
Great! I propose a complete practical project that uses the CP2102 module to build a serial weather station with Arduino Pro Mini, which sends to the PC (via USB) the data of temperature and humidity read from a DHT11 o DHT22, through the module CP2102 USB-Seriale.
🌤️ Project: Mini Weather Station Serial Monitor via CP2102
🎯 Objective
Create a weather station that reads temperature and humidity through the DHT sensor and sends the data via USB serial port (CP2102) to PC, where it can be read with theArduino Serial Monitor or alternative software.
🧰 Required Materials
| Component | Quantity |
|---|---|
| Arduino Pro Mini (5V/16MHz) | 1 |
| USB-Seriale Converter CP2102 | 1 |
| DHT11 or DHT22 Sensor (digital) | 1 |
| 10kΩ Resistor (pull-up for DHT) | 1 |
| Jumper cables / breadboard | various |
| 0.1µF capacitor (100nF) between DTR and RESET (optional for automatic reset) | 1 |
🔌 Connection Diagram
🟦 CP2102 ↔ Arduino Pro Mini
| CP2102 | Pro Mini |
|---|---|
| VCC | VCC (5V) |
| GND | GND |
| TXD | RX |
| RXD | TX |
| DTR | RESET (via 0.1µF capacitor) |
🌡️ DHT11/DHT22 ↔ Arduino
| DHT Pin | Connection |
|---|---|
| 1 (VCC) | VCC 5V |
| 2 (DATA) | digital pin D2 (e.g. Pro Mini) |
| 3 | not connected |
| 4 (GND) | GND |
Connect a 10kΩ resistor between VCC and DATA (pull-up).
💻 Arduino Code
Install the DHT library from Tools > Manage Libraries searching DHT sensor library by Adafruit.
#include "DHT.h"

// Configura tipo sensore: DHT11 o DHT22
#define DHTPIN 2         // Pin digitale connesso al sensore
#define DHTTYPE DHT11    // Cambia in DHT22 se usi quel modello

DHT dht(DHTPIN, DHTTYPE);

void setup() {
  Serial.begin(9600);
  dht.begin();
  Serial.println("Stazione Meteo Avviata!");
}

void loop() {
  float h = dht.readHumidity();
  float t = dht.readTemperature(); // Celsius

  // Verifica se lettura è valida
  if (isnan(h) || isnan(t)) {
    Serial.println("Errore lettura dal sensore DHT!");
  } else {
    Serial.print("Temperatura: ");
    Serial.print(t);
    Serial.print(" °C  |  Umidità: ");
    Serial.print(h);
    Serial.println(" %");
  }

  delay(2000); // Leggi ogni 2 secondi
}
🧪 Project Test
- Connect everything as indicated (including CP2102 via USB to PC).
- Open theArduino IDE.
- Select:
- Board: Arduino Pro or Pro Mini
- Processor: ATmega328P (5V, 16MHz)
- COM Port: the one associated with CP2102
- Upload the code.
- Open the Serial Monitor (Ctrl+Shift+M) → set 9600 baud.
- You will see updated temperature and humidity data every 2 seconds.
📈 Possible Extensions
- SD card data saving with SD module
- Data transmission via Bluetooth or Wi-Fi (with HC-05 or ESP8266)
- Display on OLED screen
- Real-time graph via software (e.g., Python + Matplotlib or Processing)
📌 Important Notes
- The module CP2102 DOES NOT have RX/TX polarity protection. If it doesn’t work, try reversing them.
- The pin DTR can automate the reset during upload. If you don’t use the 0.1µF capacitor, you can manually press the reset button when the IDE displays “Uploading…”.
✅ Conclusion
This project demonstrates how to use the CP2102 module not only for programming an Arduino Pro Mini but also for creating a useful serial interface for real-time monitoring. A great exercise for those who want to go beyond the Arduino Uno!
Tutorial: How to Use the USB 2.0 to Serial TTL RS232 Converter
This converter allows you to connect serial devices to a computer via USB. Useful for Arduino and other serial microcontrollers.
What you need
- USB cable
- Arduino or other serial microcontroller
- Serial device to connect (e.g., sensor)
Steps
- 1. Connect the USB cable to the converter.
- 2. Connect the Arduino to the converter.
- 3. Connect the serial device to the converter.
- 4. Upload the following sketch to the Arduino.
- 5. Check the serial port in the Arduino IDE software.
- 6. Configure the baud rate on both ends.
- 7. Refer to the datasheet for further details.
- 8. Try sending data from the computer to the Arduino.
Example code
Serial.begin(9600);Mini project
Create a simple sketch that sends and receives messages between the computer and the Arduino.
Common mistakes
- Incorrectly configuring the baud rate.
- Incorrectly connecting the pins.
- Forgetting to install the drivers.
- Failing to upload the sketch to the Arduino.
Recommended accessories
- Arduino Uno
- Temperature Sensor
- LCD 16×2 Display
Frequently asked questions
How can I check the drivers?
Check on the manufacturer’s website or on the Arduino forum.
Which pins to use on the Arduino?
Use the serial pins (RX and TX).
Does the converter support bidirectional data?
Yes, it supports data transmission and reception.
Reviews
There are no reviews yet.