 EN
 IT Italiano
 ES Español
 FR Français
 DE Deutsch
Description
What it is
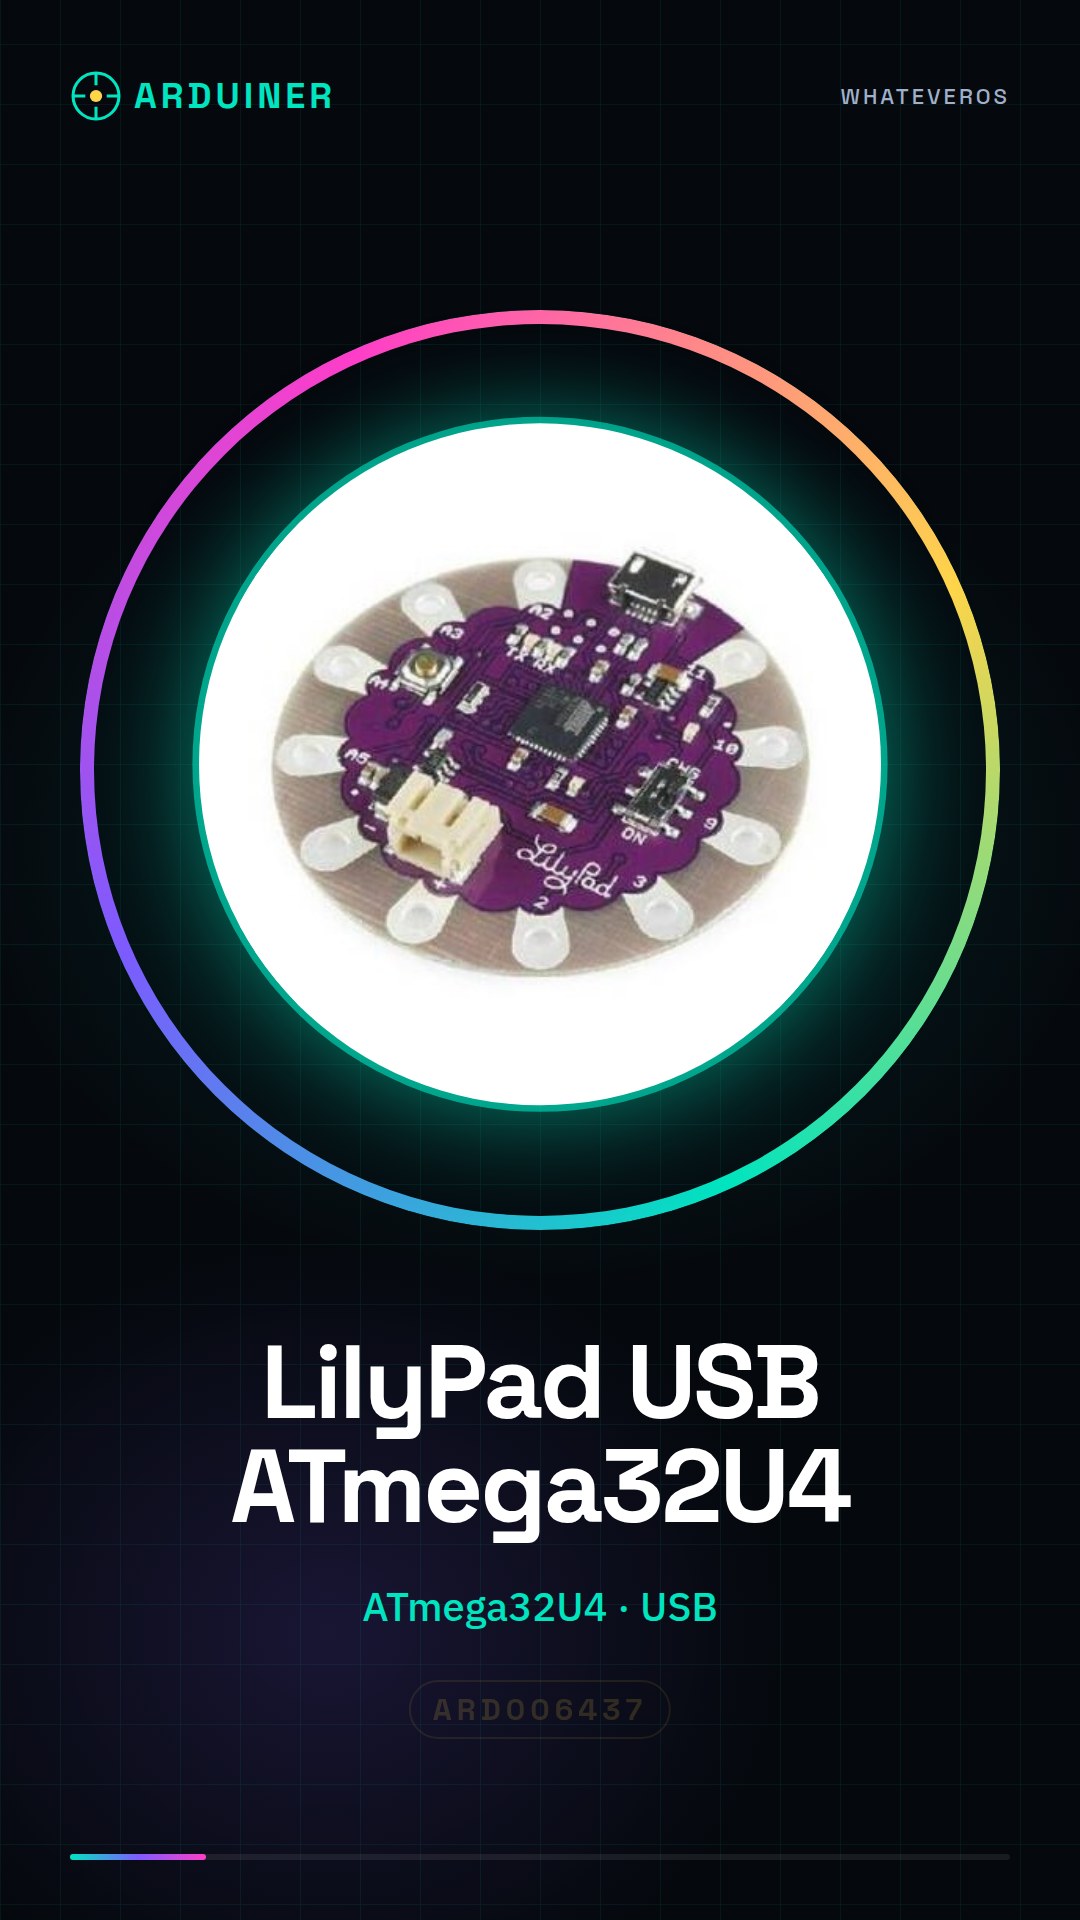
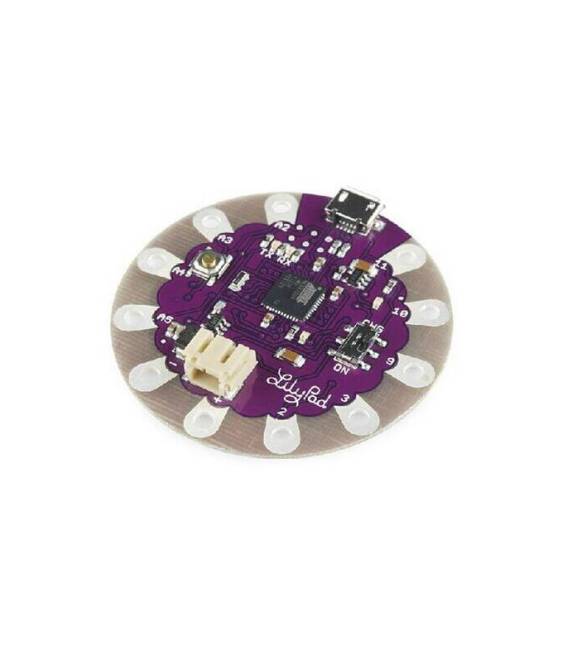
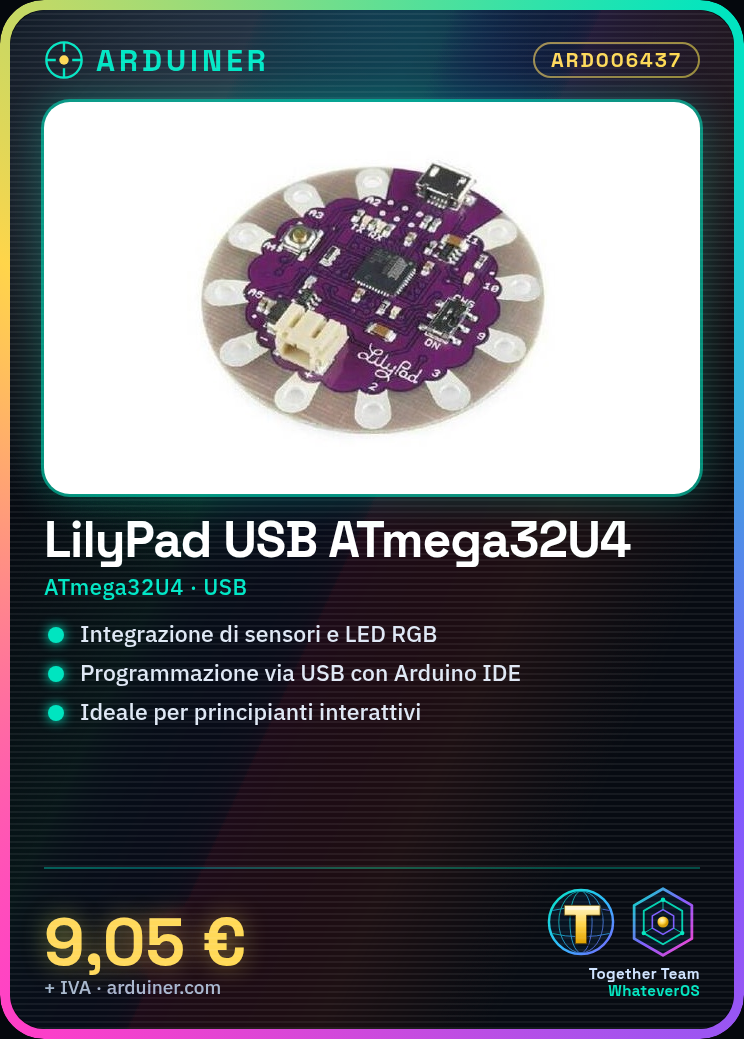
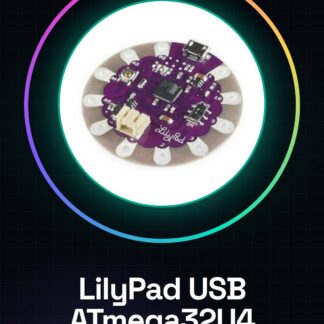
The LilyPad Arduino USB board is a development platform for touch and wearable electronics projects. With an ATmega32U4 microcontroller, it supports programming via USB connection.
Features
- LilyPad board with ATmega32U4 microcontroller
- Ideally suited for touch and wearable electronics projects
What it is for
The board is ideal for beginners who want to create interactive devices. It can be used to integrate sensors and RGB LEDs into projects such as interactive belts or other wearable objects.
Tutorial: How to use LilyPad Arduino USB – ATmega32U4 board
The LilyPad Arduino USB board is ideal for touch and wearable electronics projects. It is perfect for beginners who want to start creating interactive devices.
What you need
- LilyPad Arduino USB
- USB A-micro B cable
- Arduino IDE software
Steps
- Step 1: Download and install the Arduino IDE from the official Arduino website.
- Step 2: Connect the LilyPad USB board to the computer via the micro-B USB cable.
- Step 3: Open the Arduino IDE, select ‘Boards > Arduino Lilypad USB’ from the list of available boards.
- Step 4: Verify that the board is recognized by the computer’s operating system (you should see a new connected device).
- Step 5: Upload the example sketch ‘File > Examples > 01.Basics > Blink’ to the board.
- Step 6: Check that the integrated LED is blinking according to the uploaded code.
- Step 7: Try modifying the sketch to change the on and off intervals of the LED.
- Step 8: Explore other examples in the ‘File > Examples’ menu to discover additional features.
Example code
void setup() {
  pinMode(LED_BUILTIN, OUTPUT);
}

void loop() {
  digitalWrite(LED_BUILTIN, HIGH);   // accendi la LED interna
  delay(1000);                       // attesa di un secondo
  digitalWrite(LED_BUILTIN, LOW);    // spegni la LED interna
  delay(1000);                        // attesa di un secondo
}
Mini project
Create an interactive belt that changes color based on body temperature. Use temperature sensors and RGB LEDs.
Common mistakes
- The LilyPad USB board is not recognized in the Arduino IDE software.
- The integrated LED does not blink as expected.
- The code loaded onto the board does not work correctly.
- Board power supply issues.
Recommended accessories
- USB A-micro B cable
- LilyPad sensors
- LilyPad RGB LED
- 3V battery for LilyPad
Frequently asked questions
How can I upload a sketch to a LilyPad Arduino board?
Connect the board to the computer via the USB cable and use the Arduino IDE to upload the sketch.
Which sensors are compatible with the LilyPad Arduino board?
Most LilyPad sensors are compatible, check the sensor datasheet for specifics.
How can I power the LilyPad Arduino board?
You can use a 3V battery or connect the micro-B USB cable for power.
Reviews
There are no reviews yet.