 EN
 IT Italiano
 ES Español
 FR Français
 DE Deutsch
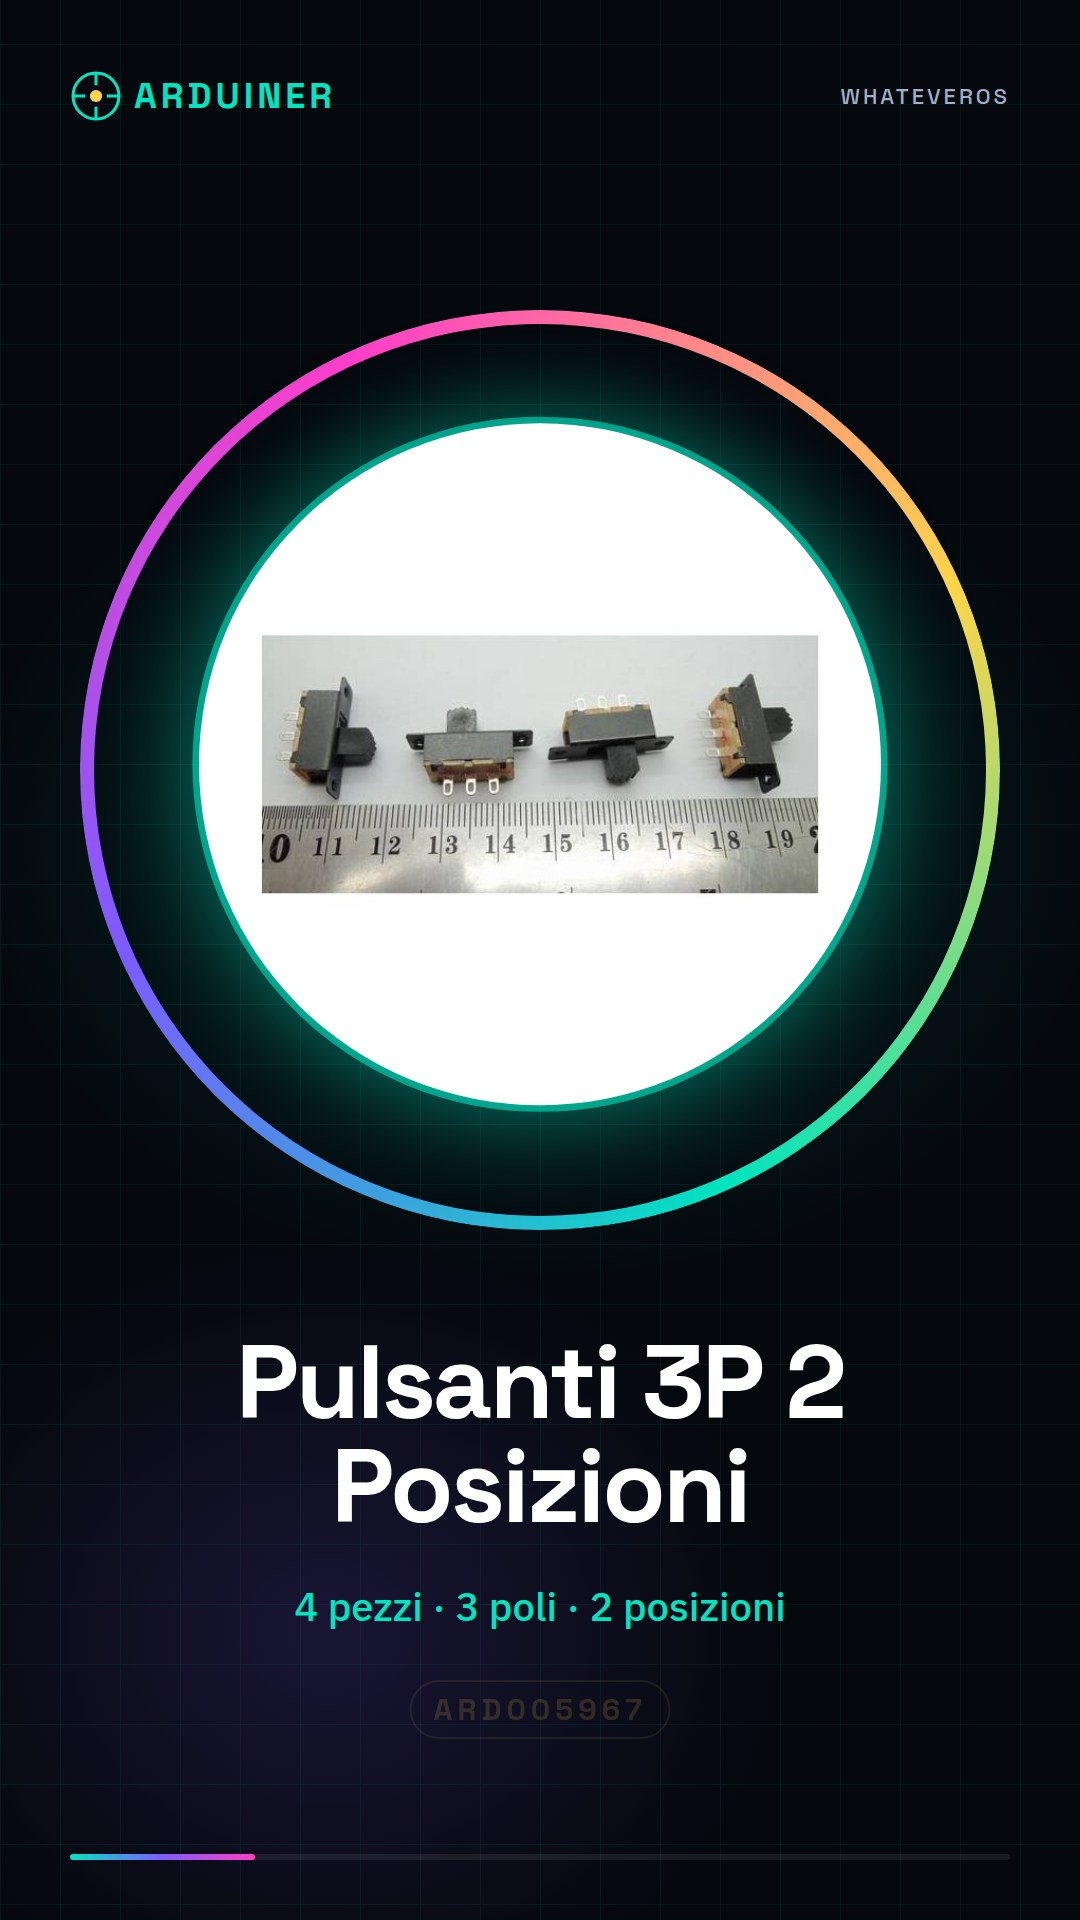
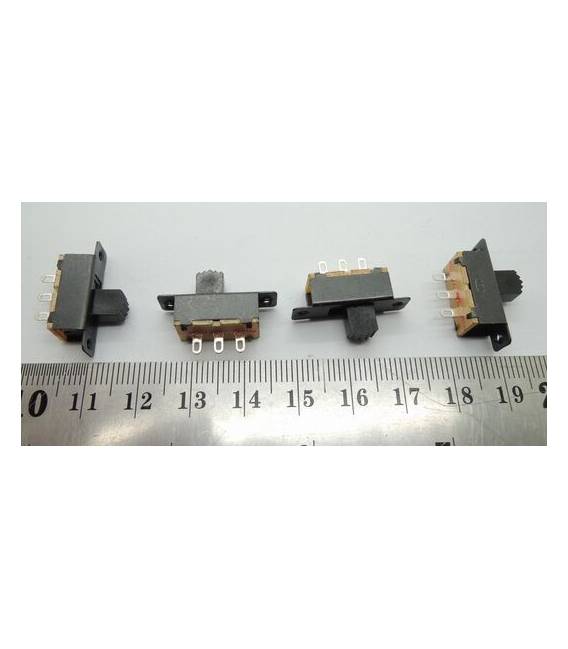
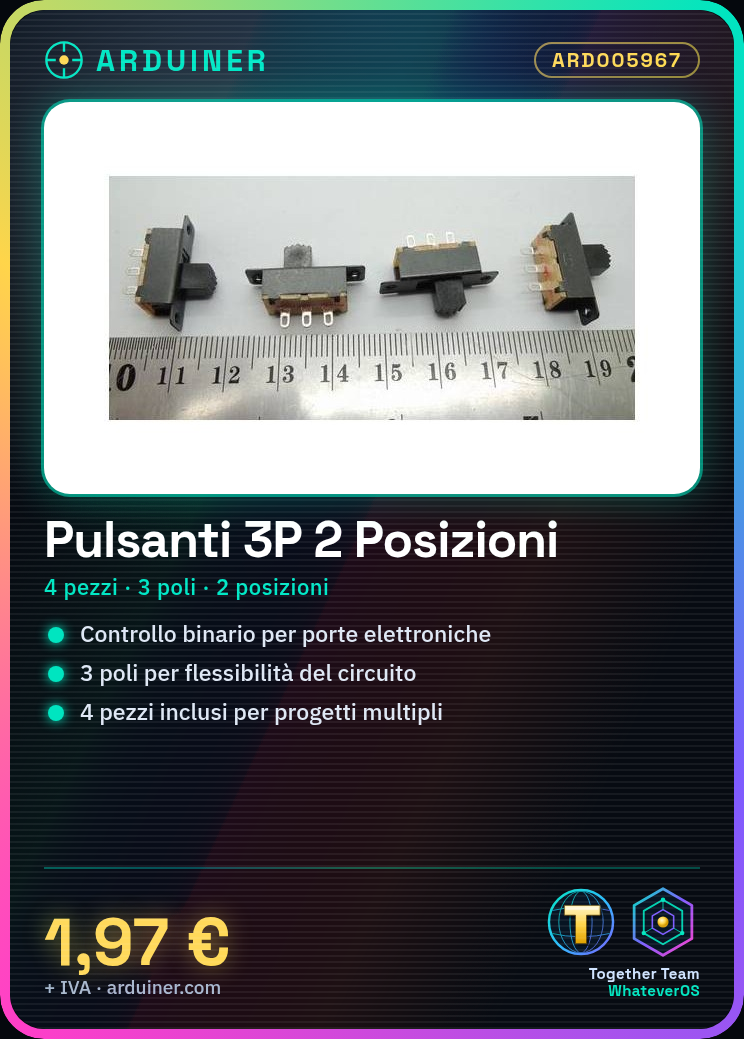
Description
What it is
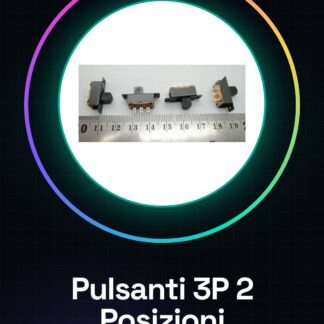
The 4 pieces of 3P 2 Position push buttons are electronic components used for Arduino projects and other electronic systems. These two-position switches offer a simple binary control mode.
Features
- 4 pieces included
- 3P Push Button (three poles)
- Position: 2
What it is for
Two-position push buttons are ideal for applications requiring binary control, such as electronic doors or state switches. Suitable for both beginners and experts.
Tutorial: How to Use 4 Pieces 3P 2 Position Push Button
These two-position push buttons are ideal for applications requiring binary control, such as electronic doors or state switches. Suitable for beginners and intermediates.
What you need
- 4 pieces 3P 2 Position Push Button
- Arduino
- Power cable
- 10kΩ resistor
Steps
- 1. Prepare the 4 push buttons, make sure they are intact.
- 2. Connect a button to Arduino: GND to GND, VCC to 5V, and the output pin to any of the digital pins.
- 3. Connect a 10kΩ resistor between the output pin and VCC.
- 4. Repeat for the remaining 3 buttons.
- 5. Load the example code onto your Arduino.
- 6. Check the connections to make sure there are no errors.
- 7. Try pressing the buttons and verify if the LED connected to the output pin turns on/off correctly.
- 8. Repeat for the remaining 3 buttons.
Example code
```void setup() {} void loop() { if (digitalRead(pin) == HIGH) { digitalWrite(LED, HIGH); } else { digitalWrite(LED, LOW); } }```Mini project
Create a two-position door control system using 2 of these buttons. Connect the buttons to Arduino to control the opening and closing of the door.
Common mistakes
- Connect a button directly to VCC without a resistor.
- Forget to connect the output pin to a digital pin on Arduino.
- Use an analog pin instead of a digital pin.
- Do not carefully check the connections before loading the code.
Recommended accessories
- Arduino Uno
- Led
- 330Ω resistor
- Power supply cable
Frequently asked questions
Does the button only work once?
Check the datasheet to see if the button has a tactile switch. Otherwise, it may need a reset.
Can I use this button to control an electrical device?
Yes, but make sure the device can handle the maximum current of the button.
How many buttons can I connect to a single pin?
Connect only one button to a pin to avoid interference.
Reviews
There are no reviews yet.