 EN
 IT Italiano
 ES Español
 FR Français
 DE Deutsch
Description
What it is
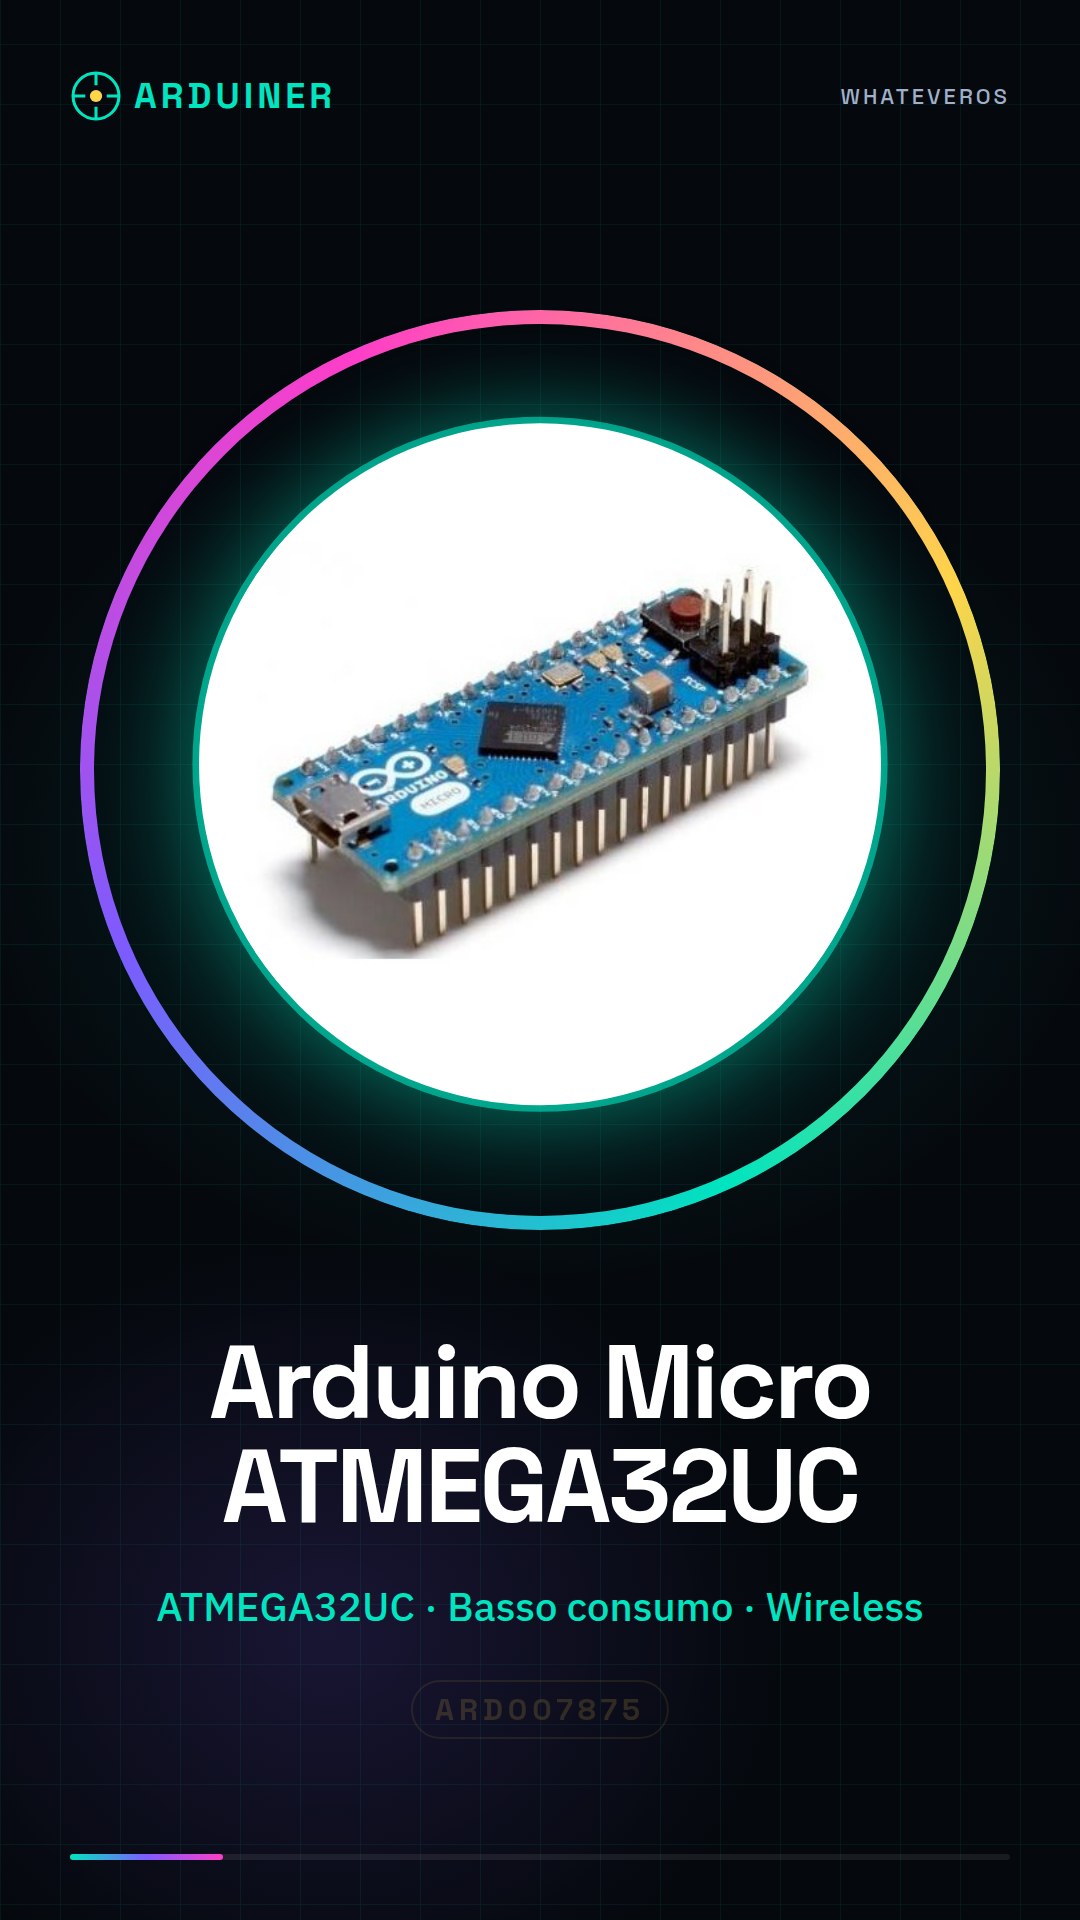
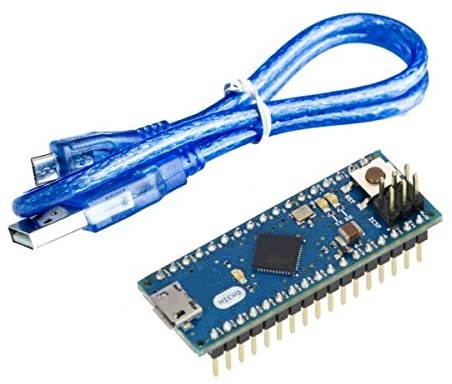
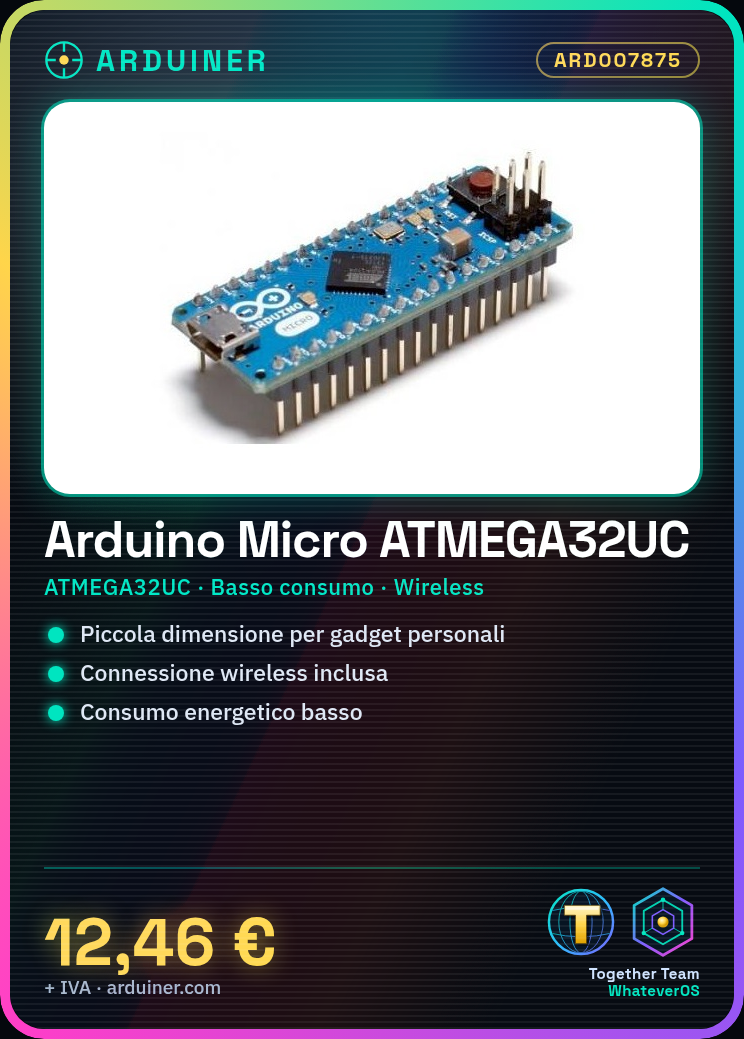
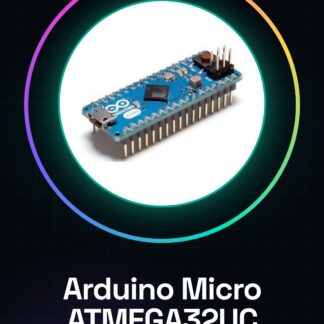
The Arduino Micro ATMEGA32UC board is a small microcontroller board designed for applications requiring low power consumption and wireless connectivity. It is ideal for developing IoT device prototypes or personal gadgets thanks to its compact size.
Features
- Microcontroller board based on ATMEGA32UC;
- Ideally suited for low power consumption applications;
- Inclusion of wireless connectivity;
What it is for
The Arduino Micro board can be used in various projects, such as creating light sensors that turn on a light bulb when the room is dark. It can be integrated with components like LDR and resistors to regulate the lighting level.
Tutorial: How to use Arduino Micro ATMEGA32UC
The Arduino Micro is a small microcontroller board that serves as a portable alternative to the Arduino Uno. Ideal for projects where size matters, such as personal gadgets or IoT device prototypes.
What you need
- Computer with Arduino IDE installed
- USB Type B to Mini-B cable
- Sketch project
Steps
- 1. Download and install the Arduino IDE from the official website.
- 2. Connect the Arduino Micro board to the computer via the USB cable.
- 3. Open the ‘Tools > Board > Arduino Micro’ menu.
- 4. Verify that the serial port is correctly recognized in the ‘Tools’ menu.
- 5. Create a new sketch in Arduino IDE, for example to turn on an LED.
- 6. Compile and upload the code to the microcontroller.
- 7. Verify that the code function is correct.
- 8. Modify the code to test other features of the board.
Example code
const int ledPin = 13;
void setup() {
pinMode(ledPin, OUTPUT);
}

void loop() {
digitalWrite(ledPin, HIGH); // Accende la LED
 delay(1000);
digitalWrite(ledPin, LOW);  // Spegne la LED
 delay(1000);
}
Mini project
Create a light sensor that turns on a light bulb when the room is dark. Use an LDR and a resistor to adjust the light level.
Common mistakes
- I am unable to upload the code to the board.
- The serial port is not recognized correctly.
- The LED does not light up as expected in the code.
- Error in microcontroller configuration in Arduino IDE.
Recommended accessories
- USB Type B to Mini-B cable
- 220 ohm resistor
- LED
- LDR
Frequently asked questions
Where can I find the datasheet for the Arduino Micro?
The datasheet is available on the official Arduino website.
How long does the battery last with the Arduino Micro?
Check the datasheet for power supply and energy consumption specifications.
Reviews
There are no reviews yet.