 EN
 IT Italiano
 ES Español
 FR Français
 DE Deutsch
Description
What it is
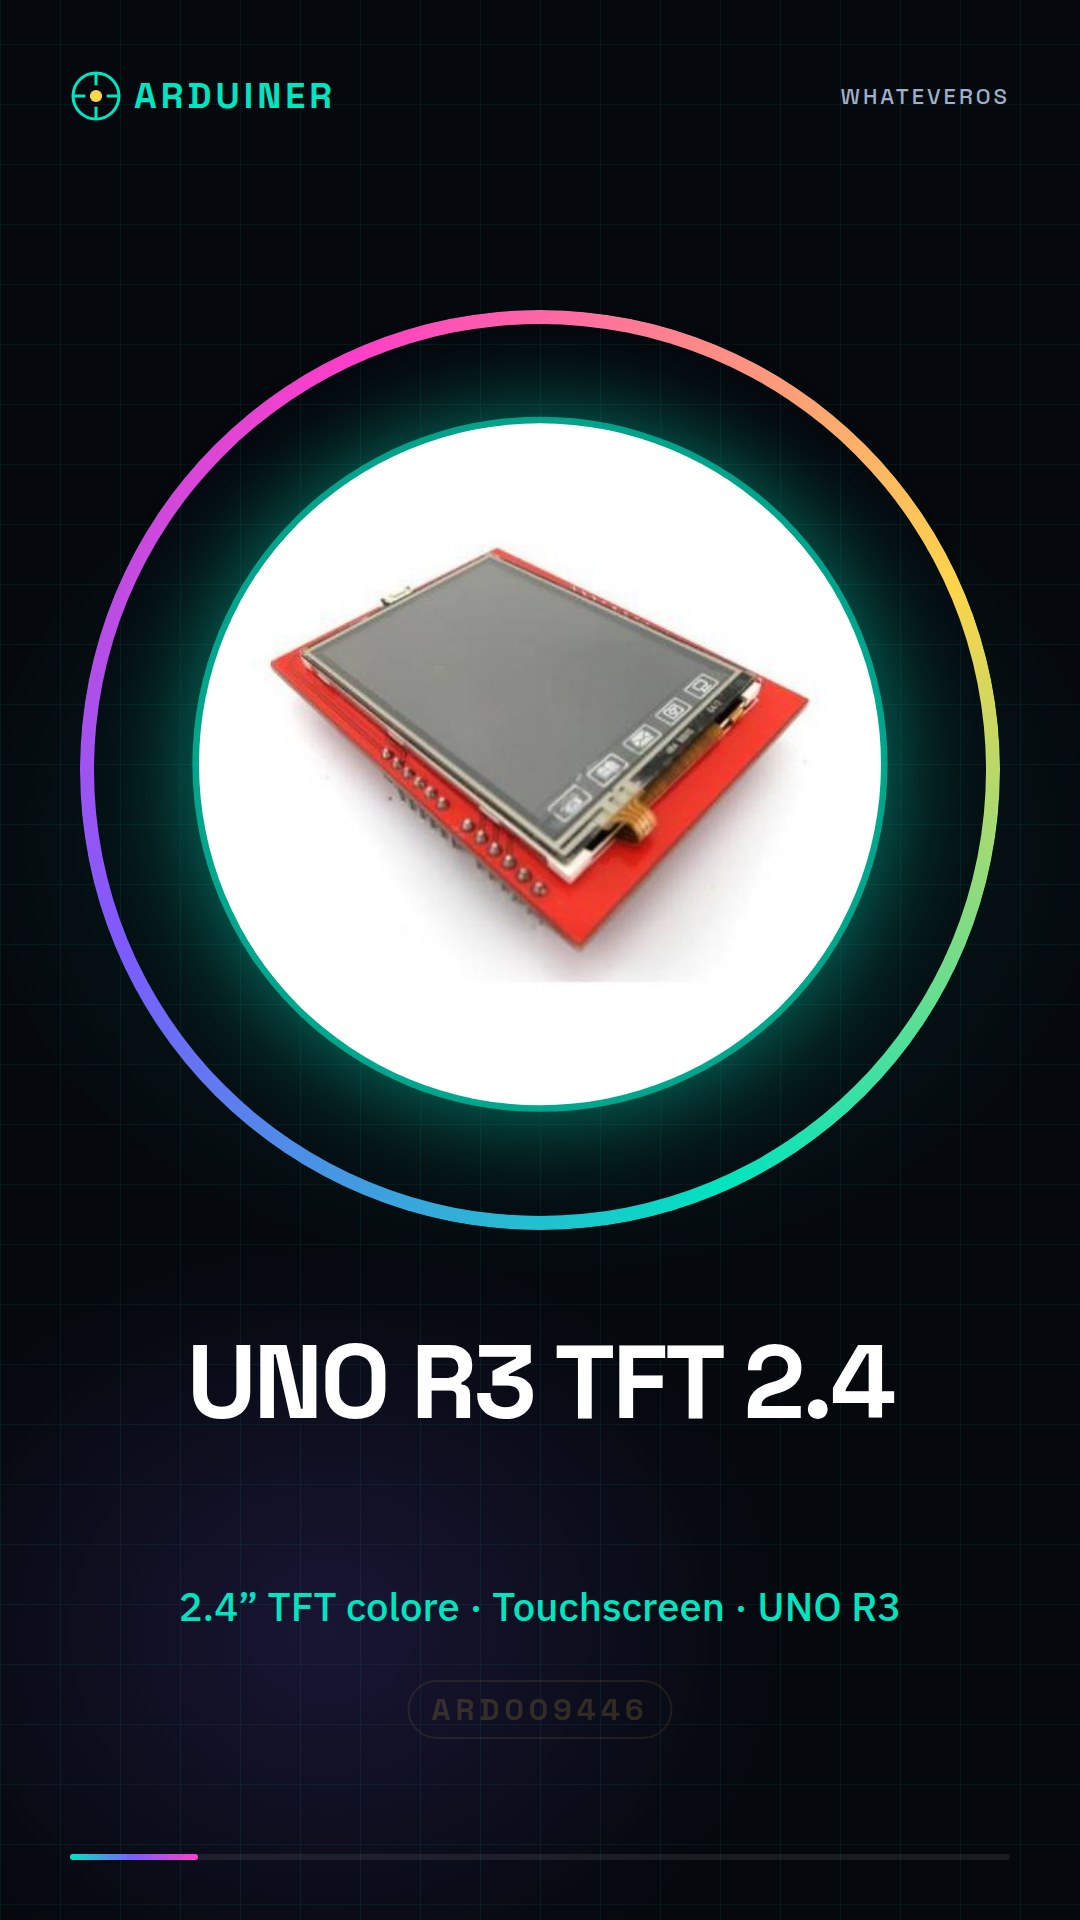
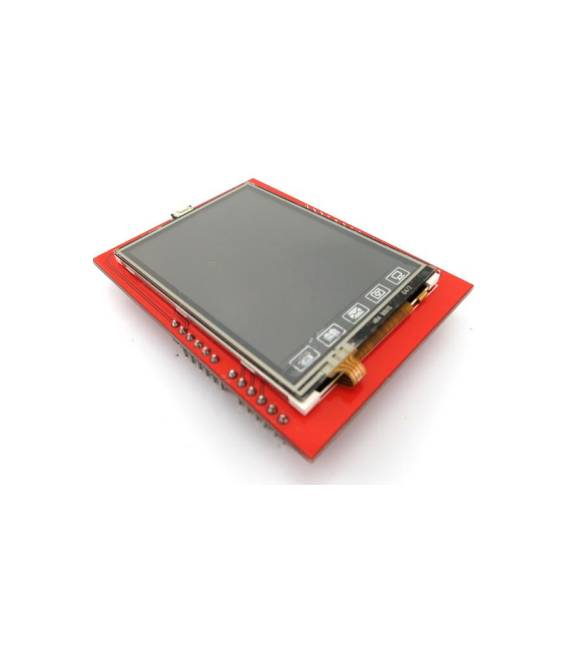
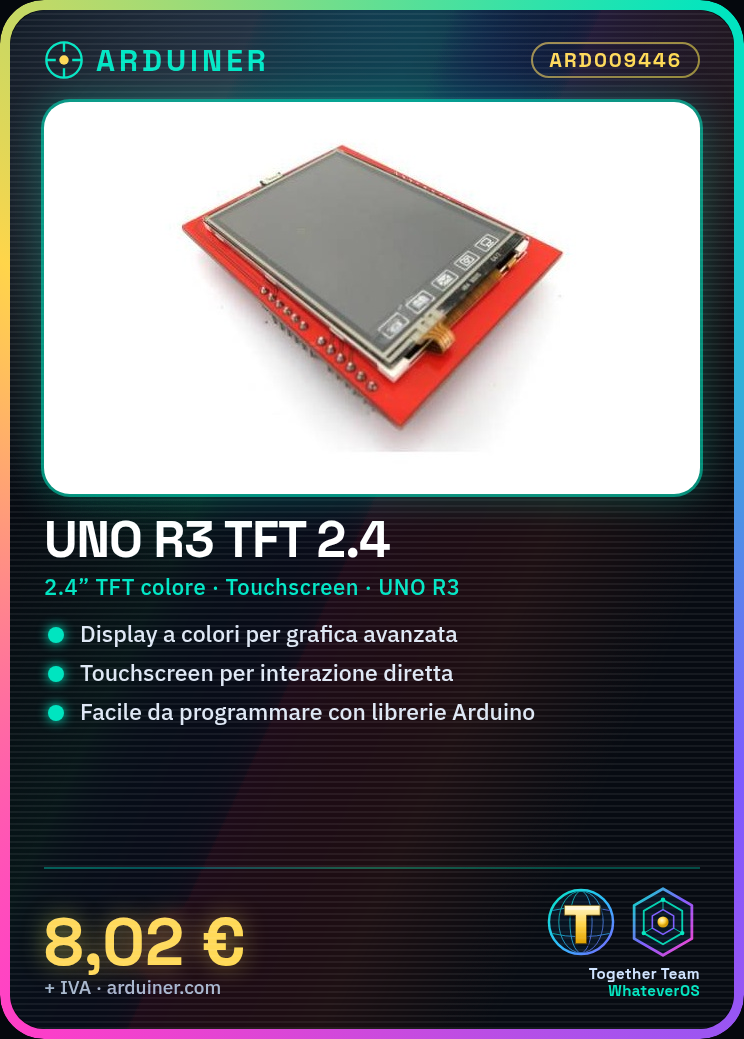
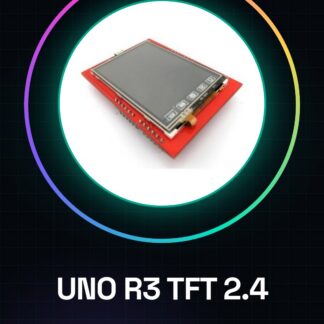
Arduino UNO R3 TFT 2.4 is a development board with an integrated 2.4 inch color TFT display. It allows for the creation of advanced graphical interfaces in electronic projects, offering a richer visual interaction compared to simple LCD displays.
Features
- Arduino UNO R3 Board
- 2.4 inch color TFT display
- Touchscreen interface
What it is for
The 2.4 inch color TFT and touchscreen of the Arduino UNO R3 TFT 2.4 is ideal for projects requiring an intuitive and interactive visual interface. It can be used to create digital stopwatches, display sensor data, control system parameters, or develop simple interactive games and applications. Its compatibility with the Arduino environment makes it easy to program and integrate into electronic projects of varying complexity.
Tutorial: How to use Arduino UNO R3 TFT 2.4
The Arduino UNO R3 TFT 2.4 is a multi-color touch screen display ideal for projects requiring visual interaction. Useful for beginner and intermediate makers.
What you need
- Arduino UNO R3
- USB cable
- MicroSD
- FPC connector
- Arduino libraries
- Check the datasheet
Steps
- 1. Connect the Arduino UNO R3 to your computer via USB cable.
- 2. Install the necessary Arduino libraries for the TFT on your Arduino IDE.
- 3. Connect the TFT display to the Arduino via the FPC connectors.
- 4. Verify that the display is properly connected and functioning.
- 5. Load the example code for the display onto your Arduino.
- 6. Try modifying the code to display text or an image.
- 7. Insert a MicroSD into the display slot to load graphic files.
- 8. Test the display with various codes to explore its features.
Example code
```cpp
#include <Adafruit_GFX.h>
#include <Adafruit_ILI9341.h>

Adafruit_ILI9341 tft = Adafruit_ILI9341(&SPI, TFT_CS, TFT_DC, TFT_RST);

void setup() {
  tft.begin();
}

void loop() {
  tft.fillScreen(TFT_BLACK);
  tft.setCursor(50, 50);
  tft.setTextColor(TFT_WHITE);
  tft.print("Arduino UNO R3 TFT 2.4");
}
```
Mini project
Create a simple digital stopwatch using the TFT display to show the time.
Common mistakes
- Connect the display to the wrong pin.
- Omit installing the necessary libraries.
- Do not verify the display connectivity before uploading the code.
- Insert the MicroSD without testing the display.
Recommended accessories
- Arduino UNO R3
- MicroSD
- USB cable
- Arduino libraries
Frequently asked questions
How can I verify the display connectivity?
Check that the display is correctly connected and functioning before uploading the code.
What libraries are necessary for the display?
Install the Adafruit GFX and Adafruit ILI9341 libraries.
Can I use another type of Arduino with this display?
Check the datasheet for compatibility with other types of Arduino.
Reviews
There are no reviews yet.