 EN
 IT Italiano
 ES Español
 FR Français
 DE Deutsch
Description
What it is
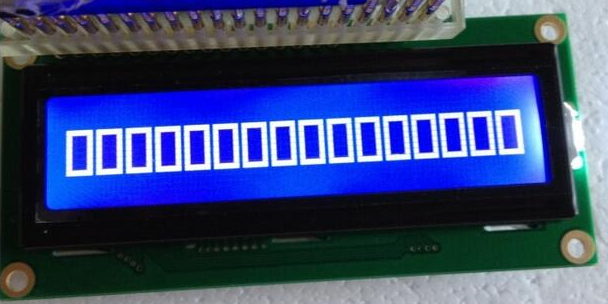
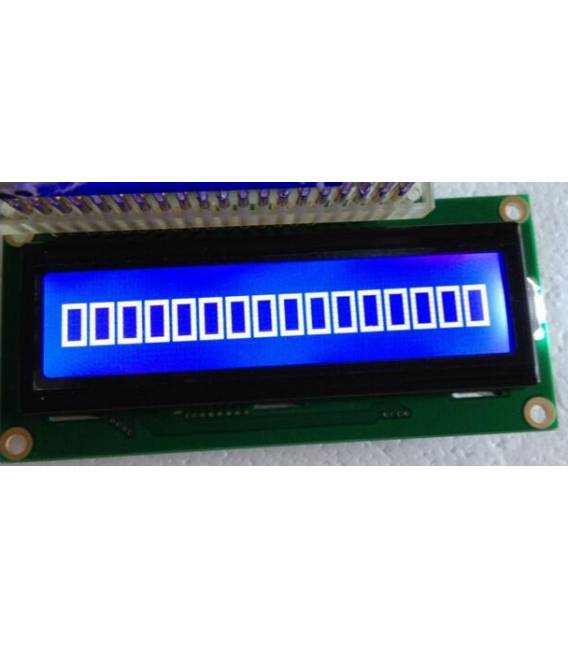
The Blue LCD 1601 Display is a backlit blue character matrix display. It allows for simple and readable text and character display.
Features
- Dimensions: check the datasheet
- Backlight: Blue
- Type: Character LCD Matrix
- Character Dimensions: check the datasheet
- Resolution: check the datasheet
What it is for
The Blue LCD 1601 Display is ideal for displaying information in Arduino projects, such as:
- Simple timers
- Displaying values measured from sensors
- Status messages
- User interfaces
- Blue LCD 1601 Display
- Arduino
- FPC Cable (if not present on the display)
- Pull-up Resistor (if needed)
- 1. Connect the FPC cable to the display (if needed).
- 2. Connect the VCC of the display to the 5V of the Arduino.
- 3. Connect the GND of the display to the GND of the Arduino.
- 4. Connect the D4 of the display to pin 2 of the Arduino.
- 5. Connect the D5 of the display to pin 3 of the Arduino.
- 6. Connect the D6 of the display to pin 4 of the Arduino.
- 7. Connect the D7 of the display to pin 5 of the Arduino.
- 8. Load the example code onto the Arduino.
Tutorial: How to use Blue LCD 1601 Display
The Blue LCD 1601 Display is ideal for displaying information in an Arduino project. Suitable for beginners and intermediates.
What you need
Steps
Example code
```
#include <LiquidCrystal.h>

LiquidCrystal lcd(2, 3, 4, 5, 6, 7);

void setup() {
  lcd.begin(16, 2);
}

void loop() {
  lcd.clear();
  lcd.print("Benvenuto su ");
  lcd.print("Arduino!");
}
```
Mini project
Create a simple stopwatch. Configure the display to show time in seconds.
Common mistakes
- Forget to connect the VCC and GND.
- Connect the D4 to the wrong pin.
- Omit the installation of the FPC cable.
- Fail to check if the display requires a pull-up resistor.
Recommended accessories
- 1kΩ pull-up resistor
- FPC cable
- Blue 1602 LCD Display (compatible)
- Arduino Nano
Frequently asked questions
How can I check if the display requires a pull-up resistor?
Check the datasheet. If not specified, add a 1kΩ resistor between VCC and D7.
Can I use a Blue 1602 LCD Display with this tutorial?
Yes, the 1602 is compatible with the 1601. The pins are similar, but check the specific configuration.
Is the FPC cable necessary?
If the display does not come with an FPC cable, solder one on. Otherwise, it is not necessary.
Which pins of the display to use?
Use pins D4, D5, D6, and D7. Pins D0-D3 are optional for advanced features.
Reviews
There are no reviews yet.