 EN
 IT Italiano
 ES Español
 FR Français
 DE Deutsch
Description
What it is
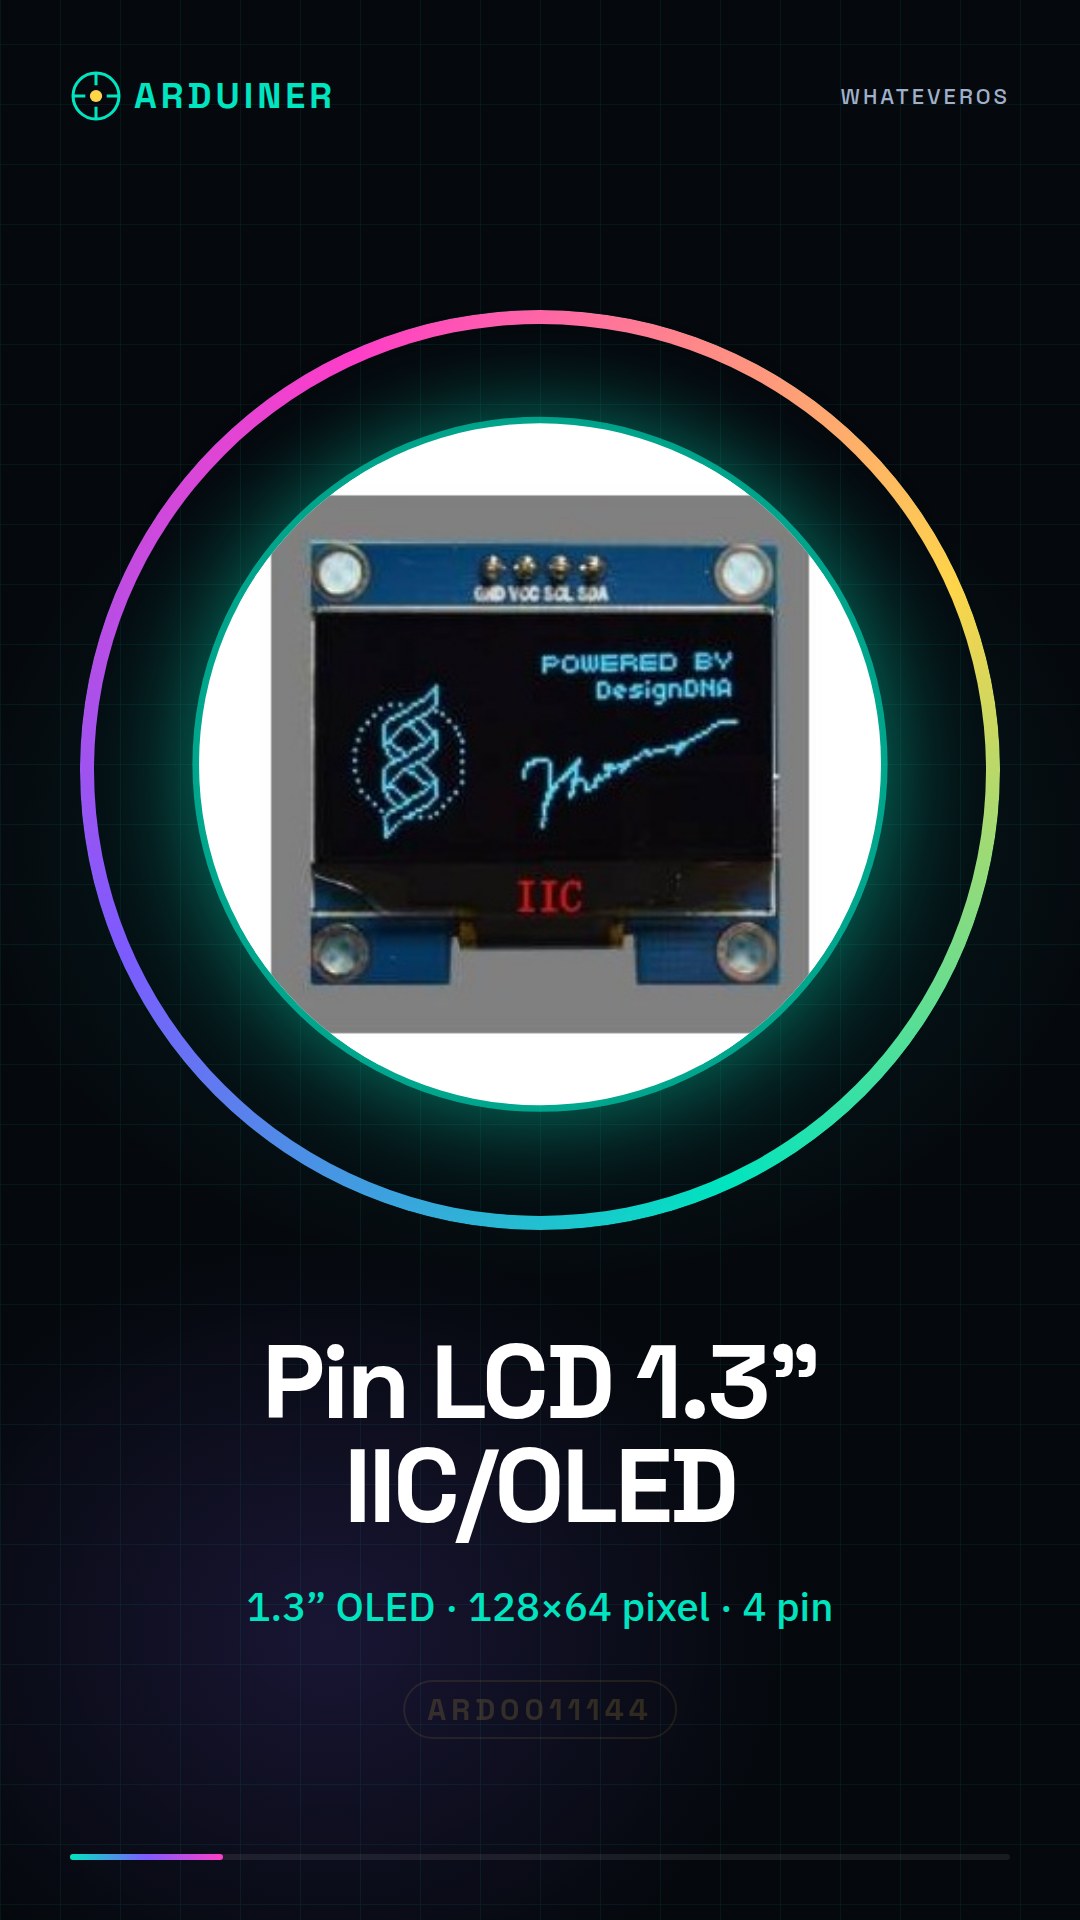
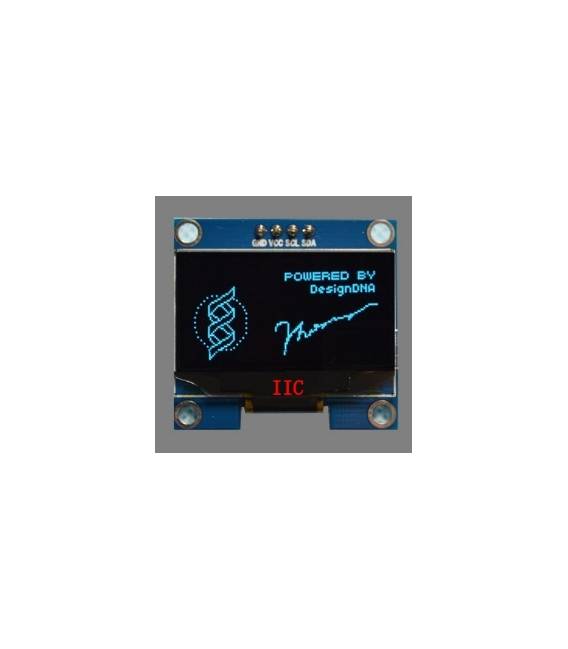
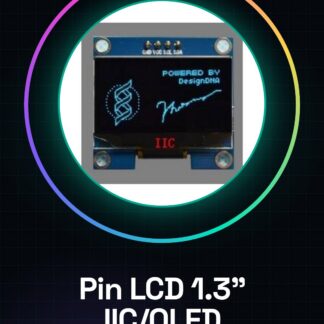
The 1.3″ IIC/I2C 12864 OLED LCD Pin Display is a pixel matrix display with OLED technology. It features an IIC/I2C interface for easy integration with microcontrollers like Arduino.
Features
- Display size: 1.3 inches
- Display type: OLED
- Resolution: 128×64 pixels
- Interface: IIC/I2C
- Number of pins: 4
What it is for
This LCD display is ideal for displaying real-time data in Arduino projects. It can be used to create stopwatches, timers, display simple information, and more. Its IIC/I2C interface simplifies integration with microcontrollers.
Tutorial: How to use 1.3″ IIC / I2C 12864 OLED LCD 4-pin
This LCD display is ideal for projects that require simple information display. Suitable for beginners and intermediate users in electronics.
What you need
- 1.3″ IIC / I2C 12864 OLED LCD 4-pin
- Arduino or compatible
- Connection cable
- 2kΩ pull-up resistor
Steps
- 1. Check the datasheet for the display specifications.
- 2. Connect VCC to the 5V of the Arduino.
- 3. Connect GND to the GND of the Arduino.
- 4. Connect SDA to pin A4 of the Arduino.
- 5. Connect SCL to pin A5 of the Arduino.
- 6. Connect the pull-up resistor between SDA and VCC.
- 7. Upload the code to the Arduino.
- 8. Check the display.
Example code
```
#include <Wire.h>
#include <Adafruit_GFX.h>
#include <Adafruit_SSD1306.h>

#define SCREEN_WIDTH 128 // larghezza del display
#define SCREEN_HEIGHT 64 // altezza del display

Adafruit_SSD1306 display(SCREEN_WIDTH, SCREEN_HEIGHT, &Wire, -1);

void setup() {
  if(!display.begin(SSD1306_I2C_ADDRESS, 0x3C)) {
    Serial.println("Non riesco a inizializzare il display! Verifica le connessioni.");
    while(1);
  }
  display.clearDisplay();
  display.display();
}

void loop() {
  display.clearDisplay();
  display.drawString(0, 0, "Benvenuto su Arduiner!");
  display.display();
}
```
Mini project
Create a simple stopwatch on the display. Set a timer and display the elapsed time.
Common mistakes
- The display does not turn on: check the connections and voltage.
- Messages not displayed: check the SDA and SCL frequency.
- Black screen display: check the pull-up resistor.
- Communication issues: check the Arduino firmware version.
Recommended accessories
- Arduino UNO
- 2kΩ pull-up resistor
- Connection cable
- Text LCD display for Arduino
Frequently asked questions
How can I check if the display is functioning before connecting it to the Arduino?
Connect the display directly to a test board and check the voltage on the display. If there is voltage, the display is functioning.
Why should I use a pull-up resistor?
The pull-up resistor helps stabilize the SDA line, preventing communication issues.
Can I use an 8-pin display instead of a 4-pin one?
No, this tutorial is for 4-pin displays. For 8-pin displays, consult the datasheet.
Reviews
There are no reviews yet.