 EN
 IT Italiano
 ES Español
 FR Français
 DE Deutsch
Description
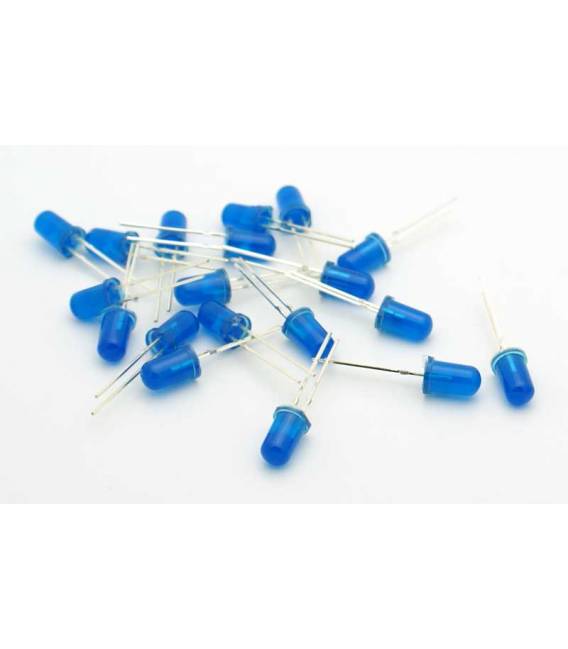
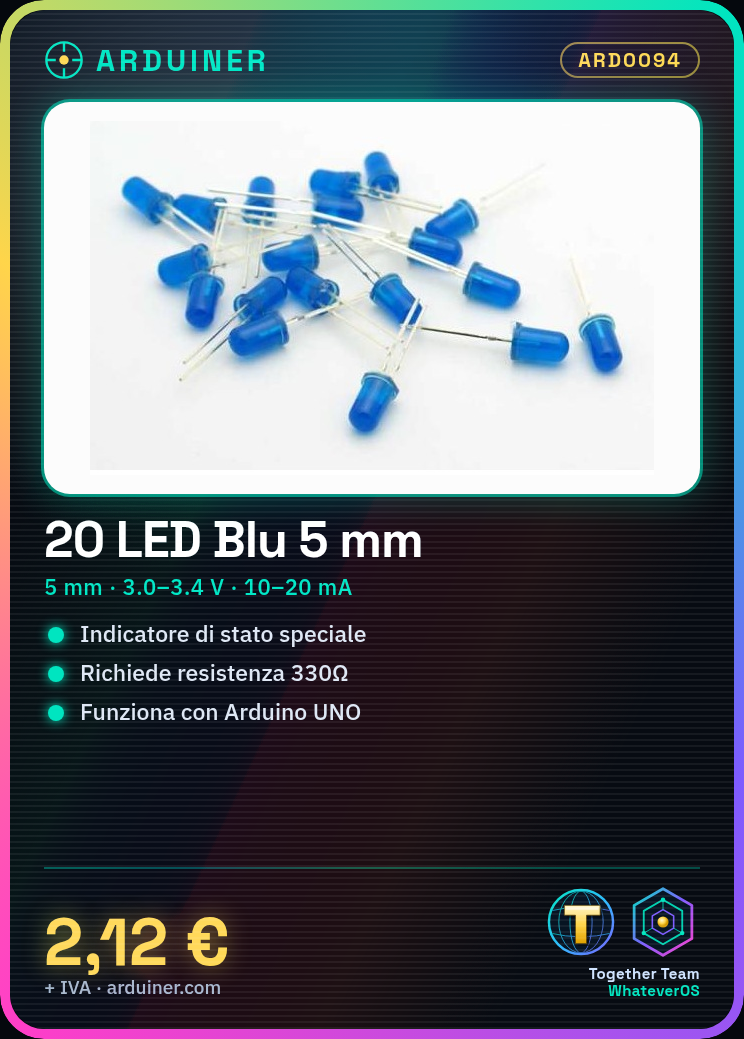
🔌 Description of LEDs (5 mm LED Diode)
📏 General Characteristics
- Type: LED Diode (Light Emitting Diode)
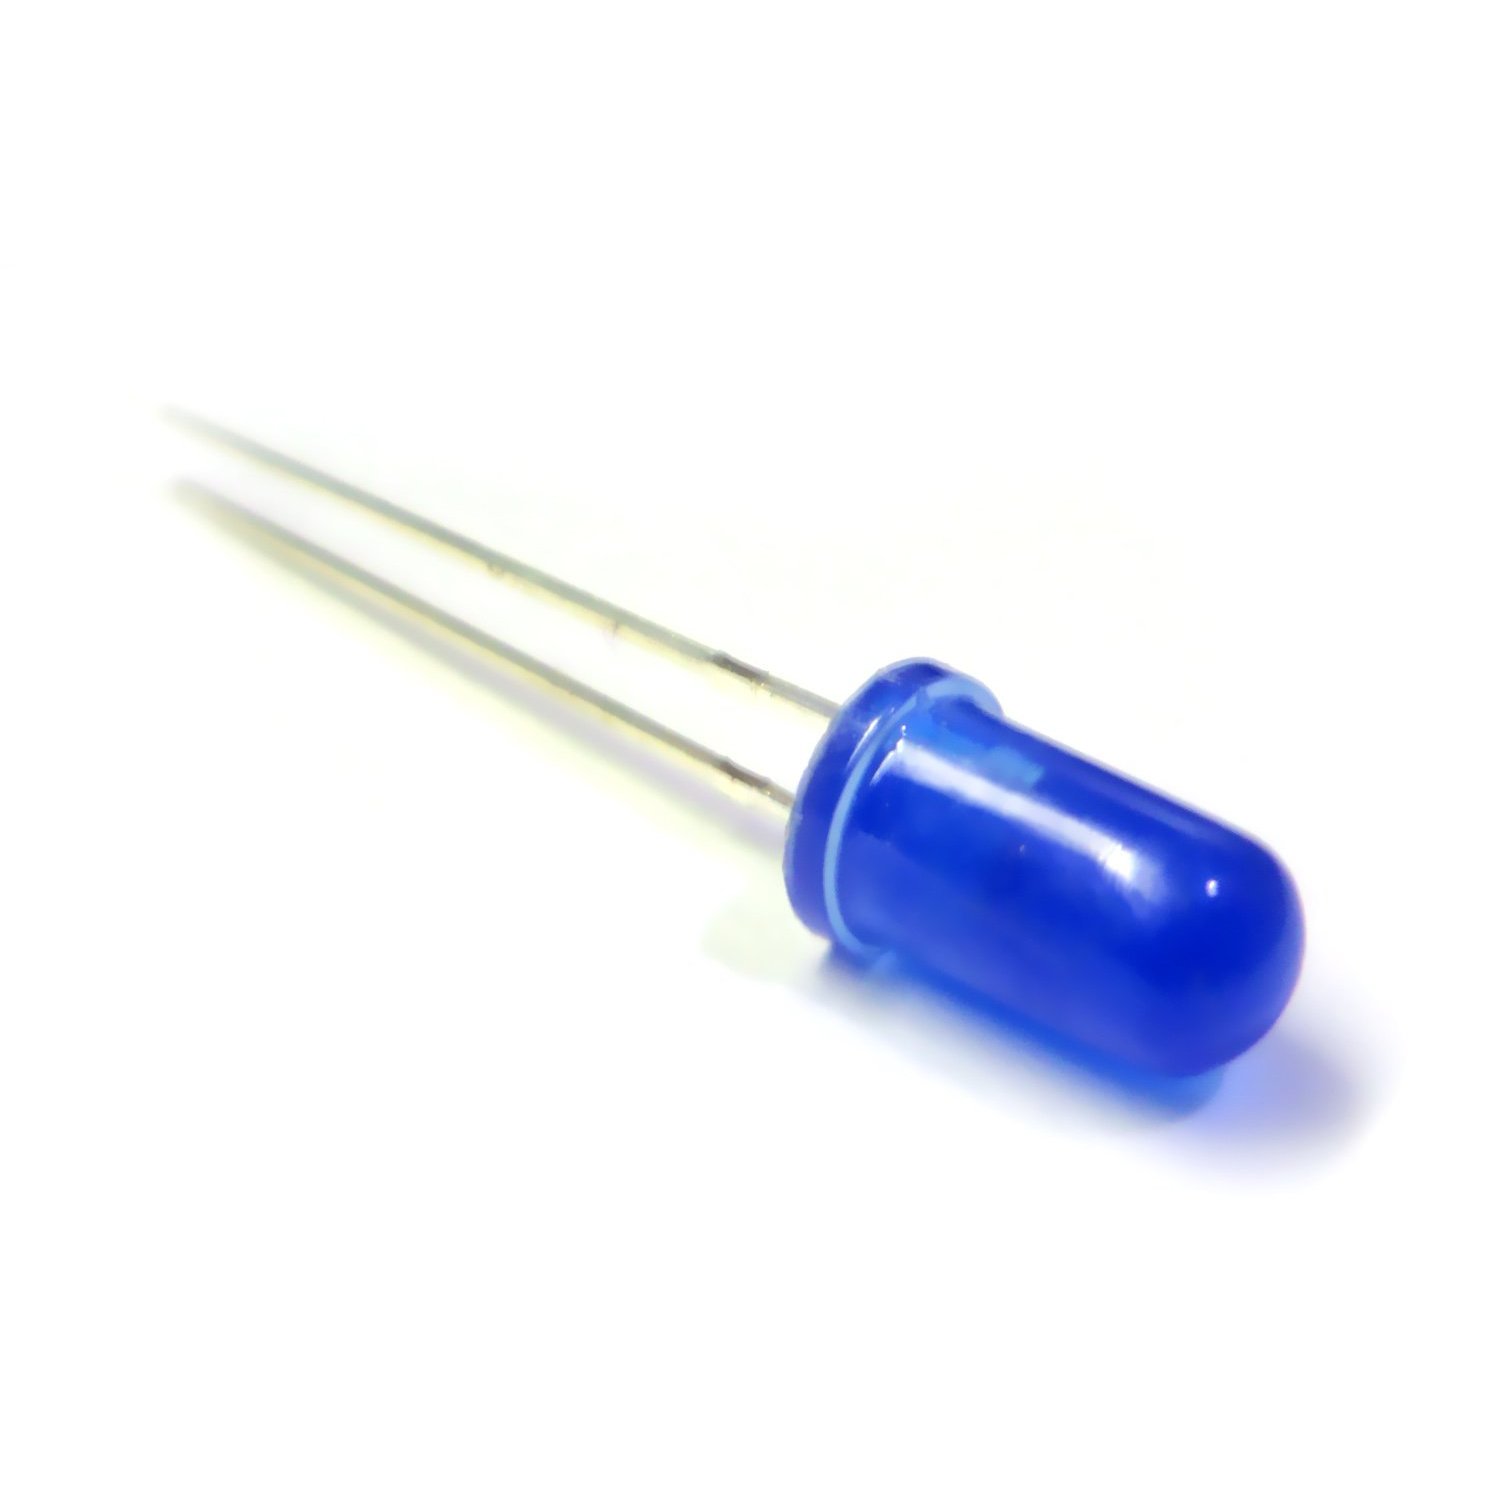
- Diameter: 5 mm
- Typical Operating Voltage:
- Red: 1.8–2.2 V
- Yellow: 2.0–2.2 V
- Green: 2.0–3.2 V
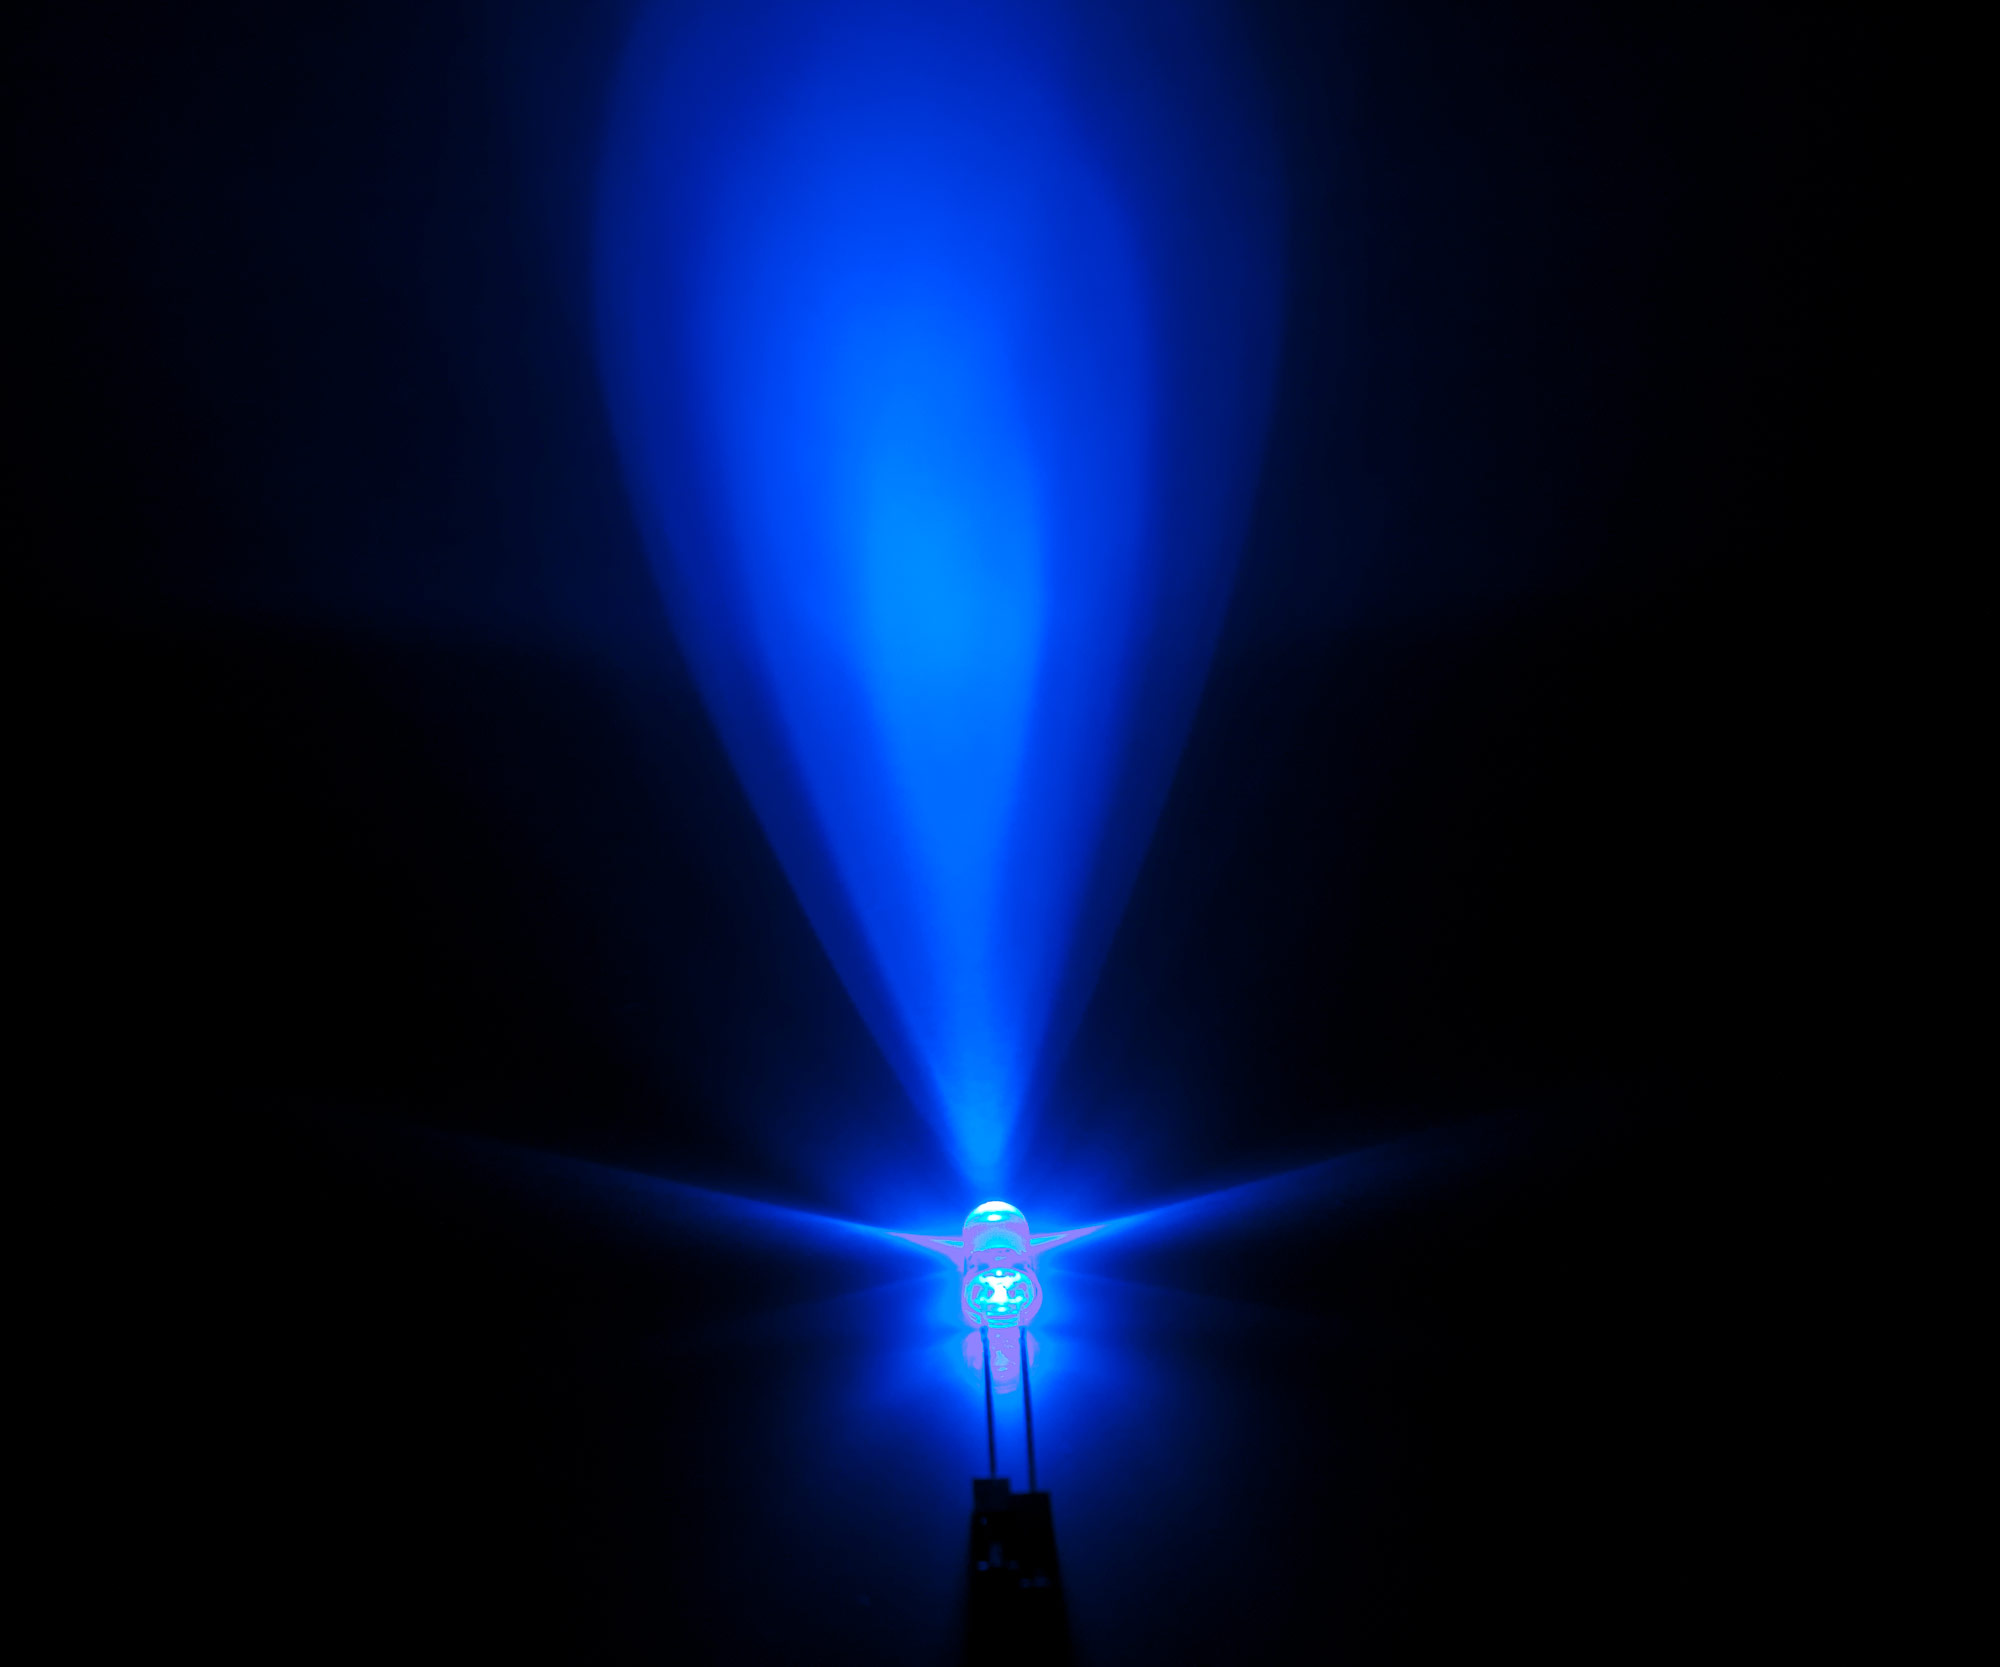
- Blue: 3.0–3.4 V
- White: 3.0–3.4 V
- Recommended Current: 10–20 mA
- Polarity: Anode (positive, longer leg) and Cathode (negative, shorter leg)
🎨 Available Colors
- Green LED: Used to indicate active or OK status.
- Red LED: Symbolizes warnings, errors, or power.
- White LED: For illumination or neutral signaling.
- Yellow LED: Attention or standby status.
- Blue LED: Modern, often used for power-on or special status.
🛠️ Guide to use with Arduino
🔧 Required components
- Arduino UNO (or compatible)
- Resistors 220Ω or 330Ω
- 5 mm LEDs (color of choice)
- Breadboard
- Jumper wires
📈 Connection diagram (single LED)
Arduino PIN (es. 13) ---> Resistenza (220Ω) ---> Anodo LED
                                      |
                                  Catodo ---> GND
- Connect the long leg of the LED (anode) through a 220Ω resistor to an Arduino digital pin.
- Connect the short leg (cathode) to the GND of Arduino.
💻 Example code: turn on an LED
// Pin a cui è collegato il LED
int ledPin = 13;

void setup() {
  pinMode(ledPin, OUTPUT); // imposta il pin come uscita
}

void loop() {
  digitalWrite(ledPin, HIGH); // accende il LED
  delay(1000);                // attende 1 secondo
  digitalWrite(ledPin, LOW);  // spegne il LED
  delay(1000);                // attende 1 secondo
}
🧪 Example: turn on 5 LEDs of different colors
⚙️ Connection
| LED | Arduino PIN | Resistor |
|---|---|---|
| Red | 2 | 220Ω |
| Green | 3 | 220Ω |
| Yellow | 4 | 220Ω |
| Blue | 5 | 330Ω |
| White | 6 | 330Ω |
🔤 Arduino Code for LED Sequence
int ledRosso = 2;
int ledVerde = 3;
int ledGiallo = 4;
int ledBlu = 5;
int ledBianco = 6;

void setup() {
  pinMode(ledRosso, OUTPUT);
  pinMode(ledVerde, OUTPUT);
  pinMode(ledGiallo, OUTPUT);
  pinMode(ledBlu, OUTPUT);
  pinMode(ledBianco, OUTPUT);
}

void loop() {
  digitalWrite(ledRosso, HIGH);
  delay(500);
  digitalWrite(ledRosso, LOW);

  digitalWrite(ledVerde, HIGH);
  delay(500);
  digitalWrite(ledVerde, LOW);

  digitalWrite(ledGiallo, HIGH);
  delay(500);
  digitalWrite(ledGiallo, LOW);

  digitalWrite(ledBlu, HIGH);
  delay(500);
  digitalWrite(ledBlu, LOW);

  digitalWrite(ledBianco, HIGH);
  delay(500);
  digitalWrite(ledBianco, LOW);
}
📘 Practical Tips
- Use different resistors for each color to avoid damage: blue and white require higher values.
- If you want more control, consider using transistors o LED drivers for higher current.
- You can combine these LEDs to create a traffic light, status indicator, simple light effects.
🧠 Advanced Experiments
- PWM (Pulse Width Modulation): Use
analogWrite(pin, valore)to adjust brightness. - Sensors: Turn on LEDs in response to light, temperature, or motion sensors.
- Light effects: Create breathing, random flashing, or music-synced effects.
Perfect! Here are 3 advanced examples of using 5mm LEDs with Arduino:
🚦 1. Traffic Light with LEDs
🔧 Components
- 1 Red LED (Pin 2)
- 1 Yellow LED (Pin 3)
- 1 Green LED (Pin 4)
- 3 Resistors (220Ω)
- Arduino, breadboard, jumper
💡 Schematic
Connect the LEDs through resistors to pins 2, 3, 4 respectively and GND.
🧠 Code
int ledRosso = 2;
int ledGiallo = 3;
int ledVerde = 4;

void setup() {
  pinMode(ledRosso, OUTPUT);
  pinMode(ledGiallo, OUTPUT);
  pinMode(ledVerde, OUTPUT);
}

void loop() {
  digitalWrite(ledRosso, HIGH);
  delay(3000); // 3 secondi
  digitalWrite(ledRosso, LOW);

  digitalWrite(ledGiallo, HIGH);
  delay(1000); // 1 secondo
  digitalWrite(ledGiallo, LOW);

  digitalWrite(ledVerde, HIGH);
  delay(3000); // 3 secondi
  digitalWrite(ledVerde, LOW);
}
🔘 2. LED Toggle with Button (on/off)
🔧 Components
- 1 LED (e.g., Blue, Pin 8)
- 1 LED Resistor (330Ω)
- 1 Button (Pin 7)
- 1 Pull-down Resistor (10kΩ)
- Arduino
🔌 Connection
- LED (Anode to Pin 8 through resistor, Cathode to GND)
- Button between Pin 7 and 5V, with pull-down between Pin 7 and GND
🧠 Code
int ledPin = 8;
int buttonPin = 7;
bool statoLED = false;
bool statoPrecedente = false;

void setup() {
  pinMode(ledPin, OUTPUT);
  pinMode(buttonPin, INPUT);
}

void loop() {
  bool lettura = digitalRead(buttonPin);
  if (lettura == HIGH && statoPrecedente == LOW) {
    statoLED = !statoLED;
    digitalWrite(ledPin, statoLED);
    delay(200); // debounce
  }
  statoPrecedente = lettura;
}
📱 3. LED Control via Bluetooth (from App)
🔧 Components
- LED (Red – Pin 10)
- HC-05 Bluetooth module (TX/RX)
- Arduino UNO
📲 Recommended App: Serial Bluetooth Terminal (Android) or similar
🧠 Connection
- Red LED at Pin 10 (through 220Ω resistor)
- HC-05:
- TX ➝ RX (Pin 0 of Arduino)
- RX ➝ TX (Pin 1 of Arduino, with voltage divider resistor)
- VCC ➝ 5V
- GND ➝ GND
🔥 Note: disconnect TX/RX when uploading sketch to Arduino.
🧠 Code
int ledPin = 10;
char comando;

void setup() {
  pinMode(ledPin, OUTPUT);
  Serial.begin(9600);
}

void loop() {
  if (Serial.available()) {
    comando = Serial.read();
    if (comando == '1') {
      digitalWrite(ledPin, HIGH);
    } else if (comando == '0') {
      digitalWrite(ledPin, LOW);
    }
  }
}
📲 Commands from app
- Send 1 ➝ LED on
- Send 0 ➝ LED off
Perfect! The effect “breathing” (also known as fading LED) simulates the behavior of a light that slowly turns on and off, just like if it were “breathing”. It’s a great exercise to learn about PWM (Pulse Width Modulation) with Arduino.
🌬️ Project: LED with breathing effect (fading)
🔧 Required Components
- 1 LED (preferably White, Blue or Green for a nice visual effect)
- 1 Resistor 220–330Ω
- Arduino UNO
- Breadboard and jumpers
🔌 Connection Diagram
| Component | Connection |
|---|---|
| LED Anode | Pin 9 (PWM) |
| LED Cathode | GND (via resistor 220Ω) |
Pin 9 of Arduino supports PWM (you can see it with the symbol
~).
💻 Arduino Code: breathing effect
int ledPin = 9;       // Pin PWM
int luminosita = 0;   // Valore PWM (0-255)
int variazione = 5;   // Incremento/decremento luminosità

void setup() {
  pinMode(ledPin, OUTPUT);
}

void loop() {
  analogWrite(ledPin, luminosita); // imposta la luminosità

  luminosita += variazione;        // cambia luminosità

  // Inverti direzione al raggiungimento di estremi
  if (luminosita <= 0 || luminosita >= 255) {
    variazione = -variazione;
  }

  delay(30); // tempo tra i cambi (più alto = respiro più lento)
}
🧪 Additional experiments
- Modify
delay(30)to make the breathing slower or faster. - Change
variazionea1for an even softer effect. - Try with a RGB LED to fade through multiple colors (want an RGB example? I can give you one!)
🎨 Variant: “sinusoidal breathing” (more natural)
For a more realistic effect, you can use the sine function to model the brightness (requires the library math.h on some Arduino versions):
int ledPin = 9;
float x = 0;

void setup() {
  pinMode(ledPin, OUTPUT);
}

void loop() {
  float valore = (sin(x) + 1.0) * 127.5; // da 0 a 255
  analogWrite(ledPin, int(valore));
  x += 0.05;
  if (x > TWO_PI) x = 0;
  delay(20);
}
This creates a softer “breathing” effect, similar to that of Apple devices or smart devices.
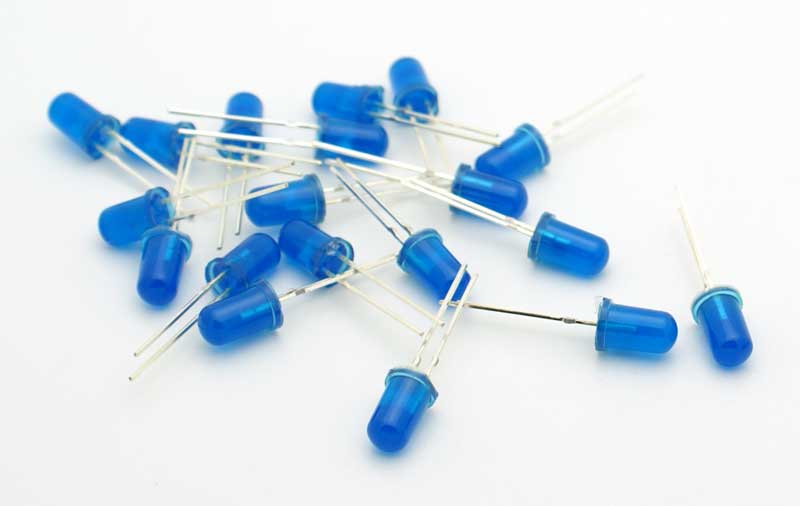
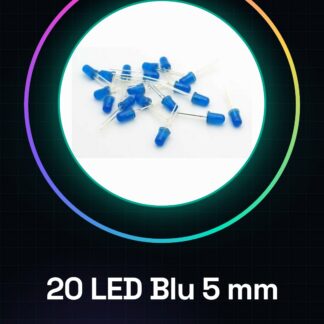
Tutorial: How to use 20 Blue LED Pieces
These blue LEDs are ideal for lighting and signal projects. Useful for beginners and designers.
What you need
- 20 pieces blue 5 mm LEDs
- Suitable resistor (check the datasheet)
- Arduino or similar microcontroller
- LED connector (check the datasheet)
Steps
- 1. Check the maximum allowed current (check the datasheet).
- 2. Choose a suitable resistor (check the datasheet).
- 3. Connect an LED to a digital pin of the Arduino.
- 4. Connect the resistor between the pin and ground.
- 5. Load the example code to blink the LED.
- 6. Repeat for all LEDs.
- 7. Check connections to avoid short circuits.
- 8. Test your circuit.
Example code
```void setup() {} void loop() { for (int i = 0; i < 20; i++) { digitalWrite(i, HIGH); delay(100); digitalWrite(i, LOW); } }```Mini project
Create an emergency signal with 5 blinking LEDs.
Common mistakes
- Connecting an LED without a resistor can damage it.
- Do not use resistors that are too large or too small.
- Ensure the maximum current is not exceeded.
- Check the multimeter of the LEDs before connection.
Recommended accessories
- 220 Ohm resistor
- Arduino UNO
- USB cable
- Multimeter
Frequently asked questions
How to choose a resistor?
Check the maximum current on the datasheet and choose a resistor that limits the current to a safe value.
Can I connect multiple LEDs in parallel?
Yes, but make sure the total current does not exceed the capacity of your power supply.
What is the difference between 5 mm and 3 mm LEDs?
5 mm LEDs are larger and brighter, 3 mm LEDs are smaller and less bright.
How do I check if an LED works?
With a multimeter, measure the diode. If it is open, the LED does not work.
Reviews
There are no reviews yet.