 EN
 IT Italiano
 ES Español
 FR Français
 DE Deutsch
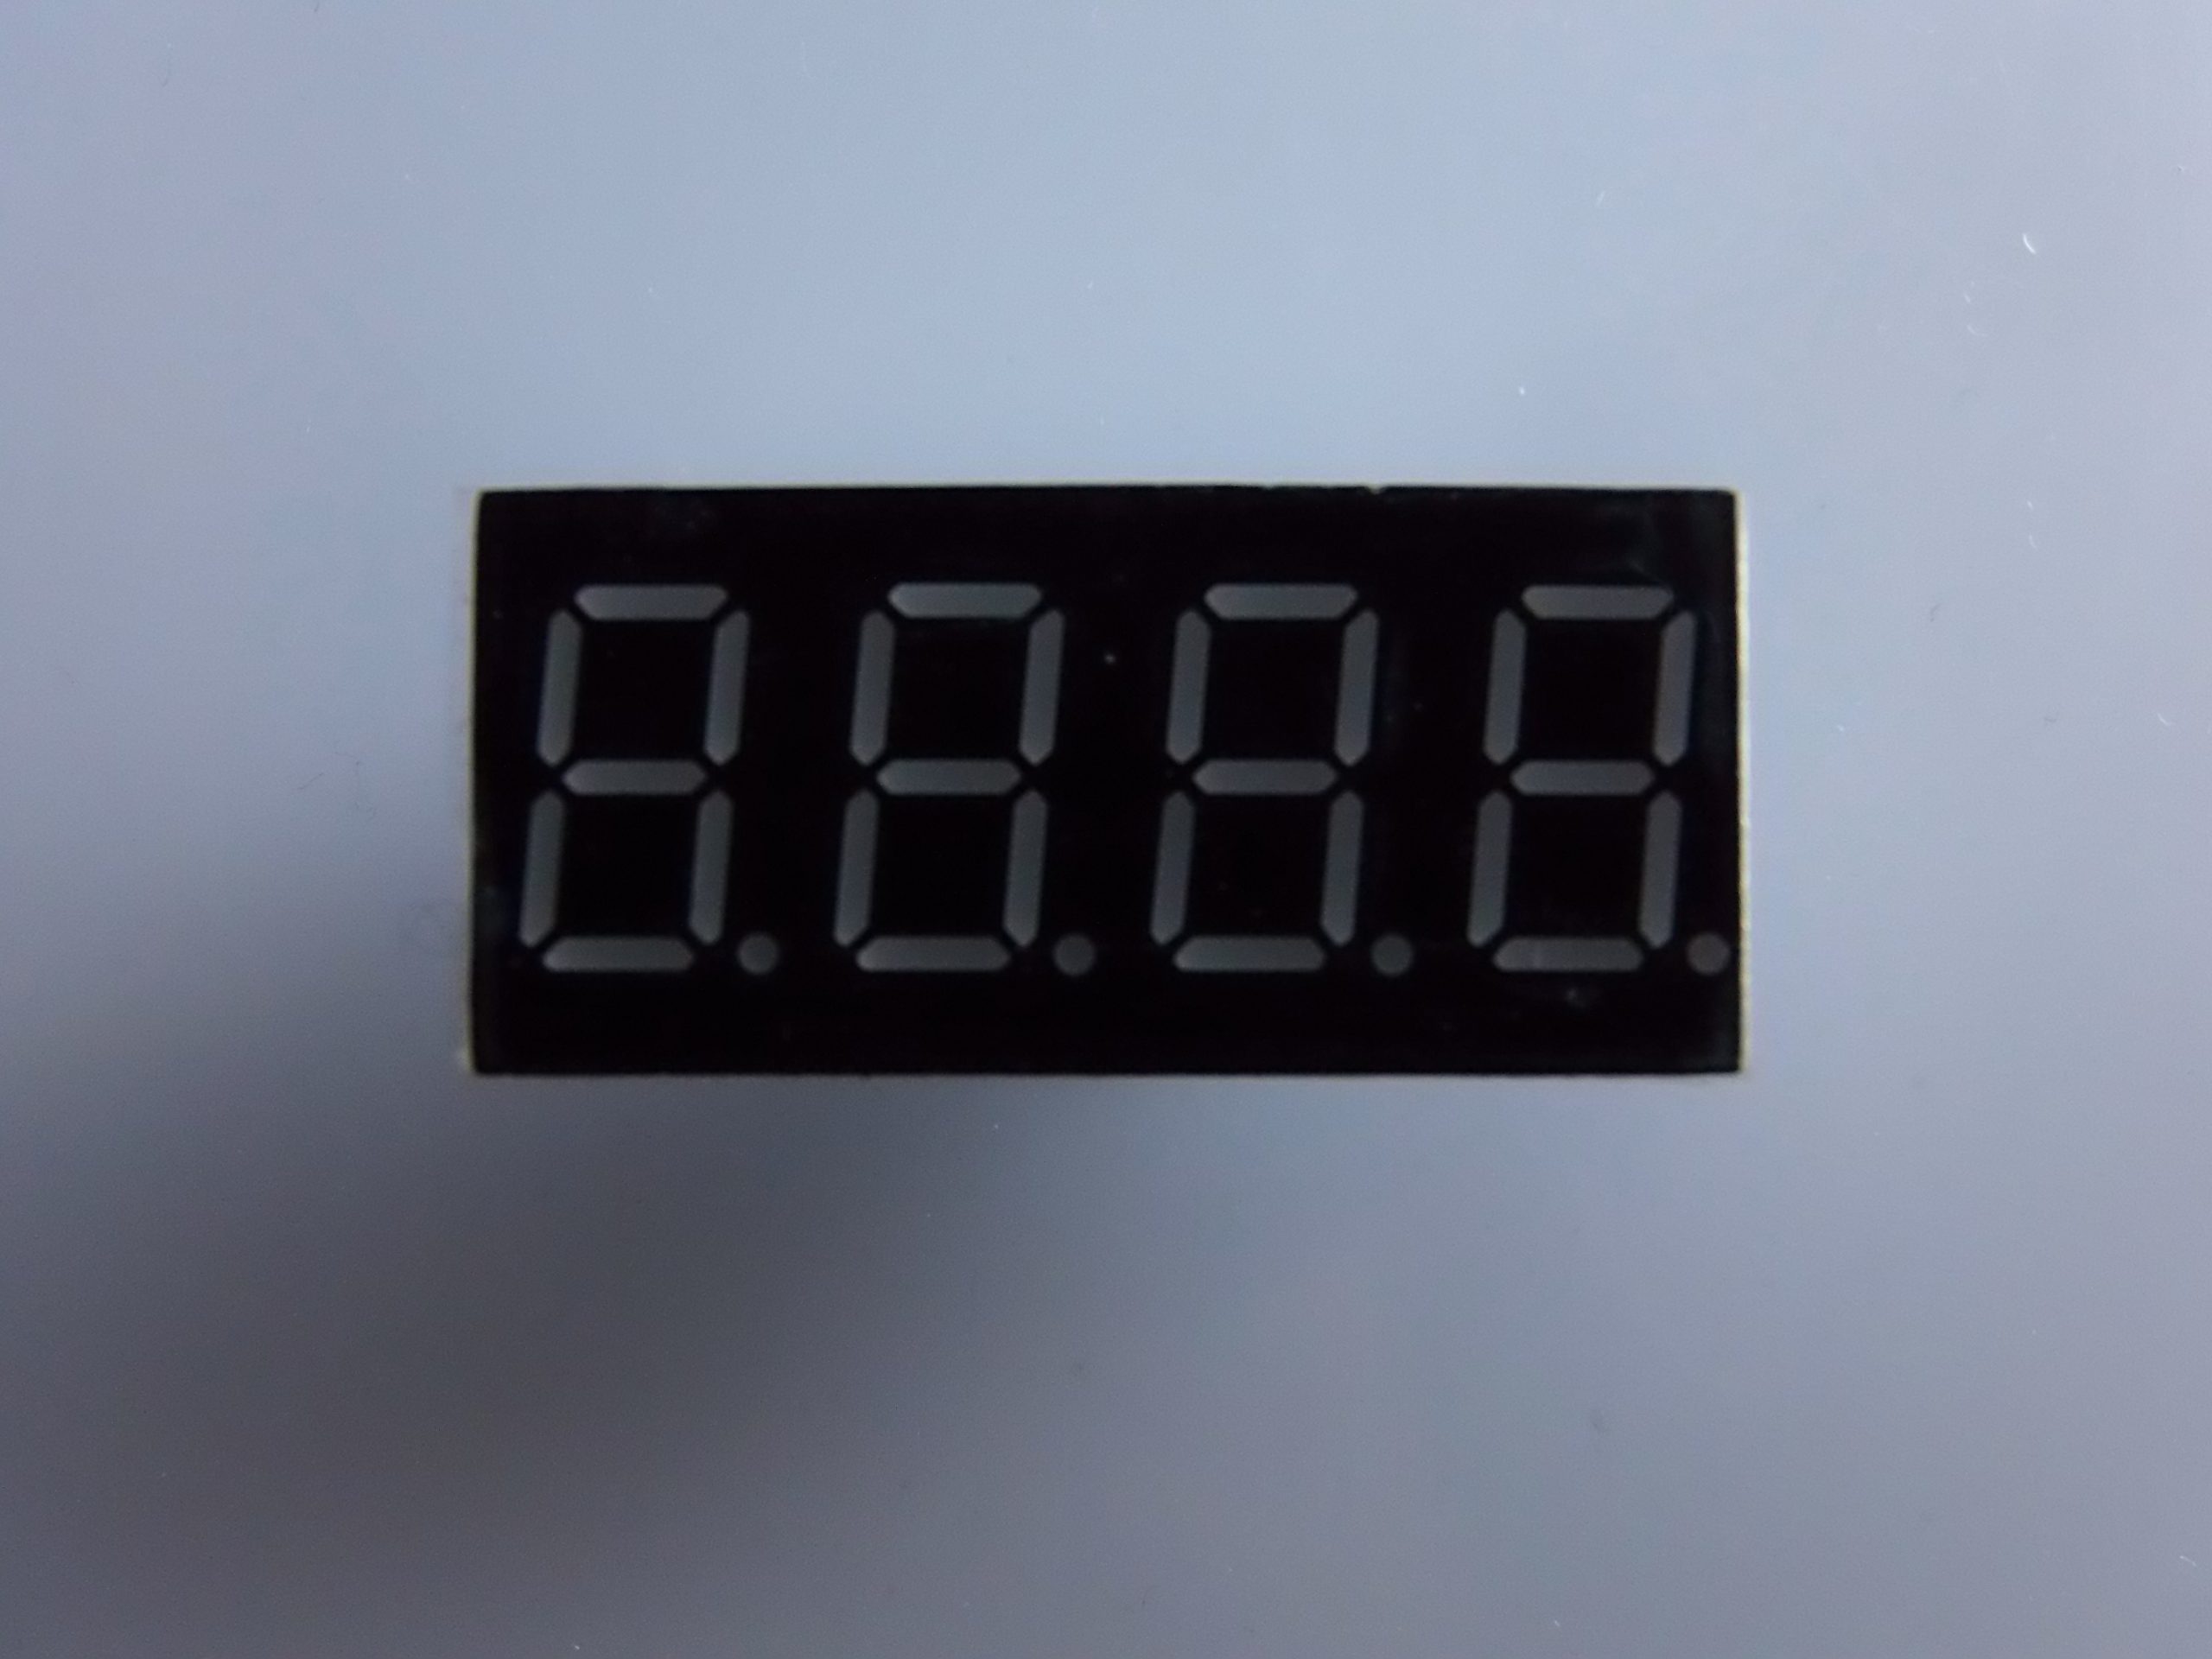
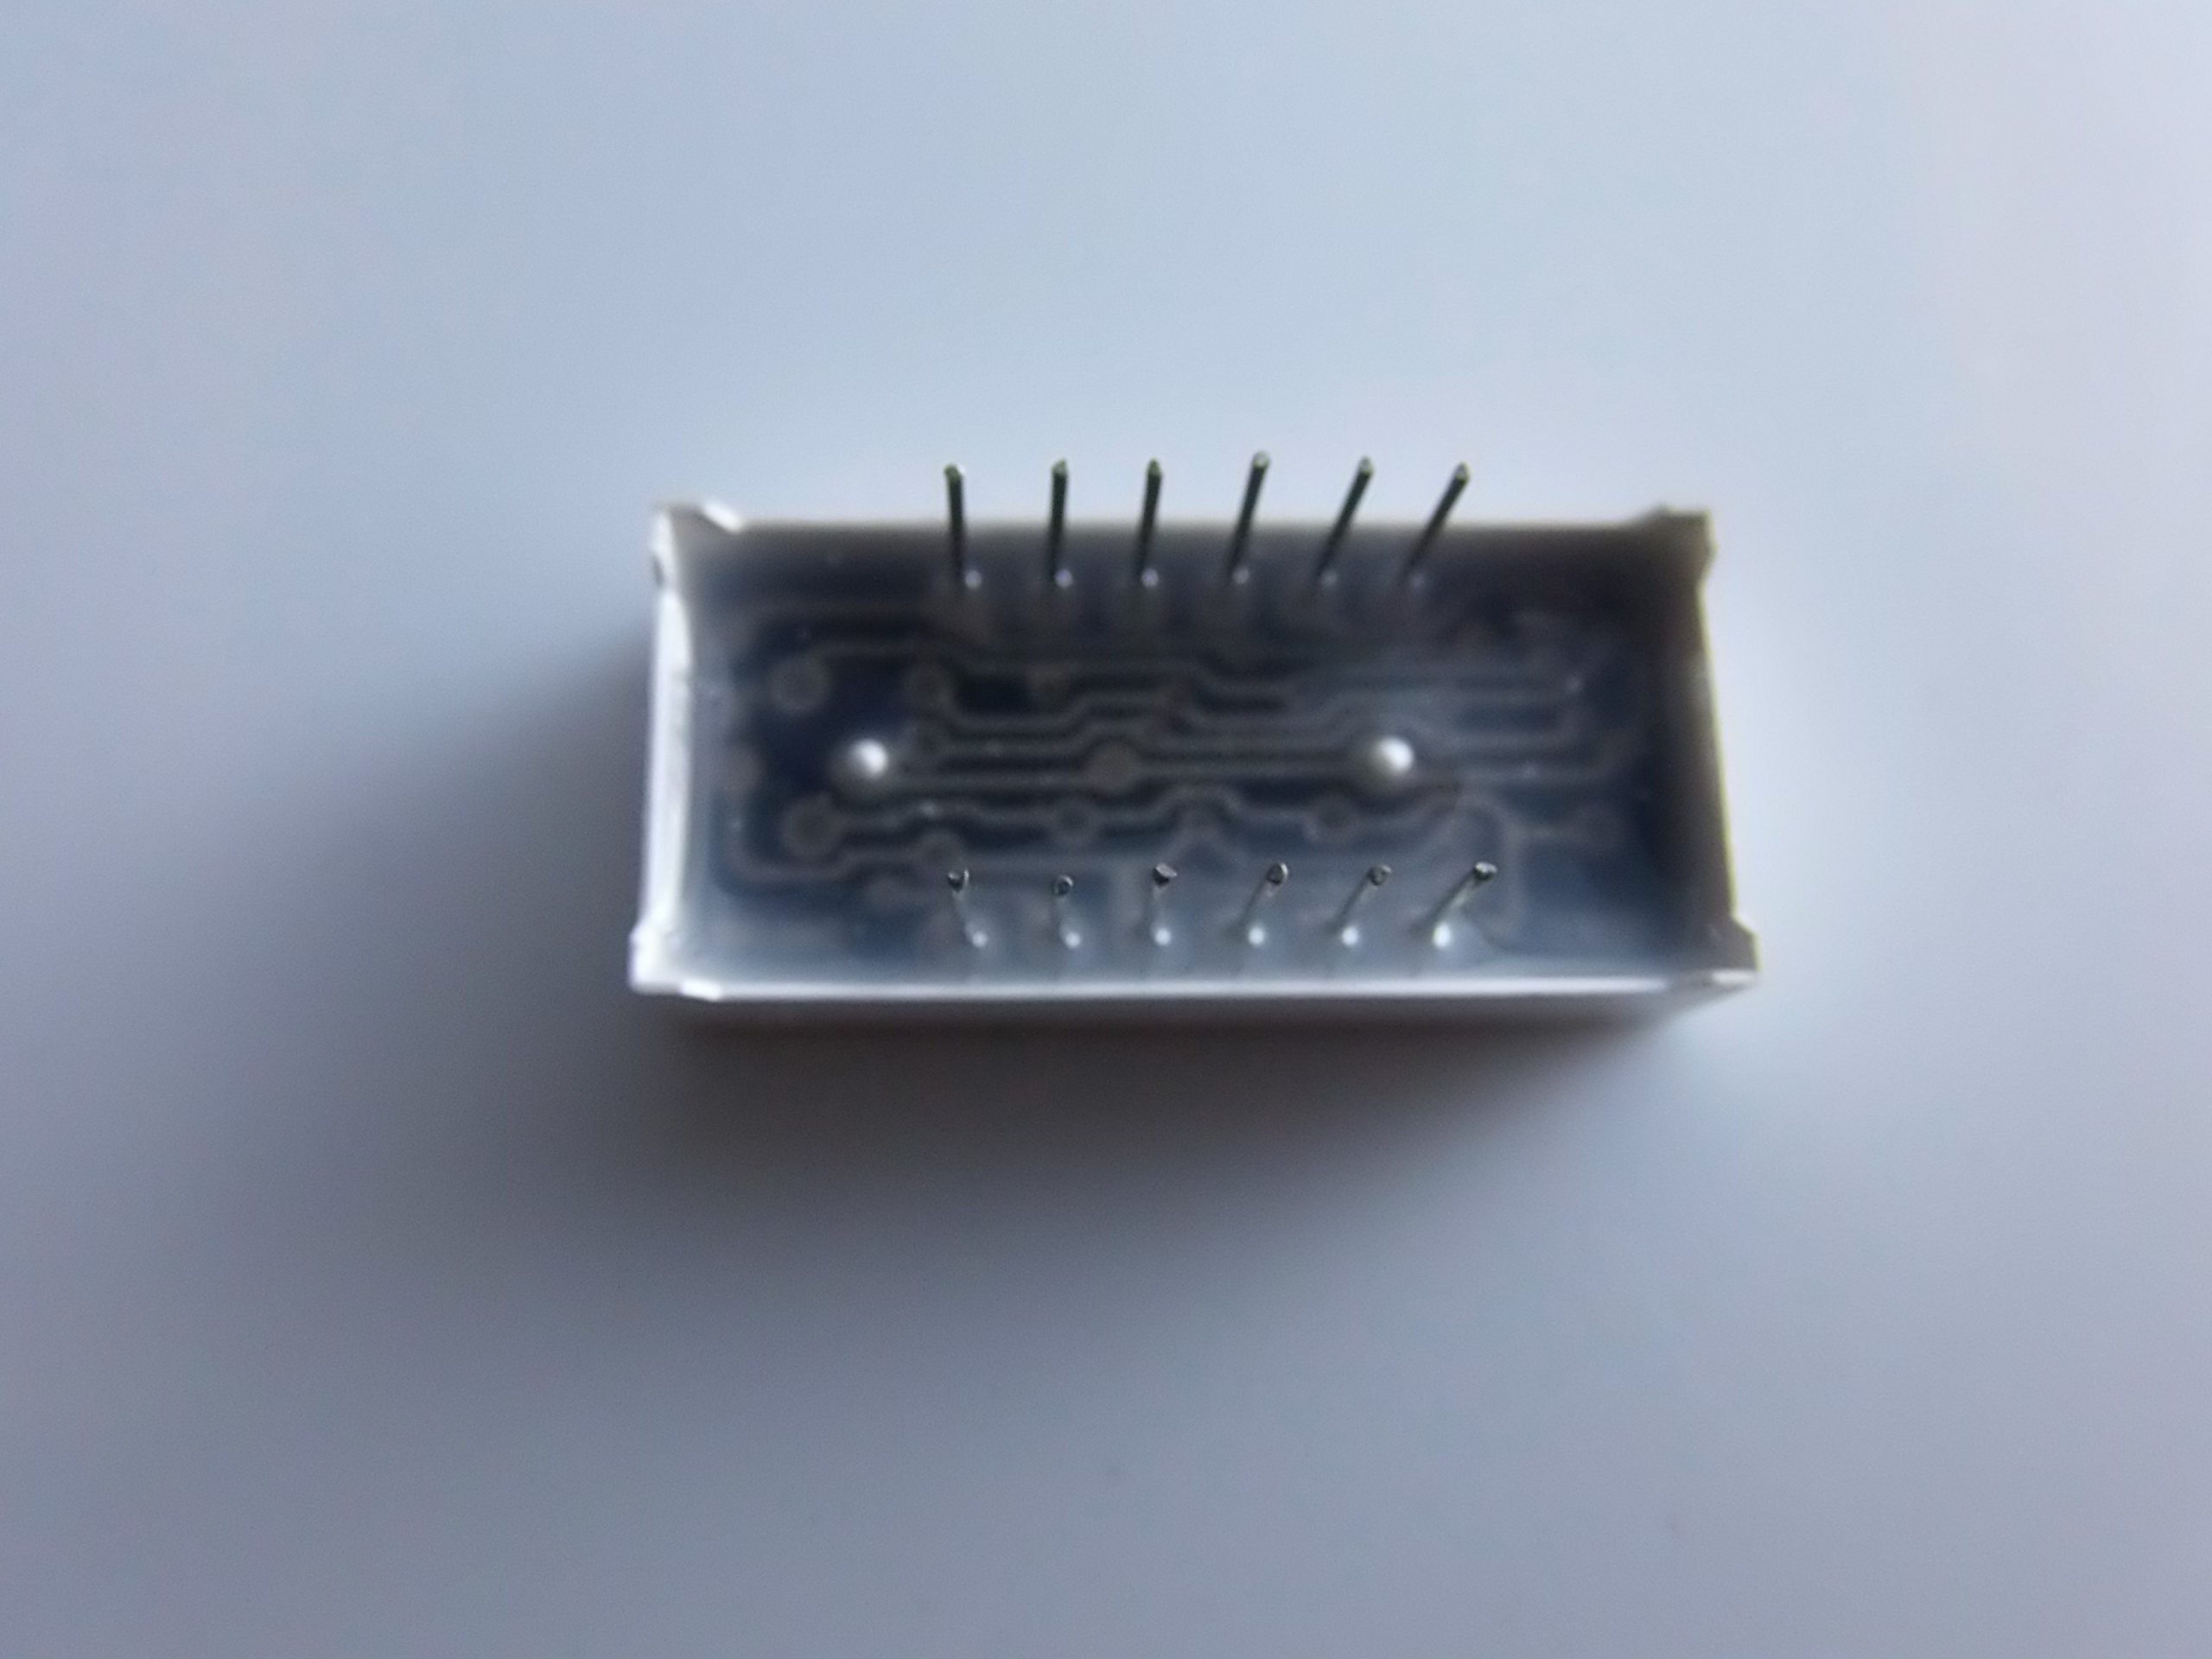
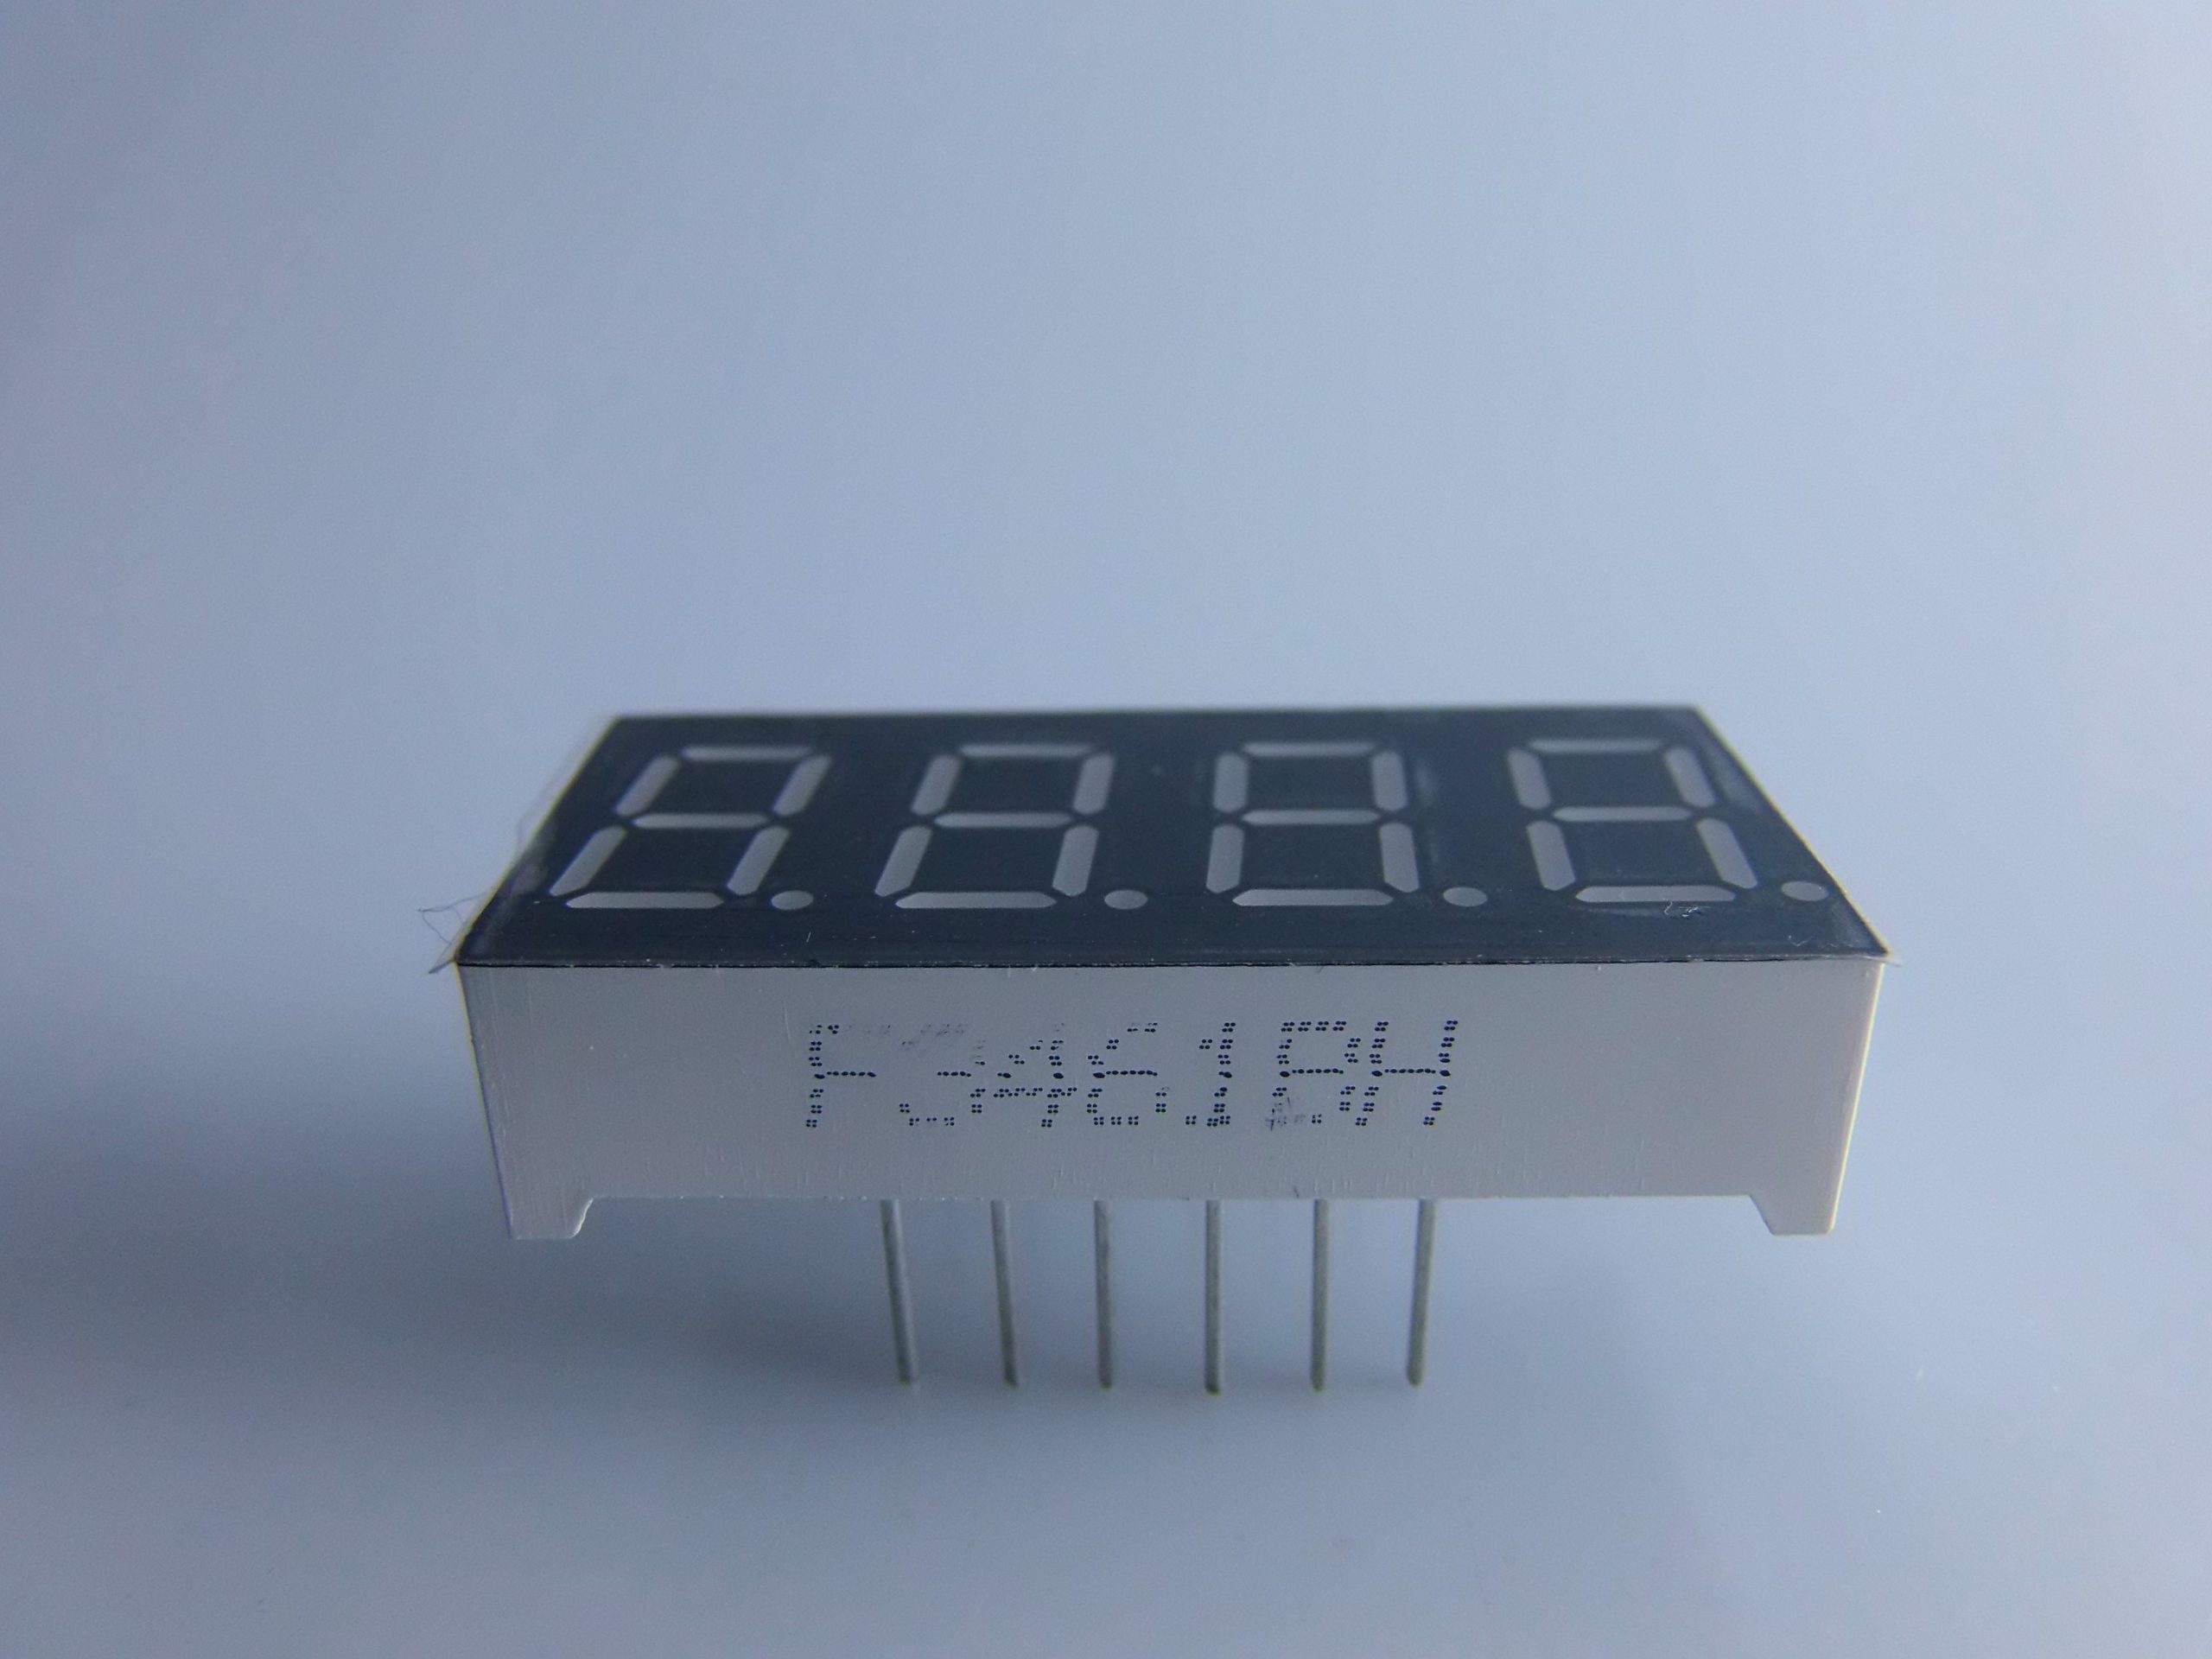
Description
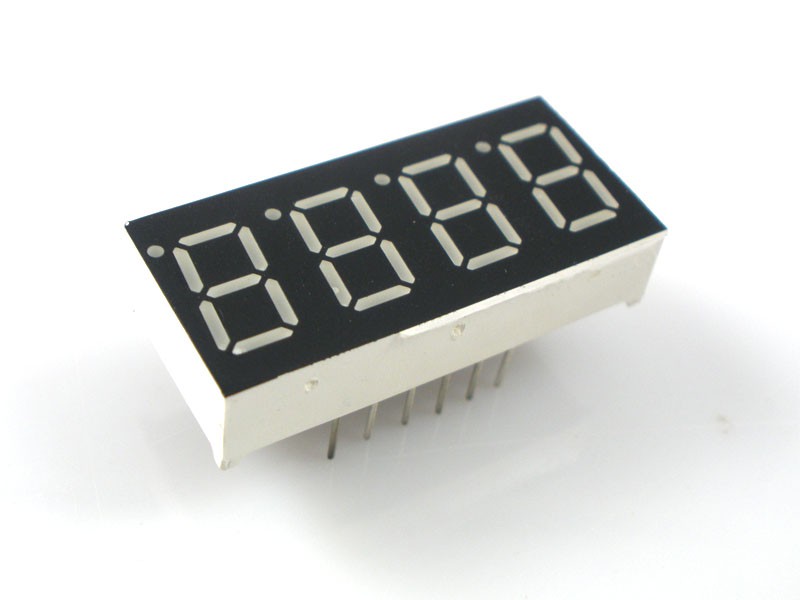
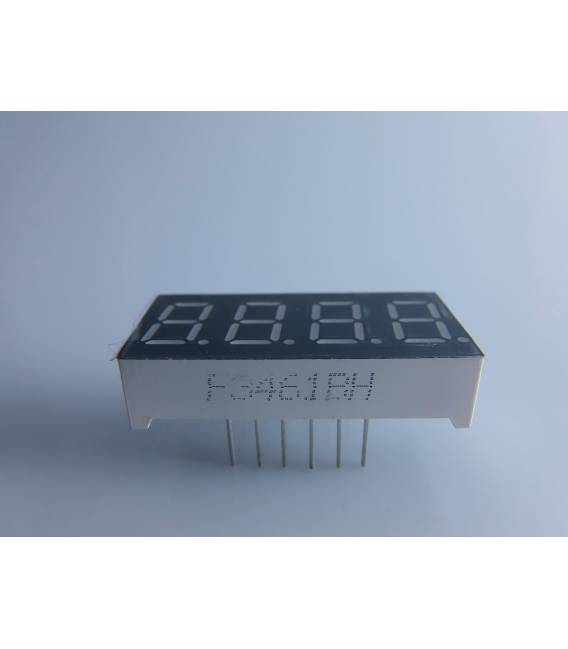
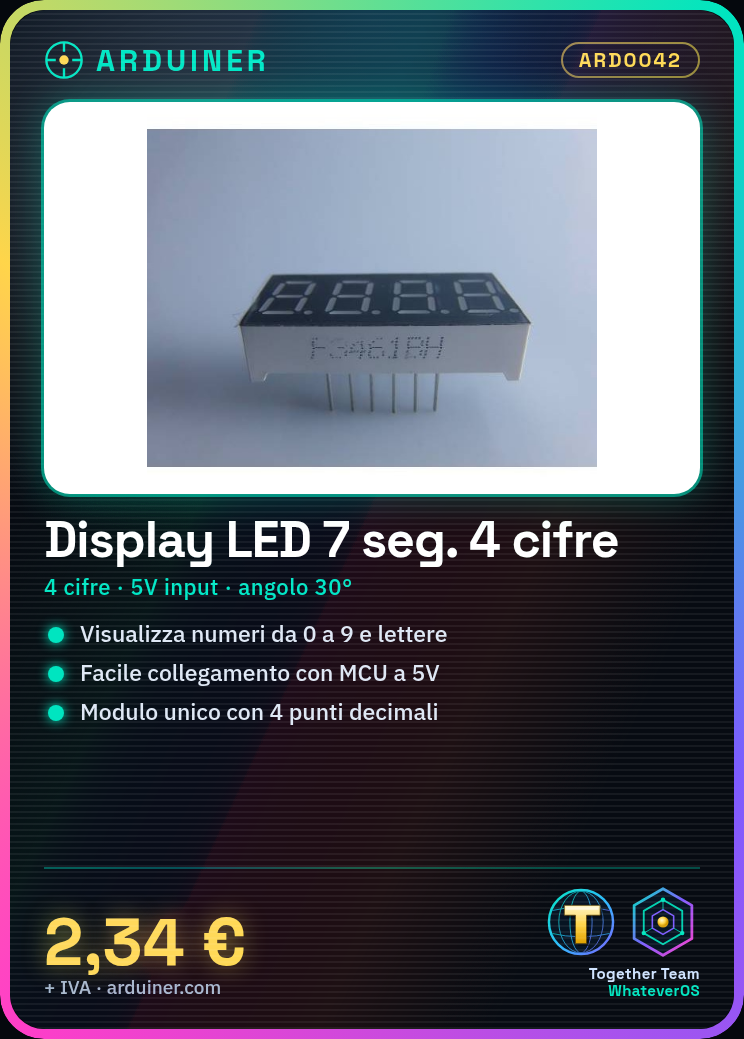
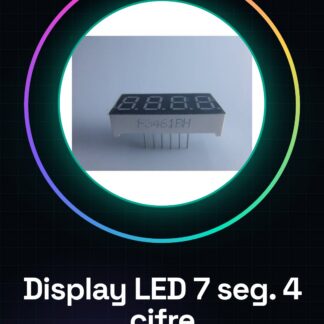
4-digit 7-segment LED display with decimal point, common anode connection, F3641BH.
Seven-segment displays are electronic devices capable of displaying numerical digits from 0 to 9, and some alphabetical letters and graphic symbols, through the illumination of combinations of seven LED segments, connected appropriately to each other to reduce the number of connections at the output.
They can be controlled using BCD encoding, through appropriate controllers (BCD to seven-segment driver) or directly connecting them to microcontrollers (MCU), demo boards like Arduino and similar. This display is a single module composed of 4 digits and 4 decimal points and can be used to display, for example in a digital instrument, the measurement of an electrical quantity.
Technical specifications:
Color: red
Viewing angle: 30°
PVC protective film: 2µm
Display thickness: 8mm
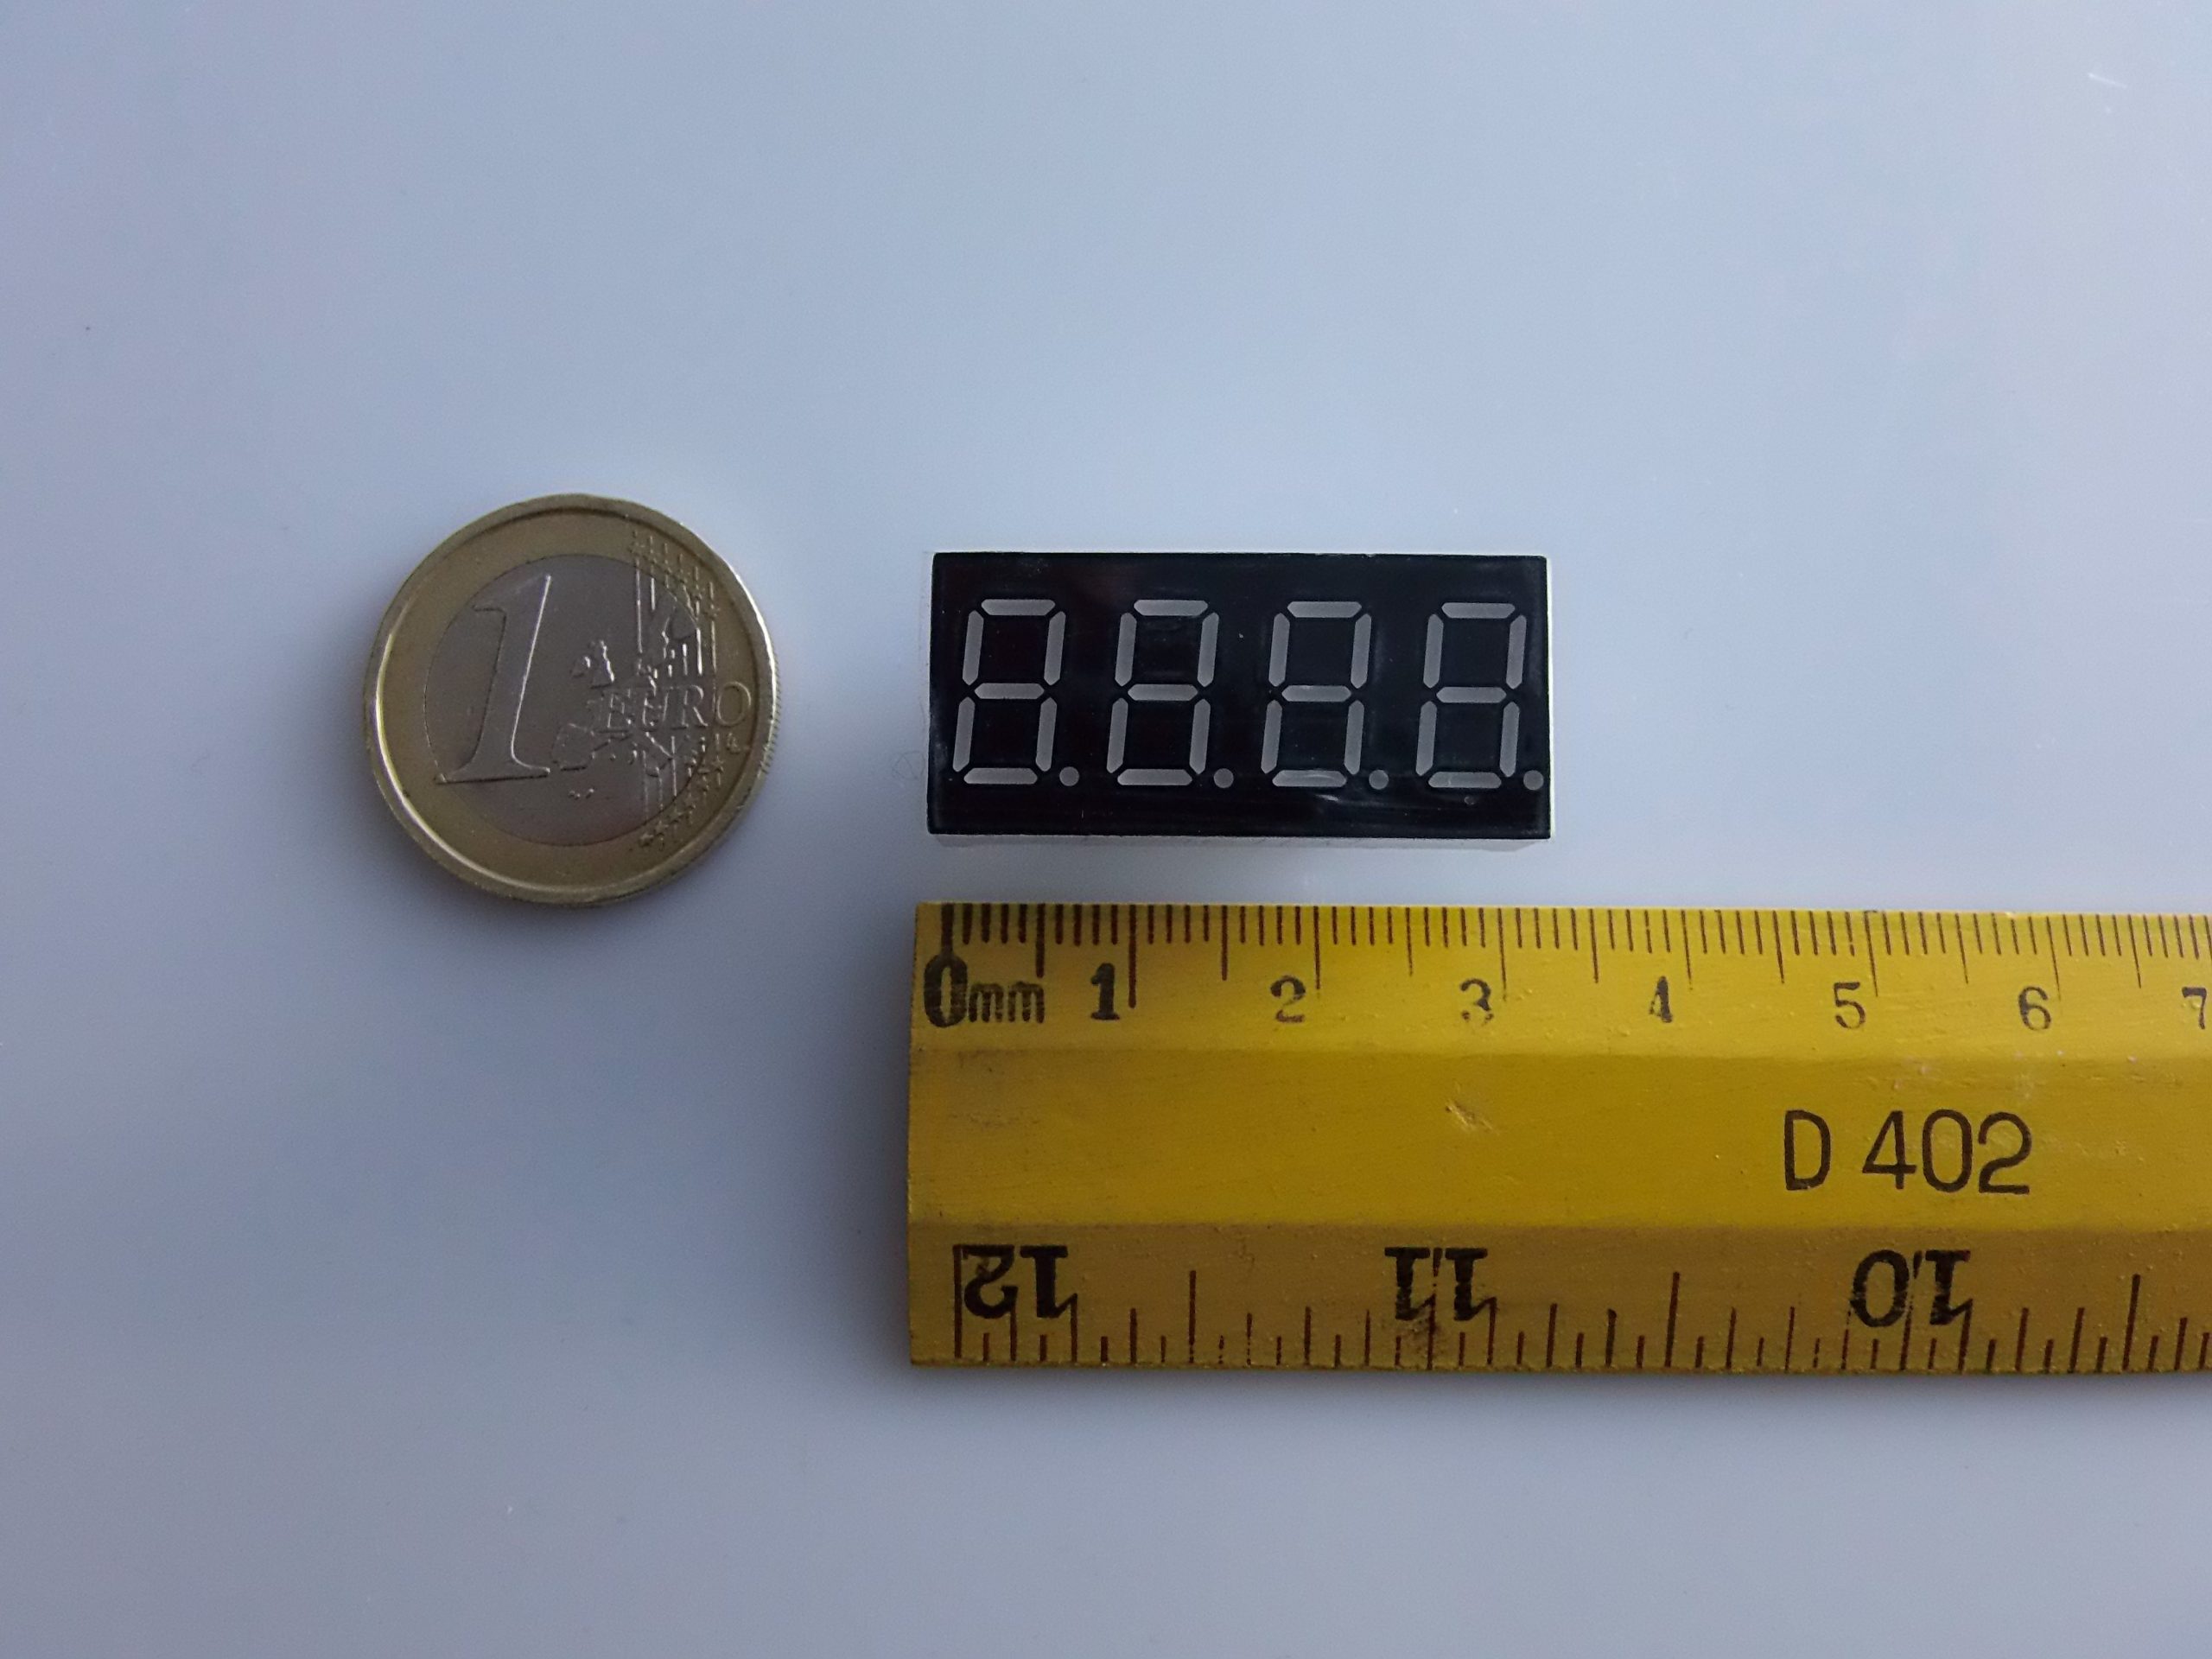
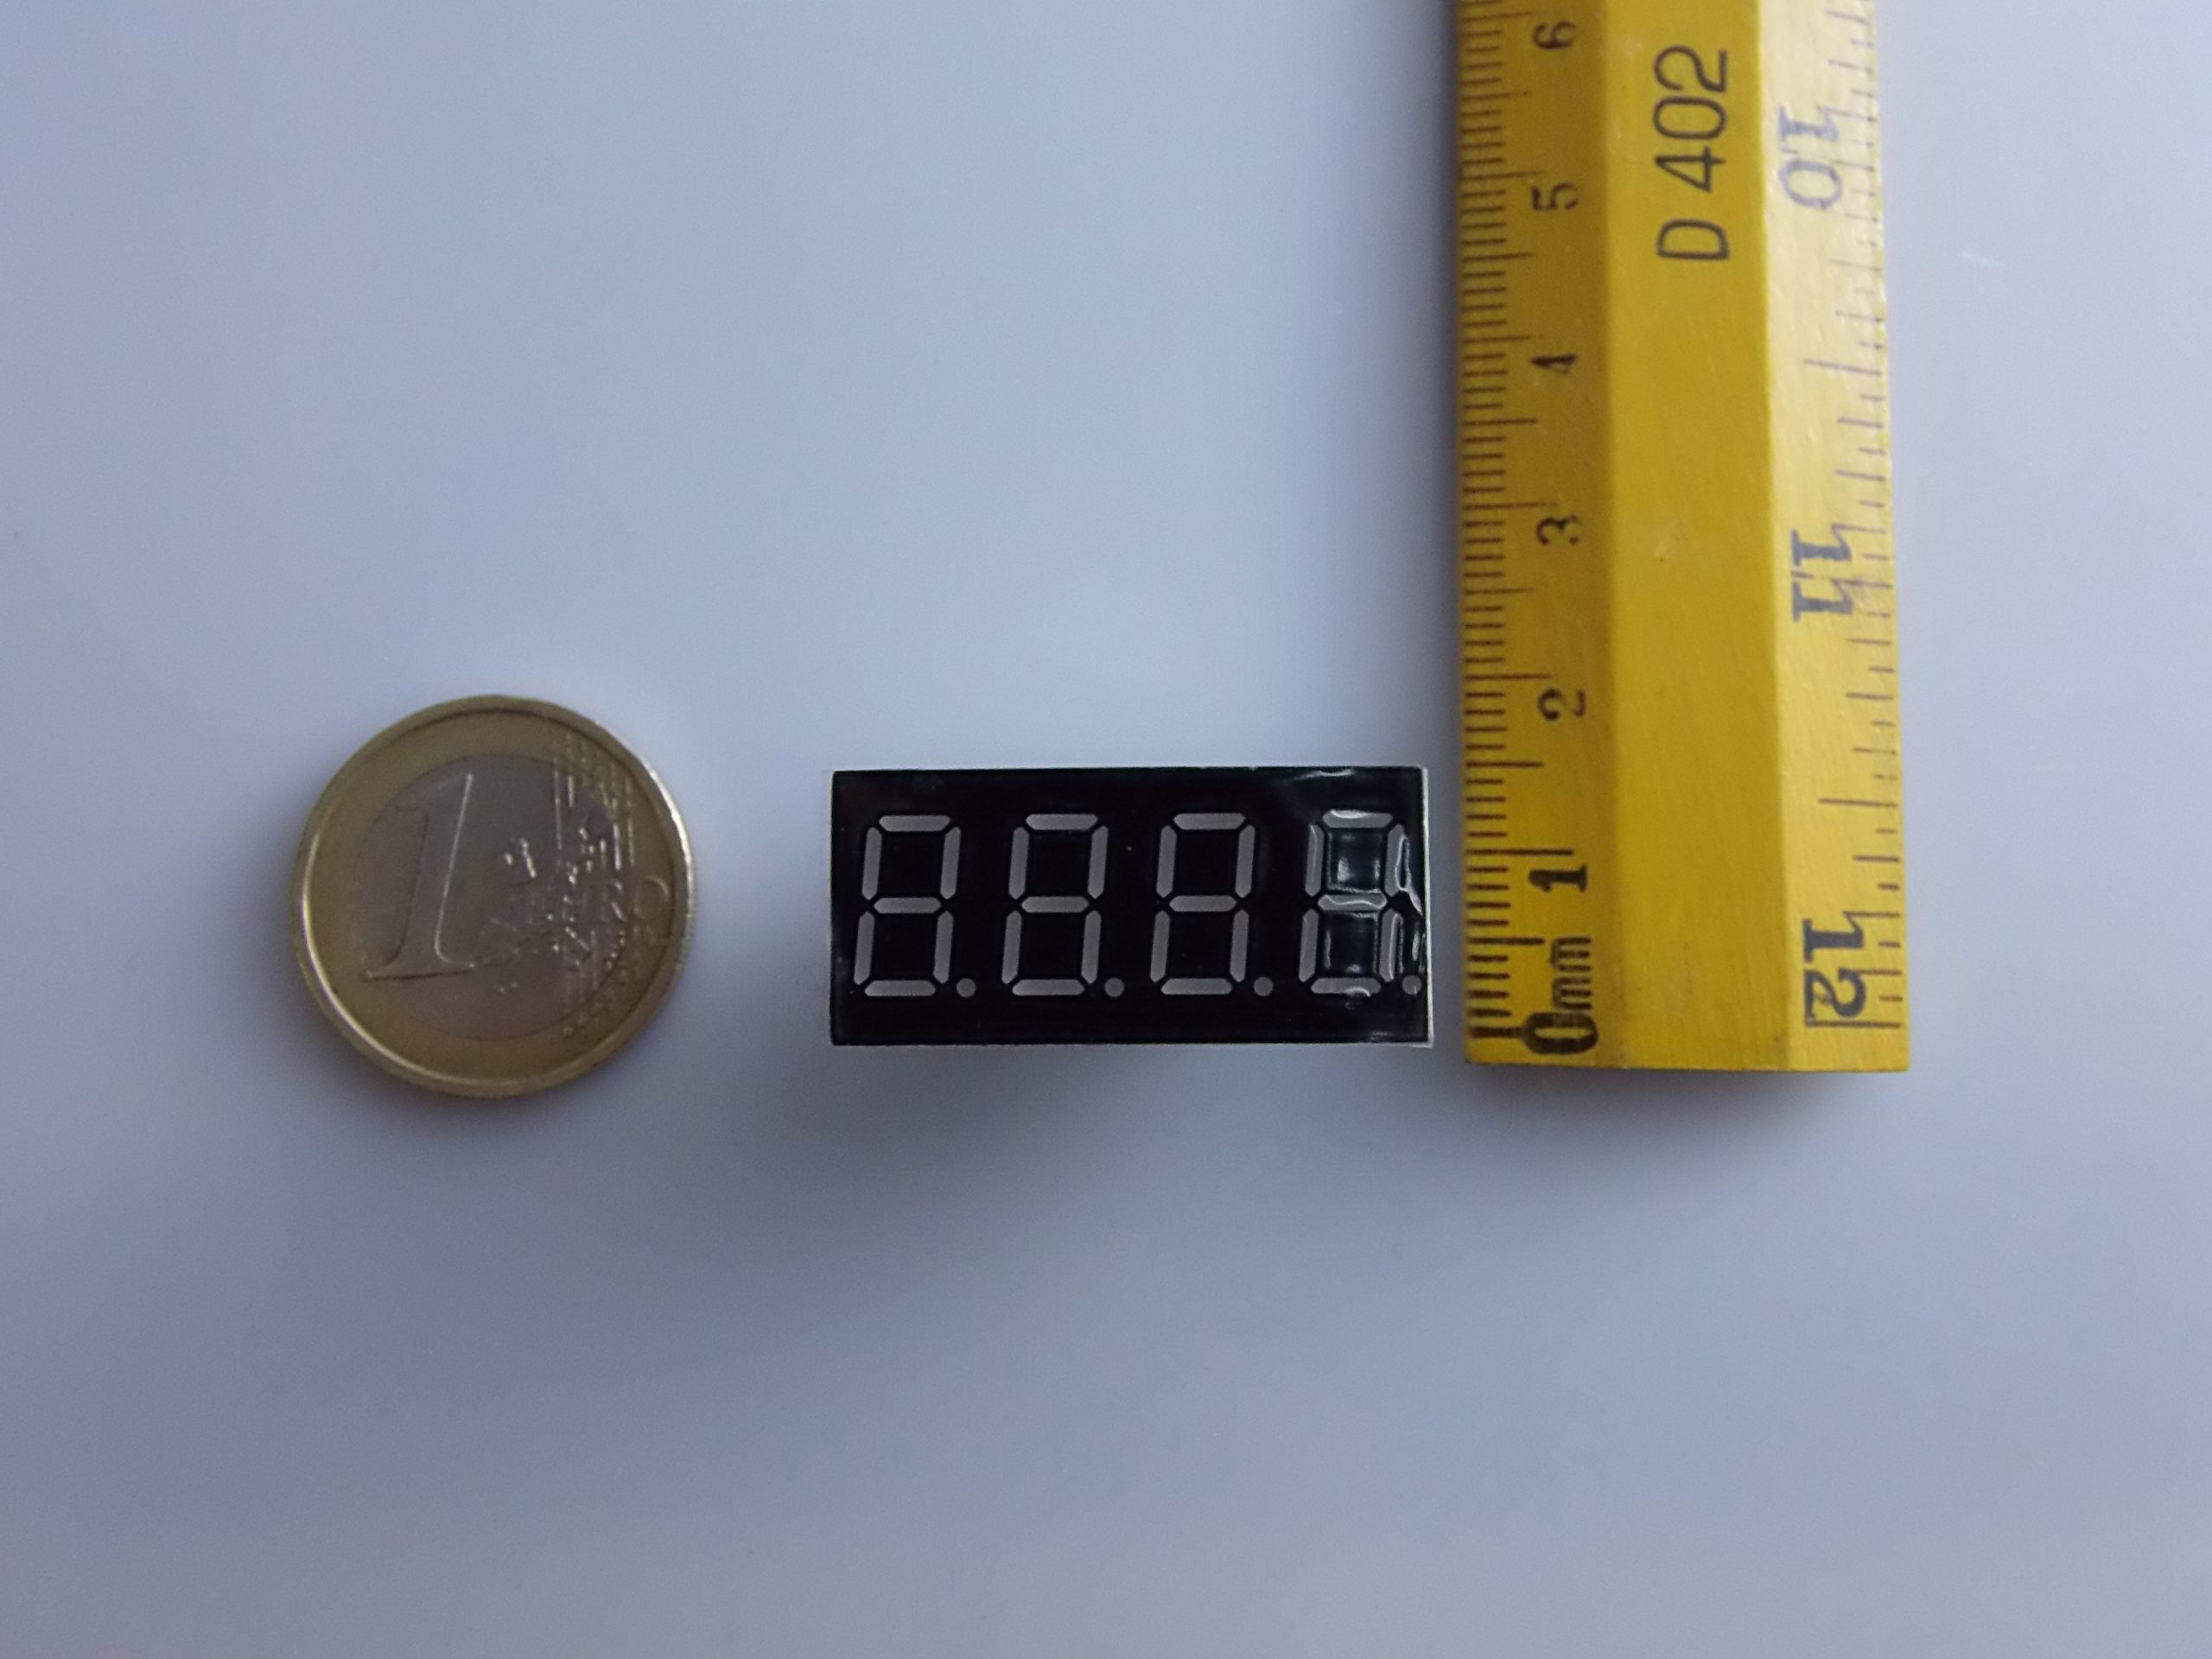
Dimensions: 50 x 19 x 8(h) mm
Connection method:
|
GENERAL |
MODEL |
7 Segment LED Super Red LED Display |
|
MATERIALS |
metal + components |
|
|
COMPATIBILITY |
ARDUINO |
|
|
ELECTRICAL COMPONENTS |
INPUT VOLTAGE |
5 V |
|
WEIGHT AND DIMENSIONS |
PRODUCT WEIGHT |
7 g |
|
PACKAGE WEIGHT |
0.09 kg |
|
|
PRODUCT DIMENSIONS (L x W x H) |
3.4 x 1.6 x 1.5 cm |
|
|
PACKAGE DIMENSIONS (L x W x H) |
5 x 3 x 2 cm |
|
|
PACKAGE CONTENTS |
PACKAGE CONTENTS |
1 x Module |
We have datasheets available for all components, if not present in the product download sheet, send us a message via the contact form and we will publish it as soon as possible on our website.
Tutorial: How to Use 4-Digit 7-Segment LED Display
The 4-digit 7-segment LED display is perfect for displaying numbers and data in Arduino projects. Ideal for beginners who want to create counters or monitor variables.
What you need
- Arduino Uno
- USB Type B Cable
- 4-Digit 7-Segment LED Display Common Anode
Steps
- Connect the display pins to the Arduino output pins (check the datasheet for specific connections)
- Load the Arduino sketch that manages the display
- Test number display with the provided source code
Example code
const int latchPin = 8; // Pin del lato
const int dataPin = 12; // Pin dati
const int clockPin = 11; // Pin orologio
void setup() {
 pinMode(latchPin, OUTPUT);
 pinMode(dataPin, OUTPUT);
 pinMode(clockPin, OUTPUT);
}
void loop() {
 displayNumber(1234); // Mostra il numero 1234
}
Mini project
Create a counter that displays the current time on a 7-segment LED display. Use Arduino clock and timer to update every second.
Common mistakes
- Incorrect pin connection
- Inadequate voltage value
- Error in code logic
Recommended accessories
- Current limiting resistors
- Breadboard
- USB Type B cable for Arduino Uno
Frequently asked questions
How many numbers can I display?
You can display any number from 0 to 9999.
How do I connect the display to the potentiometer?
Use a circuit that converts the potentiometer output into a numeric value to display on the screen.
Reviews
There are no reviews yet.