 EN
 IT Italiano
 ES Español
 FR Français
 DE Deutsch
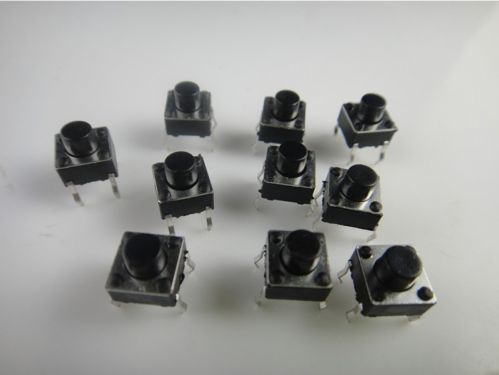
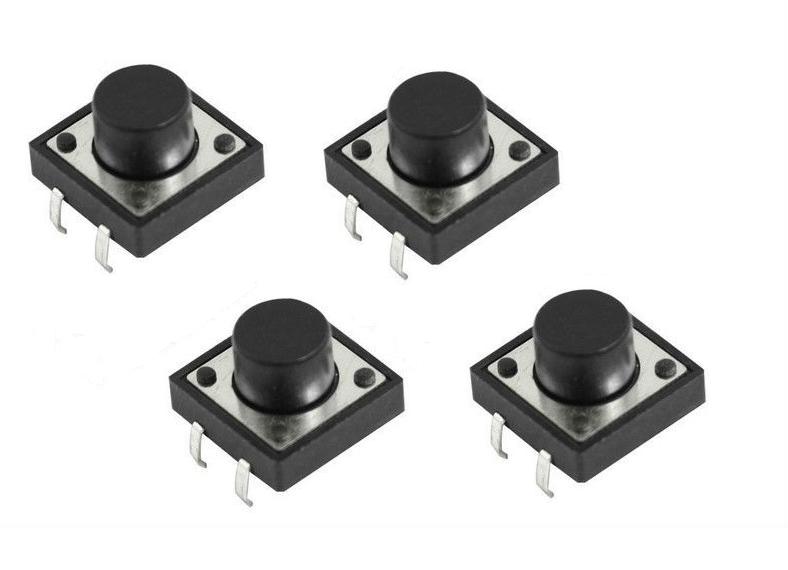
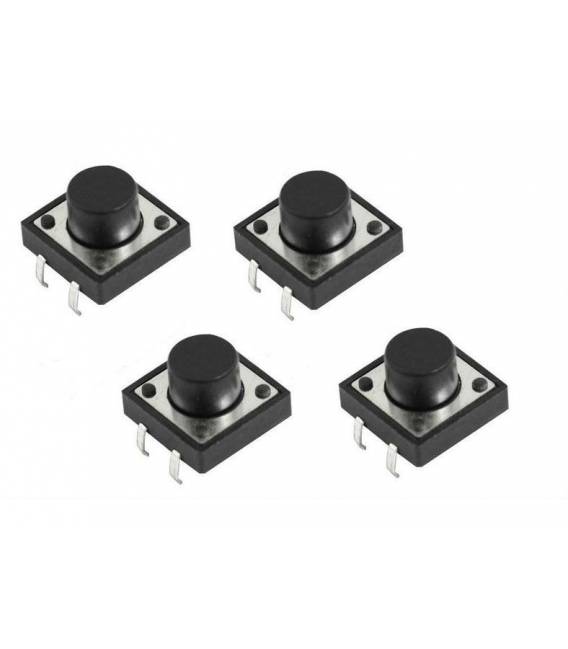
Description
Tactile Button Module Breadboard MIS: 12x12x6mm – Complete Description and Usage Guide with Arduino
✅ Description of the Tactile Button Module 12x12x6mm
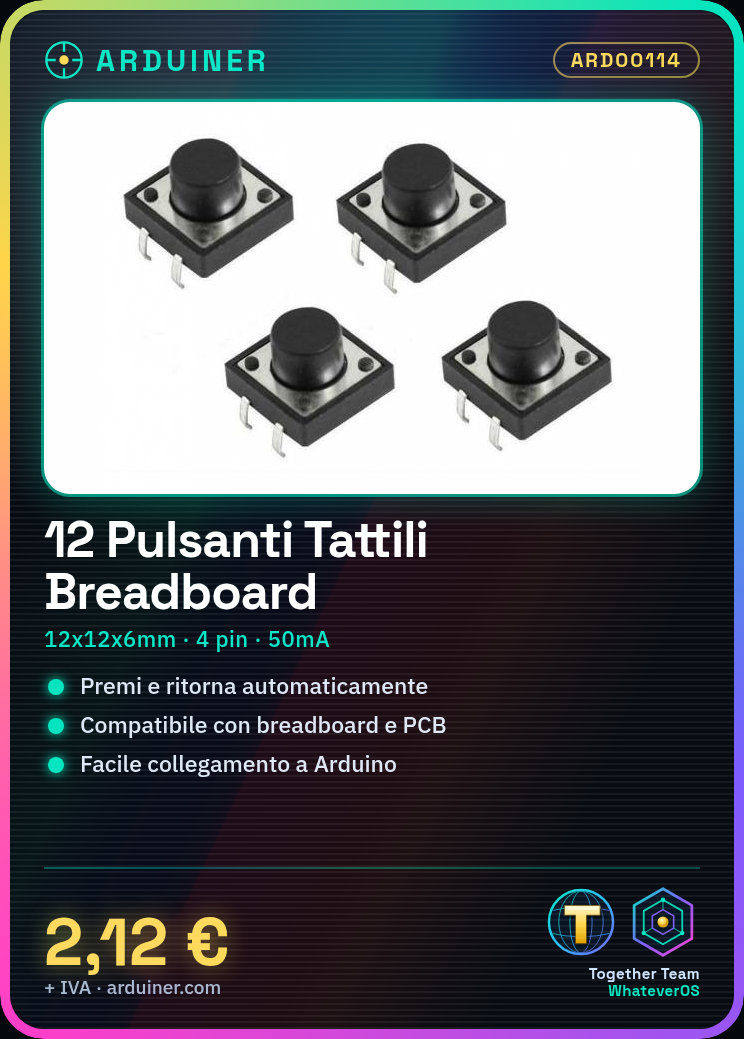
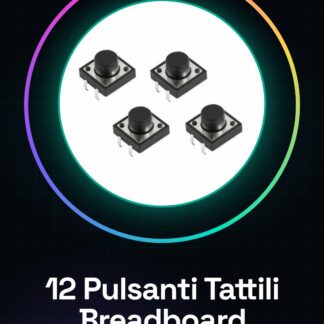
The tactile button 12x12x6mm is an electronic component commonly used in prototypes on breadboard or in printed circuits. It is designed to be manually pressed and return automatically to its initial position (momentary behavior momentary). This module is ideal for providing user input in projects with Arduino and other microcontrollers.
Technical Specifications:
| Characteristic | Value |
|---|---|
| Type | Tactile momentary button |
| Dimensions | 12mm x 12mm x 6mm |
| Number of Pins | 4 (2 pairs internally connected) |
| Material | Plastic and metal |
| Compatibility | Breadboard, PCB, Arduino |
| Mounting | Through-Hole |
| Maximum Current | ~50mA (depends on model) |
Note: The adjacent pin pairs (horizontal or vertical) are electrically connected. The circuit closes only when the button is pressed.
🧰 Connecting to a Breadboard and Arduino
Button Pinout
The 4 pins are arranged at the corners of a square. The two opposite pairs are internally connected. When you press the button, the two pairs are connected to each other.
  A ---- B
  |      |
  |      |   -> Pulsante
  |      |
  C ---- D
- A = C
- B = D
- When pressed: A–B–C–D become connected to each other.
Arduino Connection Diagram
Here is the typical circuit for using the button:
Required Components:
- 1x Button 12x12x6mm
- 1x 10kΩ Resistor (pull-down)
- Breadboard
- Jumper Wires
- Arduino Uno (or compatible)
Electrical Diagram:
[Vcc 5V] ─────┐
              │
             [ Pulsante ]
              │
[D2 - Arduino]───┬────────┐
                 │        │
               [GND]   [10kΩ]
                         │
                       [GND]
Or, you can use the internal pull-up resistor of Arduino, simplifying the circuit.
💻 Programming Guide on Arduino
Example 1: Reading Button with External Resistor (pull-down)
const int buttonPin = 2;  // Pin del pulsante
int buttonState = 0;      // Variabile per memorizzare lo stato

void setup() {
  pinMode(buttonPin, INPUT); // Configura il pin come input
  Serial.begin(9600);
}

void loop() {
  buttonState = digitalRead(buttonPin); // Legge lo stato

  if (buttonState == HIGH) {
    Serial.println("Pulsante premuto!");
  } else {
    Serial.println("Pulsante NON premuto.");
  }

  delay(200); // Delay per evitare letture instabili
}
Example 2: Using the Internal Pull-up Resistor of Arduino
const int buttonPin = 2;  // Pin collegato al pulsante
int buttonState = 0;

void setup() {
  pinMode(buttonPin, INPUT_PULLUP); // Abilita resistenza pull-up interna
  Serial.begin(9600);
}

void loop() {
  buttonState = digitalRead(buttonPin);

  // Nota: con INPUT_PULLUP, LOW = premuto
  if (buttonState == LOW) {
    Serial.println("Pulsante premuto!");
  } else {
    Serial.println("Pulsante NON premuto.");
  }

  delay(200);
}
ℹ️ Important: When using
INPUT_PULLUP, connect the other end of the button to GND, not to Vcc.
🧠 Useful Tips
- Debounce: Mechanical buttons can generate electrical “bounces”. Use a software debounce or a capacitor.
bool buttonPressed() {
  if (digitalRead(buttonPin) == LOW) {
    delay(50); // Attendi stabilizzazione
    if (digitalRead(buttonPin) == LOW) return true;
  }
  return false;
}
- More buttons: You can use multiple buttons on different pins or in matrices.
- Events: Associate actions with each press to create menus, selections, counters, etc.
🔚 Conclusion
The tactile button 12x12x6mm is a fundamental component for user interaction in Arduino projects. It is easy to connect and program, and allows for the development of versatile interfaces. Whether you want to turn on an LED, create a menu, or start a motor, this button is a great starting point.
Tutorial: How to Use Tactile Buttons Breadboard MIS
Tactile buttons are fundamental components for interacting with electronic circuits. They are ideal for Arduino projects, breadboard prototypes, or any other system that requires manual input.
What you need
- Arduino
- Breadboard
- Jumper wires
Steps
- Place the tactile button on the breadboard in such a way that allows the cables to be connected to the component’s pins.
- Use jumper wires to connect the two pins of the button to the electronic circuit. Check the datasheet specifications to understand which pins are used as inputs or outputs.
- If you are using an Arduino, connect the button to a digital pin on the Arduino.
- Write an Arduino sketch that reads the state of the button and prints a message when it is pressed.
Example code
void setup() {
  pinMode(2, INPUT);
}

void loop() {
  if (digitalRead(2) == HIGH) {
    Serial.println("Pulsante premuto");
  }
}
Mini project
Create a home security system that activates an alarm when the button is pressed.
Common mistakes
- Incorrectly connecting the button pins
- Failing to properly connect the Arduino to the computer
- Ignoring the necessary pull-up/pull-down resistor
Recommended accessories
- Protection resistors
- Buzzer or relay for alarm
- LED indicators
Frequently asked questions
Does the button work even if it is not pressed?
No, the tactile button changes the state of the circuit only when it is pressed.
Can I use multiple buttons in a project?
Yes, you can connect multiple buttons to different pins on the Arduino.
Reviews
There are no reviews yet.