 EN
 IT Italiano
 ES Español
 FR Français
 DE Deutsch
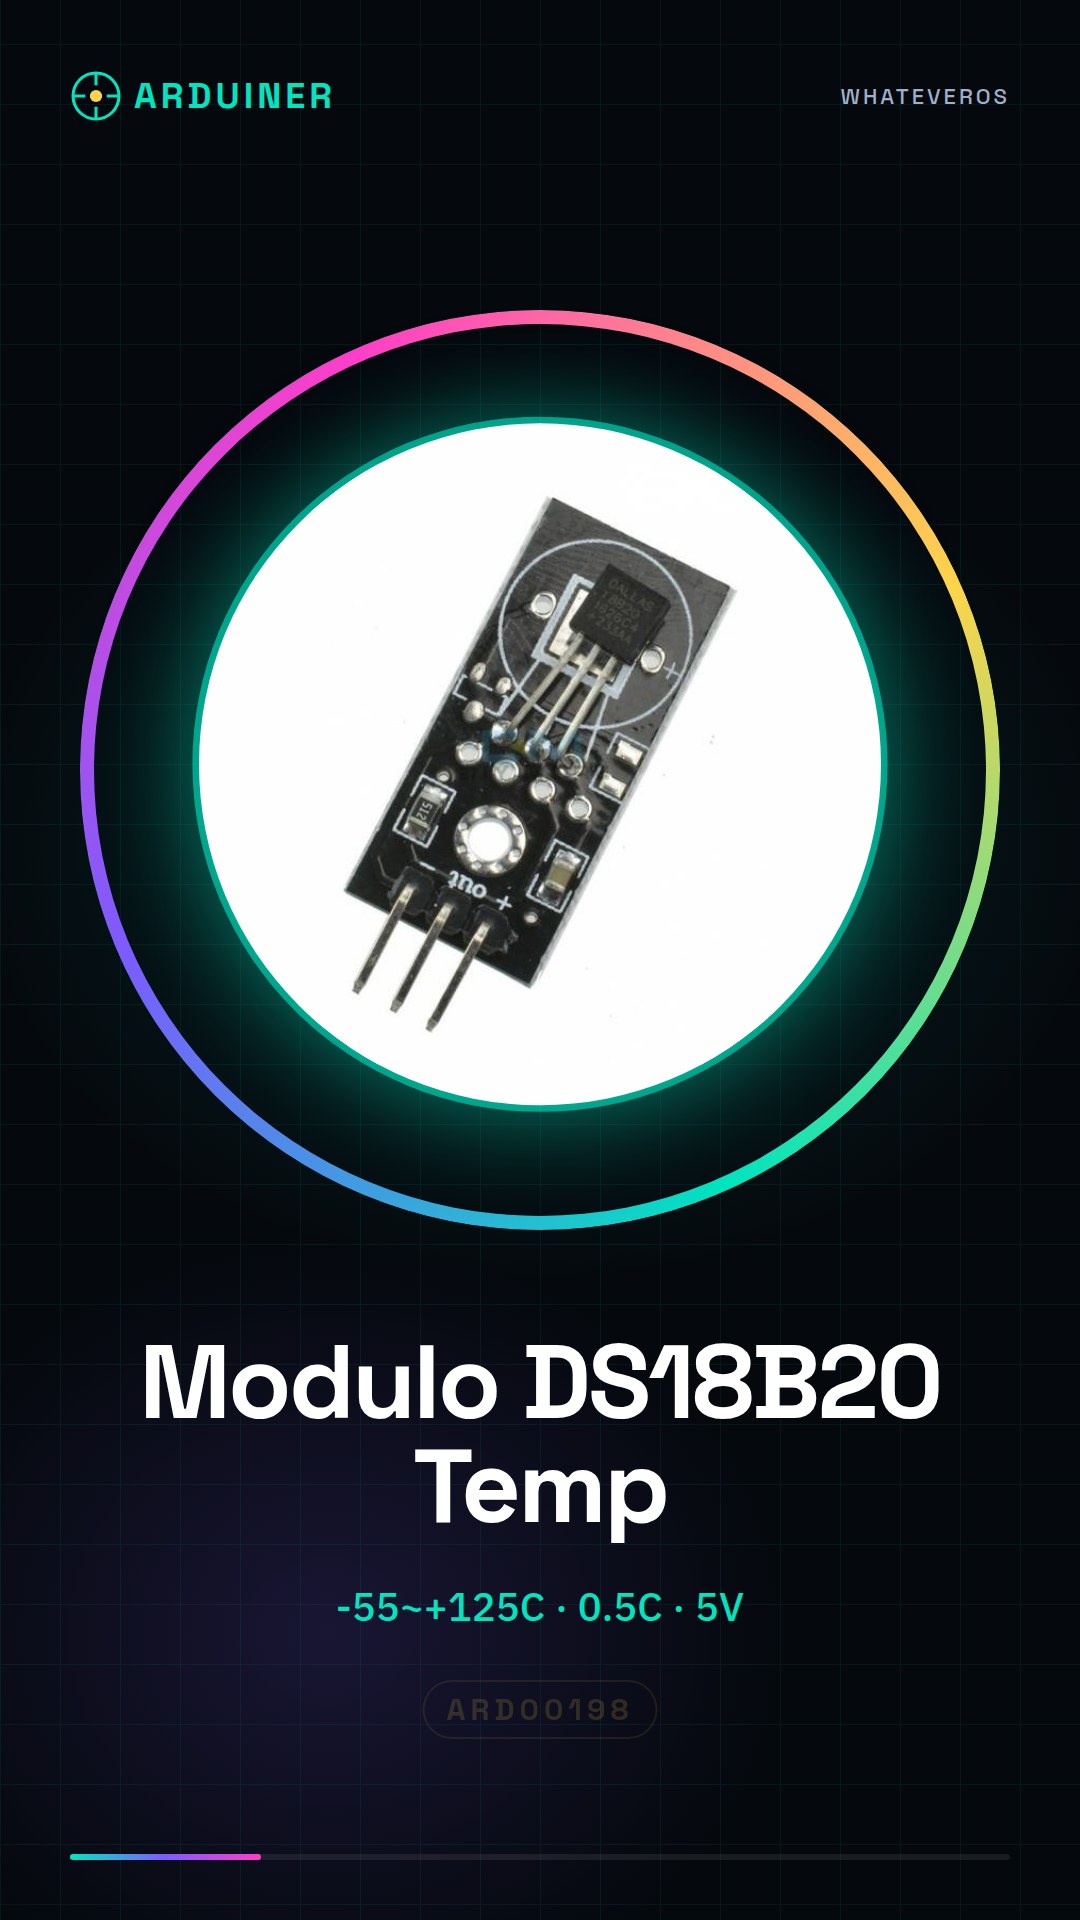
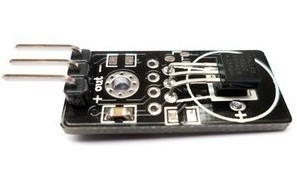
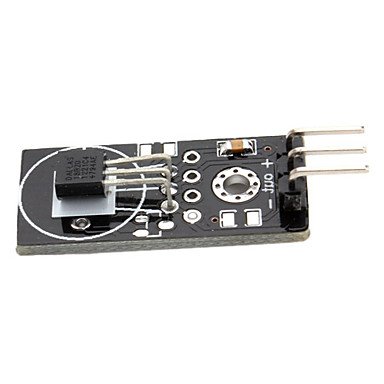
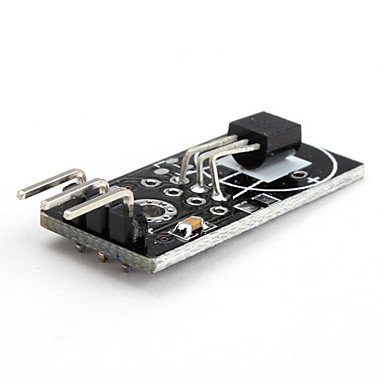
Description
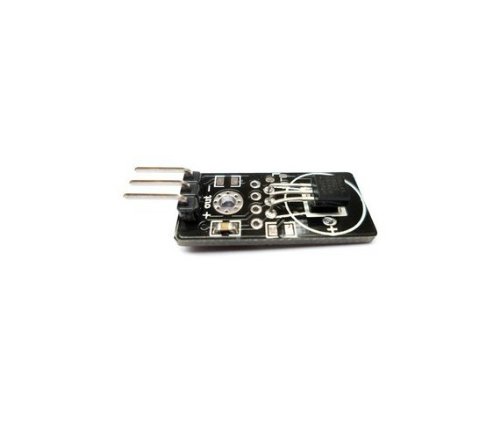
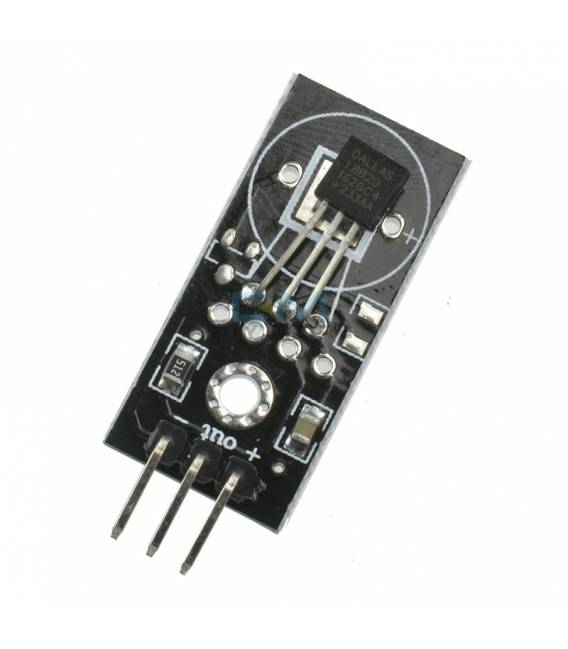
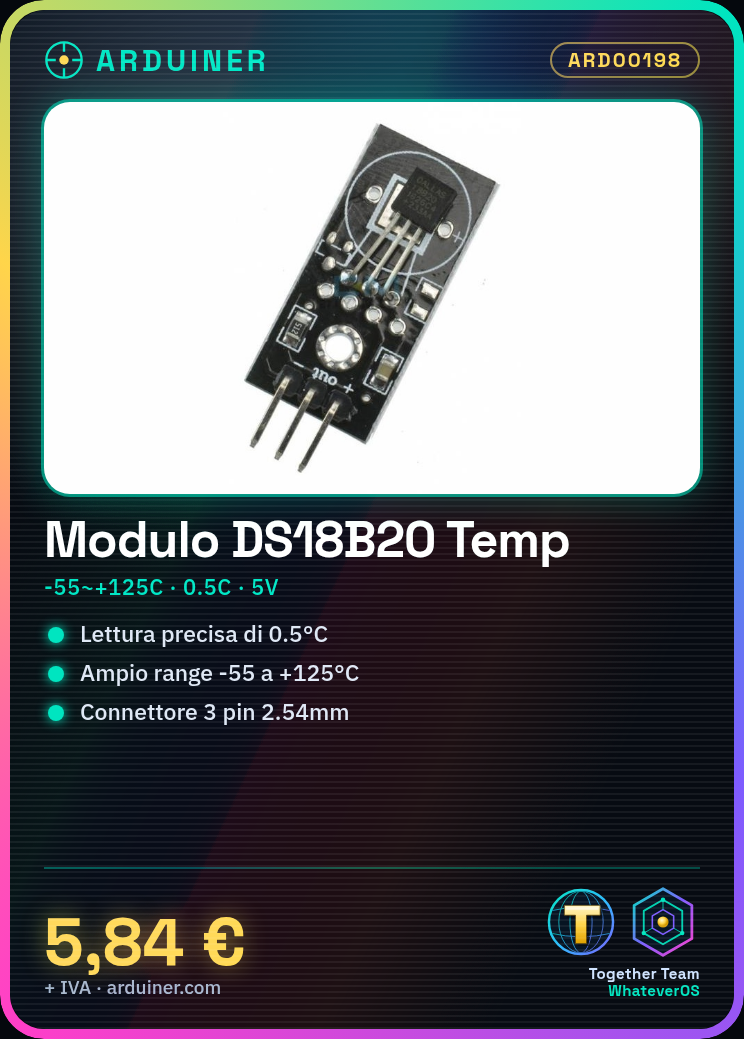
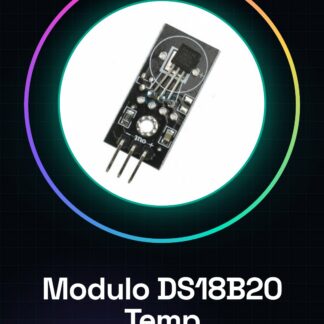
DS18B20 Digital Temperature Sensor Module for Arduino
The module consists of a temperature sensor that uses the Dallas DS18B20 component at its core, the first to integrate the futuristic 1-Wire technology.
The temperature range of the module is from -55 to +125 C, and the component has a resolution of 0.5 C.
The internal converter can be programmed with a resolution from 9 to 12bit.
The power supply voltage is 5V.
Technical specifications:
– Digital temperature sensor
– Range from -55 to +125 C
– Resolution 0.5 C
– Power supply voltage 5V
– Weight approximately 5gr
Connection methods:
1. The module features a 3-pin connector with 2.54mm spacing
a. Pin-1 Power supply
b. Pin-2 Output signal
c. Pin-3 Ground
We have datasheets available for all components, if not present in the product download card, send us a message through the contact us form and we will publish it as soon as possible on our website.
Tutorial: How to use DS18B20 Temperature Module for Arduino
The DS18B20 temperature module with sensor is an essential component for any project requiring temperature measurement. Ideal for beginner and intermediate makers, this sensor offers precise temperature readings in both indoor and outdoor environments.
What you need
- Arduino Uno/Nano
- USB Cable
- Breadboard
- Jumpers
Steps
- Connecting the DS18B20 module to the breadboard.
- Connect the module pins: GND to ground, VCC to power supply (3.3V or 5V), and DATA to an Arduino digital pin (e.g., D2).
- Install the OneWire and DallasTemperature libraries in the Arduino software.
- Write a sketch to initialize the sensor and read temperature values.
- Upload the sketch to the Arduino.
- Open Serial Monitor to view the temperatures read by the sensor.
Example code
OneWire oneWire(2); // inizializza OneWire su pin 2
DallasTemperature sensors(&oneWire);
void setup() {
sensors.begin();
Serial.begin(9600);
}
void loop() {
sensors.requestTemperatures();
double temperatura = sensors.getTempCByIndex(0);
Serial.print("Temperatura: ");
Serial.println(temperatura);
deley(1000); // attendi un secondo prima di rilevare nuovamente
}
Mini project
Create a simple weather station that displays the temperature in real-time on an OLED screen.
Common mistakes
- Do not connect the module pins correctly.
- Do not install the necessary libraries in the Arduino software.
- Data connection error, check the physical connection and power supply.
- Temperature reading problems, check the sensor documentation to verify the datasheet.
Recommended accessories
- 0.96″ OLED screen
- 16×2 LCD module
- DHT11/DHT22 humidity sensors
- LiPo battery
Frequently asked questions
How can I continuously monitor the temperature?
Insert a while or for loop in your sketch to read and print the temperature values every second.
The sensor does not respond, what should I do?
Check all connections and power supply. Ensure that the sensor is compatible with the Arduino power supply voltage (3.3V or 5V).
Reviews
There are no reviews yet.