 EN
 IT Italiano
 ES Español
 FR Français
 DE Deutsch
Description
What it is
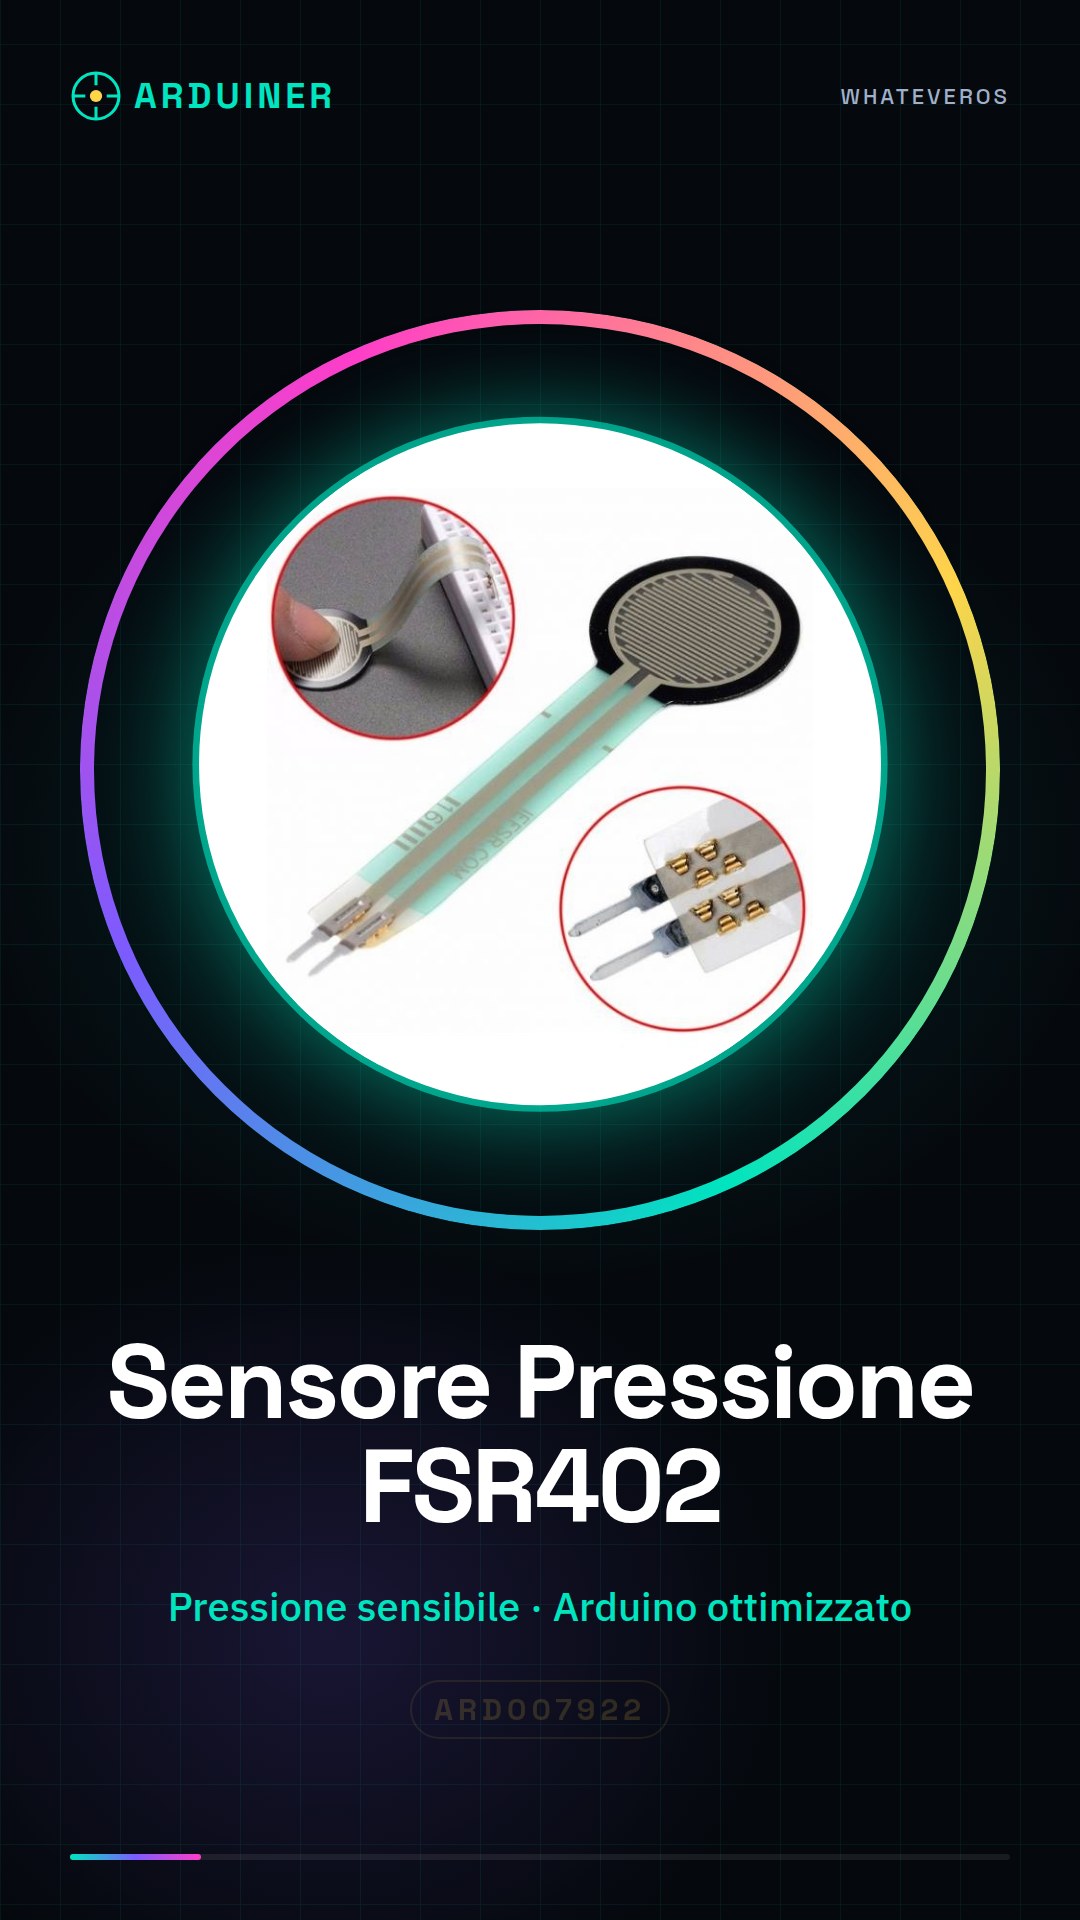
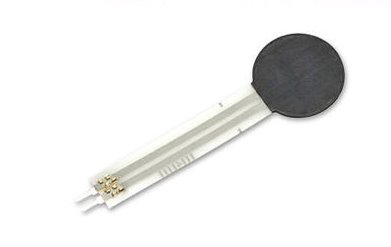
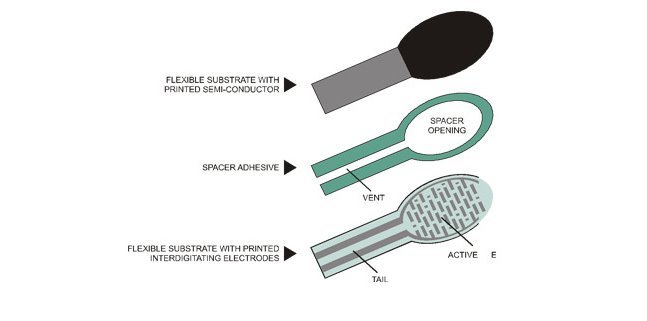
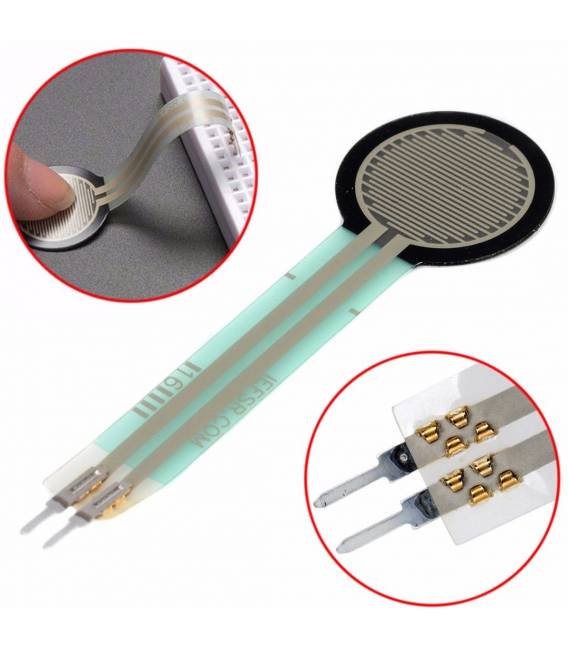
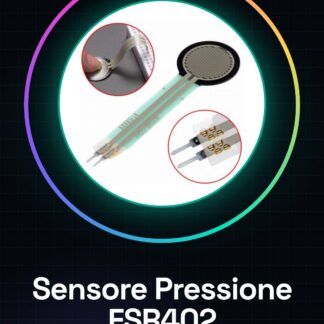
The FSR402 pressure sensor is an electronic component designed to detect force applied to a surface. Commonly used in Arduino projects, this sensor converts pressure variations into data that can be read and processed by a microcontroller.
Features
- Sensitive to applied pressure;
- Optimized for Arduino projects;
- Ideally suited for both beginners and expert makers;
What it is for
The FSR402 sensor can be used in various types of applications, including weight counters and capacitive interfaces. It can be easily integrated with Arduino or ESP to create interactive projects that detect pressure.
Tutorial: How to use Pressure Sensor FSR402
The FSR402 pressure sensor is ideal for projects requiring force detection, such as weight counters or capacitive interfaces. This component is perfect for both beginners and more experienced makers.
What you need
- Arduino Uno
- USB Cable
- Breadboard
- Jumper Connection
- Pull-up Resistor
Steps
- Connect the FSR402 sensor to the breadboard. Check the polarity of the sensor (the wider part is usually the active area).
- Connect one end of the pull-up resistor to 5V and the other to the analog line A0 of the Arduino.
- Connect the jumper connectors between the FSR402 sensor and the digital port of the breadboard, ensuring that the lines are correctly connected to the Arduino.
- Open Arduino IDE and install the necessary library for communication with the sensor (if required).
- Insert the sketch for reading data from the sensor into the Arduino code and upload it to the device.
- Check the values read from the Serial Monitor, ensuring they change in response to the pressure applied to the FSR402 sensor.
- Modify the sketch to adapt it to the specific requirements of your project.
Example code
void setup() {
  Serial.begin(9600);
}

void loop() {
  int val = analogRead(A0);
  Serial.println(val);
}
Mini project
Create a simple weight counter that displays the pressure applied to the FSR402 sensor on an LCD screen.
Common mistakes
- Connect the sensor to the direct voltage without a pull-up resistor
- Do not properly verify the values read from the sensor in response to the pressure.
- Use the wrong jumper connector or connect it to the circuit incorrectly.
Recommended accessories
- 16×2 LCD with Arduino
- Battery for Arduino
- Variable pull-up resistors
- Temperature sensors
Frequently asked questions
What is the minimum resistance I should use?
Check the sensor’s datasheet.
Can I connect it directly to 5V without a pull-up resistor?
No, it could damage the sensor or the Arduino.
Reviews
There are no reviews yet.