 EN
 IT Italiano
 ES Español
 FR Français
 DE Deutsch
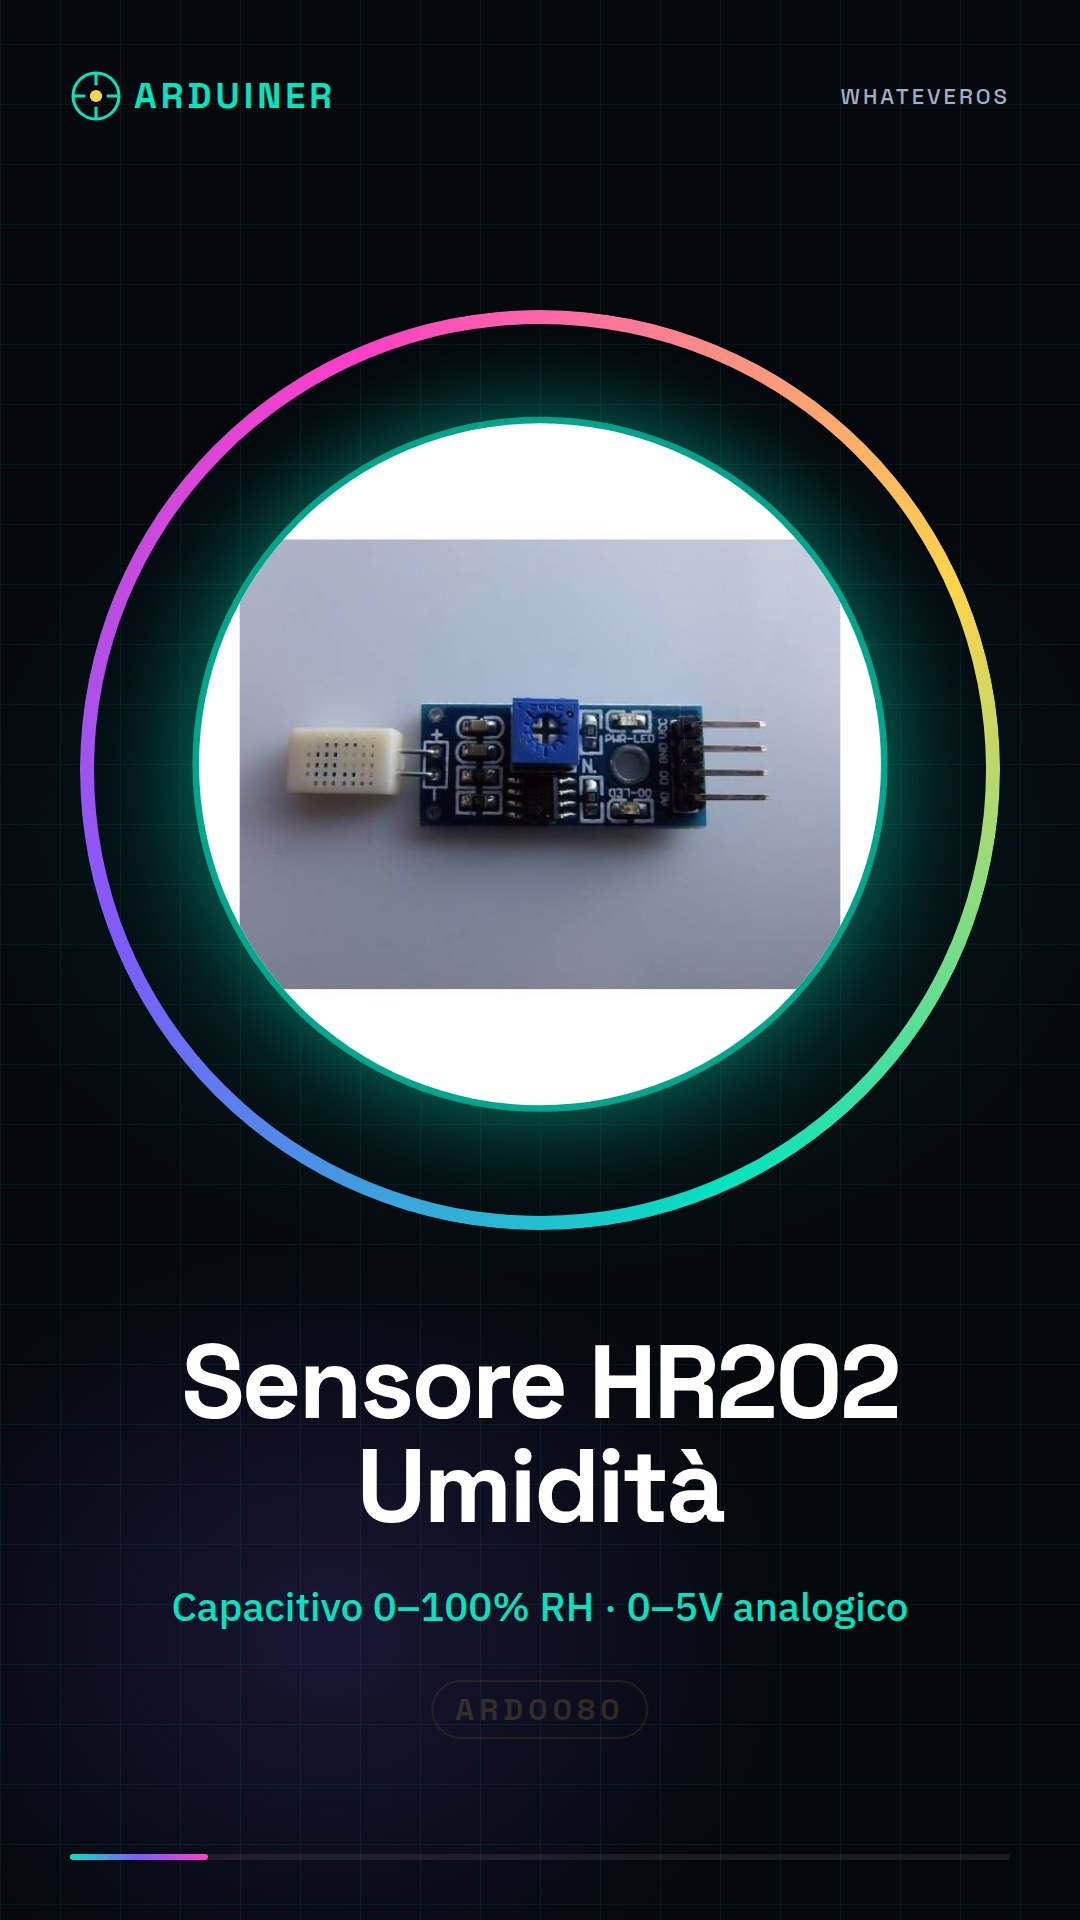
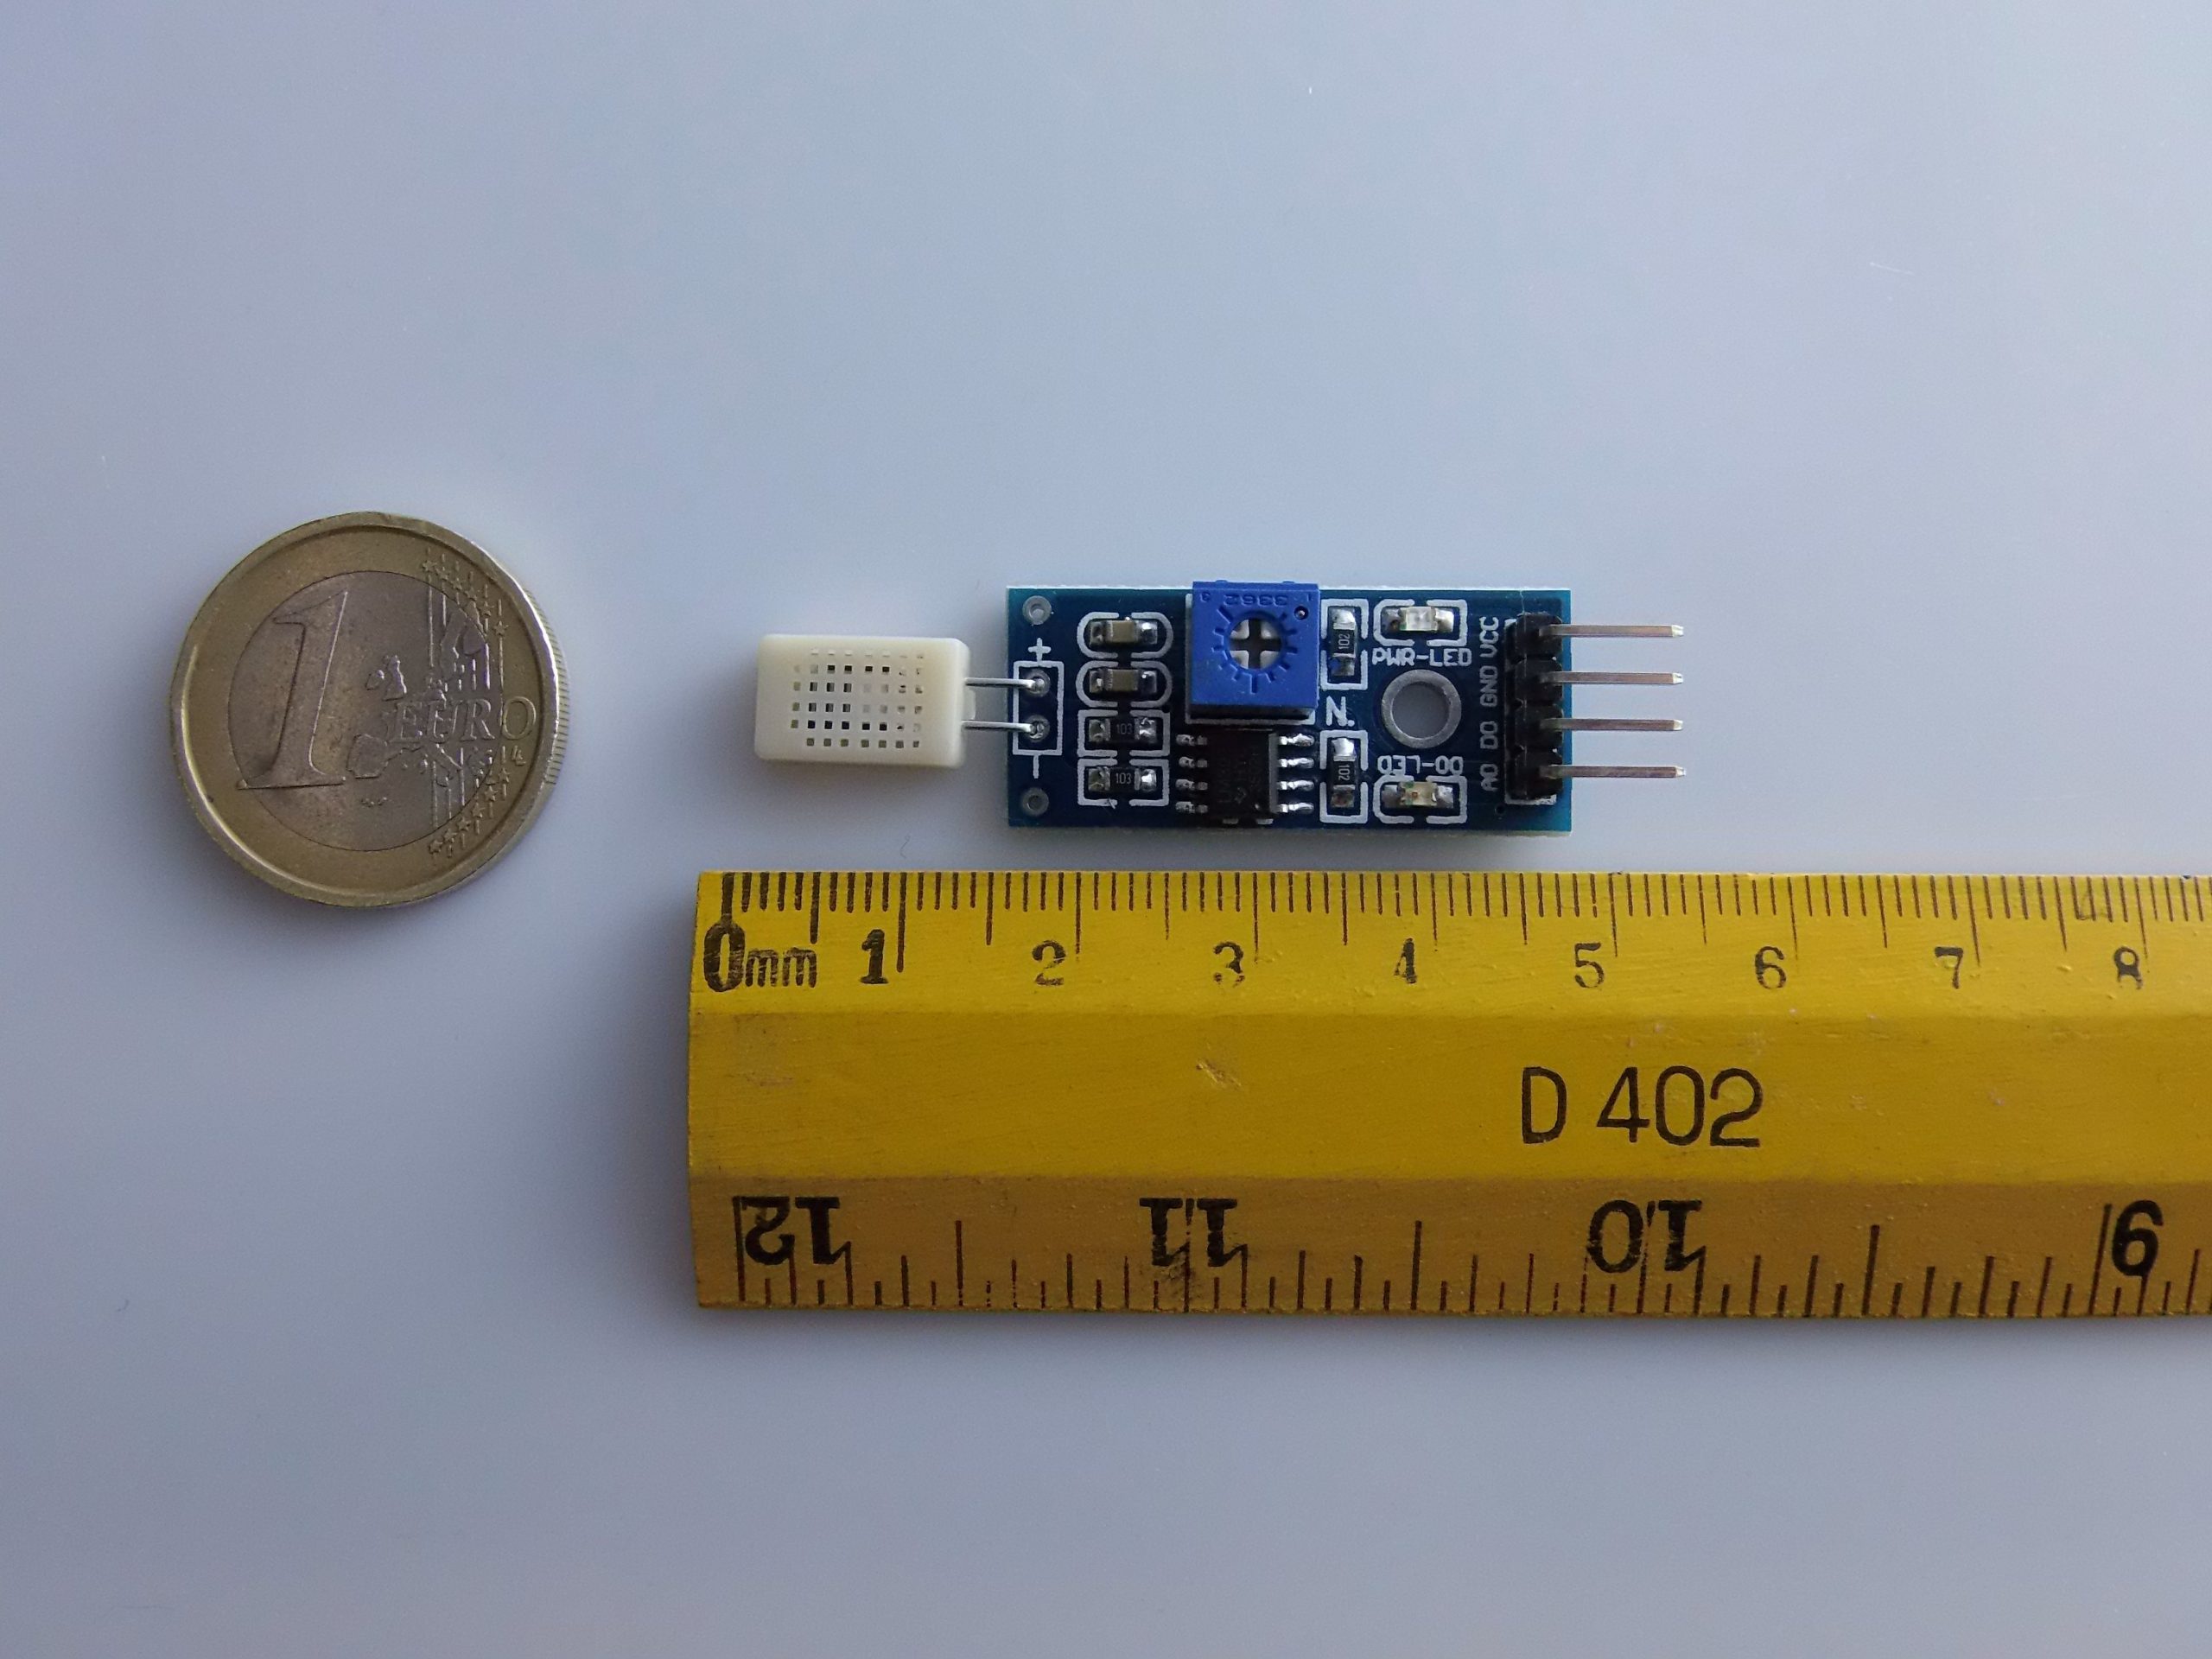
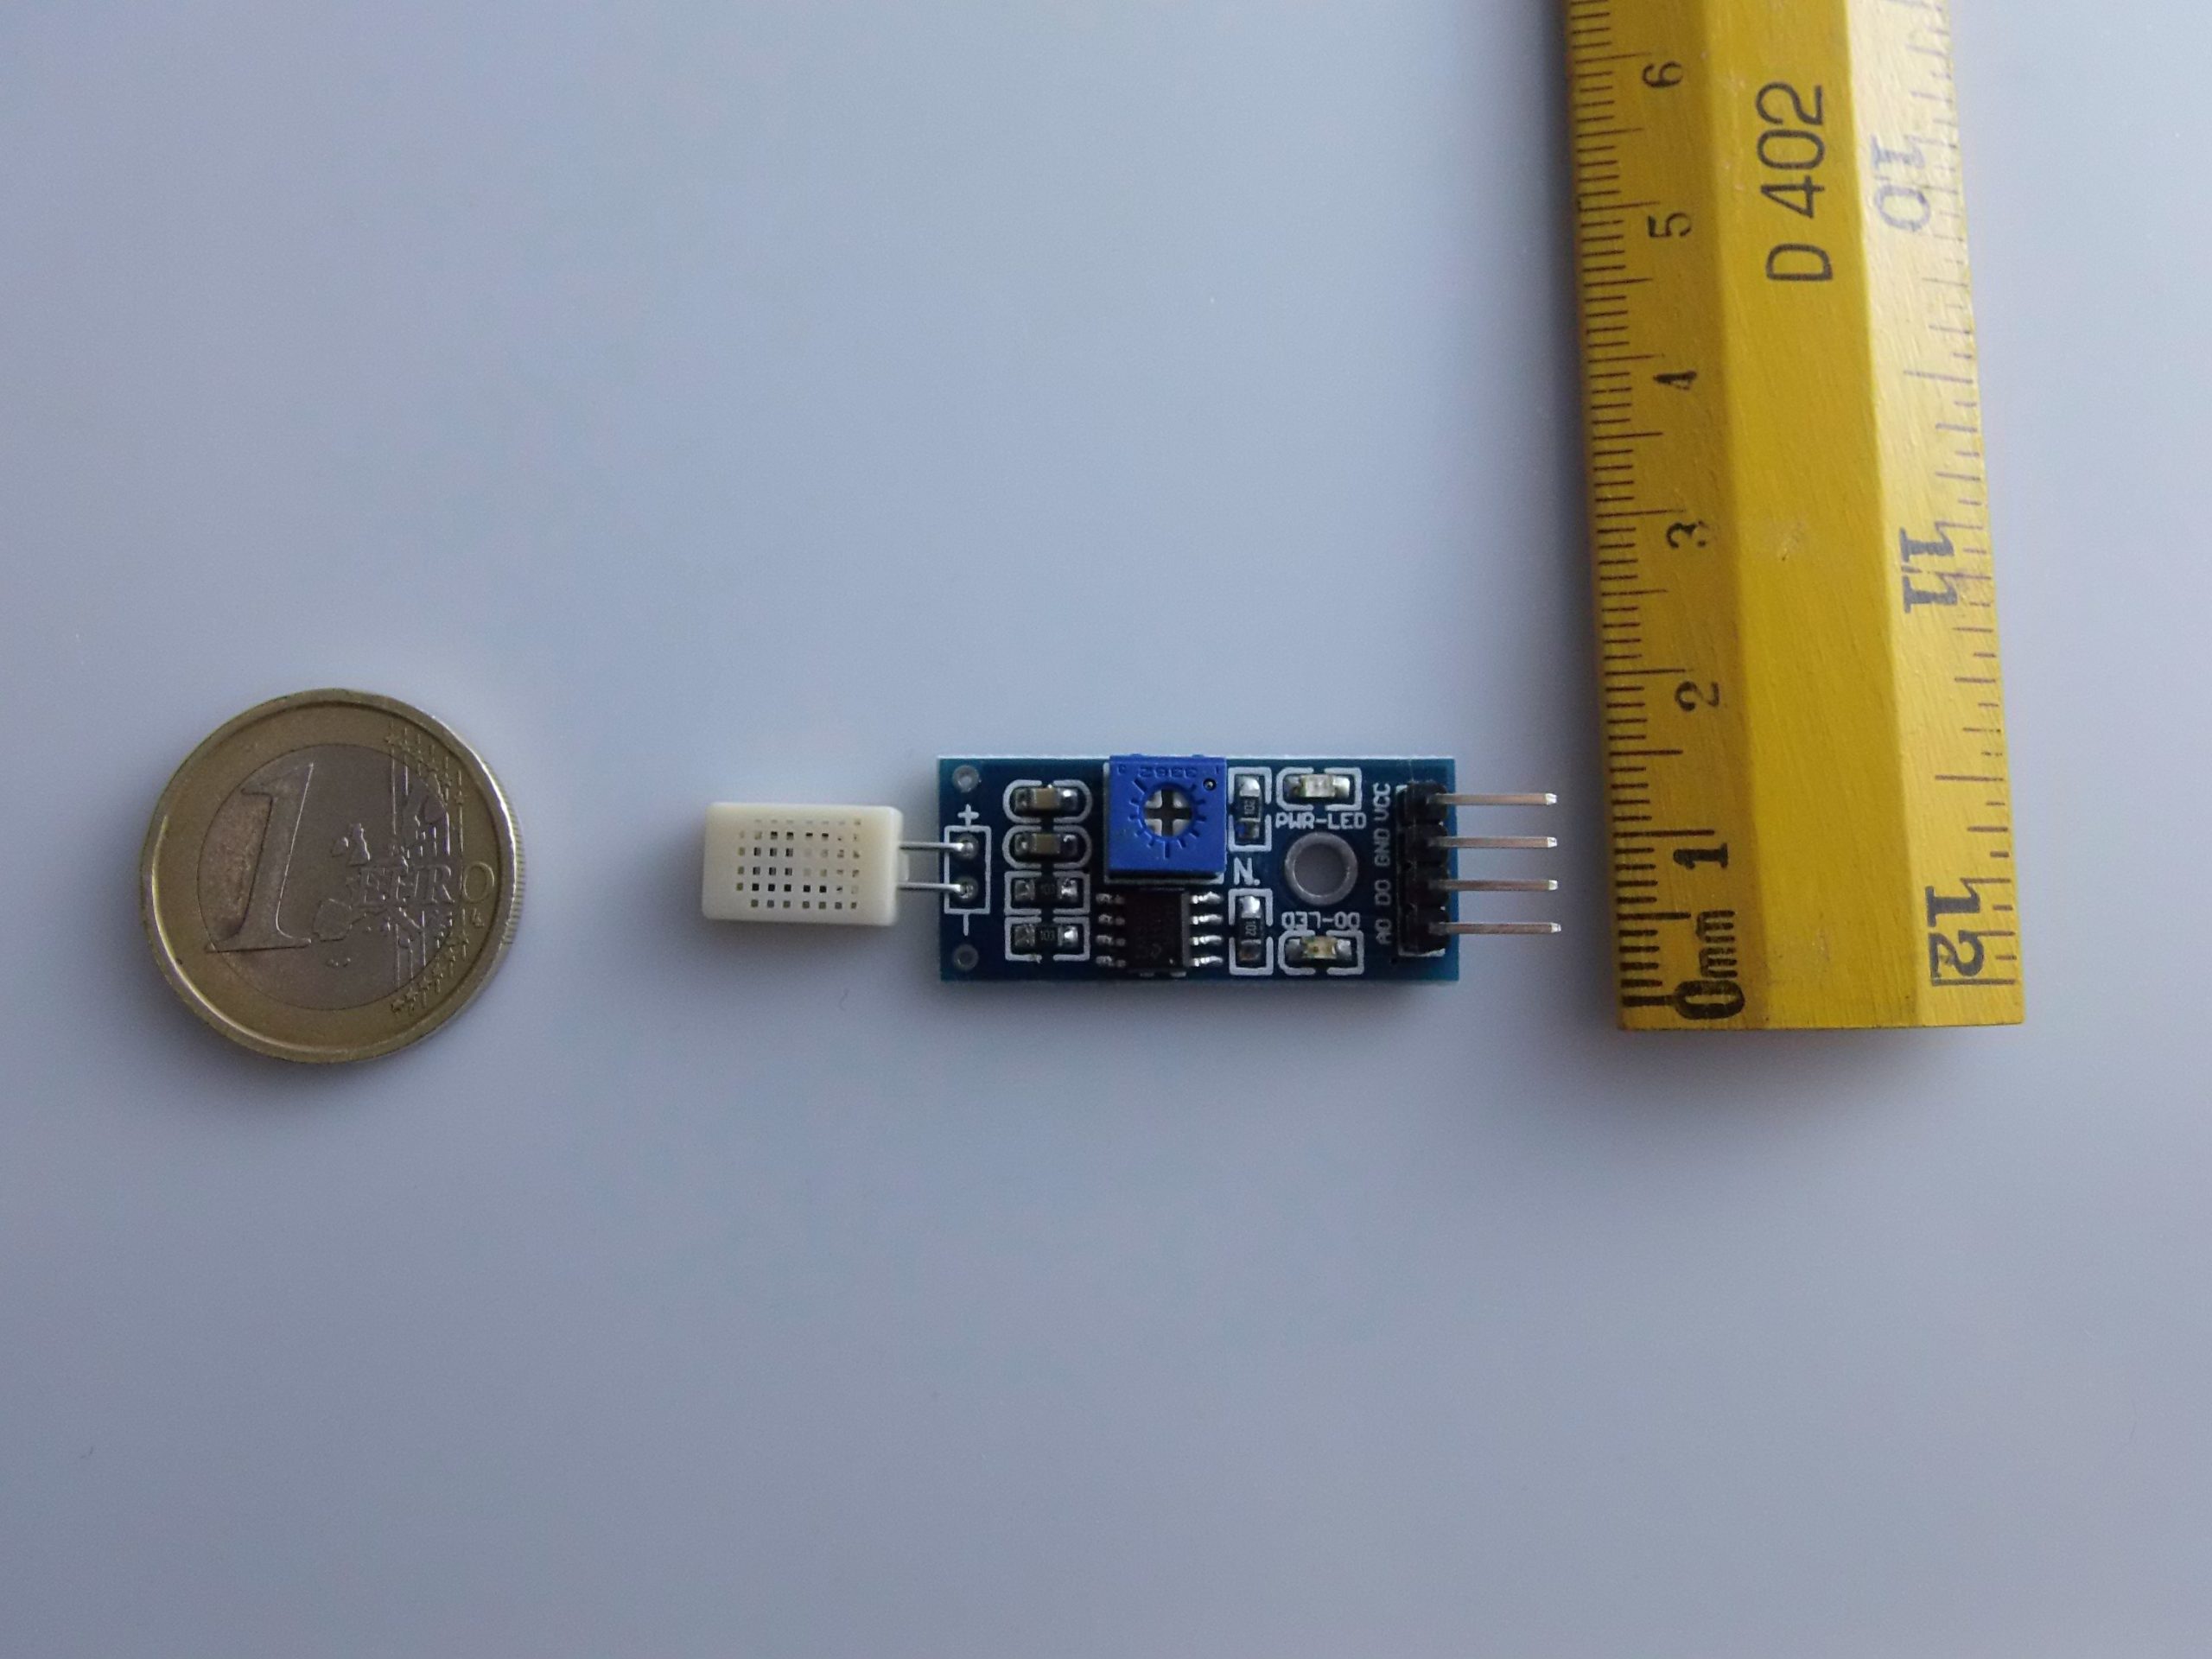
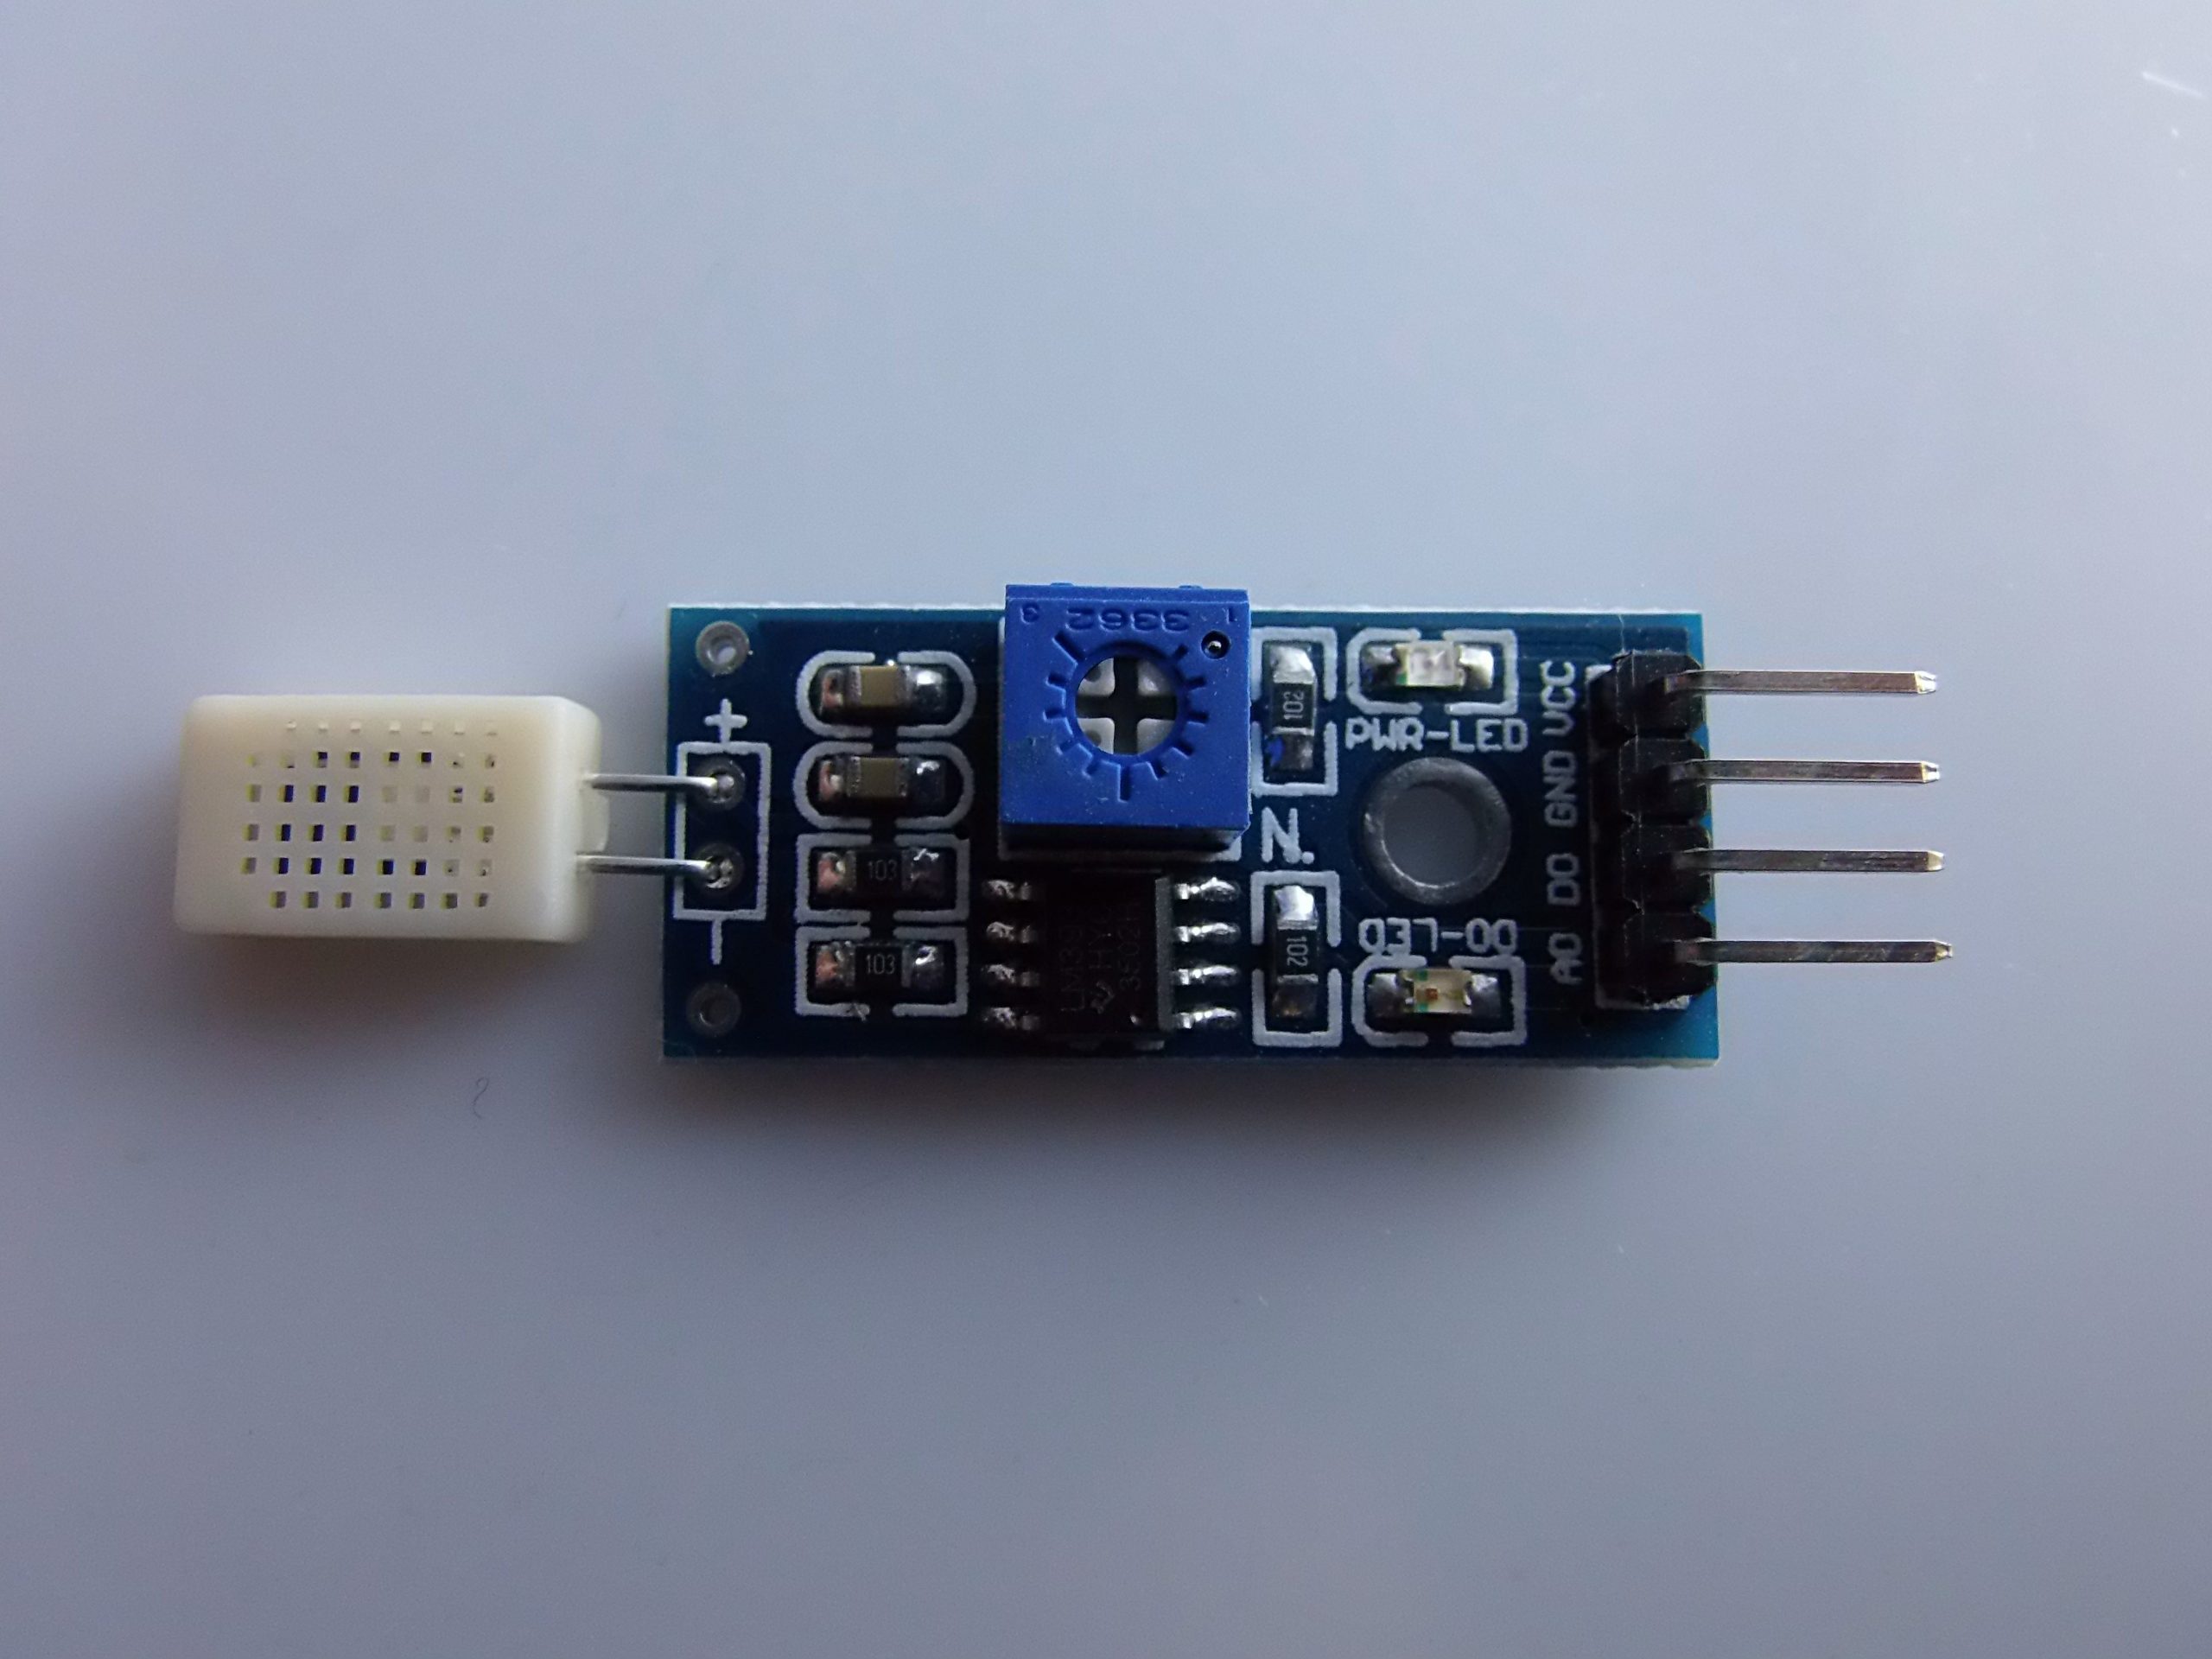
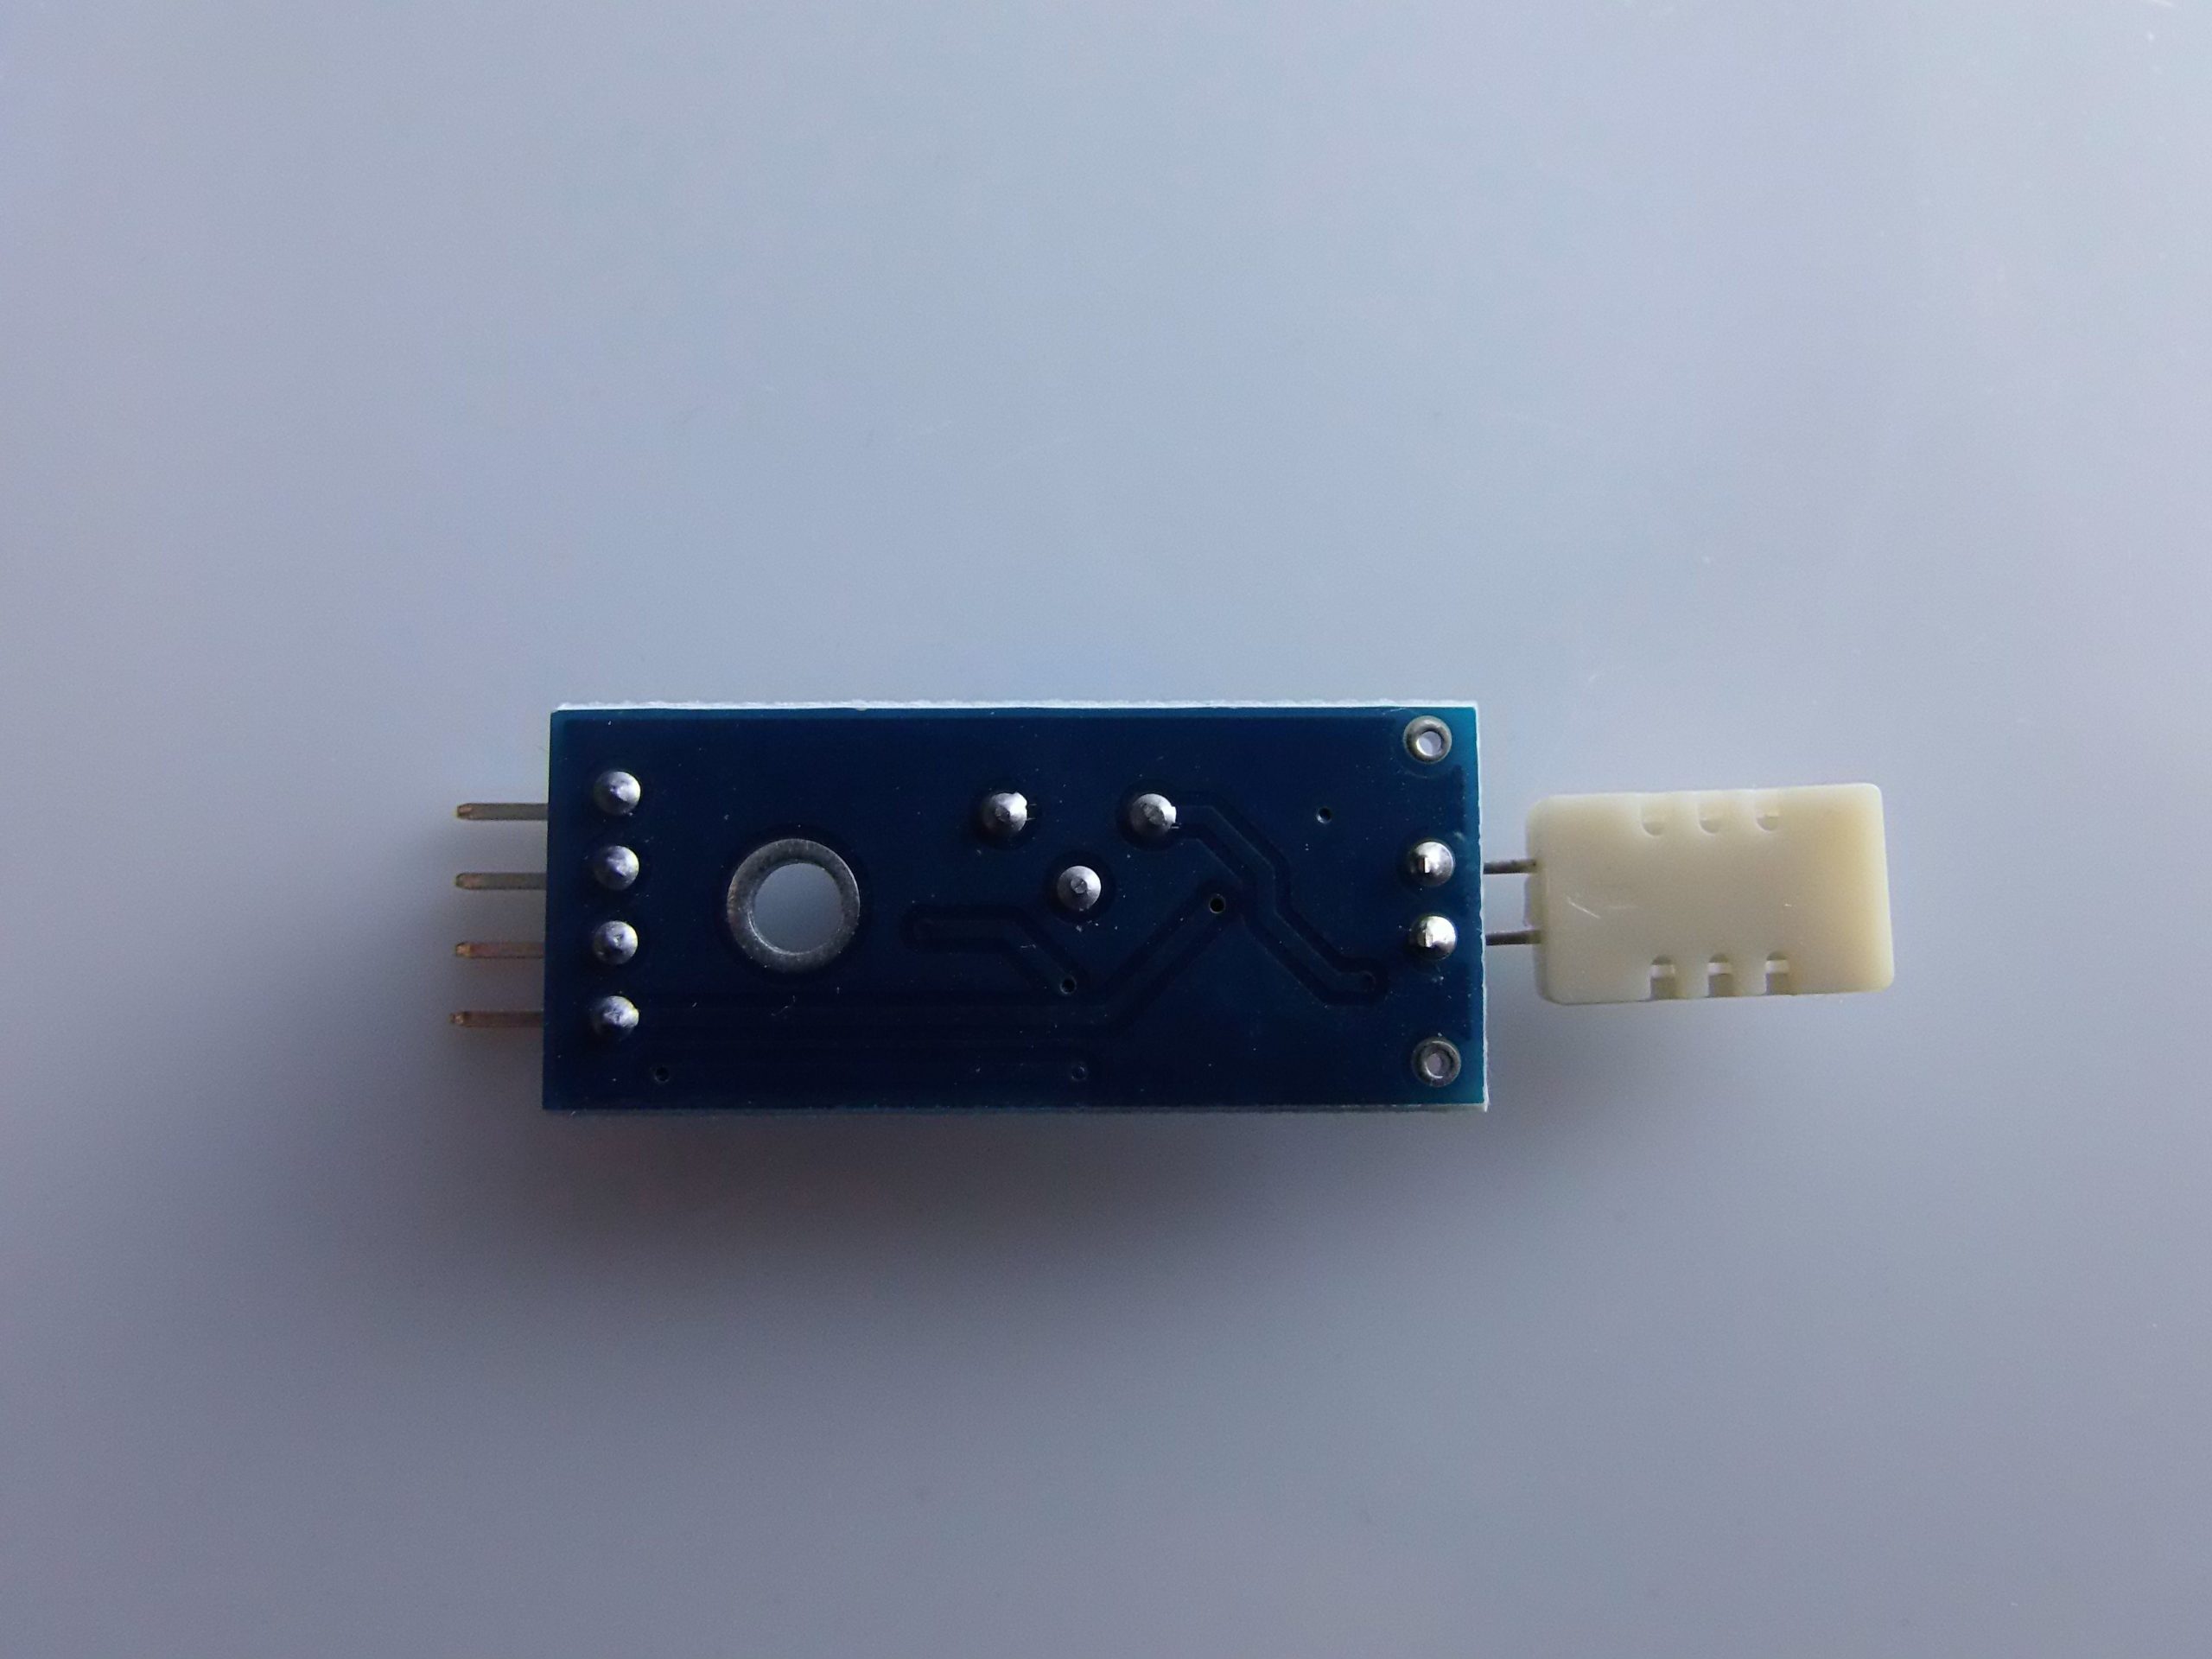
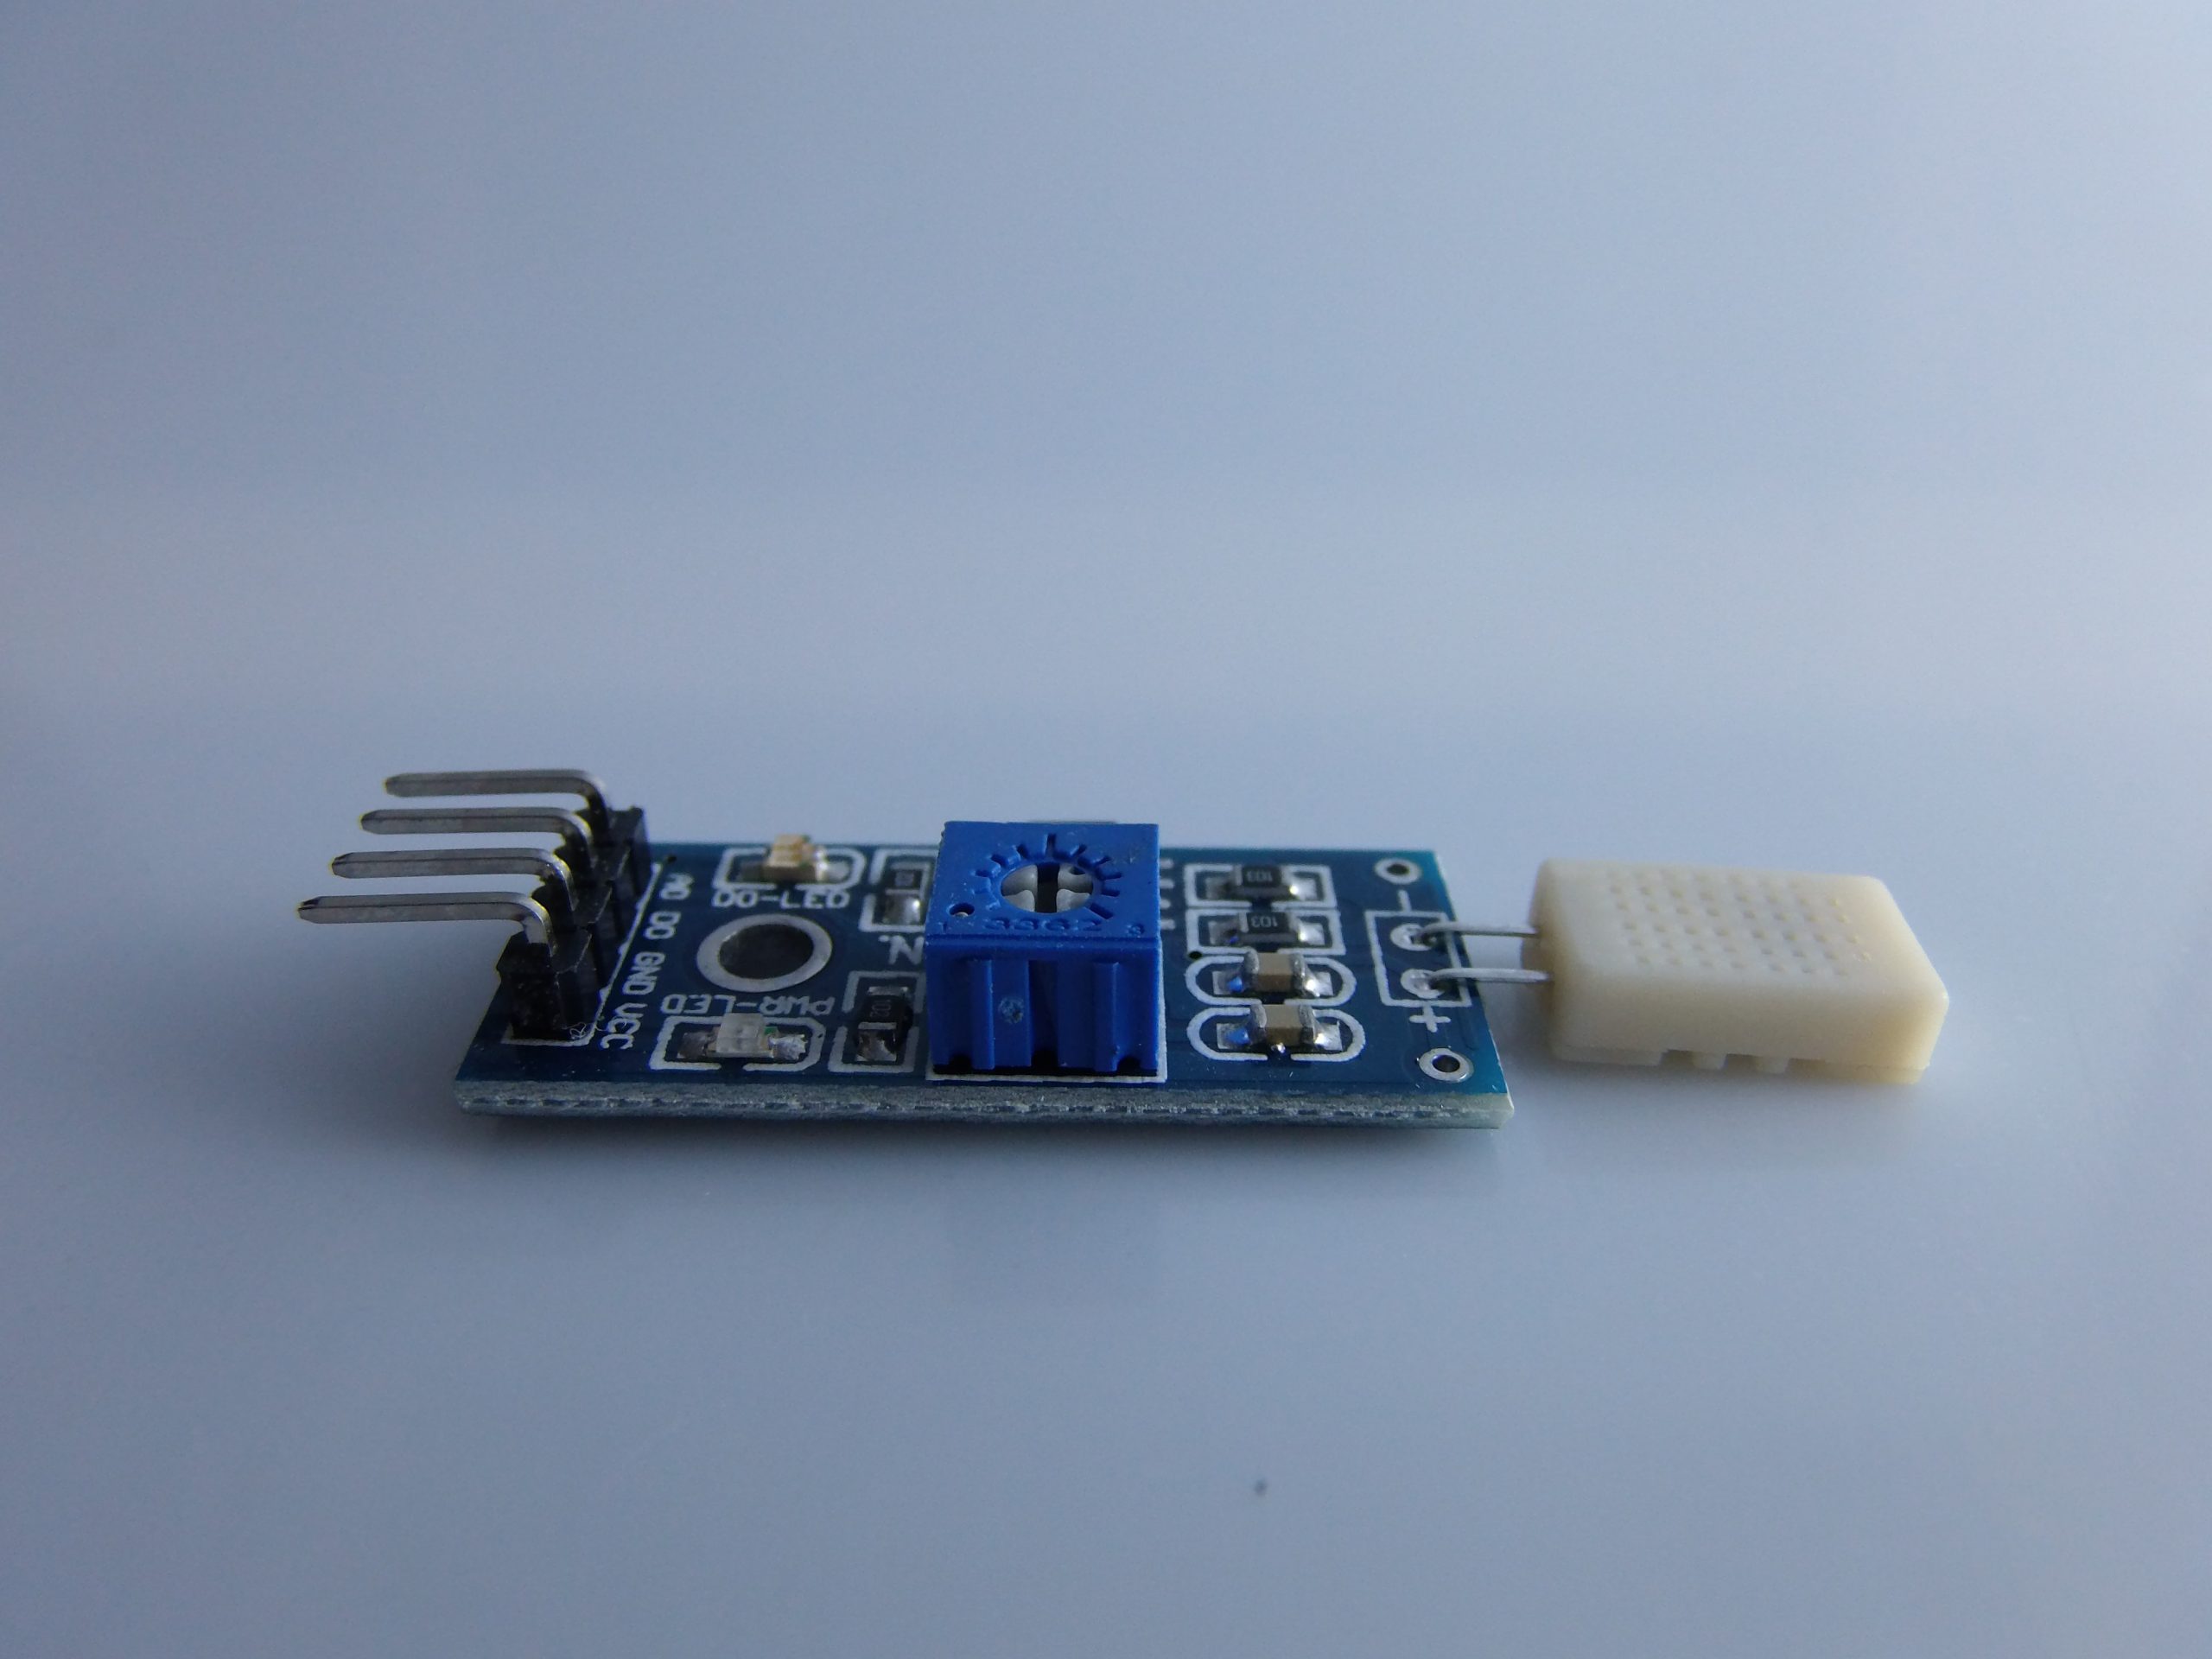
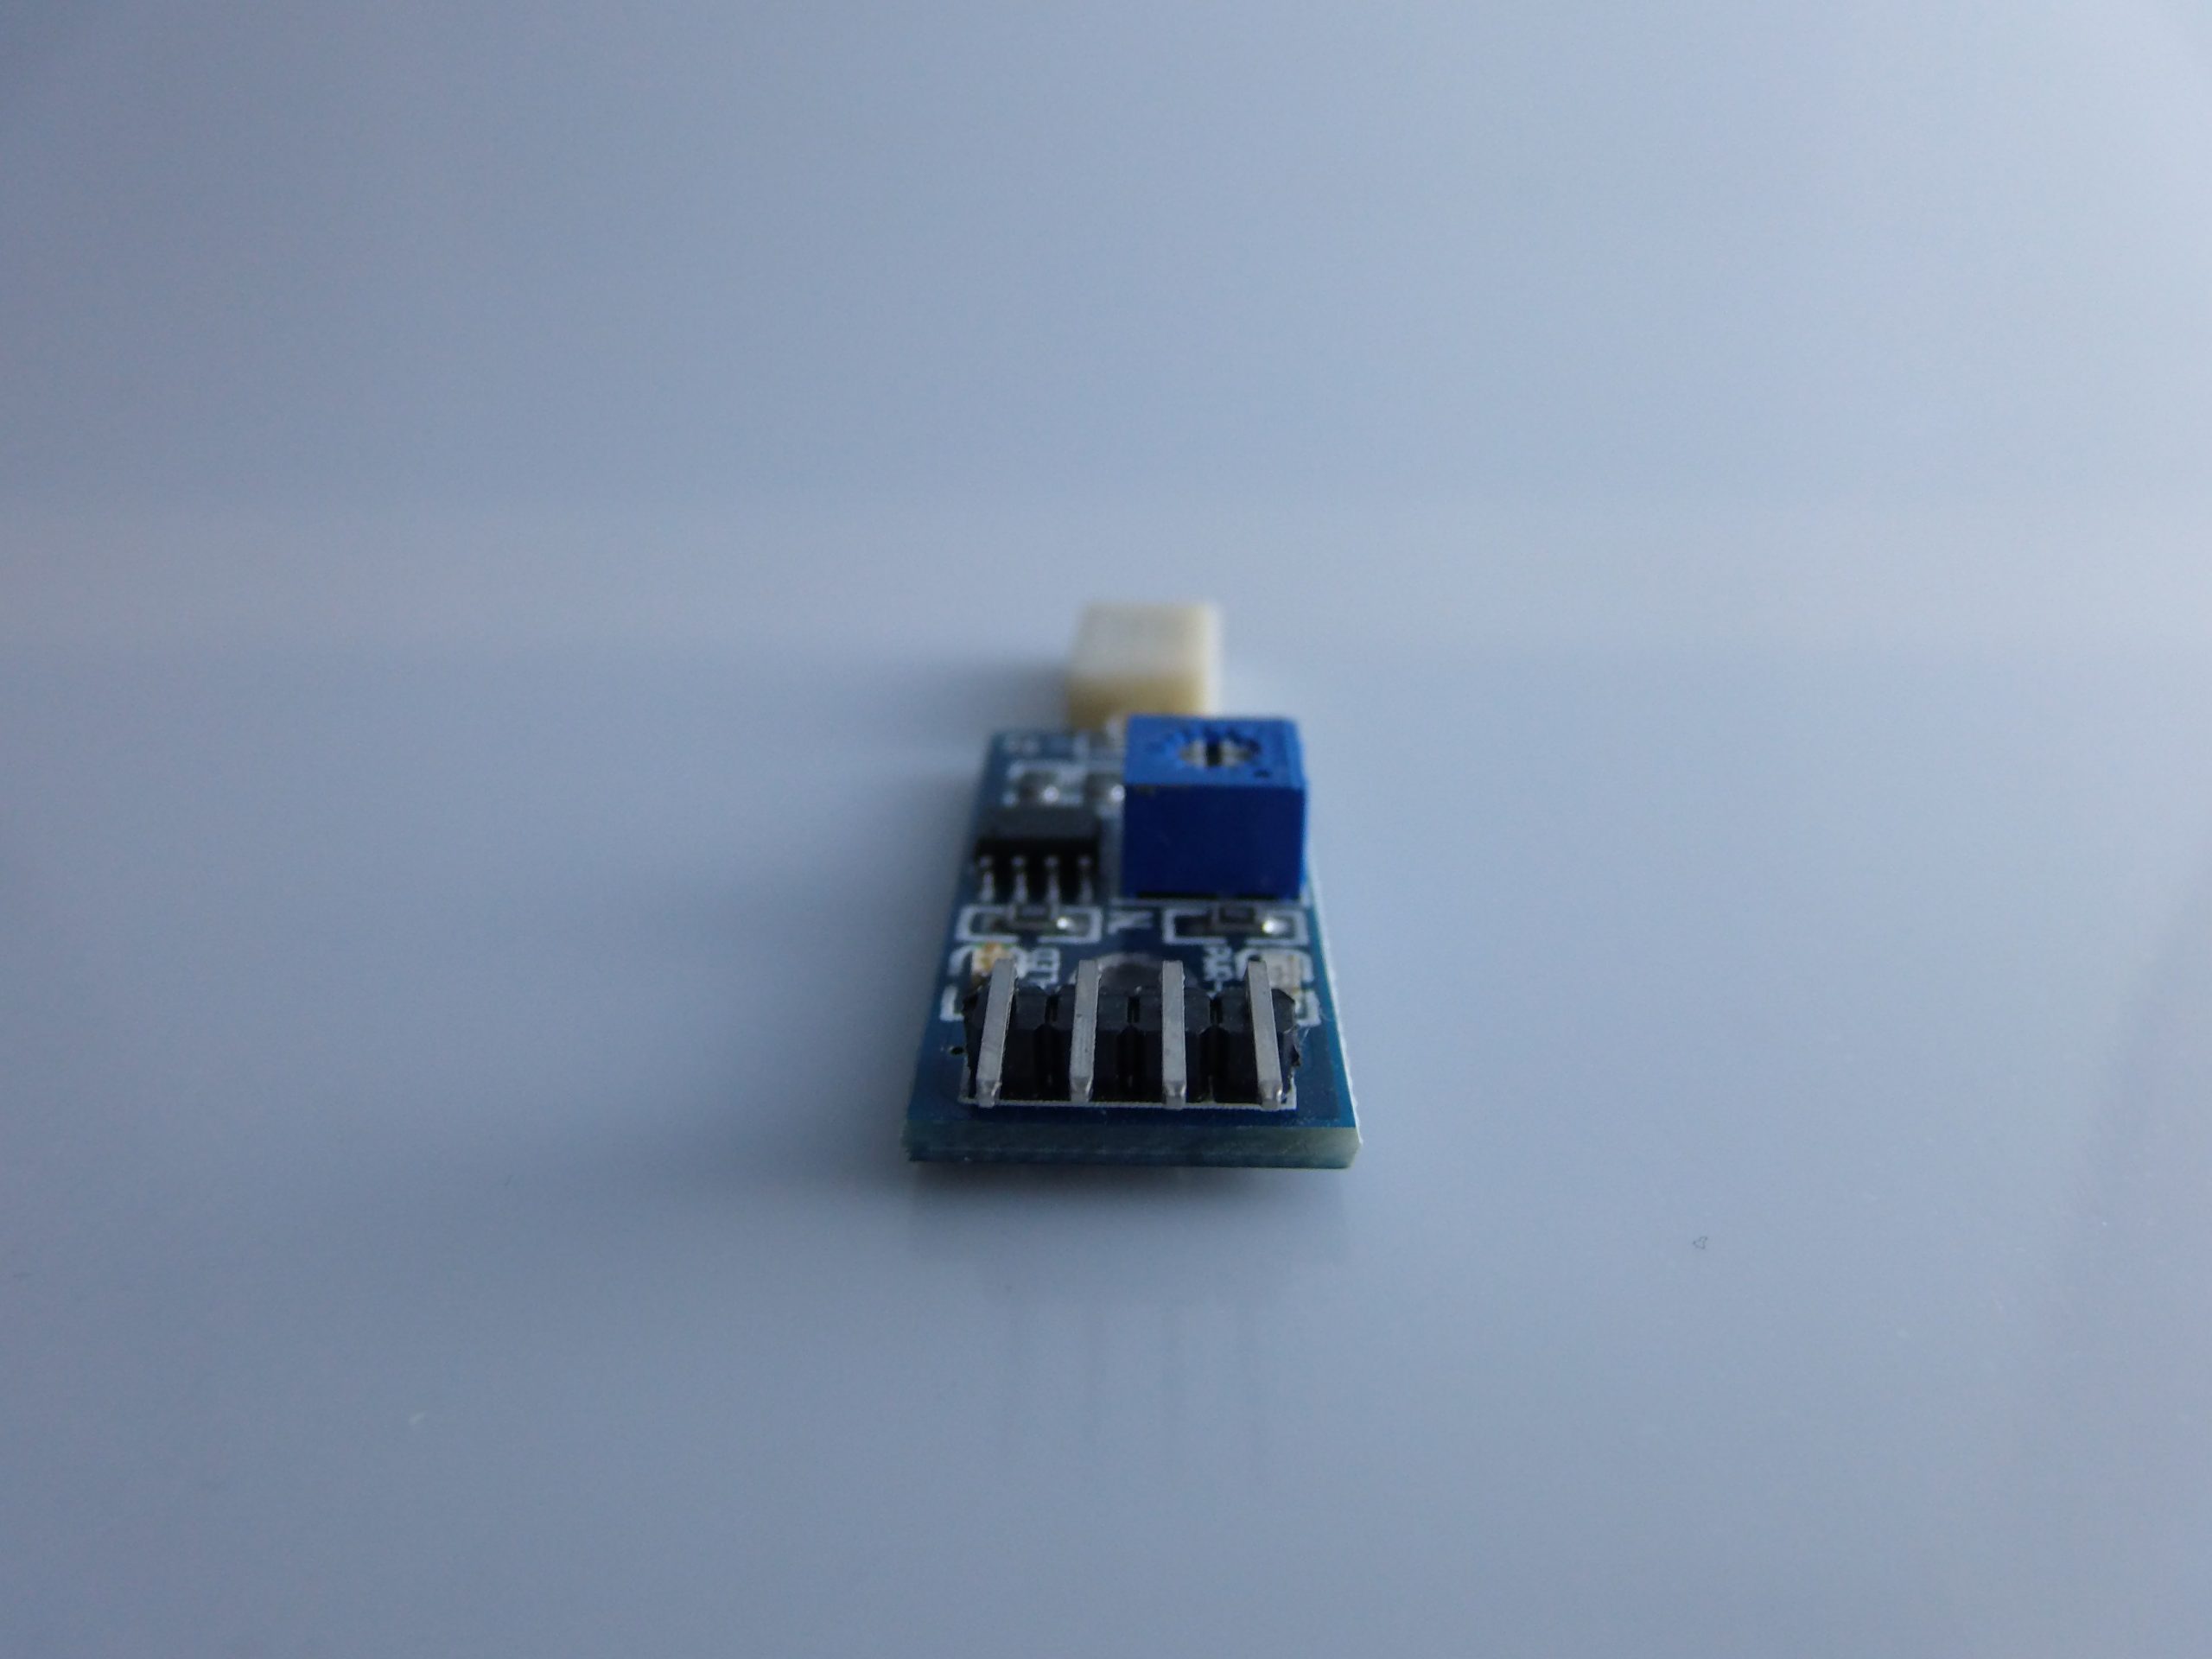
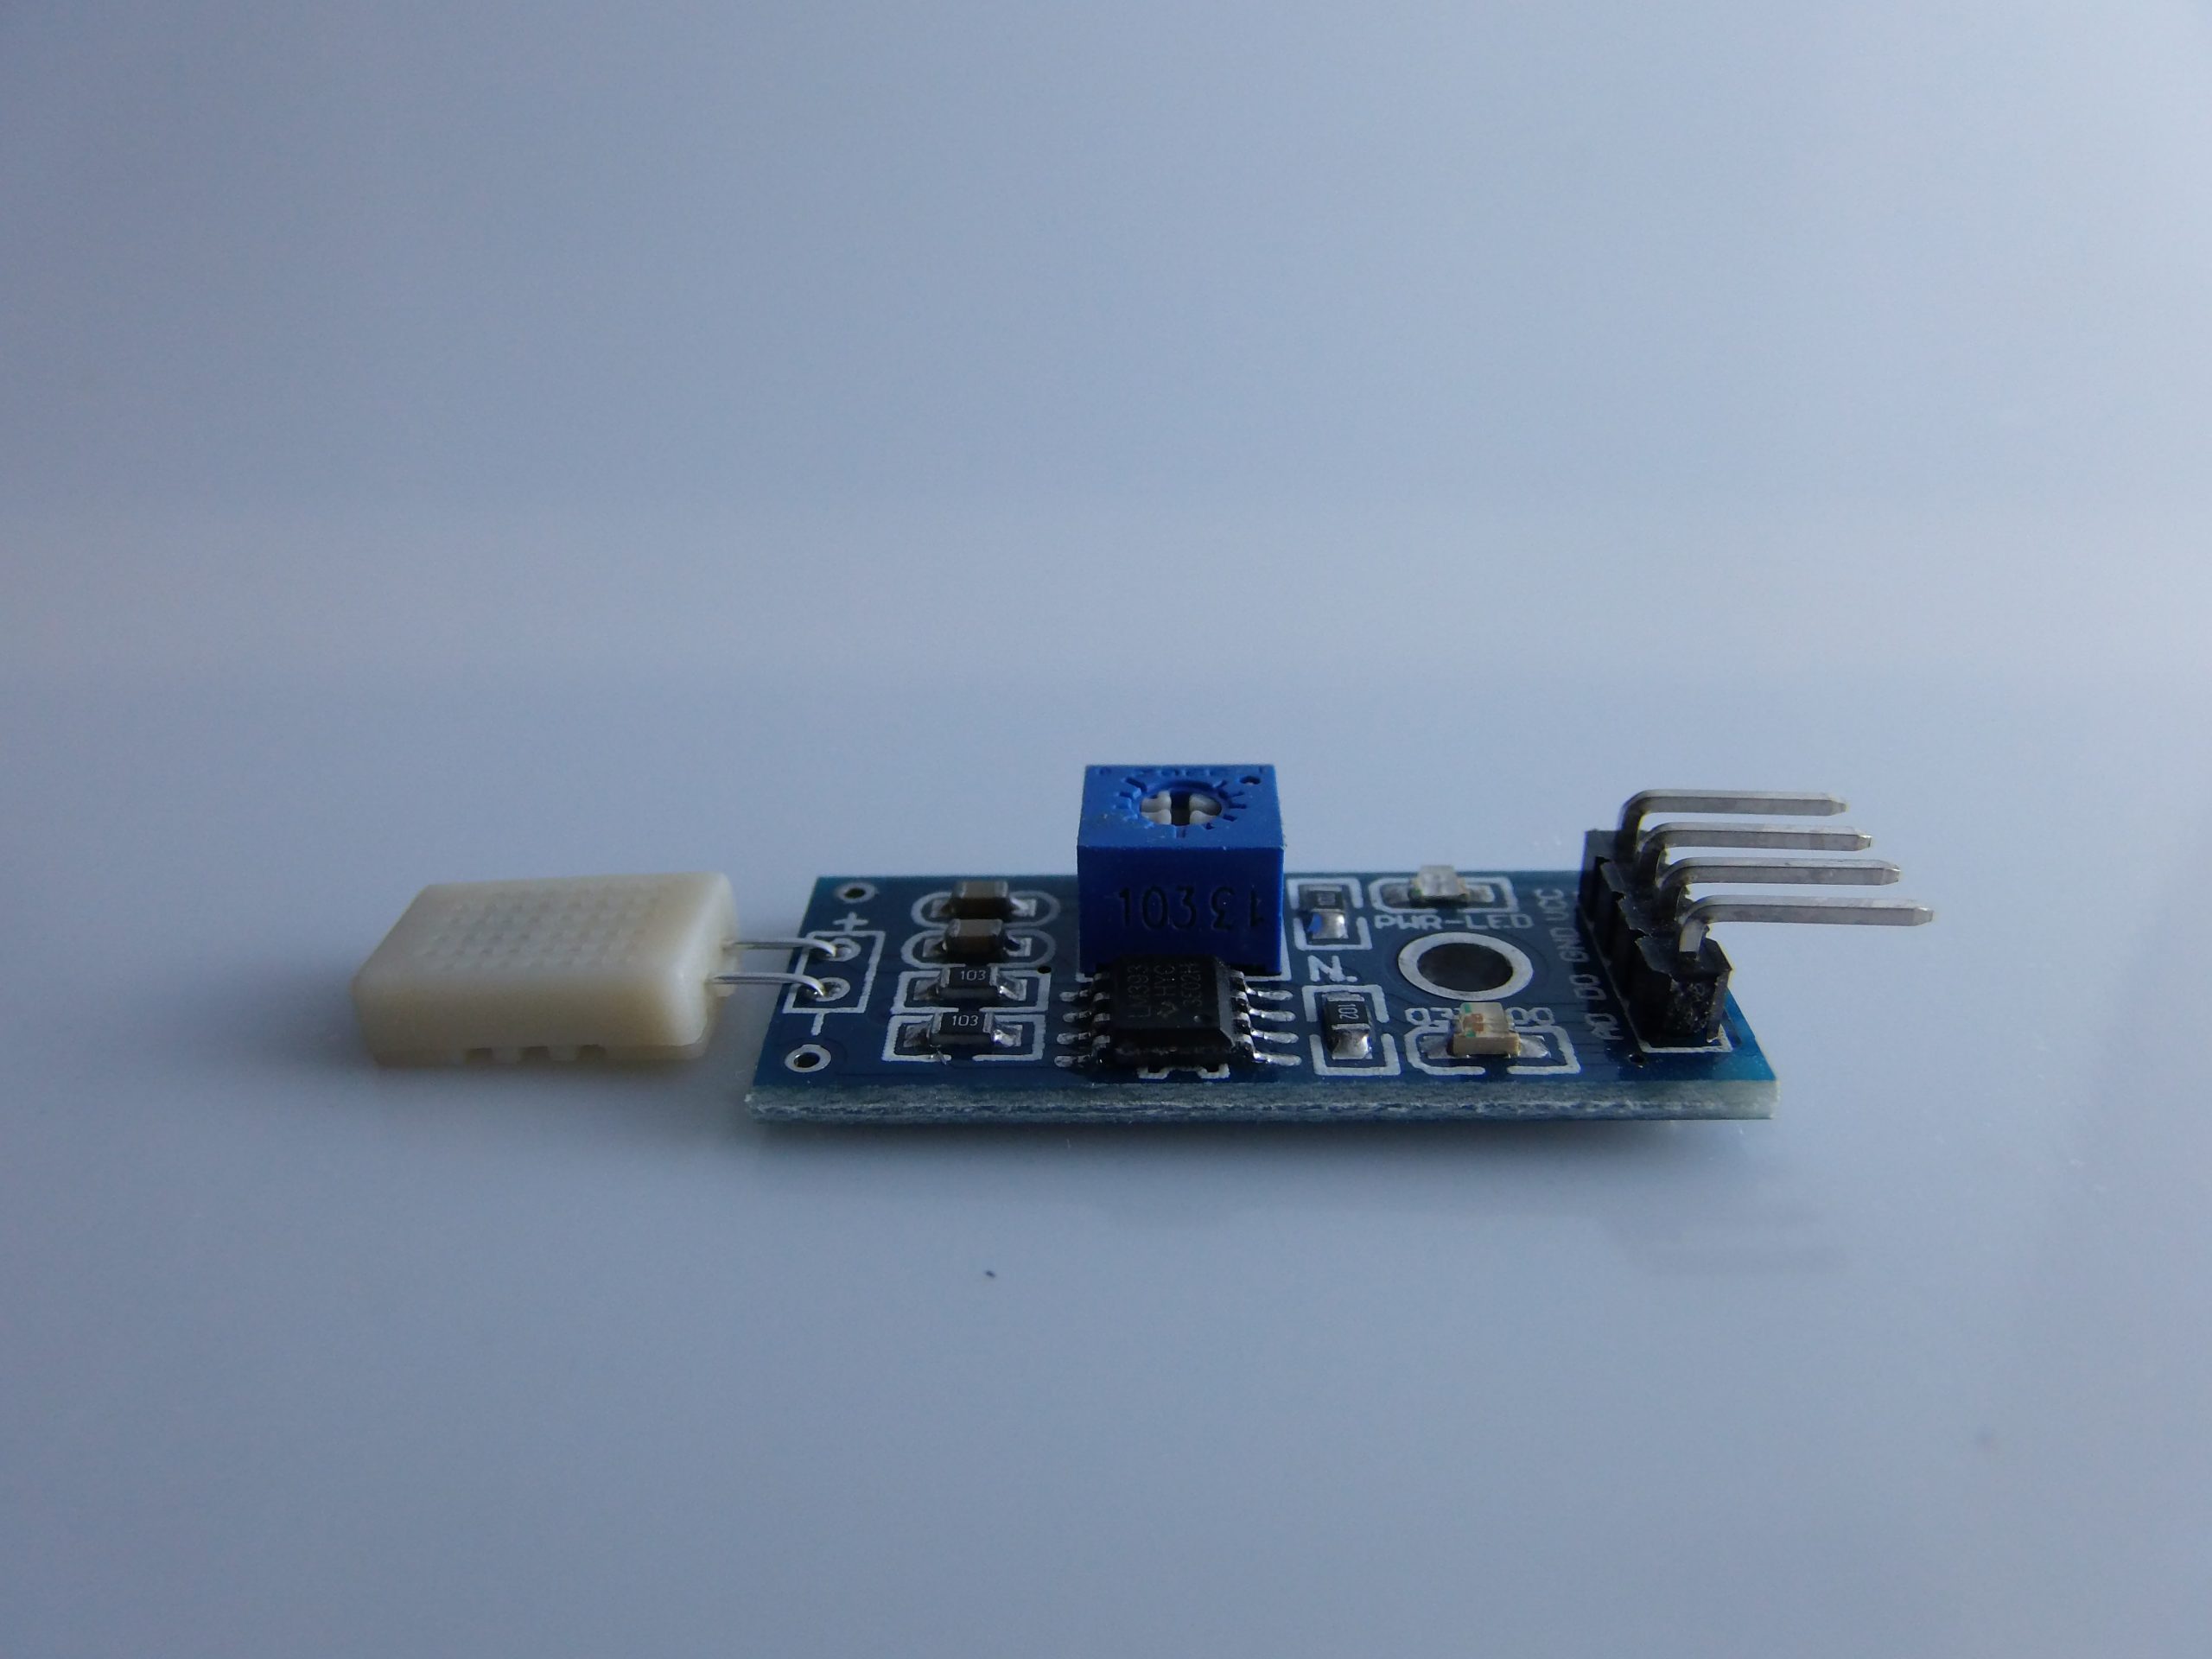
Description
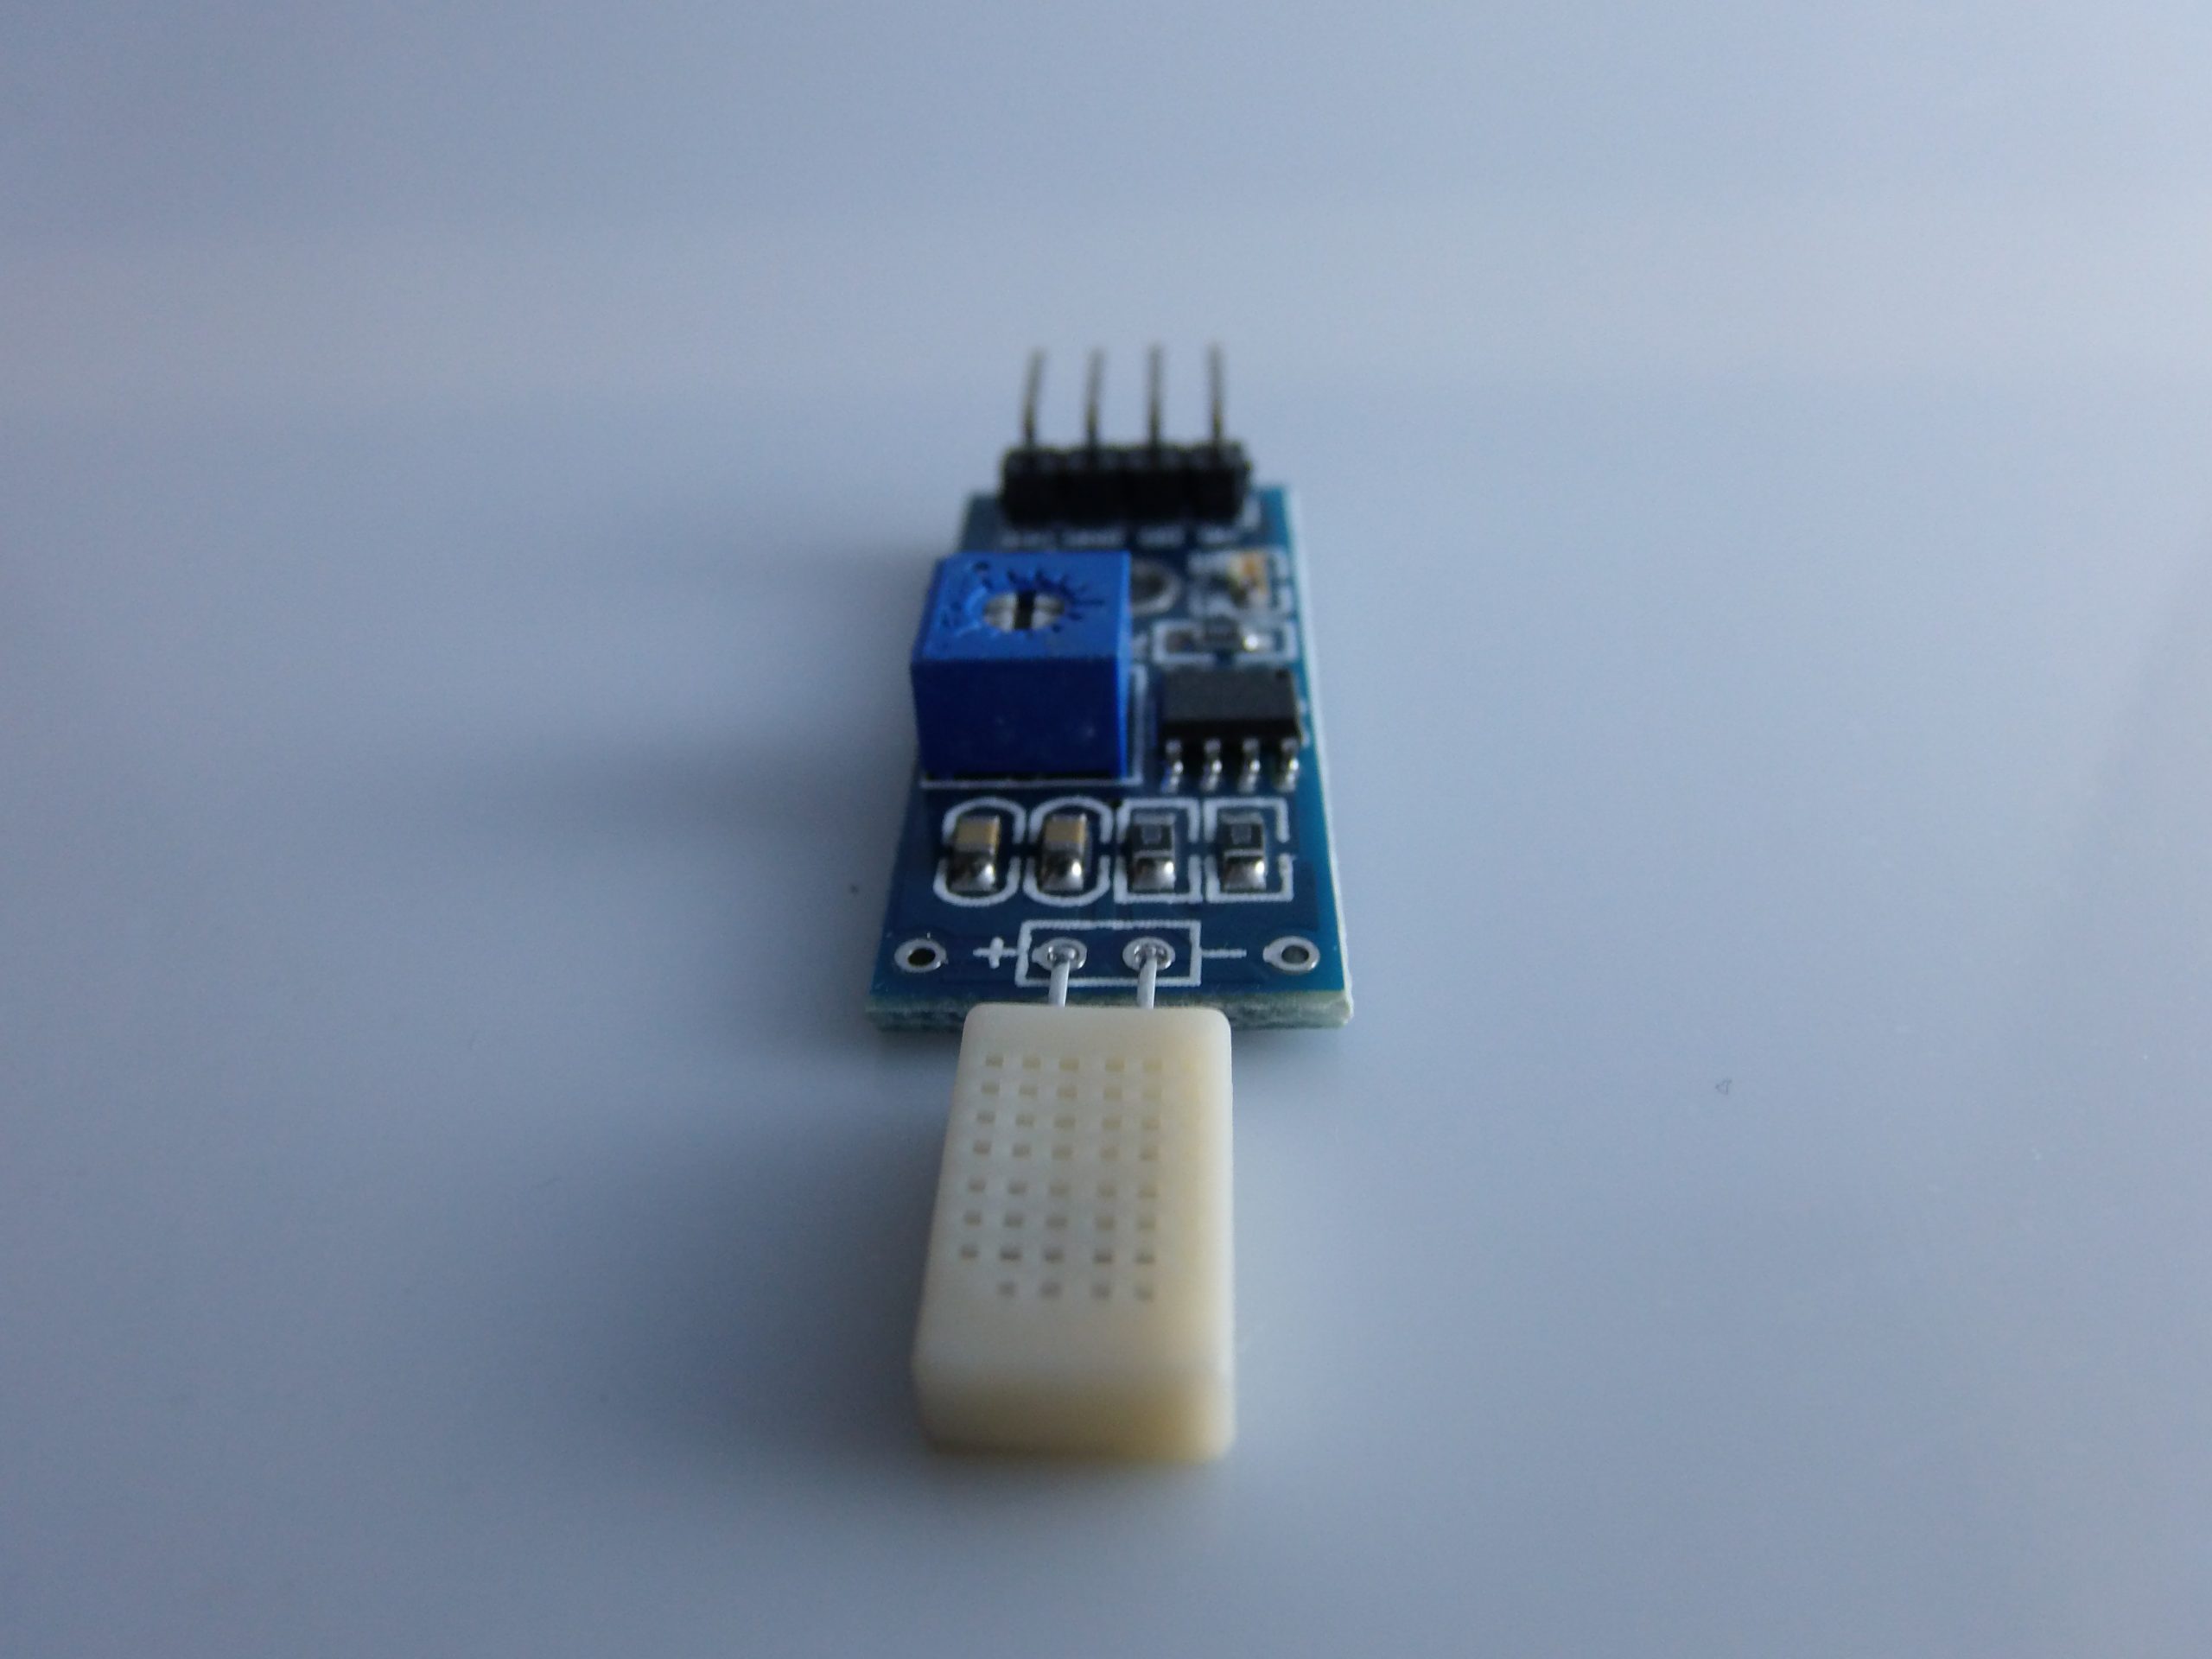
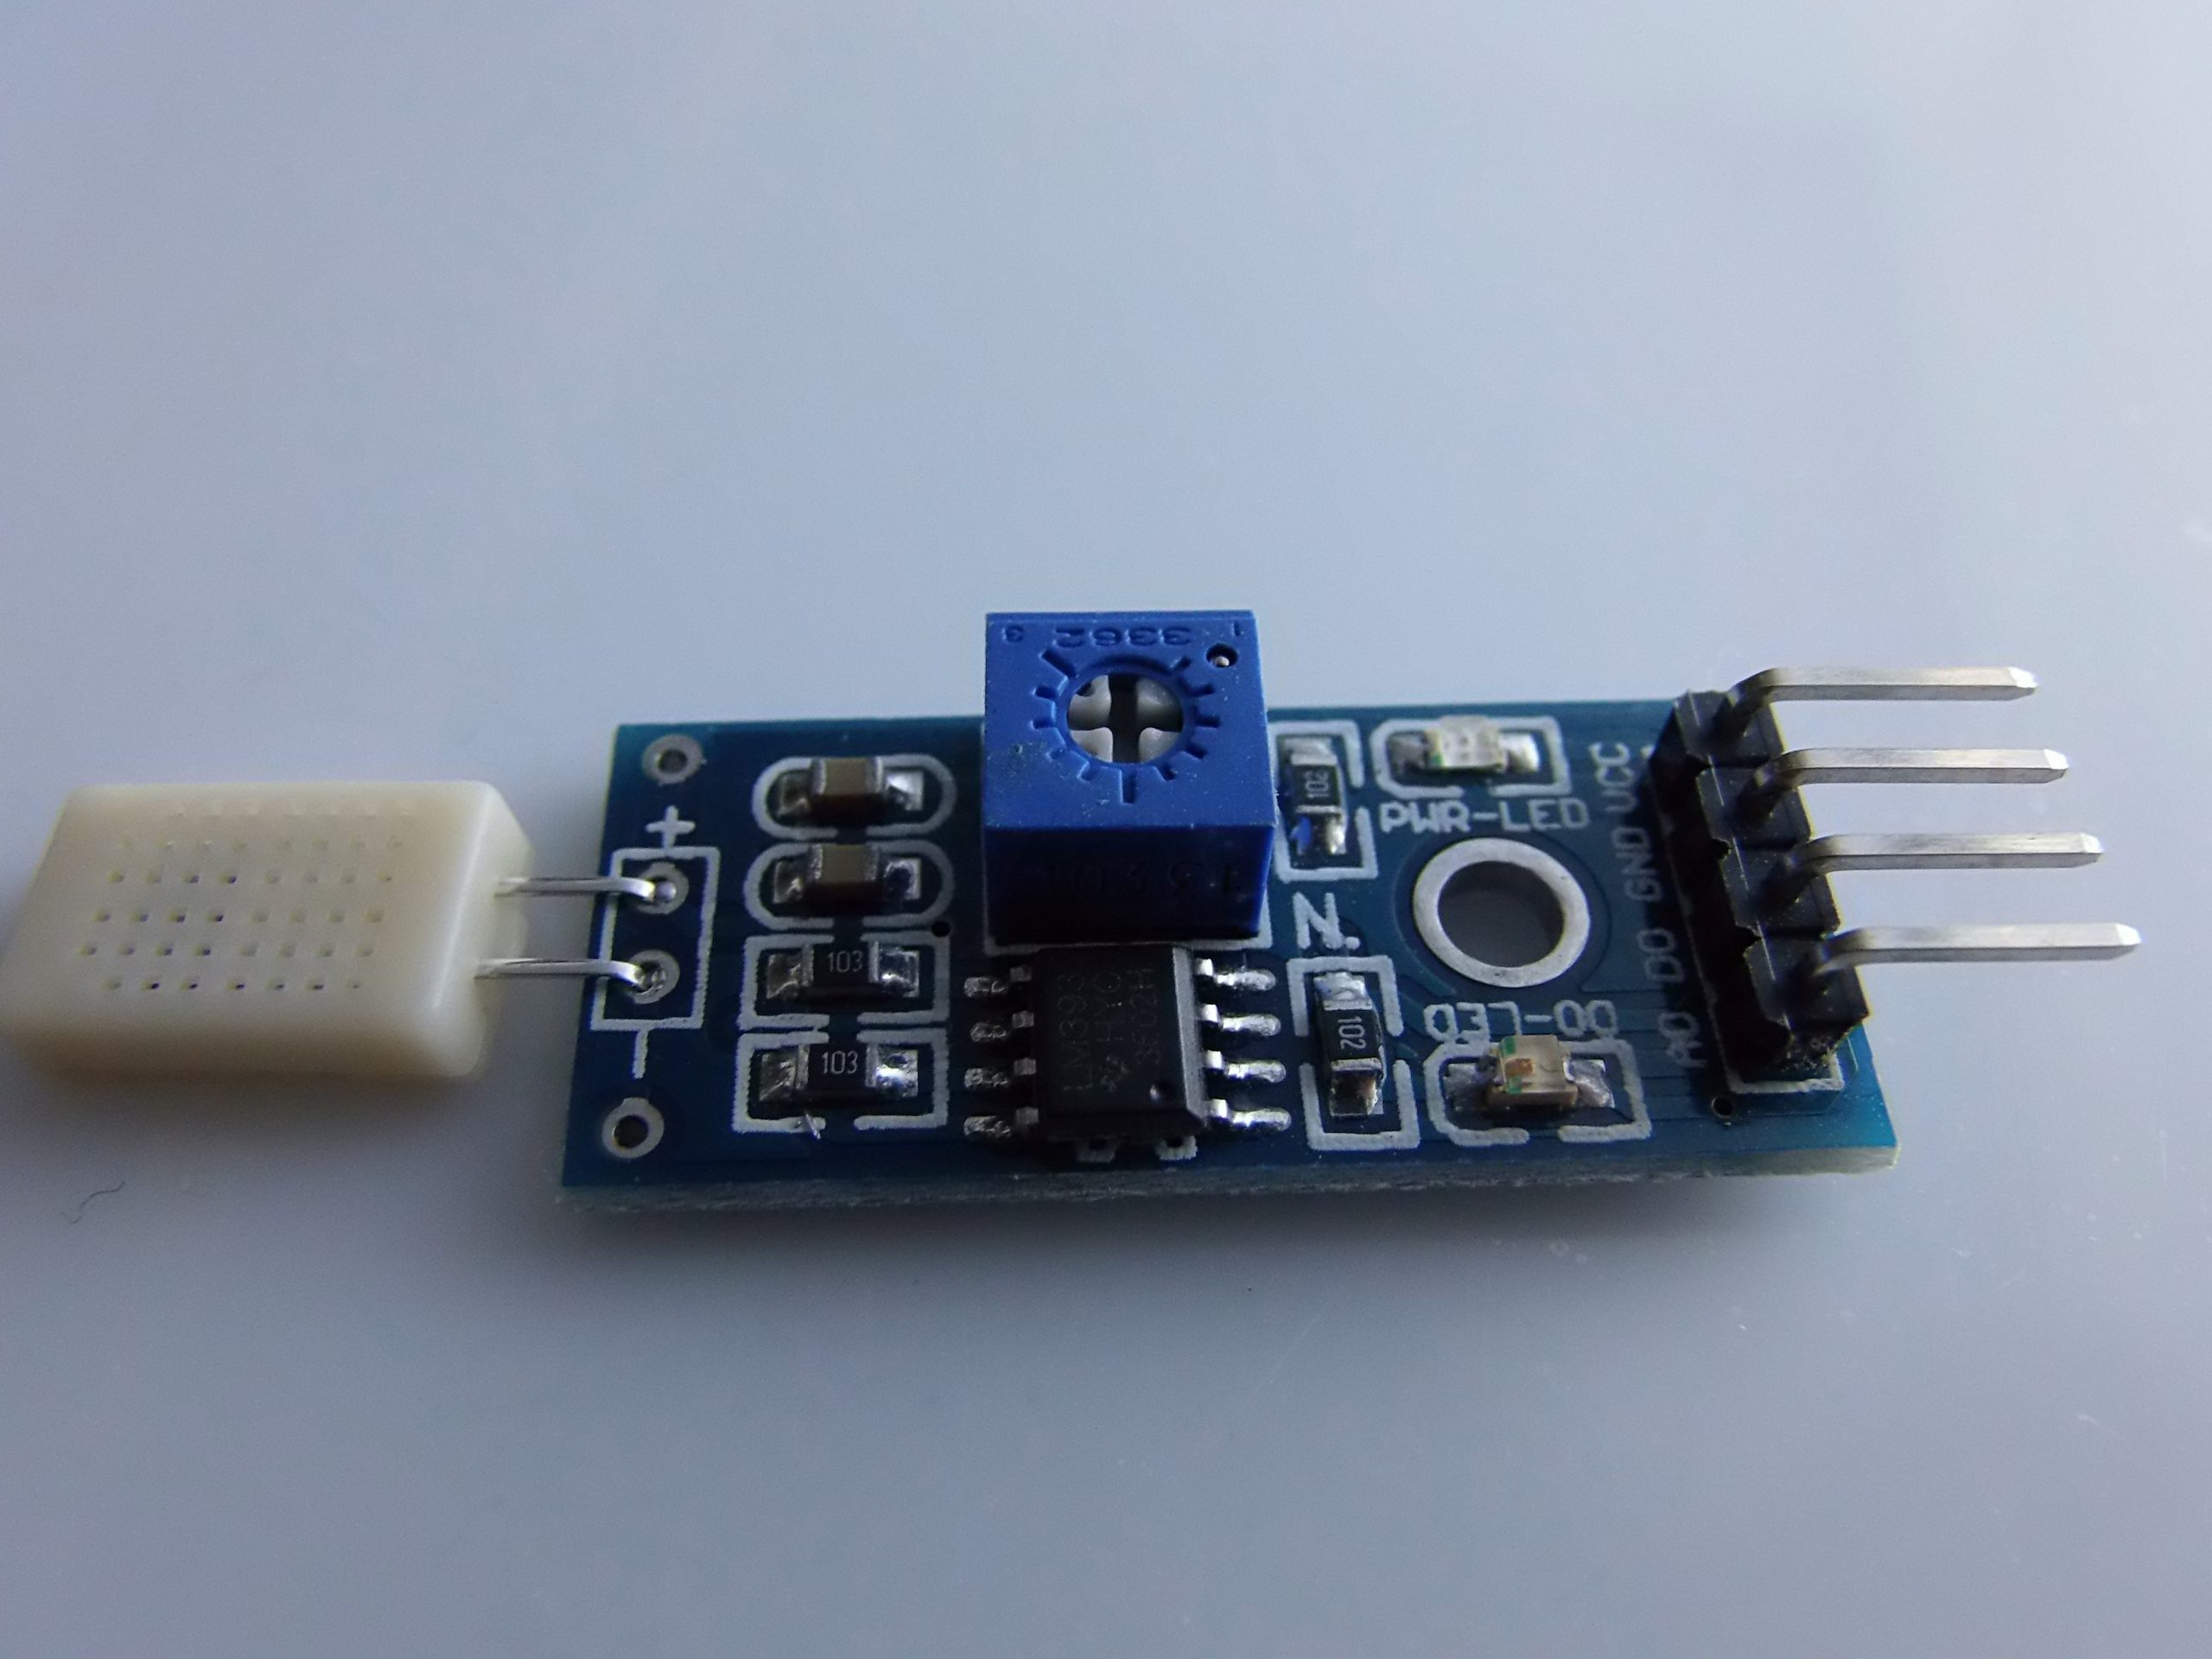
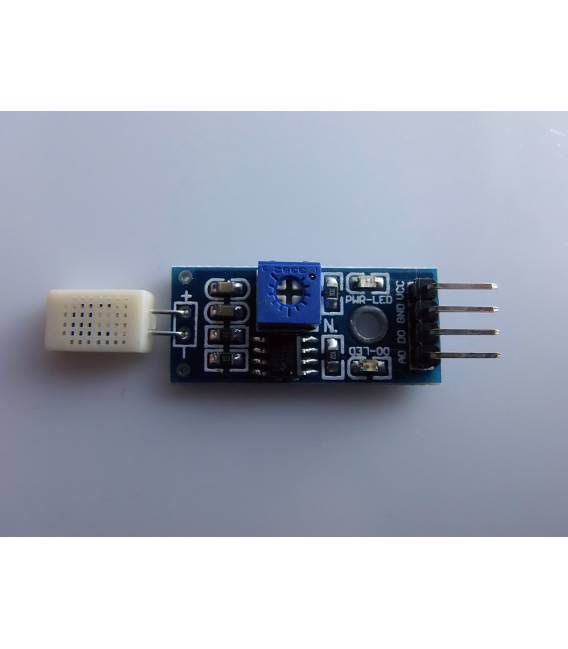
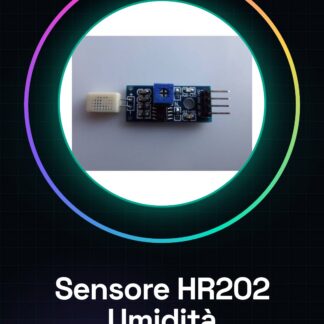
HR202 Humidity Detection Sensor Module
General Description
The HR202 sensor is a capacitive sensor designed to detect relative humidity in the air. It works by measuring the change in electrical capacitance between two electrodes, which varies according to the ambient humidity. This sensor is easy to use, economical, and is often integrated into modules with analog output, making it ideal for environmental monitoring projects with microcontrollers like Arduino.
Main Features:
- Sensor Type: Capacitive
- Relative Humidity Range: approximately 0% – 100% RH (Relative Humidity)
- Output: Analog (varies between 0-5V based on humidity)
- Power Supply: 3.3V – 5V DC
- Power Consumption: Very low
- Response Time: fast, a few seconds
Typical Applications:
- Environmental and climate monitoring
- Smart irrigation systems
- HVAC (heating, ventilation, air conditioning) systems
- DIY projects with Arduino or other microcontrollers
How to use the HR202 Module with Arduino
Required materials:
- Arduino Uno (or compatible)
- HR202 Sensor Module
- Pull-up or pull-down resistor (if needed, often already integrated in the module)
- Jumper wires
- Breadboard (optional)
Electrical connections:
| HR202 pins | Description | Arduino connection |
|---|---|---|
| VCC | Power supply | 5V (Arduino) |
| GND | Ground | GND (Arduino) |
| OUT | Analog Output | Arduino Analog Pin (e.g., A0) |
Programming Guide with Arduino
Objective:
Read the analog value of the HR202 sensor and convert it to an approximate relative humidity (RH) value.
Basic Arduino Code Schema:
const int sensorPin = A0; // Pin analogico collegato all'uscita del sensore HR202
int sensorValue = 0; // Variabile per memorizzare il valore analogico letto

void setup() {
 Serial.begin(9600); // Inizializza la comunicazione seriale
}

void loop() {
 sensorValue = analogRead(sensorPin); // Legge il valore analogico (0-1023)

 // Converti il valore analogico in tensione (0-5V)
 float voltage = sensorValue * (5.0 / 1023.0);

 // Conversione approssimativa da tensione a umidità relativa
 // NOTA: la relazione esatta dipende dal sensore specifico e potrebbe richiedere calibrazione
 float humidity = map(sensorValue, 200, 800, 0, 100); // Esempio di mappatura

 // Limita l'umidità al range 0-100%
 humidity = constrain(humidity, 0, 100);

 Serial.print("Valore analogico: ");
 Serial.print(sensorValue);
 Serial.print(" - Umidità approssimativa: ");
 Serial.print(humidity);
 Serial.println(" %");

 delay(1000); // Aspetta 1 secondo prima della nuova lettura
}
Calibration Tips
- The voltage-humidity curve can vary from sensor to sensor.
- For a more precise calibration, use a professional hygrometer as a reference and record the HR202 sensor values at known humidity levels.
- Adjust the conversion function (e.g., the
map()or formula) to achieve more accurate readings.
Tips and Best Practices
- Avoid exposing the sensor directly to water droplets or condensation.
- Protect the sensor from dust and dirt to maintain accuracy.
- If the module does not include a signal conditioning circuit, it may be useful to add an RC filter to stabilize the reading.
- The reading can be affected by temperature; consider using it in combination with a temperature sensor for advanced corrections.
Great! I propose two more advanced projects with the HR202 sensor:
Project 1: Monitor Humidity with LCD 16×2 Display
Objective:
Read the humidity value from the HR202 sensor and display it in real-time on an LCD 16×2 display using the I2C interface for simplicity.
Materials:
- Arduino Uno
- HR202 Sensor
- LCD 16×2 Display with I2C Module
- Jumper wires
- Resistors (if needed)
Connections:
| Component | Pin | Arduino Connection |
|---|---|---|
| HR202 VCC | 5V | 5V |
| HR202 GND | GND | GND |
| HR202 OUT | Analog A0 | A0 |
| LCD VCC | 5V | 5V |
| LCD GND | GND | GND |
| LCD SDA | SDA (A4) | A4 |
| LCD SCL | SCL (A5) | A5 |
Example Arduino Code:
#include <Wire.h>
#include <LiquidCrystal_I2C.h>

LiquidCrystal_I2C lcd(0x27, 16, 2); // Indirizzo I2C comune per il modulo LCD

const int sensorPin = A0;

void setup() {
 lcd.init();
 lcd.backlight();
 Serial.begin(9600);
}

void loop() {
 int sensorValue = analogRead(sensorPin);
 float voltage = sensorValue * (5.0 / 1023.0);
 float humidity = map(sensorValue, 200, 800, 0, 100);
 humidity = constrain(humidity, 0, 100);

 lcd.clear();
 lcd.setCursor(0, 0);
 lcd.print("Umidita':");
 lcd.setCursor(0, 1);
 lcd.print(humidity);
 lcd.print(" % RH");

 Serial.print("Valore analogico: ");
 Serial.print(sensorValue);
 Serial.print(" - Umidita' approssimativa: ");
 Serial.print(humidity);
 Serial.println("%");

 delay(1000);
}
Project 2: Humidity Alarm System
Objective:
Detect when humidity exceeds a critical threshold and activate an acoustic alarm (buzzer) and/or an LED.
Materials:
- Arduino Uno
- HR202 Detector
- Piezo Buzzer or Horn
- LED
- 220Ω Resistor for the LED
- Jumper Wires
Connections:
| Component | Pin | Arduino Connection |
|---|---|---|
| HR202 OUT | Analog A0 | A0 |
| Buzzer + | Digital Pin 8 | 8 |
| Buzzer – | GND | GND |
| LED + | Digital Pin 9 | 9 |
| LED – | 220Ω Resistor | GND |
Example Arduino Code:
const int sensorPin = A0;
const int buzzerPin = 8;
const int ledPin = 9;

const int sogliaUmidita = 70; // Soglia in % per attivare allarme

void setup() {
 pinMode(buzzerPin, OUTPUT);
 pinMode(ledPin, OUTPUT);
 Serial.begin(9600);
}

void loop() {
 int sensorValue = analogRead(sensorPin);
 float humidity = map(sensorValue, 200, 800, 0, 100);
 humidity = constrain(humidity, 0, 100);

 Serial.print("Umidita': ");
 Serial.print(humidity);
 Serial.println("%");

 if (humidity > sogliaUmidita) {
 digitalWrite(buzzerPin, HIGH);
 digitalWrite(ledPin, HIGH);
 } else {
 digitalWrite(buzzerPin, LOW);
 digitalWrite(ledPin, LOW);
 }

 delay(1000);
}
|
GENERAL |
MODEL |
HR202 |
|
MATERIALS |
pcb + components |
|
|
COMPATIBILITY |
ARDUINO |
|
|
ELECTRICAL COMPONENTS |
INPUT VOLTAGE |
3,3-5V |
|
WEIGHT AND DIMENSIONS |
PRODUCT WEIGHT |
7g |
|
PACKAGE WEIGHT |
0.085 kg |
|
|
PRODUCT DIMENSIONS (L x W x H) |
5.5 x 1.5 x 1 cm |
|
|
PACKAGE DIMENSIONS (L x W x H) |
7 x 5 x 2 cm |
|
|
PACKAGE CONTENTS |
PACKAGE CONTENTS |
1 x Module |
We have datasheets available for all components, if not present in the product download sheet, send us a message via the contact form and we will publish it as soon as possible on our website.
Tutorial: How to Use HR202 Humidity Detection Module
The HR202 humidity detection module is a useful component for projects requiring the measurement of relative humidity in the air. Ideal for both beginners and more experienced makers, this sensor can be used in various contexts such as smart agriculture, environmental monitoring, and automatic control systems.
What you need
- Arduino or compatible microcontroller
- USB Connection (if necessary)
- Power Supply 3.3V-5V
Steps
- Connect the HR202 module to the Arduino using the available GPIO connectors.
- Check the proper power supply of the sensor (check the datasheet for VCC and GND pins).
- Connect the analog output of the sensor to the Arduino’s analog pin A0.
- Open the Arduino IDE software and install the necessary libraries if they are not already present.
- Load the example sketch provided in the tutorial or write a simple script to read values from the HR202 sensor.
- Monitor the Arduino IDE console to display the detected humidity data.
- Verify that the values are consistent with the current environmental conditions (check the datasheet).
- Adjust the code if necessary to improve the accuracy of the measurements.
Example code
void setup() {
 Serial.begin(9600);
}

void loop() {
 int umidita = analogRead(A0); // Leggi dal sensore HR202 collegato a A0
 Serial.println(umidita); // Invia i dati alla console del software Arduino IDE
}
Mini project
Create an excessive humidity alarm system. When the humidity level exceeds a certain threshold, send an SMS or email message.
Common mistakes
- Connect the sensor with reversed polarity.
- Use a power supply voltage that is not compatible with the sensor specifications (check the datasheet).
- Do not install the necessary libraries before uploading the sketch.
- Ignore anomalous values without checking the connection or configuration.
Recommended accessories
- Wi-Fi Module ESP8266
- 16×2 LCD Display
- LiPo Battery for portable power supply
Frequently asked questions
How can I calibrate the HR202 sensor?
To calibrate the sensor, compare the detected values with those measured by a precision digital thermometer and adjust the script to correct any discrepancies (check the datasheet).
Does the sensor work in extreme conditions?
Check the HR202 sensor specifications regarding operating temperature and humidity (check the datasheet).
Reviews
There are no reviews yet.