 EN
 IT Italiano
 ES Español
 FR Français
 DE Deutsch
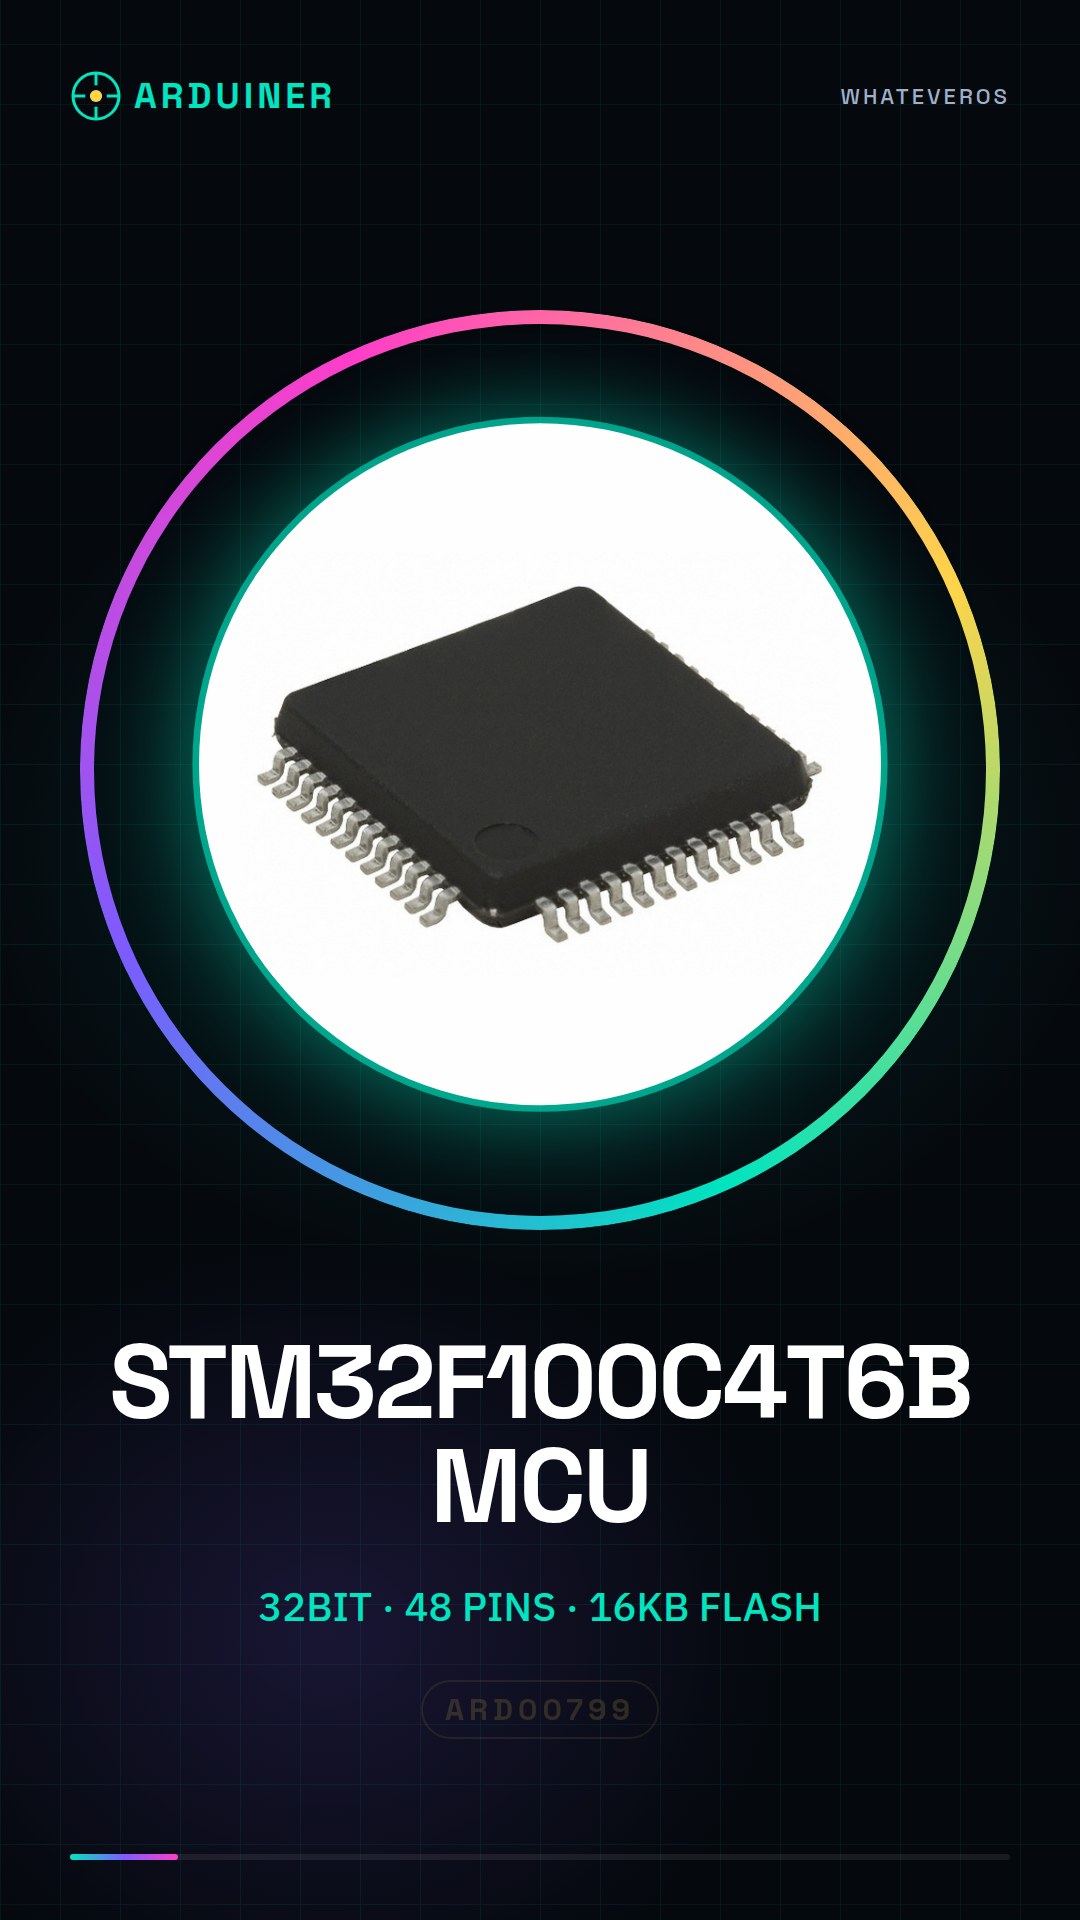
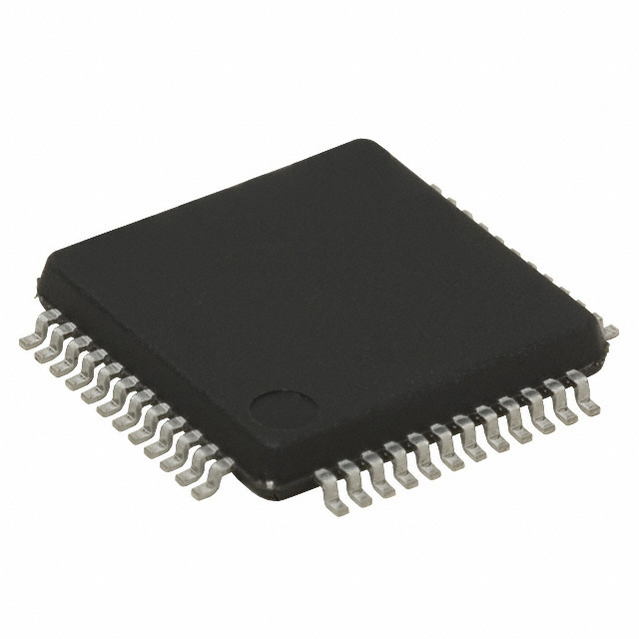
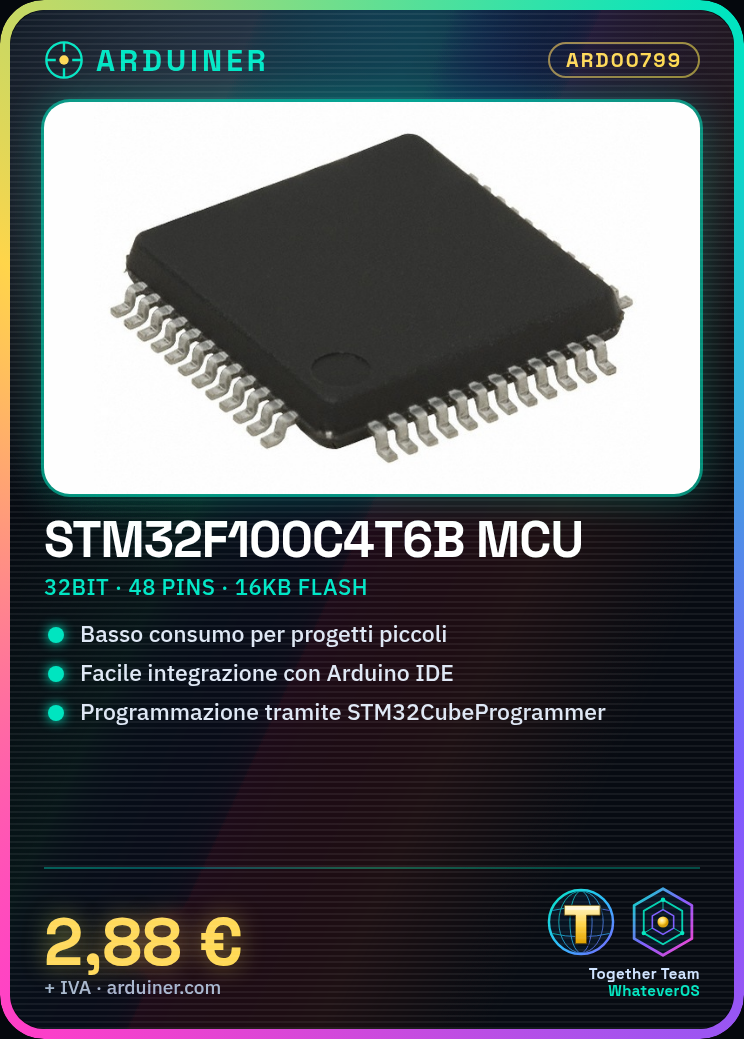
Description
Tutorial: How to Use STM32F100C4T6B MCU
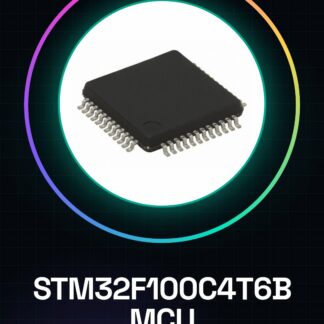
The STM32F100C4T6B microcontroller is ideal for projects that require a low-power processor with small dimensions. This guide will help you get started with your first project using this powerful MCU.
What you need
- Arduino IDE installed
- Solderless Breadboard
- Jumper Wires
- STM32CubeProgrammer or other programming software
Steps
- Install the Arduino IDE and add the STM32duino library.
- Configure the microcontroller as ‘Generic STM32F100’.
- Connect the GND, VCC, and SWD (SWDIO, SWCLK) pins to the solderless breadboard.
- Load a test sketch using the ‘Upload using programmer’ option.
- Verify communication with the microcontroller through the Arduino IDE Serial Monitor.
Example code
void setup() {
  Serial.begin(115200);
}

void loop() {
  Serial.println("STM32F100C4T6B is working!");
}
Mini project
Create a button counter with the STM32F100. Connect two buttons and an LED to the microcontroller, then write a sketch that increments a count each time a button is pressed.
Common mistakes
- Do not configure the IDE correctly for the STM32.
- Incorrect SWD pin connection.
- Insufficient power supply issue.
- Unresolved serial communication problems.
Recommended accessories
- STM32CubeProgrammer
- Large undercarriage
- LiPo battery to power the project
- LEDs of various colors
Frequently asked questions
How can I upload a sketch to STM32F100C4T6B?
Use the ‘Upload using programmer’ option in the Tools menu of Arduino IDE and make sure the SWD pins are correctly connected.
Which libraries are needed to develop with STM32F100C4T6B?
The STM32duino library is sufficient, but check the datasheet for any specific features.
Reviews
There are no reviews yet.