 EN
 IT Italiano
 ES Español
 FR Français
 DE Deutsch
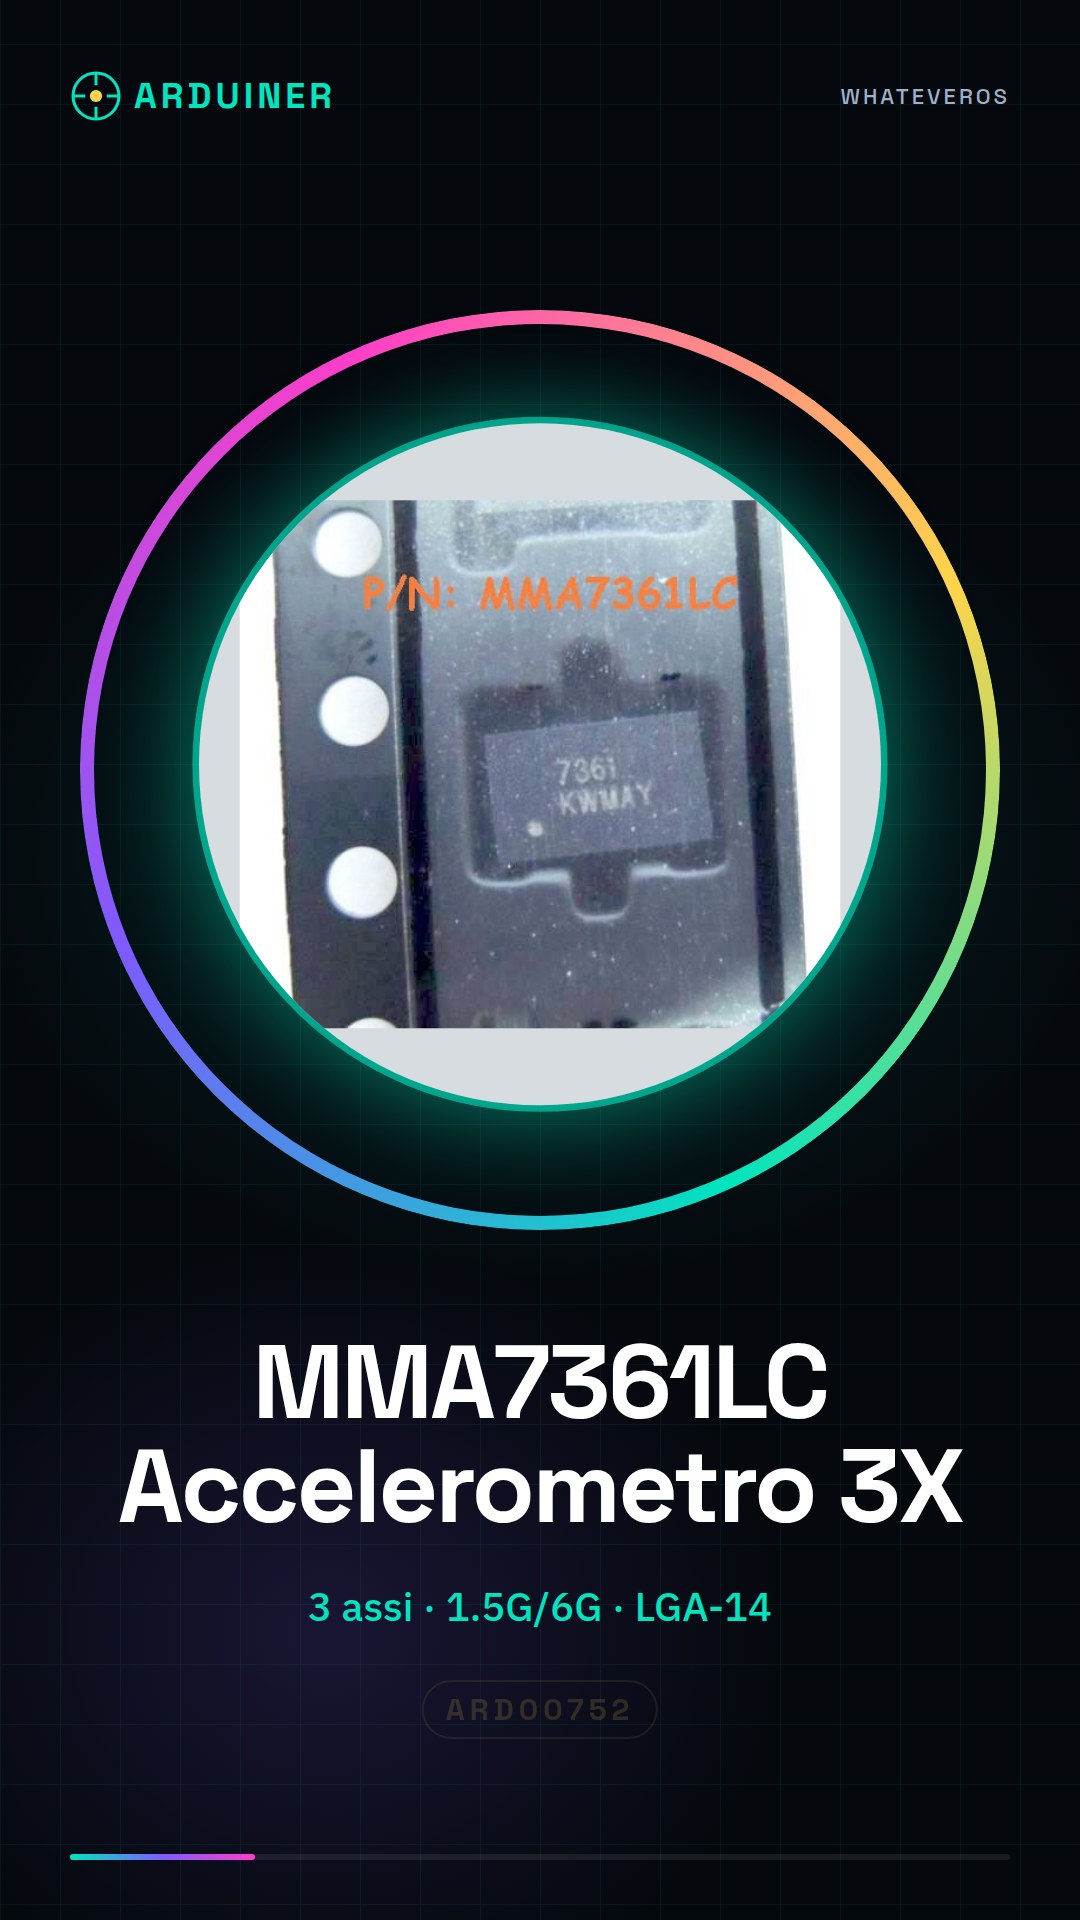
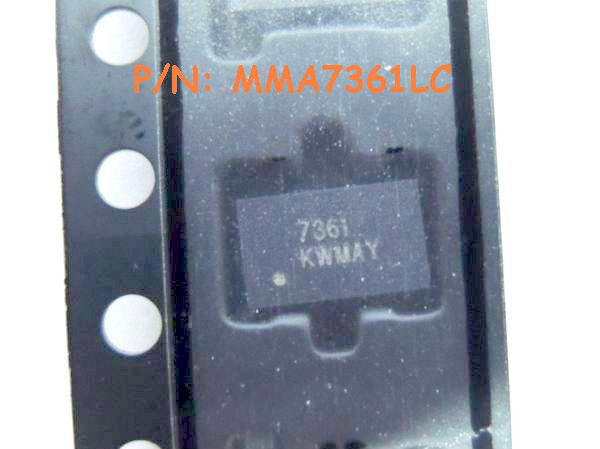
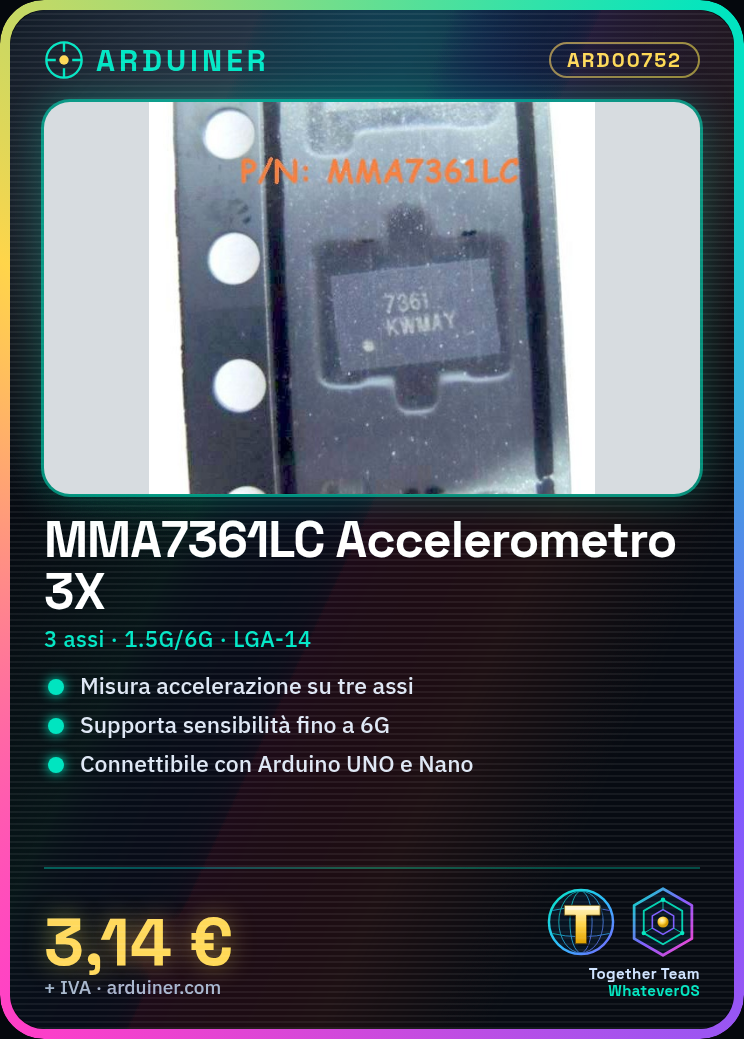
Description
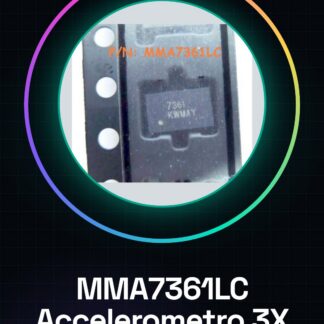
Tutorial: How to Use MMA7361LC
The MMA7361LC accelerometer is ideal for measuring acceleration in three axes. Useful for human-machine interface projects and sensorization.
What you need
- Arduino UNO or compatible
- 5V power supply cable
- Multimeter
- Soldering iron
Steps
- 1. Installation: Download and install the MMA7361LC library on the Arduino IDE.
- 2. Connection: Connect GND of Arduino to GND of MMA7361LC, VCC to 3.3V (check the datasheet), SDA to SDA and SCL to SCL.
- 3. Code: Load the provided minimal sketch.
- 4. Test: Verify acceleration data with Serial Monitor.
- 5. Configuration: Change sensitivity (check the datasheet) with configuration commands.
- 6. Calibration: Calibrate the accelerometer in different positions.
- 7. Test: Mount the accelerometer on a project and measure acceleration.
- 8. Debug: If data is incorrect, check connections and configuration.
Example code
```cpp
#include <Wire.h>
#include <MMA7361LC.h>

MMA7361LC acc;

void setup() {
  Serial.begin(9600);
  acc.begin();
}

void loop() {
  int x, y, z;
  acc.getXYZ(&x, &y, &z);
  Serial.print("X: "); Serial.println(x);
  Serial.print("Y: "); Serial.println(y);
  Serial.print("Z: "); Serial.println(z);
  delay(1000);
}
```
Mini project
Build a shake-based game using an accelerometer. In 30 minutes, you can program an audio signal to sound when the accelerometer is shaken.
Common mistakes
- Incorrect connection: Check pins SDA and SCL.
- Incorrect power supply: Use 3.3V, not 5V.
- Library not up to date: Make sure you have the latest version.
- Incorrect configuration: Check sensitivity parameters.
Recommended accessories
- Arduino UNO
- 3.3V power supply cable
- Parasite
- 10kΩ resistor
Frequently asked questions
How to calibrate the accelerometer?
Calibrate in vertical and horizontal positions.
What is the maximum sensitivity?
6G, check the datasheet.
Can it work with Arduino Nano?
Yes, but use 3.3V.
What are the usage limits?
Do not exceed 6G of acceleration.
Reviews
There are no reviews yet.