 EN
 IT Italiano
 ES Español
 FR Français
 DE Deutsch
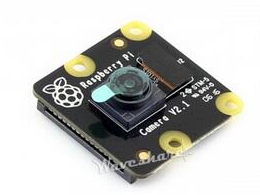
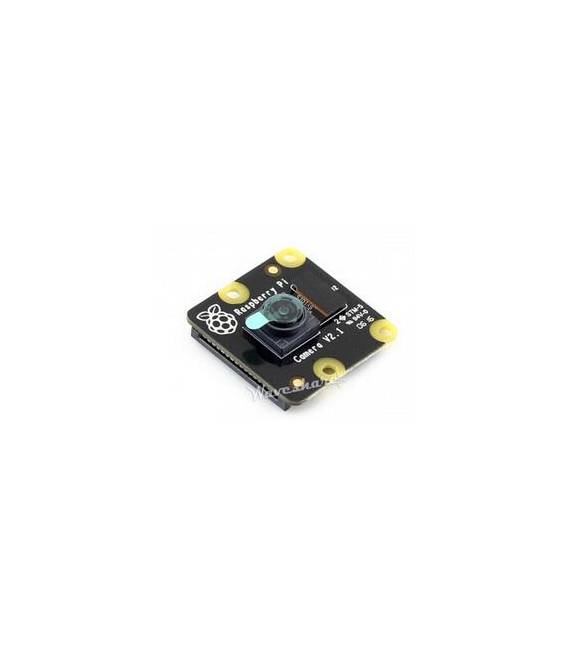
Description
What it is
The RPi NoIR Camera V2 is a camera for Raspberry Pi that allows image acquisition even in low-light conditions thanks to the integration of an infrared illumination system.
Features
- Supports night vision
- Compatible with Raspberry Pi
- SKU: ARD009370
- Price: 33.93 €
What it is for
The RPi NoIR Camera V2 is ideal for projects that require good image quality even in low-light conditions. It can be used to create home security systems, for astronomical observation, or for any project that requires capturing images in low-light conditions.
Tutorial: How to use RPi NoIR Camera V2
The RPi NoIR V2 camera is ideal for projects that require good image quality even in low-light conditions. It is particularly useful for makers and Raspberry Pi enthusiasts who want to explore night vision or astronomy. This tutorial will guide you step by step through the installation and configuration of this camera.
What you need
- Raspberry Pi
- SD card with Raspbian operating system installed
- USB A to micro USB cable to power the Raspberry Pi
- CSI connector (Camera Serial Interface) or adapter
Steps
- Install the V4L2 software using the command ‘sudo apt-get install v4l-utils’ in a Raspberry Pi terminal.
- Check that the camera hardware is recognized by the Raspberry Pi by running the command ‘v4l2-ctl –list-devices’.
- Click Start and select System Configuration from the main menu to enable the camera.
- Install picamera using pip install with the command ‘sudo apt-get update && sudo apt-get install python3-pip’ followed by ‘pip3 install picamera’.
- Physically mount the camera to the Raspberry Pi using a CSI connector or an adapter.
- Run a test script to verify that the camera is functioning correctly. You can find examples in /usr/local/lib/python3/dist-packages/picamera/examples/.
- Configure camera settings such as ISO, exposure, and other parameters through the Python Picamera software.
- Save and close the text editor to save changes after creating a test script.
Example code
import picamera
with picamera.PiCamera() as camera:
    camera.resolution = (1280, 720)
    camera.start_preview()
    camera.capture('foto_test.jpg')
    camera.stop_preview()
Mini project
Create a home security system that takes photos when motion is detected. Use a RPi NoIR V2 camera and a PIR motion sensor.
Common mistakes
- V4L2 software is not installed correctly.
- The camera is not recognized by the Raspberry Pi after the operating system installation.
- Incorrect camera settings causing low image quality.
- Insufficient power supply issues for the camera and Raspberry Pi.
Recommended accessories
- PIR sensor
- Raspberry Pi Camera Board
- PCB Prototype Kit
- USB 5V Power Supply
Frequently asked questions
How can I access the camera software?
You can use the command ‘v4l2-ctl –list-devices’ to check that the hardware is recognized and then install picamera with pip3.
What are the maximum image sizes I can capture?
Check the datasheet of the RPi NoIR V2 camera.
How can I configure the camera’s light sensitivity?
Use the command ‘v4l2-ctl –set-ctrl exposure_auto=1’ to activate manual mode and then adjust parameters like ISO and exposure.
Reviews
There are no reviews yet.