 EN
 IT Italiano
 ES Español
 FR Français
 DE Deutsch
Description
What it is
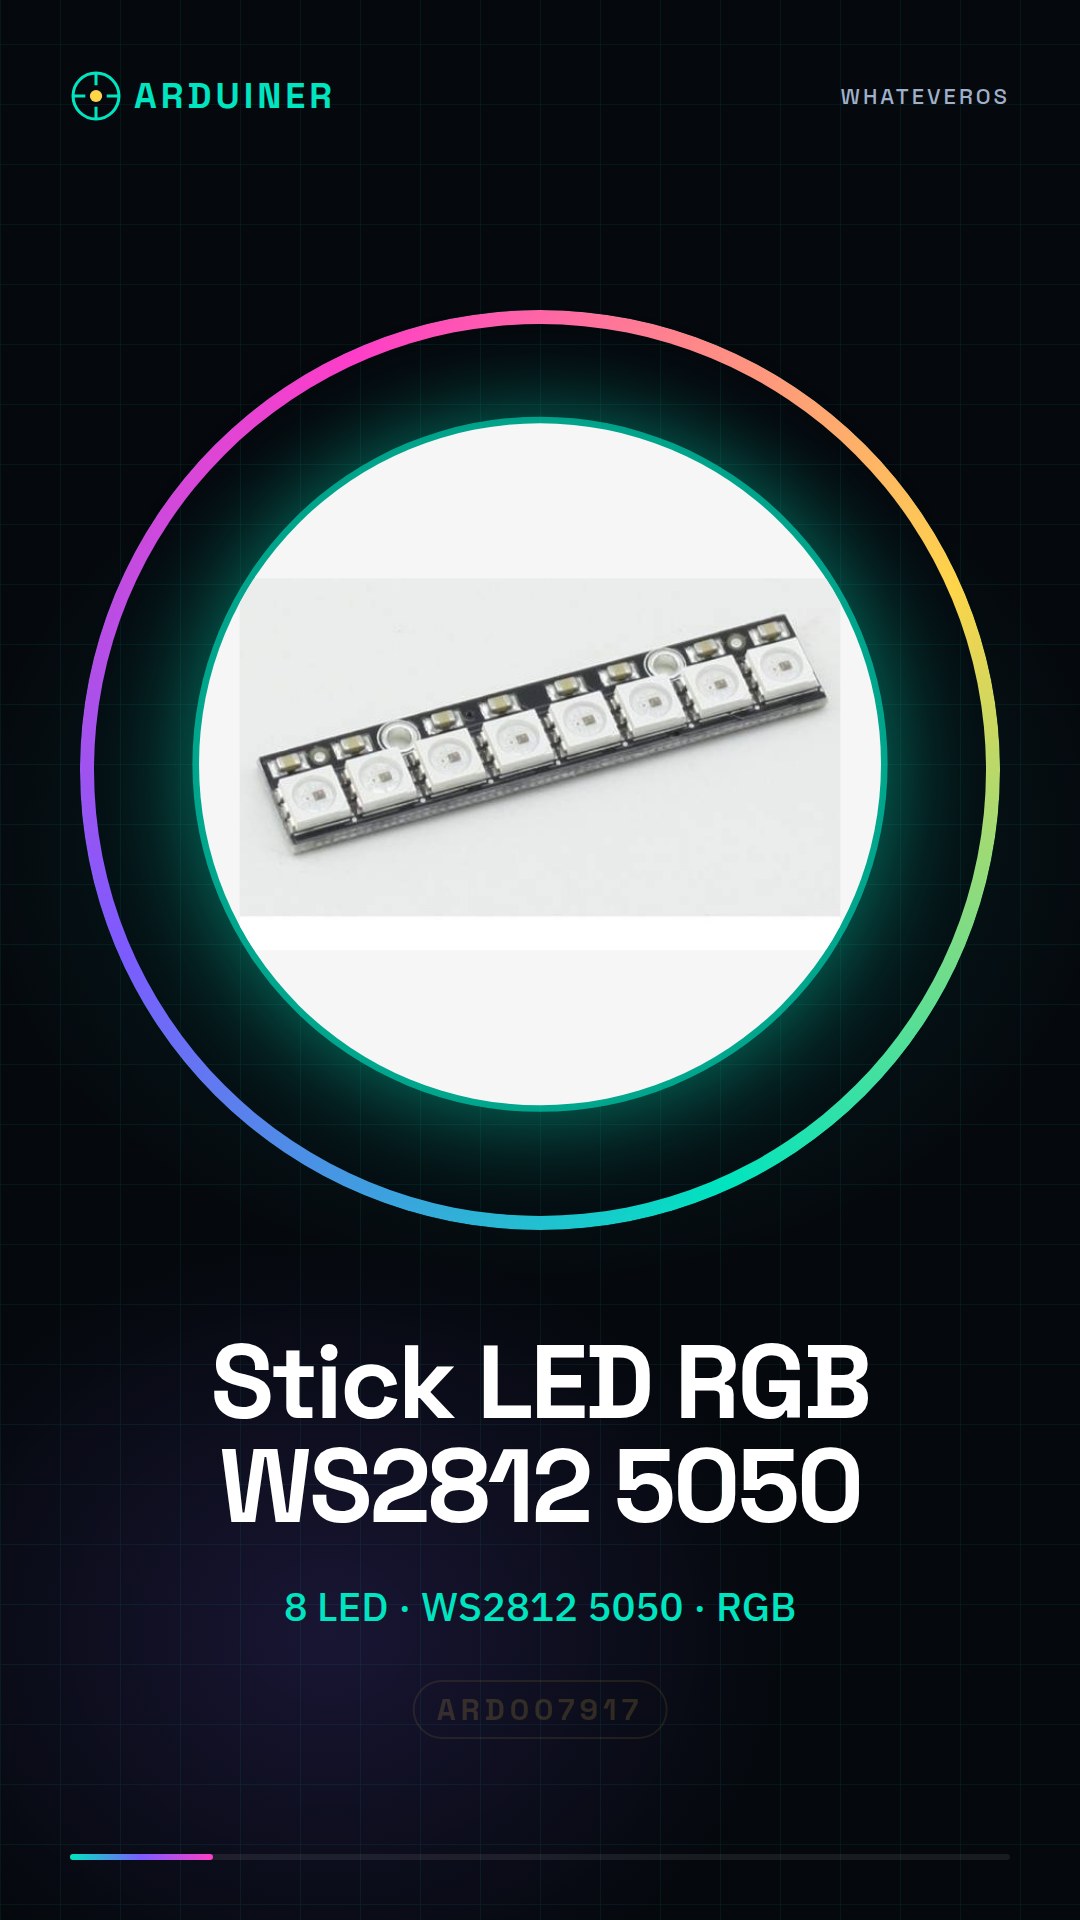
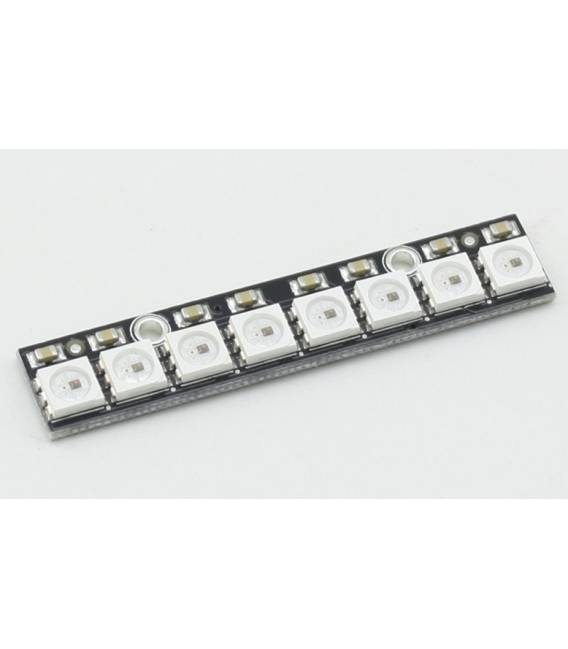
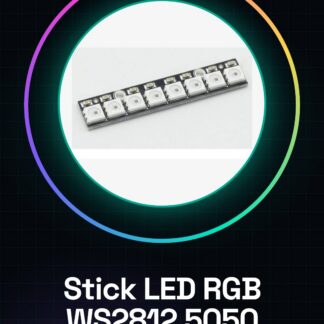
The WS2812 5050 RGB LED Stick is an electronic component that contains eight individually addressable RGB LEDs, each with integrated drivers. This stick is designed to be used in various types of interactive or decorative lighting projects.
Features
- 8 WS2812 5050 RGB LEDs with integrated drivers
What it is for
Ideal for customizable lighting projects with Arduino or ESP. Can be used to create interactive lighting effects such as a gradually brightening base light when the room is dark thanks to a light detector.
Tutorial: How to use WS2812 RGB LED Stick
The WS2812 RGB LED Stick is a versatile component that allows for the creation of customized lighting effects. Ideal for interactive or decorative lighting projects, it suits both beginners and more experienced makers well.
What you need
- Arduino Uno
- USB cable
- Connection to PC
Steps
- Connect the data pin of the LED stick (DIN) to Arduino’s digital output pin 6.
- Power supply: connect the VCC plug to +5V and GND to Arduino’s ground.
- Install the Adafruit NeoPixel library in the Arduino package manager.
- Load the example sketch ‘strandtest’ or create a new one with functions to control the LED color and brightness.
- Check the datasheet for the number of LEDs present to set the numPixels variable correctly in the code.
- Run the loaded sketch on Arduino.
- Adjust the RGB values in the code commands to change the light color.
- Test interactive features by adding motion or touch sensors.
Example code
Adafruit_NeoPixel strip = Adafruit_NeoPixel(8, 6); // Numero di LED e pin dati
void setup() {
strip.begin();
}
void loop() {
strip.setPixelColor(0, strip.Color(255, 0, 0)); // Rosso
strip.show();
delay(1000);
}
Mini project
Create a basic interactive lighting with the LED stick and a light sensor. When the room is dark, gradually turn on the LEDs.
Common mistakes
- Incorrect connection between Arduino and LED stick.
- Failed to properly load the Adafruit NeoPixel library.
- Setting the number of LEDs different from the actual number on the strip.
- Too bright light or wrong colors due to uncertainty about RGB.
Recommended accessories
- Arduino Uno
- Light sensor LDR
- 10kΩ resistor
- USB A-Micro connection
Frequently asked questions
How can I control the color of the LEDs?
Modify the RGB values in the code to change the color. Example: strip.setPixelColor(0, strip.Color(255, 0, 0)) for red.
What is the power supply voltage for the LED strip?
Check the datasheet, but typically require +5V.
Reviews
There are no reviews yet.