 EN
 IT Italiano
 ES Español
 FR Français
 DE Deutsch
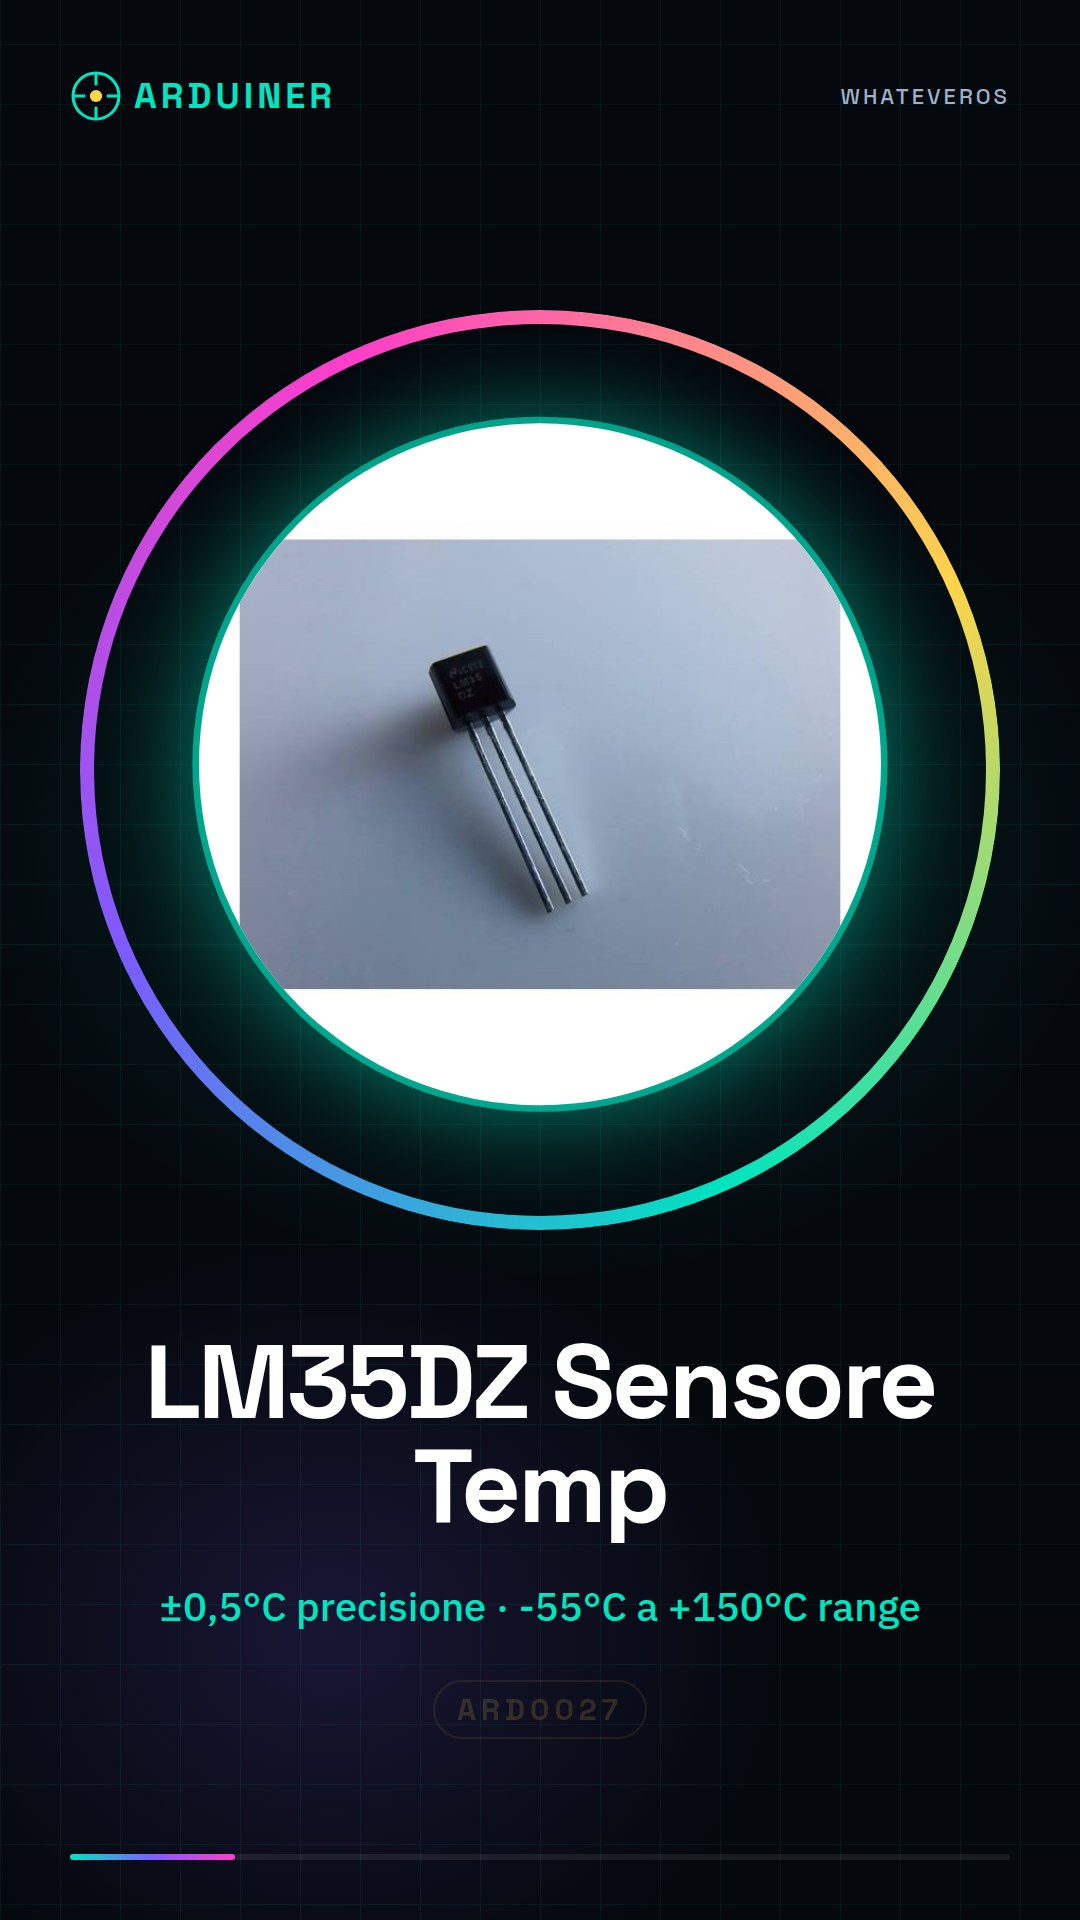
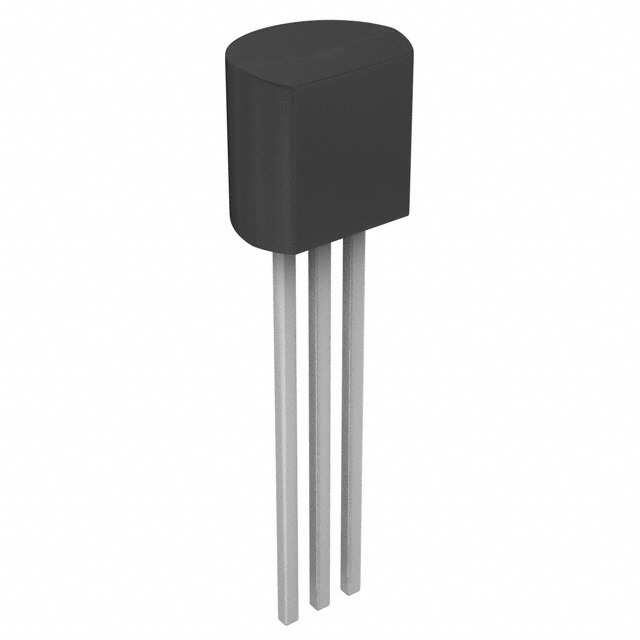
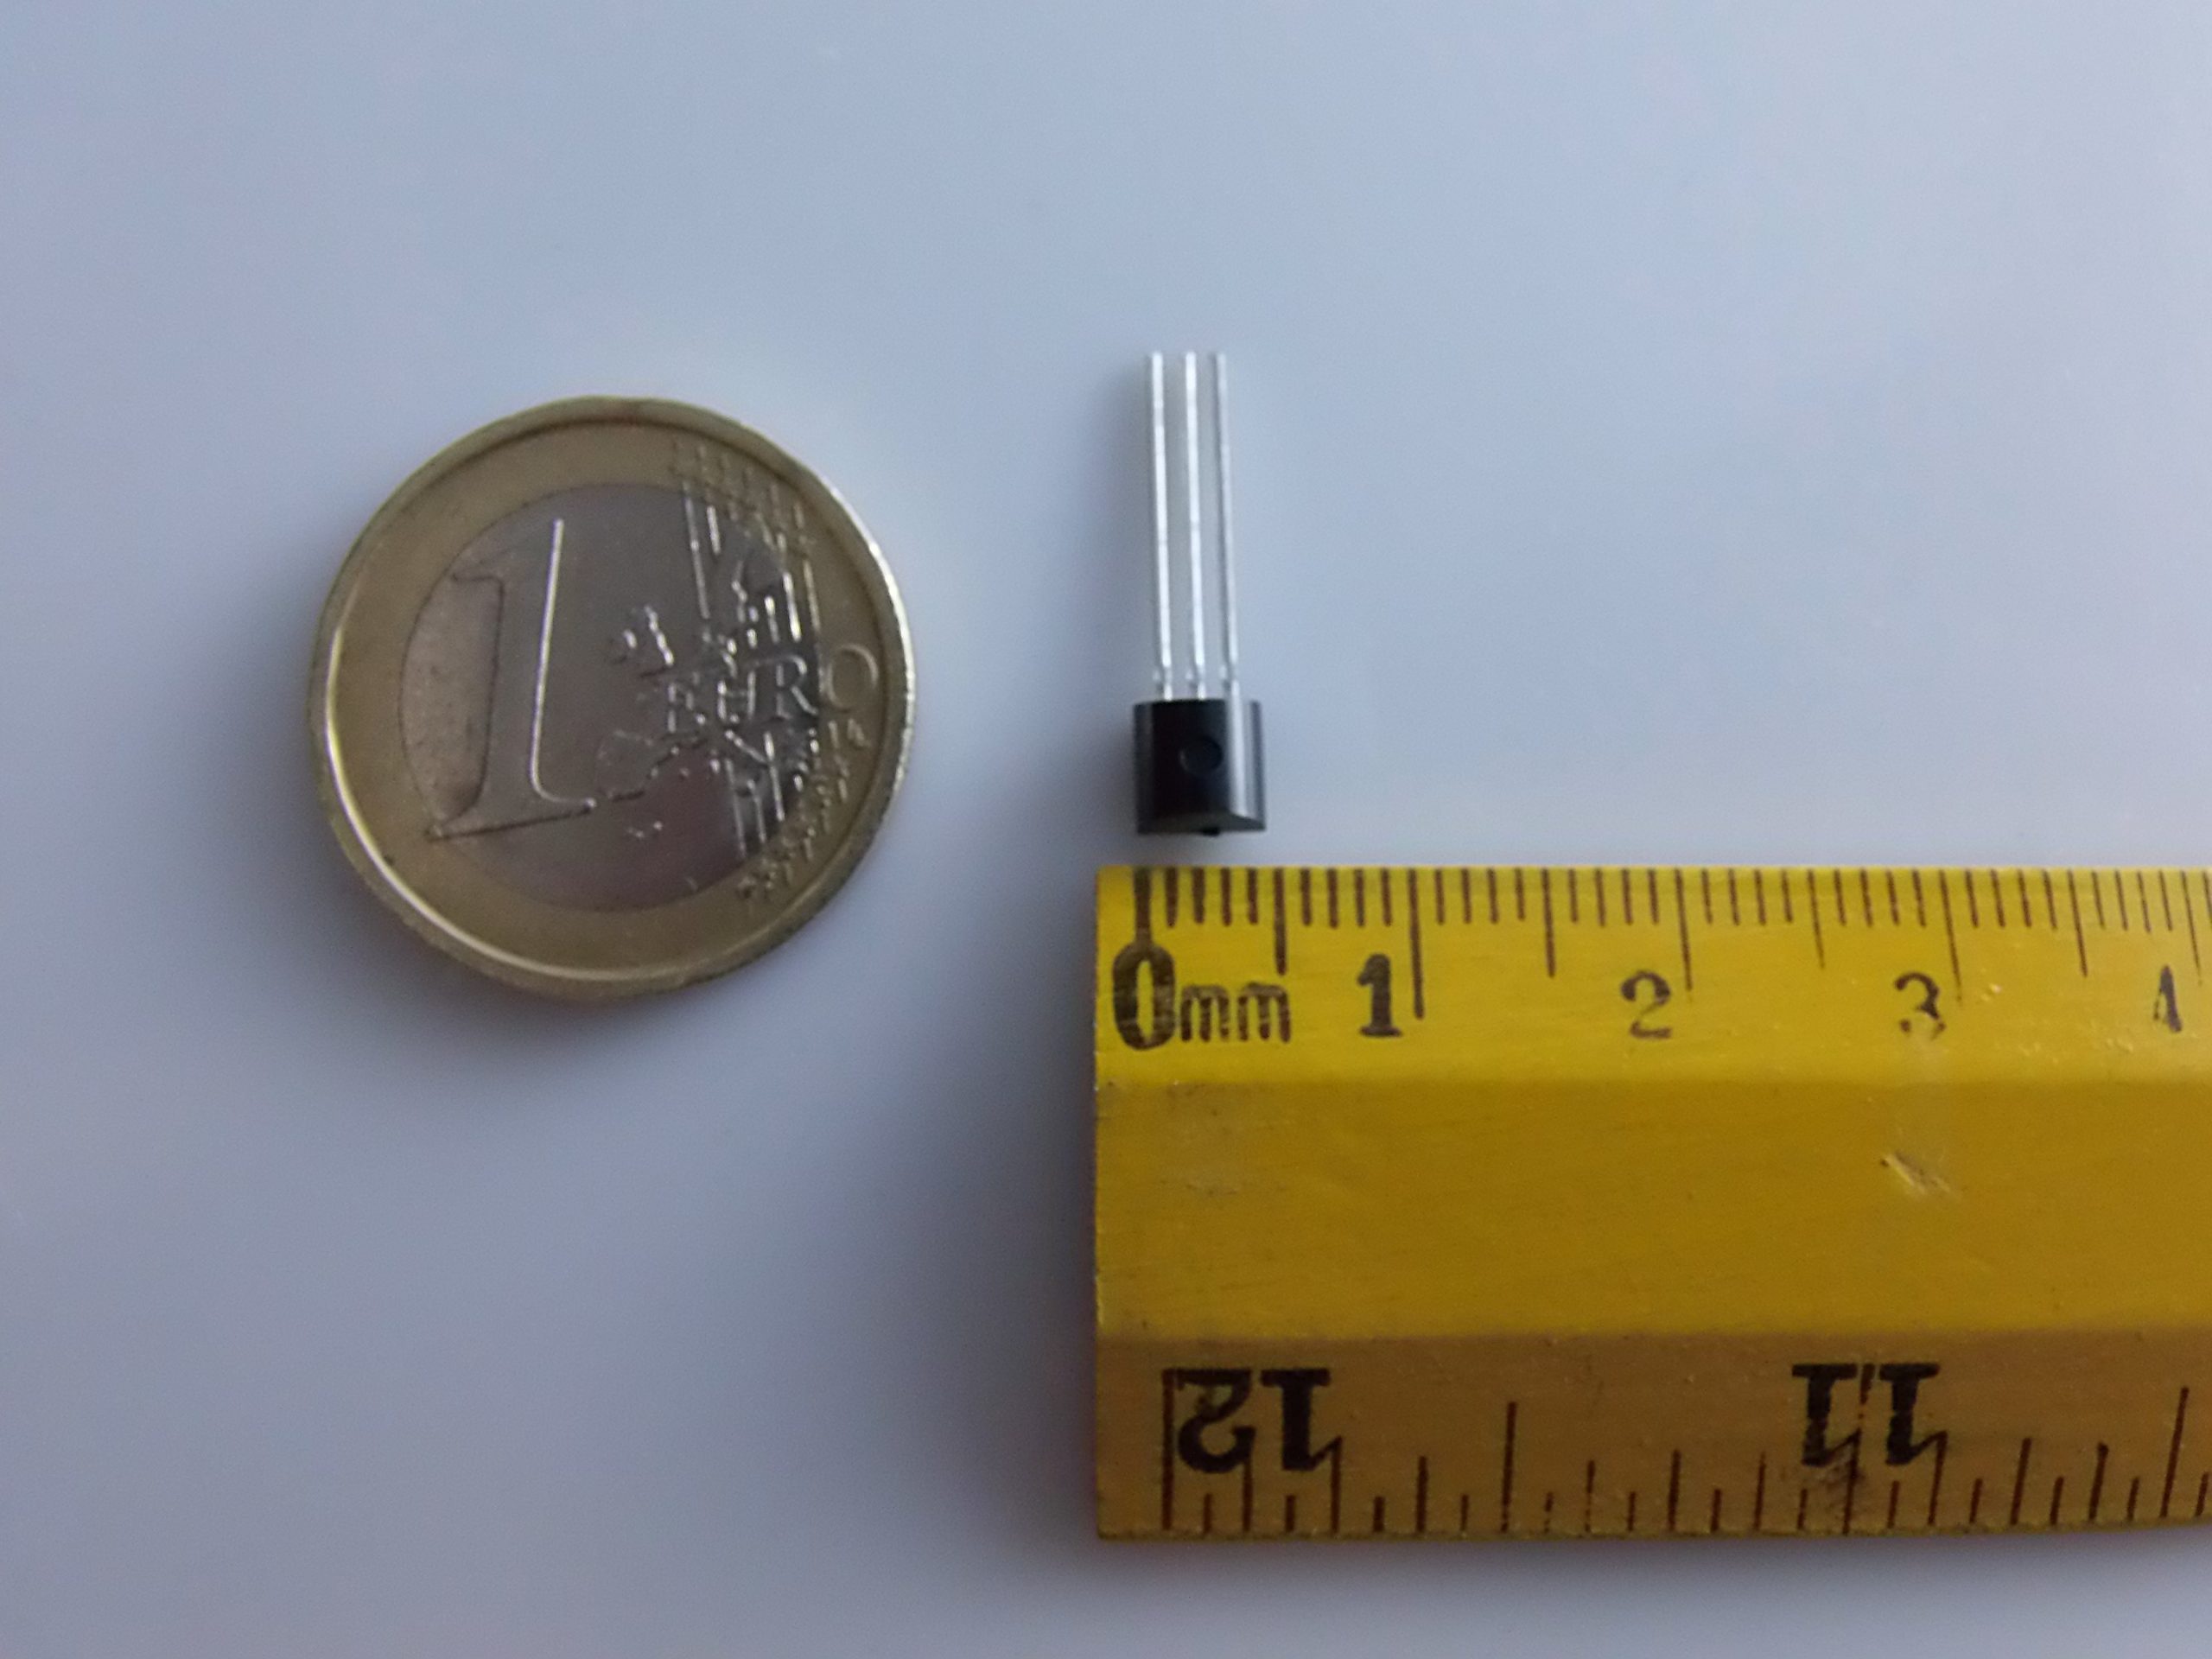
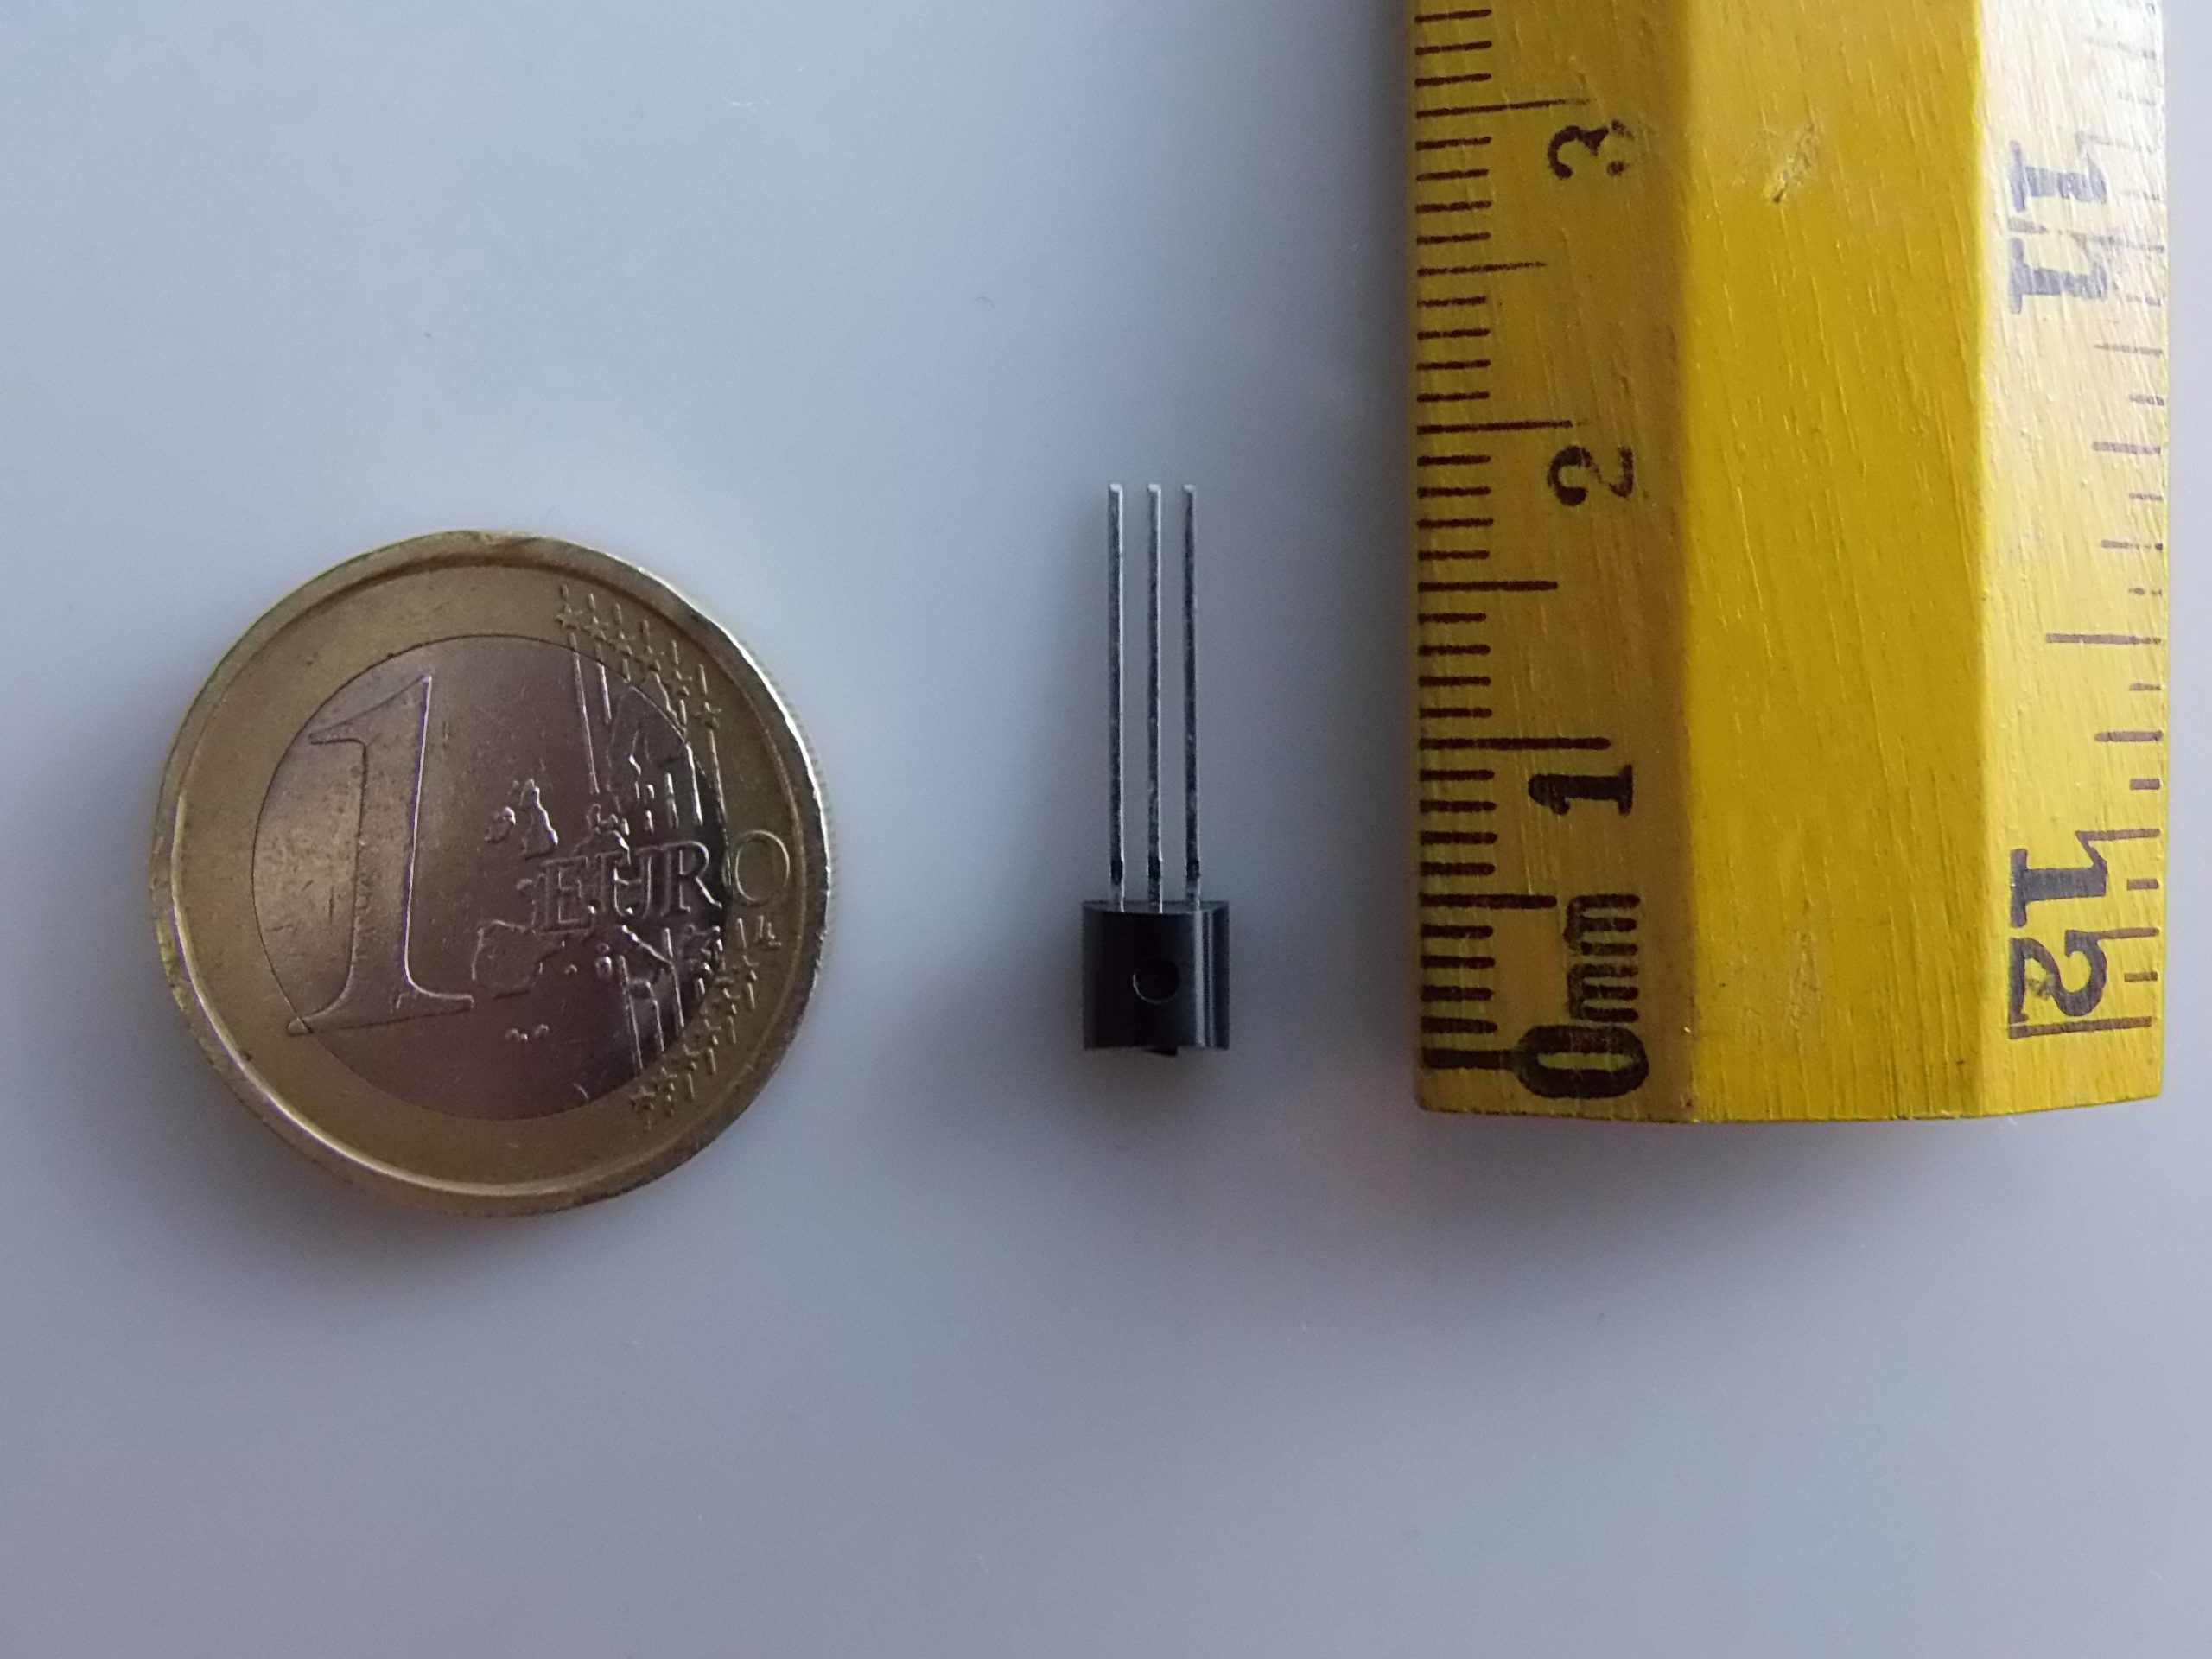
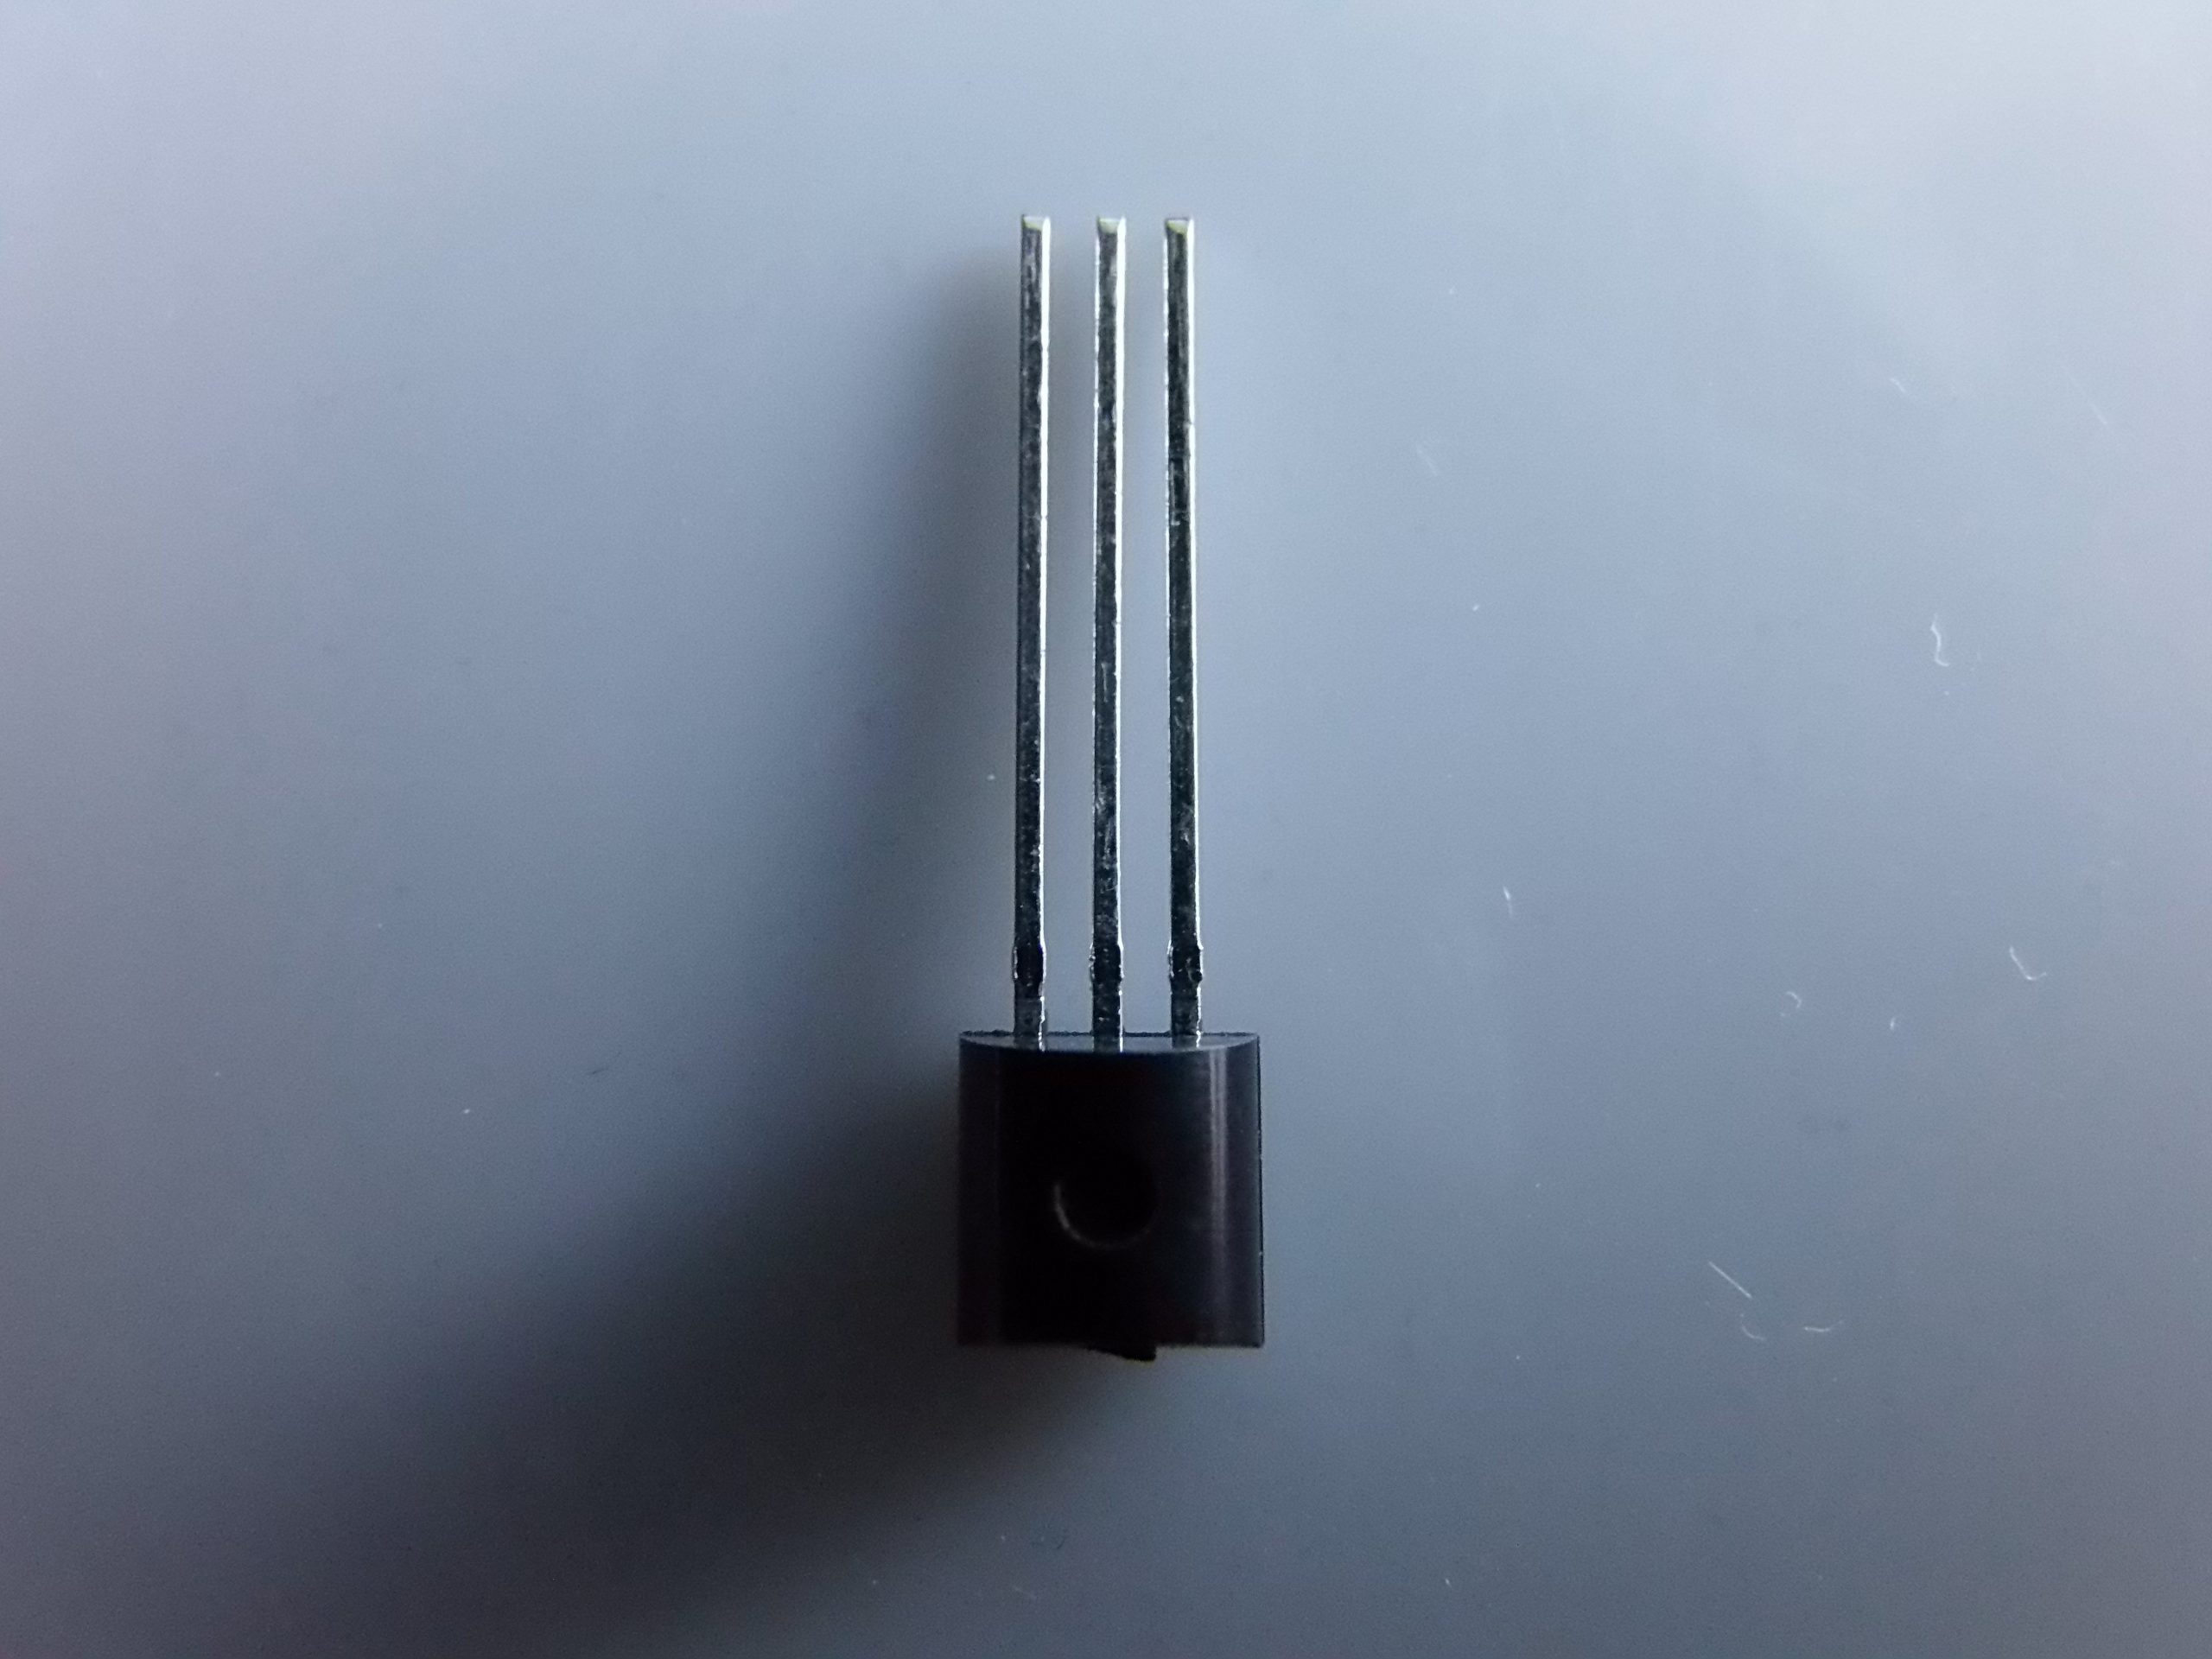
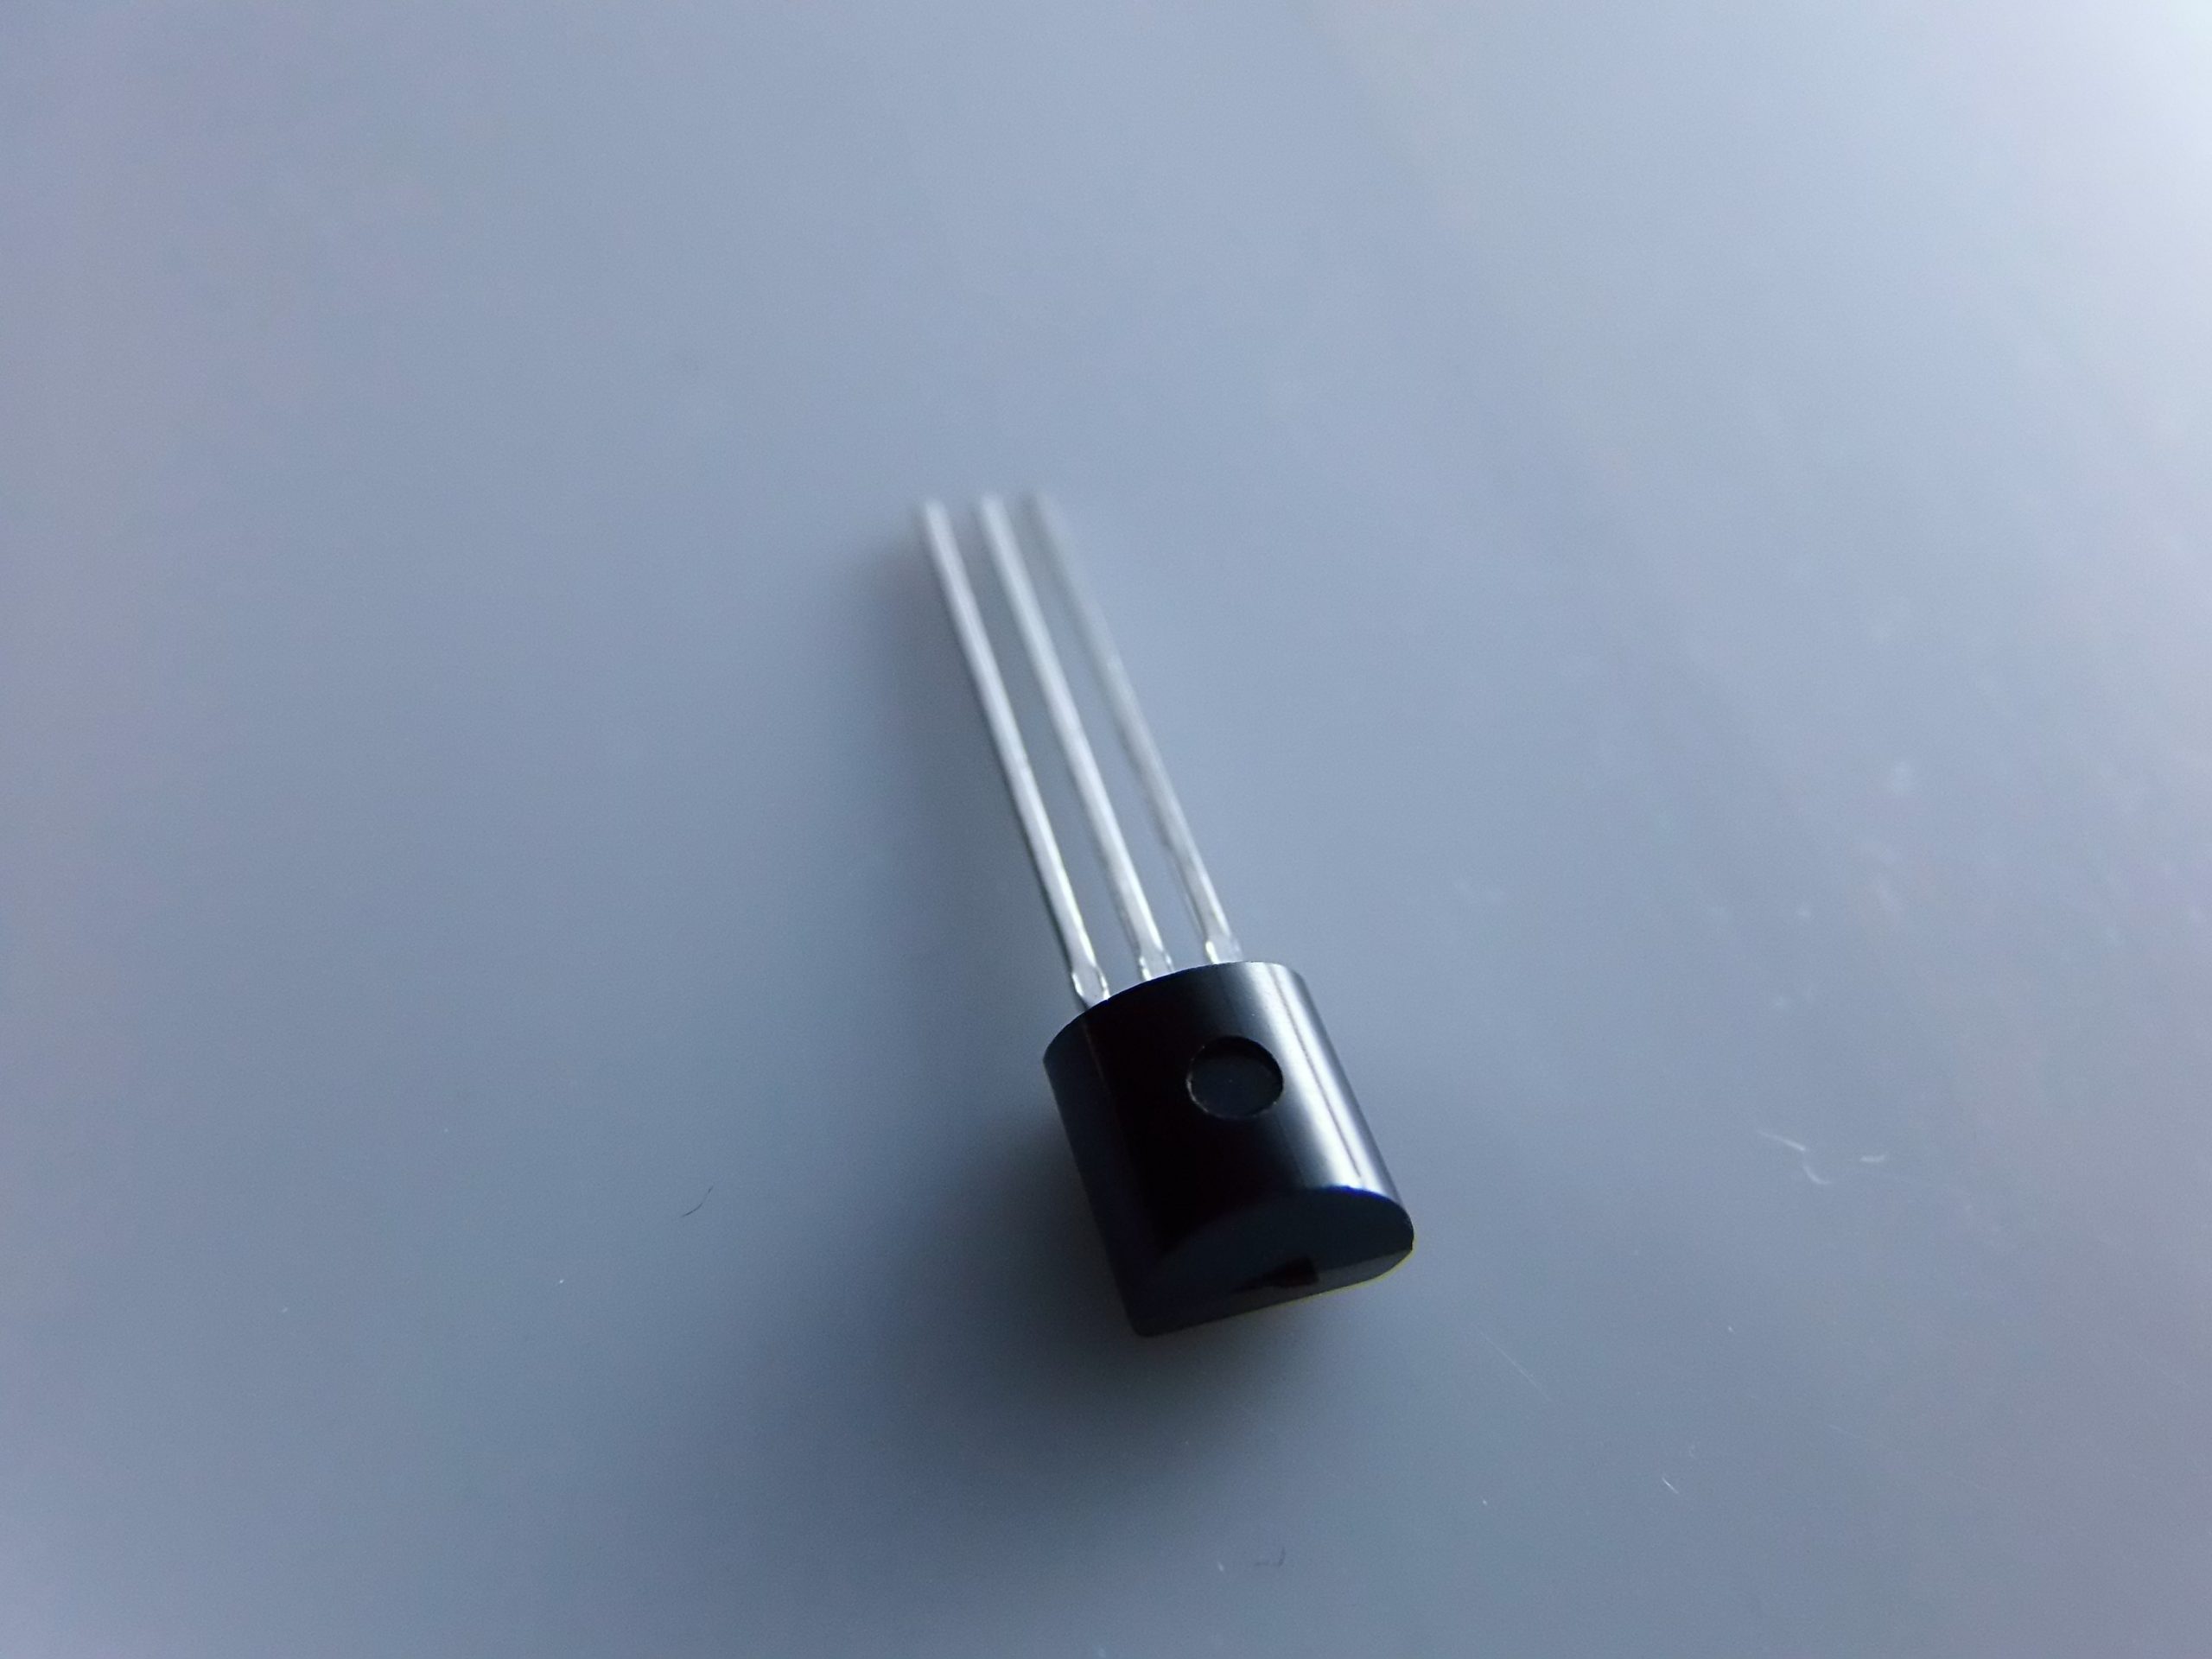
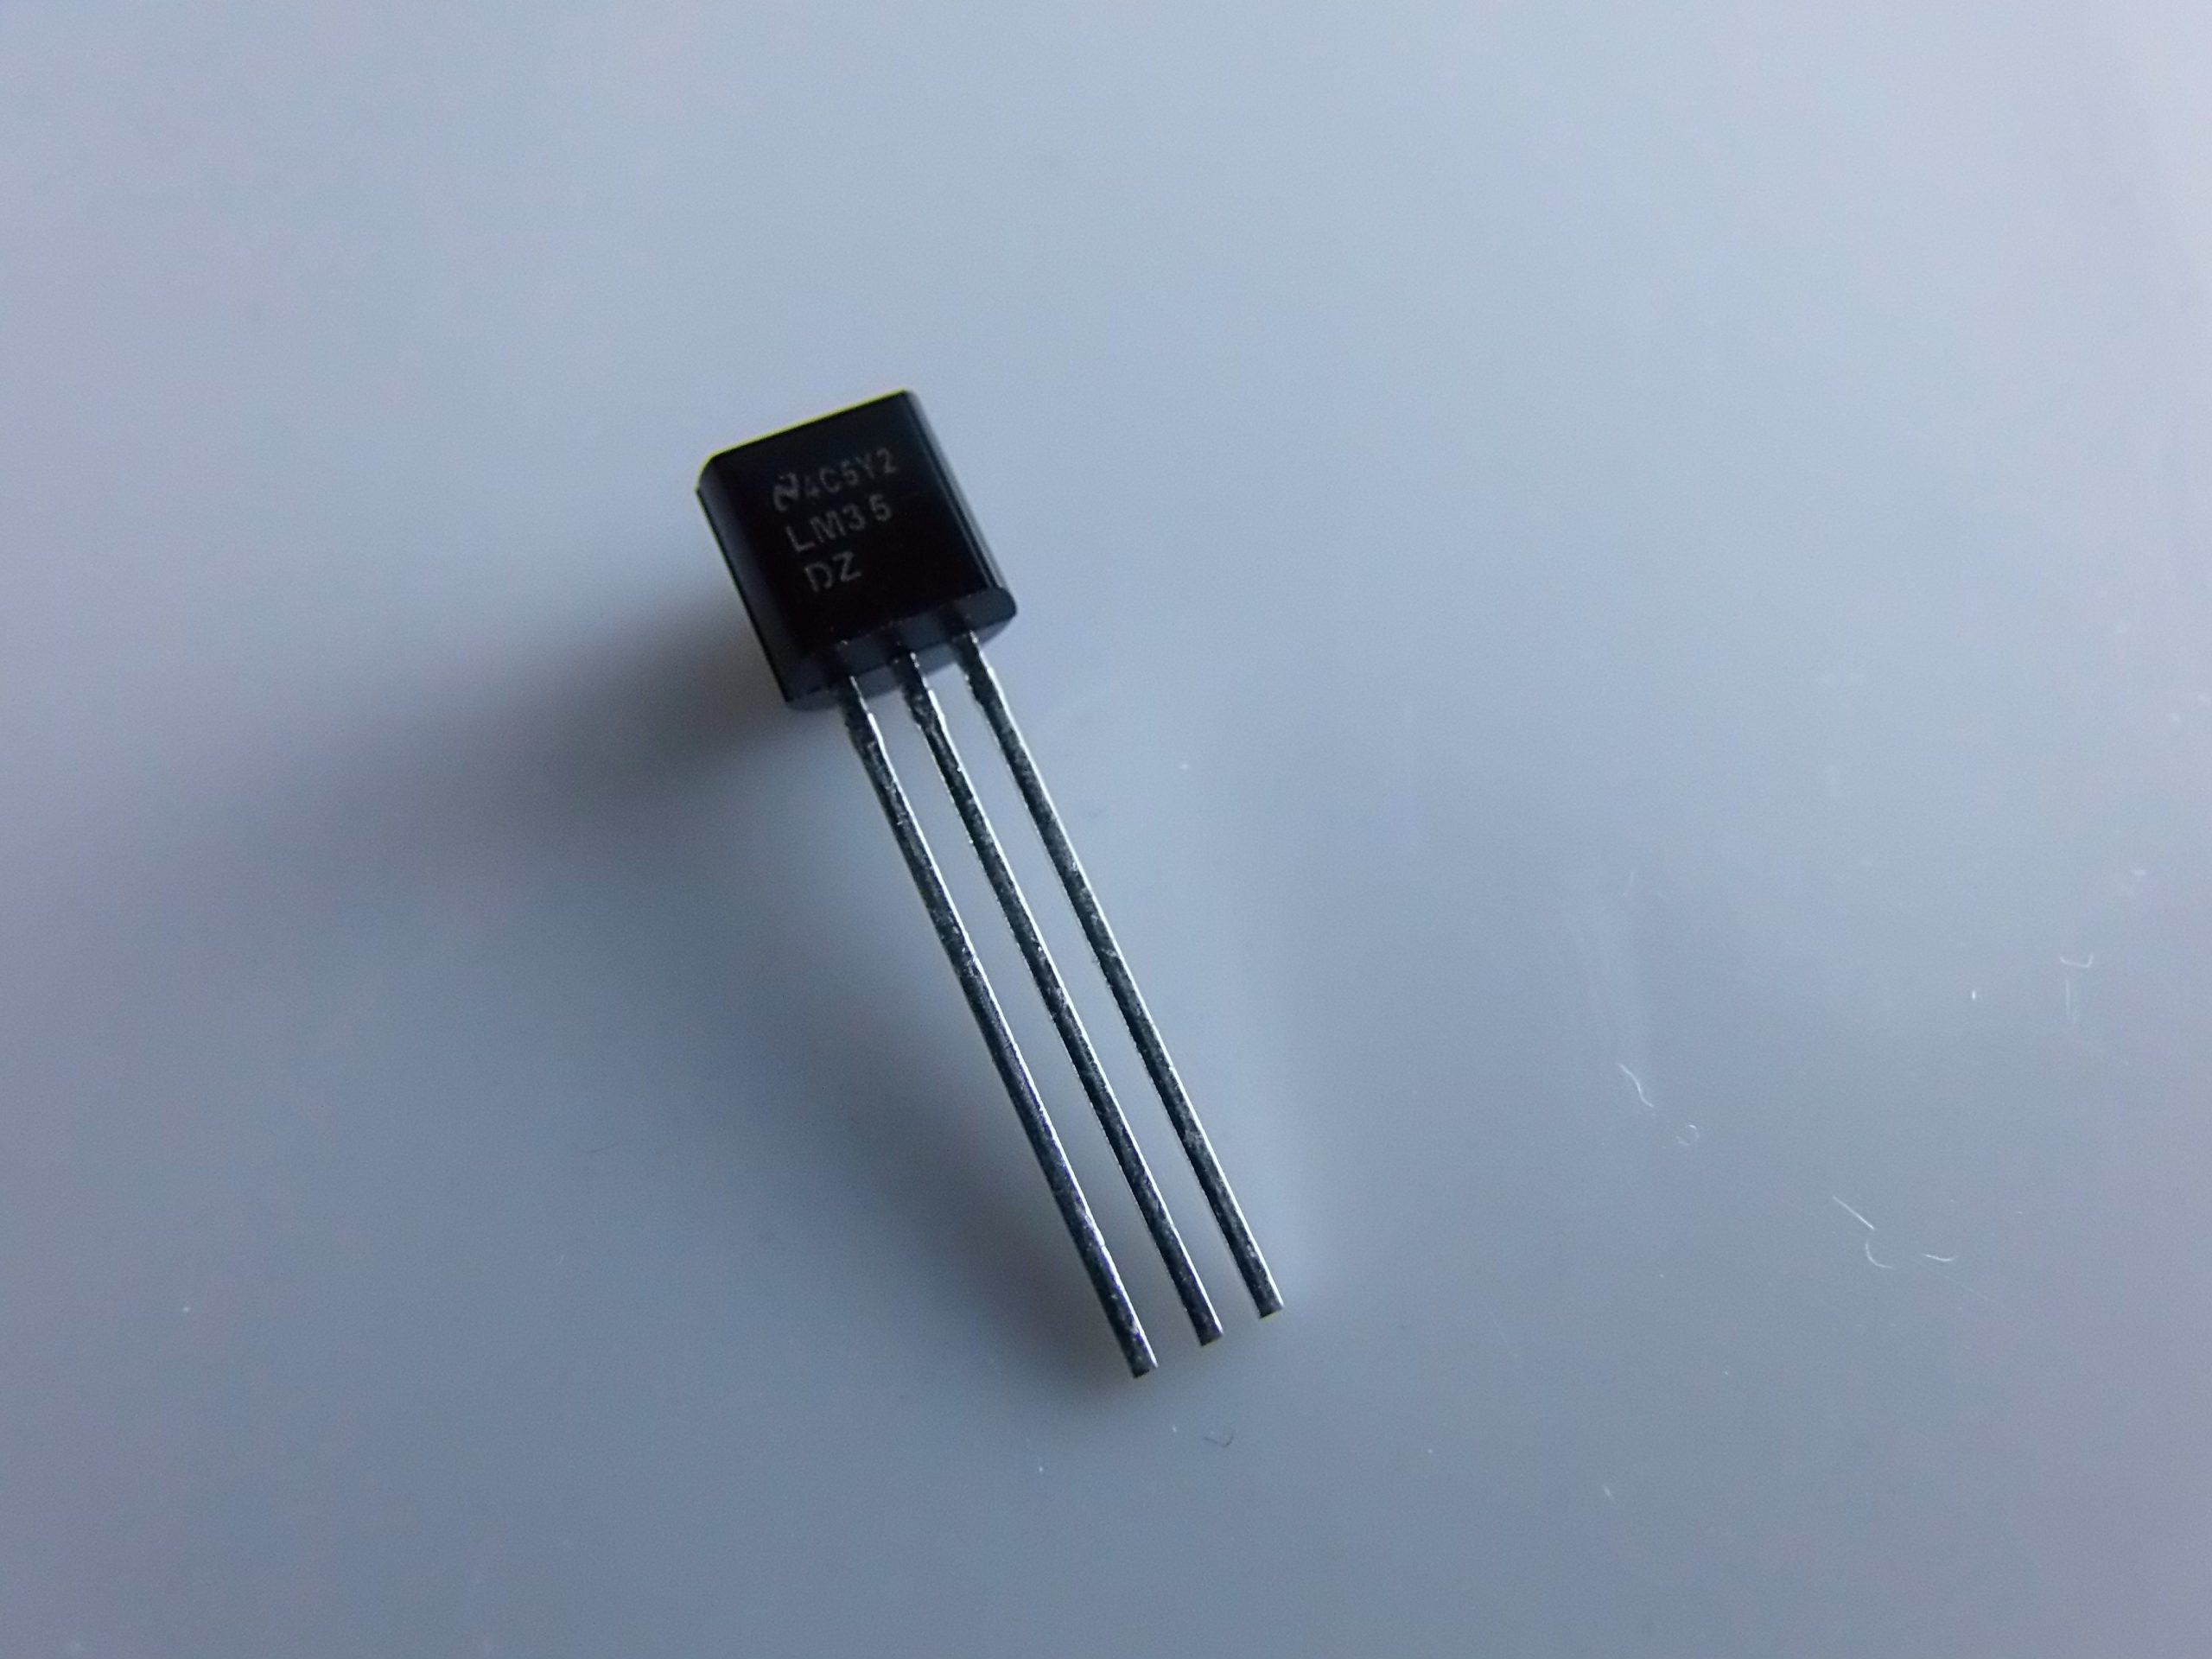
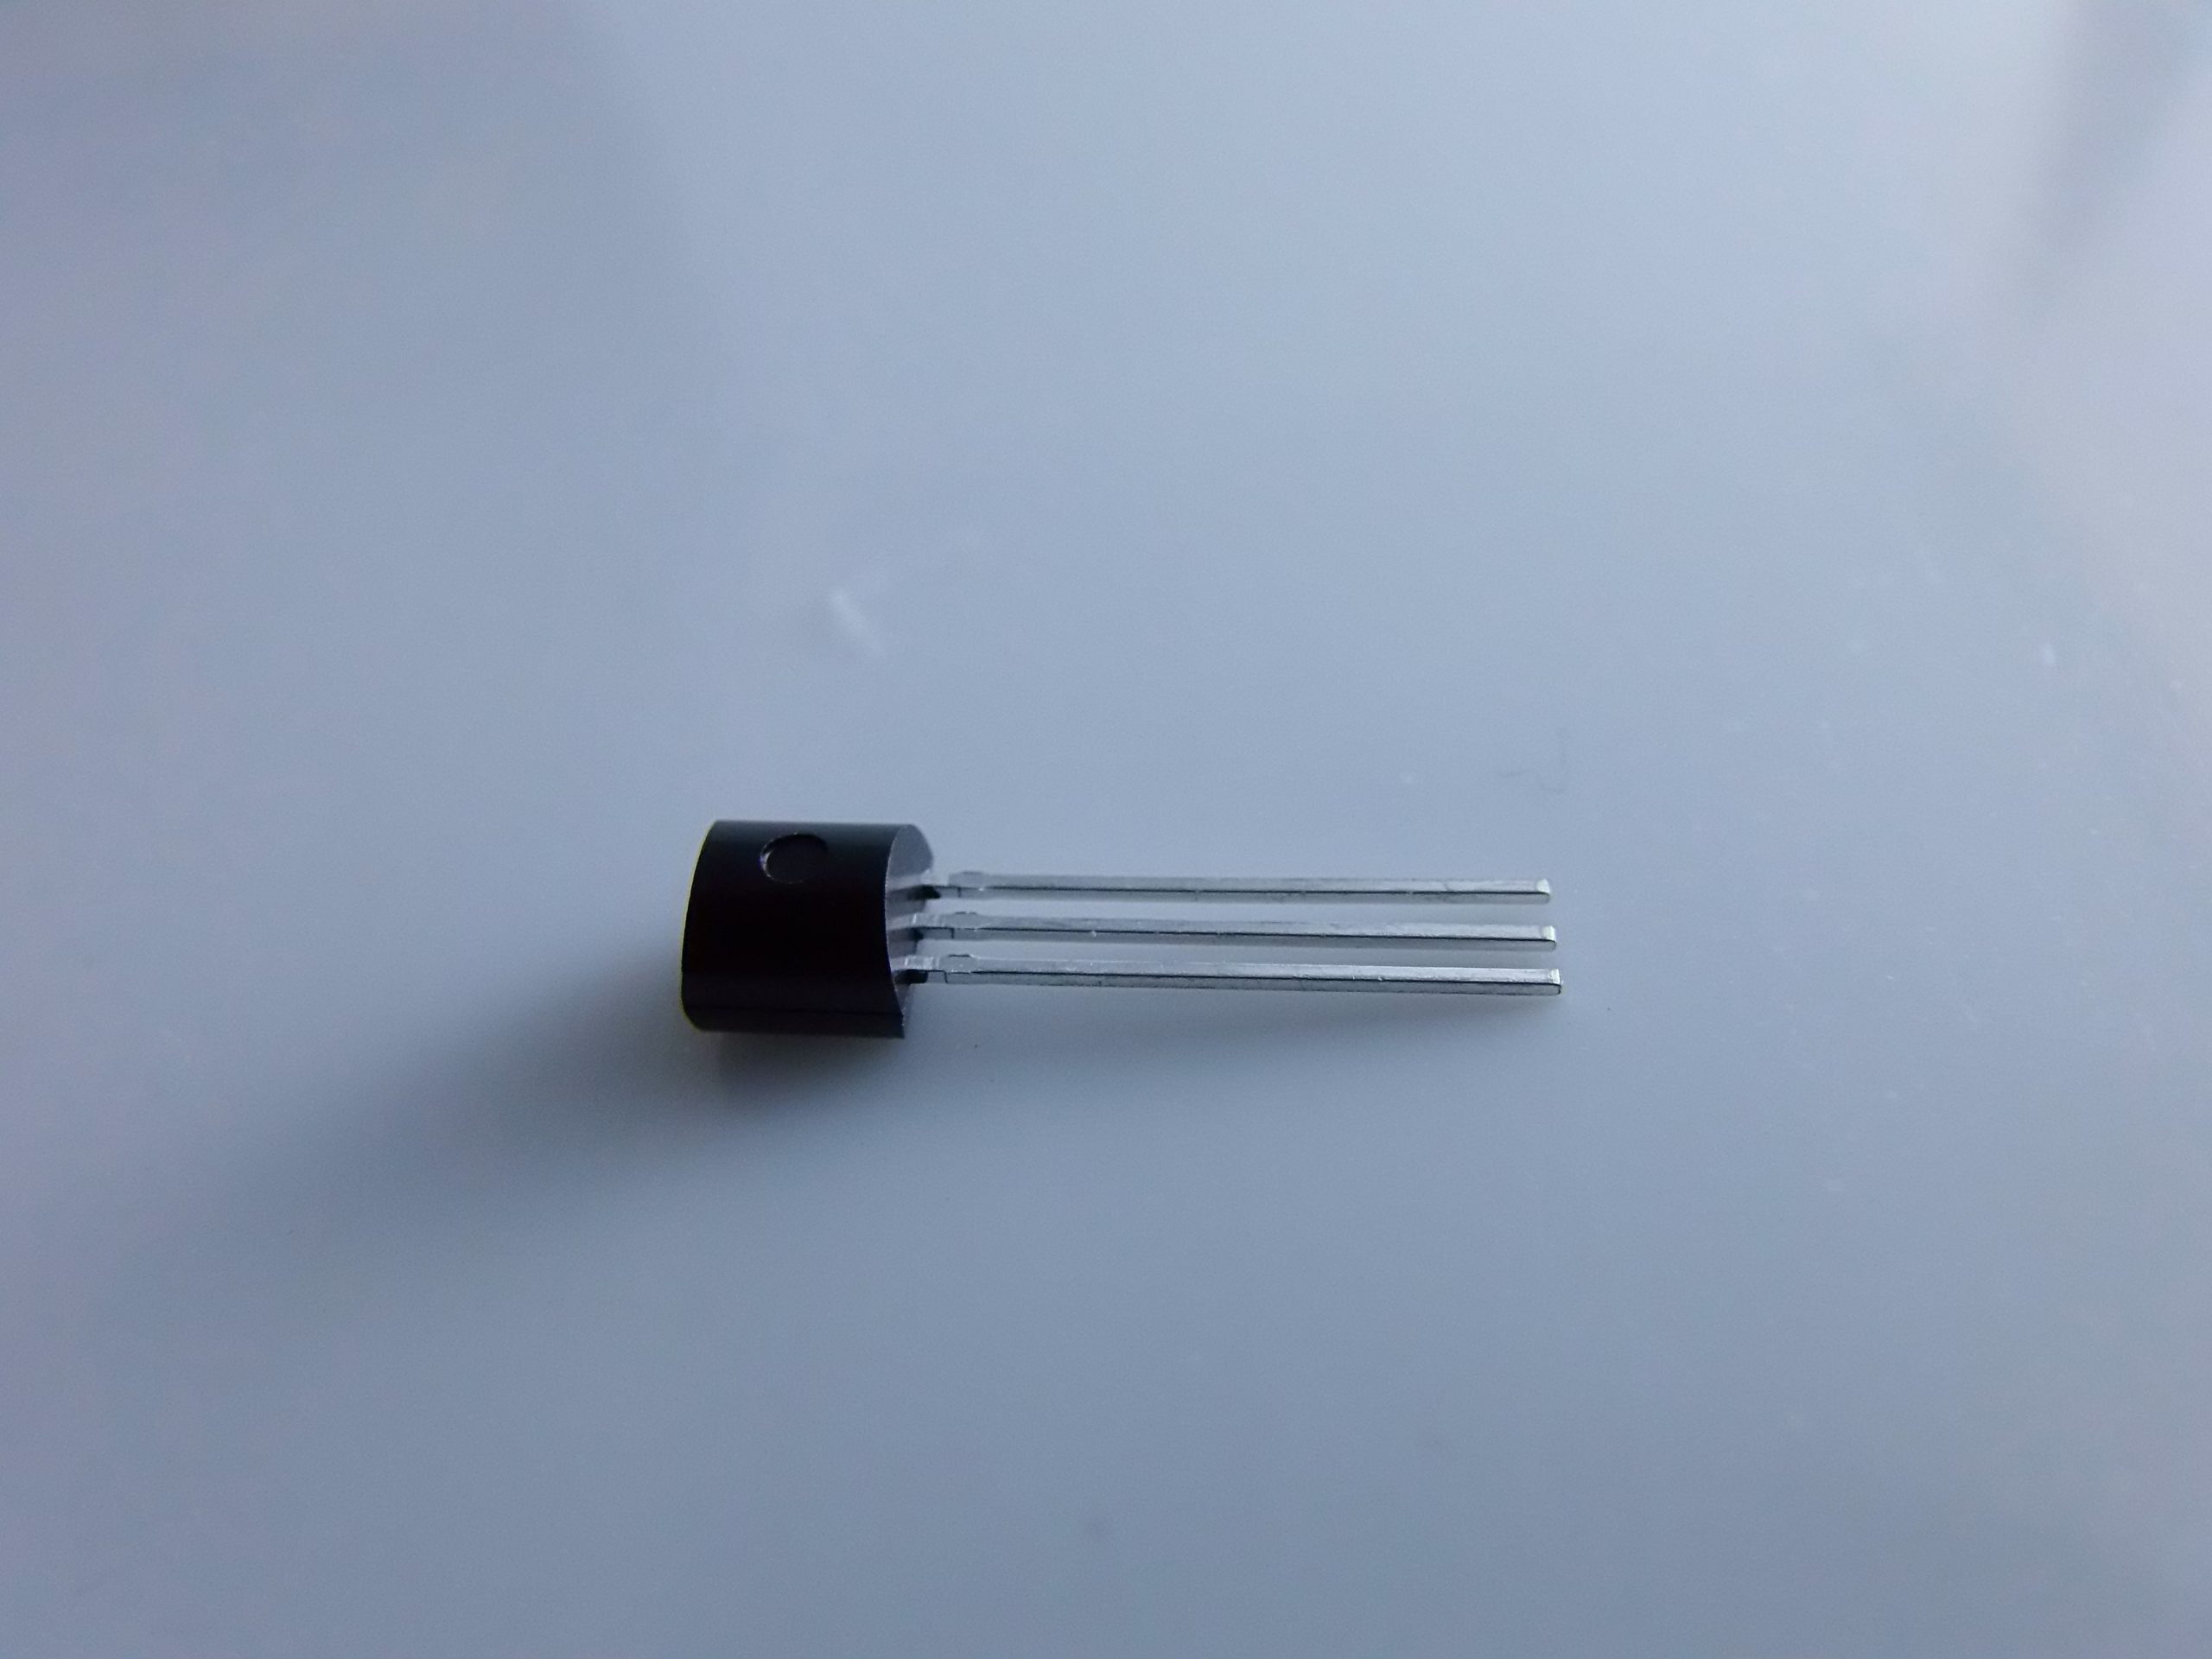
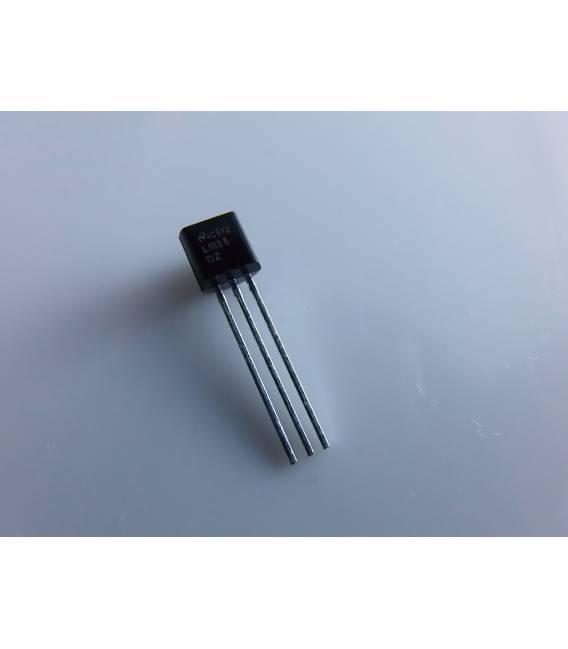
Description
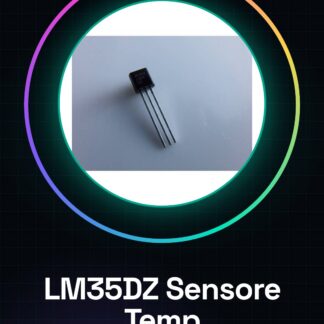
Tutorial: How to Use the LM35DZ Temperature Sensor
The LM35DZ sensor is ideal for measuring precise temperatures in Arduino projects. Useful for beginners and intermediates.
What you need
- Arduino UNO
- Power cable
- 10kΩ resistor (to stabilize the signal)
- Multimeter
- Check the datasheet
Steps
- 1. Connect the sensor to pin A0 of Arduino.
- 2. Connect the resistor between GND and VCC of Arduino.
- 3. Download the Arduino-Temperature-Control-Library library.
- 4. Load the example code ‘Temperature’.
- 5. Check the temperature with the multimeter.
- 6. Modify the code to display the temperature in Celsius.
- 7. Test the sensor with different temperatures.
- 8. Verify the operation.
Mini project
Build a digital thermometer with the LM35DZ sensor and a 16×2 LCD display in 30 minutes.
Common mistakes
- Connect the sensor to VCC of Arduino without resistor.
- Omit the verification with the multimeter.
- Set code for Fahrenheit instead of Celsius.
Recommended accessories
- Display 16×2 LCD
- Framboreeka one
- 9V battery
- Connection cables
Frequently asked questions
What is the precision of the sensor?
The precision is ±0.5°C.
What is the supported temperature range?
The range is from -55°C to +150°C.
Can it work with Arduino Nano?
Yes, it works with Arduino Nano.
Reviews
There are no reviews yet.