 EN
 IT Italiano
 ES Español
 FR Français
 DE Deutsch
Description
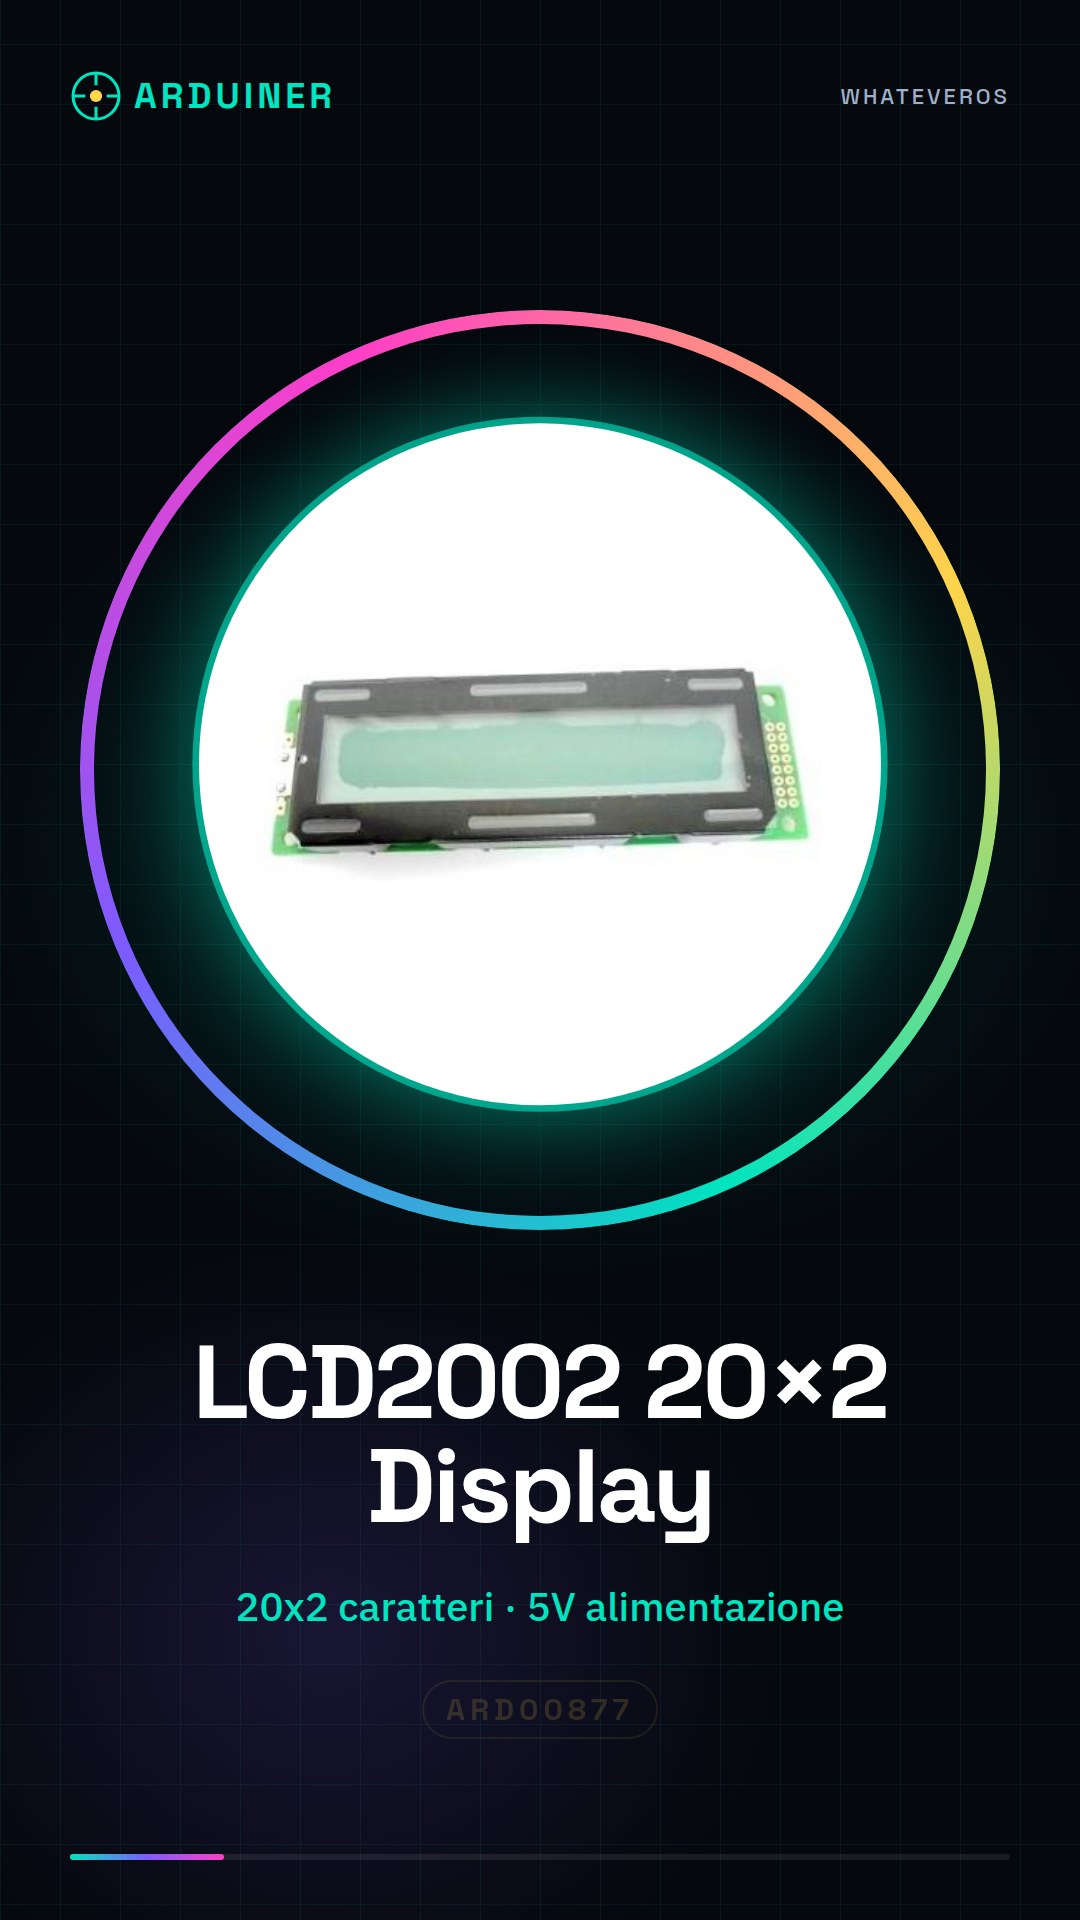
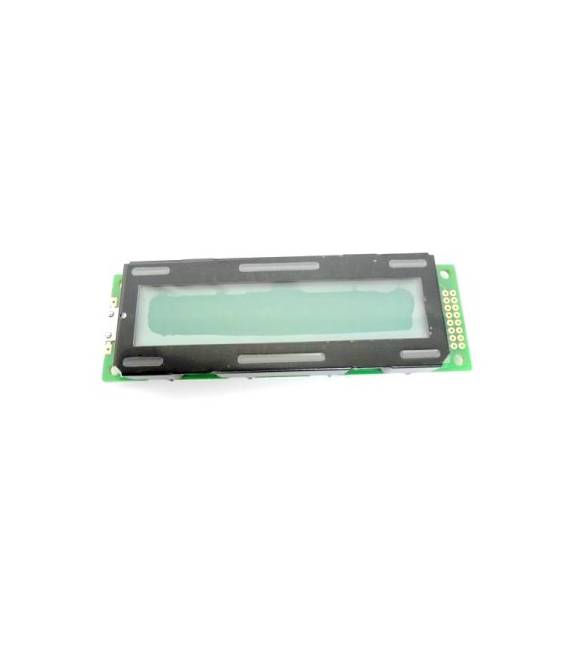
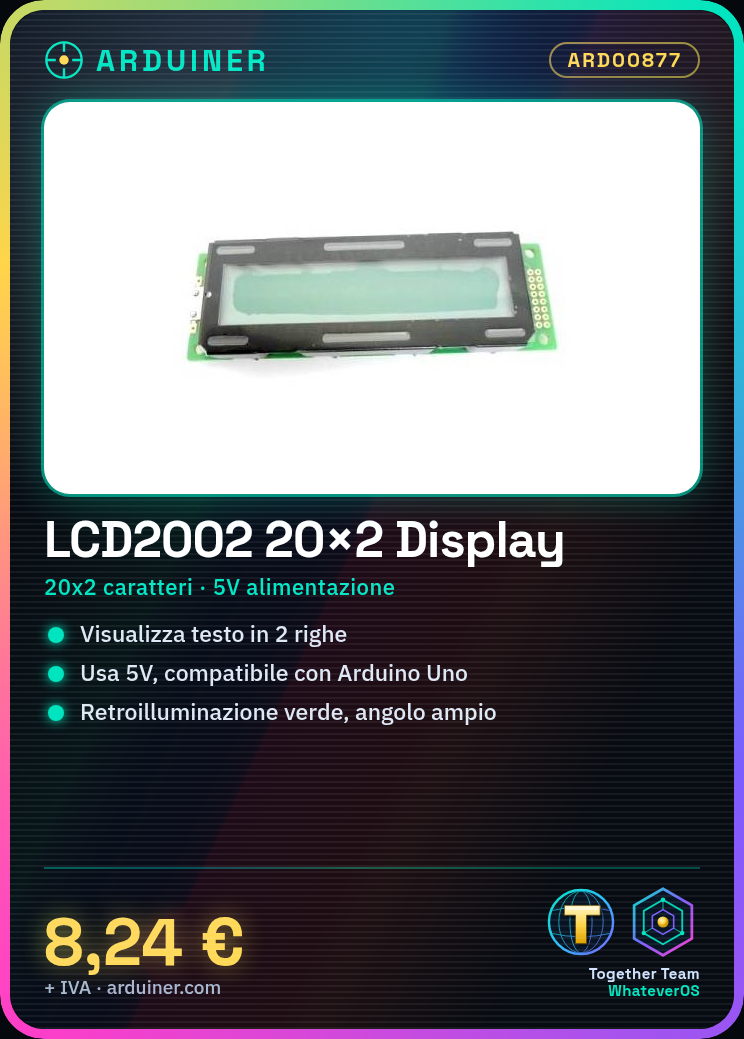
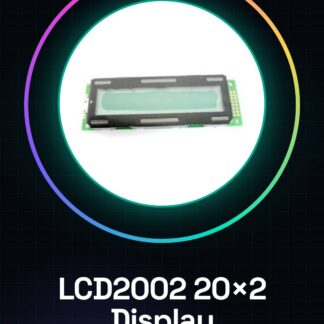
LCD Display Module LCD2002 20×2 Characters Screen Arduino 5V Backlit Green Yellow
In the new original Taiwan package super recommended lcd 2002, wide viewing angle yellow- backlit green, size 115.5* 37, standard size, yellow and black at bottom.
Pin is defined as: 1. gnd 2. vdd 3. vo 4. rs 5. r/w 6. posta 7-1 4. db0-db7 1 5. 1 un 6. k
Wide viewing angle, yellow- backlit green size 115.5* 37 standard size, words black, yellow and green backlit
Wide viewing angle, yellow- backlit green size 115.5* 37 standard size, words black, yellow and green backlit
pin is defined as: 1. gnd
2. vdd
3. vo
4. rs
5. r/w
6. ae
7-1 4. db0-db7
1 5. un
1 6. k
We have datasheets available for all components. If the datasheet is not present in the product download sheet, please send us a message through the contact form and we will publish it as soon as possible on our website.
Tutorial: How to use LCD Display Module LCD2002 20×2
The LCD 20×2 module is an essential component for displaying text and data in Arduino projects. Ideal for beginners and makers who want to add a display to their device.
What you need
- Arduino Uno or compatible
- USB cable to connect the Arduino to the PC
- Trainable connections (jumpers)
- 5V power supply battery
Steps
- Connect the VCC and GND pins of the LCD module to +5V and GND of the Arduino.
- Connect the RS pin of the LCD module to digital pin 12 of the Arduino.
- Connect the RW pin of the LCD module to GND of the Arduino (RW is not used, so it is connected to ground).
- Connect the E pin of the LCD module to digital pin 13 of the Arduino.
- Connect pins D4-D7 of the LCD module to the respective digital pins 5-8 of the Arduino.
- Include the LiquidCrystal.h library in the Arduino code.
- Create a LiquidCrystal object for the display and set the configuration (number of rows, columns).
- Send text to the LCD module screen.
Example code
// Includere la libreria
#include <LiquidCrystal.h>
// Definire l'oggetto LiquidCrystal
LiquidCrystal lcd(12, 13, 5, 6, 7, 8);
void setup() {
    // Impostare il display a 2 righe e 20 colonne
    lcd.begin(20, 2);
    // Mostrare un messaggio di benvenuto
    lcd.print("Benvenuti Maker!");
}
void loop() {}
Mini project
Create a simple console that displays temperature and humidity by reading data from a DHT11 sensor.
Common mistakes
- Incorrect pin connection of RS, E or RW
- Forget to include the LiquidCrystal.h library
- Set the number of rows and columns incorrectly in the begin() method
- Do not send data to the screen
Recommended accessories
- DHT11 sensor
- RTC DS3231 module
- Breadboard 830 points
- Trainable connections (jumpers)
Frequently asked questions
How can I change the display brightness?
Check the datasheet to set the backlight control pin.
The text appears blurry or incorrect
Check the data pin connections and verify if they have been made correctly.
Reviews
There are no reviews yet.