 EN
 IT Italiano
 ES Español
 FR Français
 DE Deutsch
Description
What it is
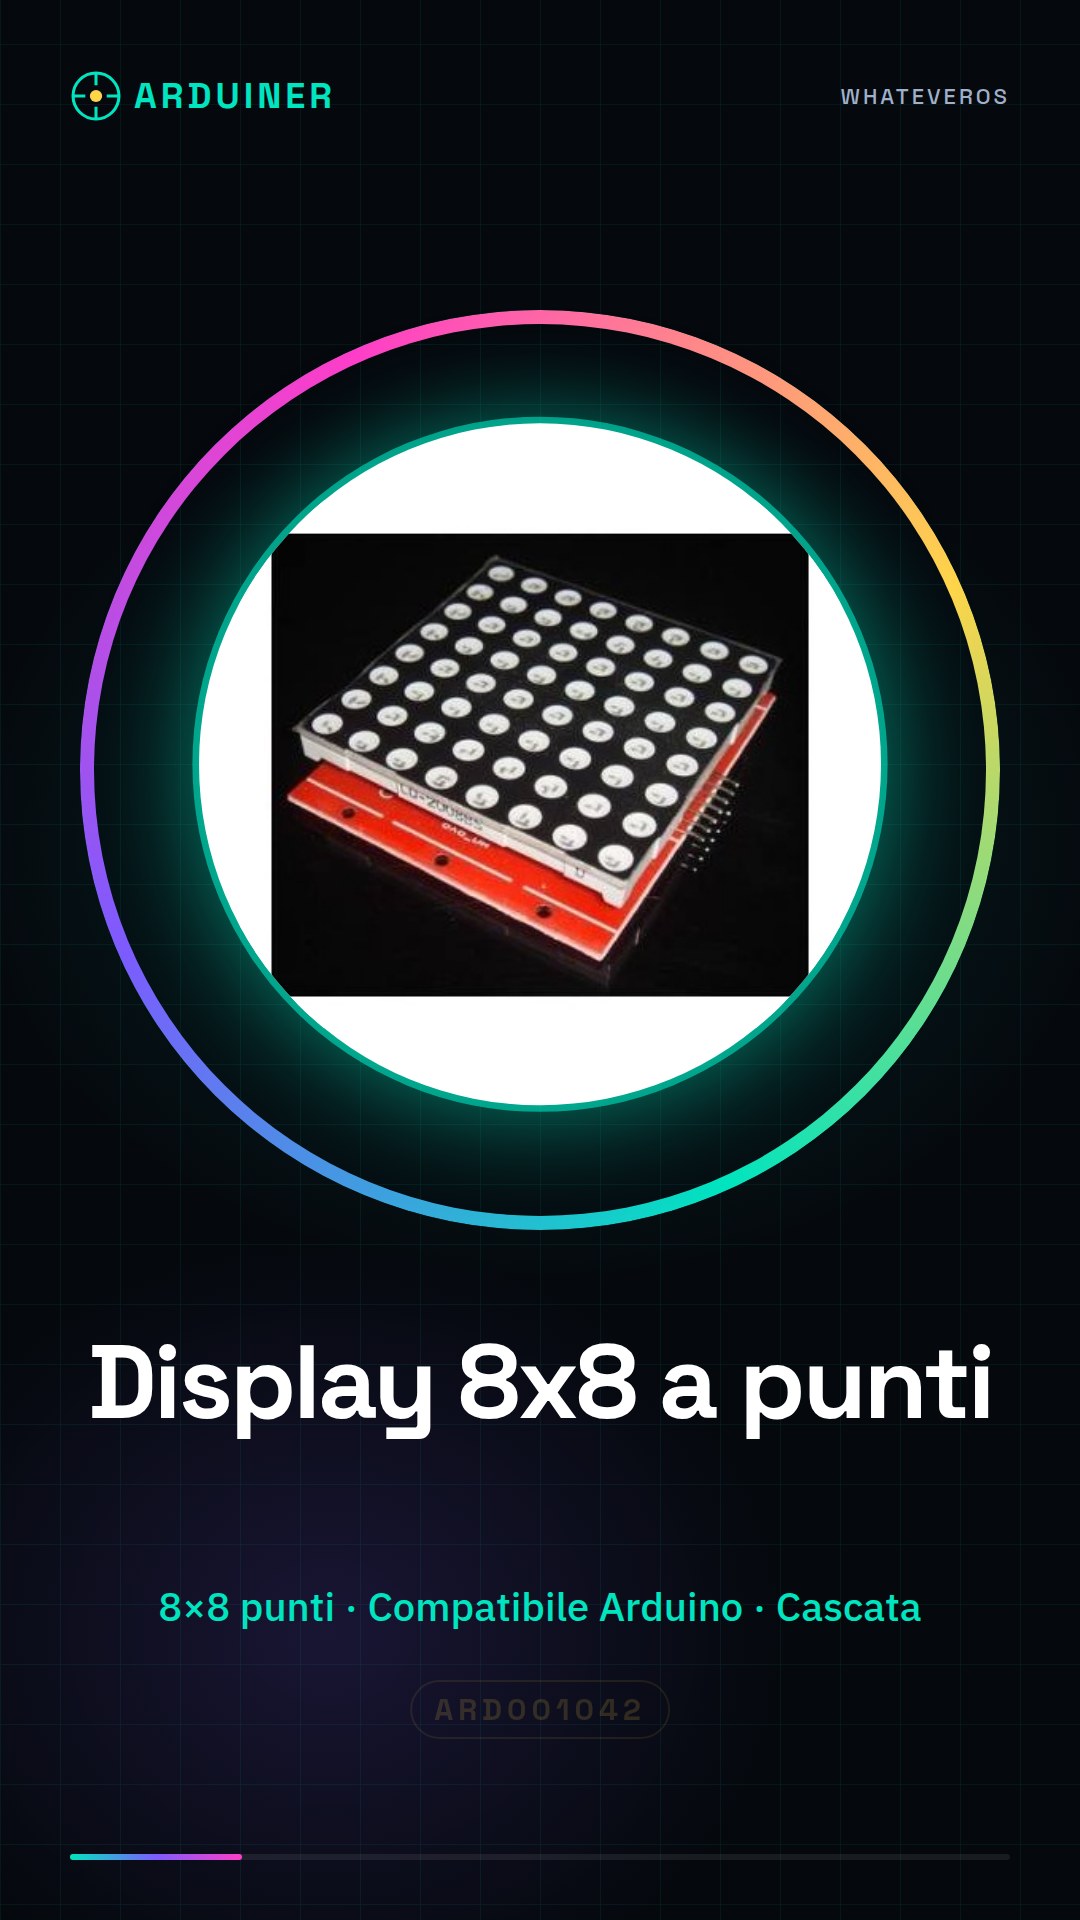
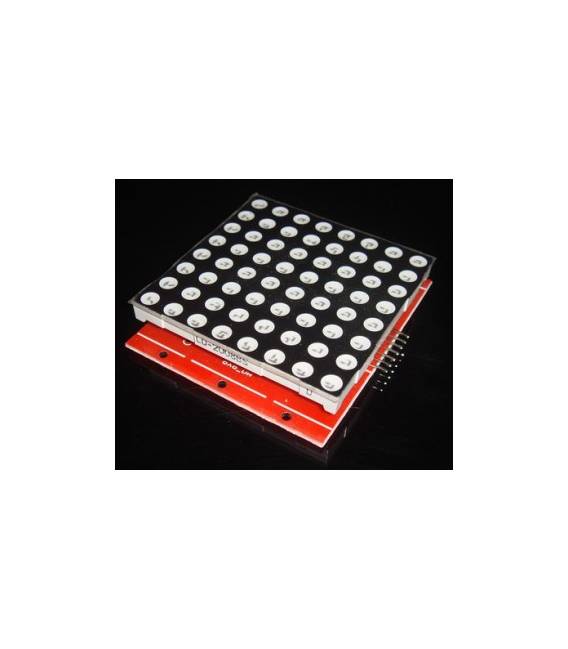
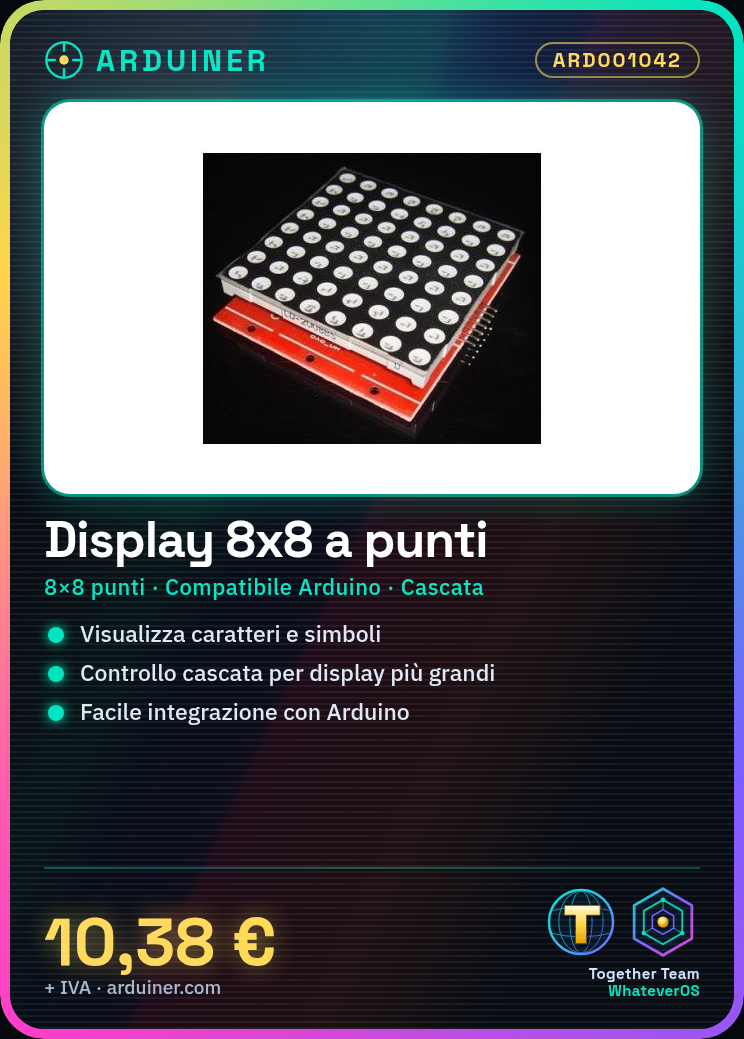
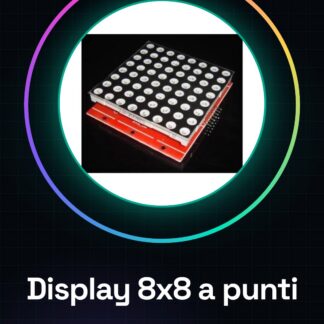
The 8X8 dot matrix display module is an electronic component that allows characters and symbols to be displayed on a dot matrix display. It can be cascaded with other similar modules to create larger displays.
Features
- Display size: 8×8 dots
- Compatible with Arduino
- Cascadable
What it is for
This 8X8 dot matrix display module is ideal for projects that require the display of simple characters or symbols. It can be used to create a simple stopwatch, an information display, or a game. Its compatibility with Arduino makes it easy to integrate into electronic projects.
Tutorial: How to use 8X8 Dot Matrix Display Module Kit
This 8X8 dot matrix display module is ideal for projects that require character or symbol display. Perfect for beginners and intermediate makers.
What you need
- Arduino
- Power cable
- Multimeter (optional)
Steps
- 1. Installation: Download and install the Adafruit_GFX and Adafruit_PCD8544 libraries in the Arduino IDE.
- 2. Connection: Connect the module to your Arduino using the following cables: VCC to 5V, GND to GND, SCL to D13, SDA to D12.
- 3. Configuration: Insert the following codes to initialize the display.
- 4. Print text: Use the function `display.print(“Hello, Arduino!”)` to print text.
- 5. Print symbols: Use `display.drawPixel(x, y, WHITE)` to draw symbols.
- 6. Update screen: Use `display.display()` to update the screen.
- 7. Test: Check the datasheet for additional configuration options.
- 8. Debug: Use the multimeter to verify connections if necessary.
Example code
```cpp
#include <Adafruit_GFX.h>
#include <Adafruit_PCD8544.h>

Adafruit_PCD8544 display = Adafruit_PCD8544(13, 12);

void setup() {
  display.begin();
}

void loop() {
  display.print("Ciao, Arduino!");
  delay(1000);
}
```
Mini project
Create a simple stopwatch that displays the time on the display.
Common mistakes
- Connect the pins correctly.
- Check the library version.
- Ensure the display is well powered.
Recommended accessories
- Arduino Nano
- 3V Battery
- 220 ohm resistor (for LED)
Frequently asked questions
How can I customize the display?
Use functions like `drawLine`, `drawCircle` and `drawRect` to customize.
Does the display work with Arduino Uno?
Yes, but make sure that the SCL and SDA pins are correctly configured.
I lost the library, how do I reinstall it?
Reinstall the library from Arduino IDE: File > Preferences > Add a repository > https://github.com/adafruit/Adafruit_GFX.git.
The display does not turn on, what checks should I perform?
Check the correct power supply and pin connections.
Reviews
There are no reviews yet.