 EN
 IT Italiano
 ES Español
 FR Français
 DE Deutsch
Description
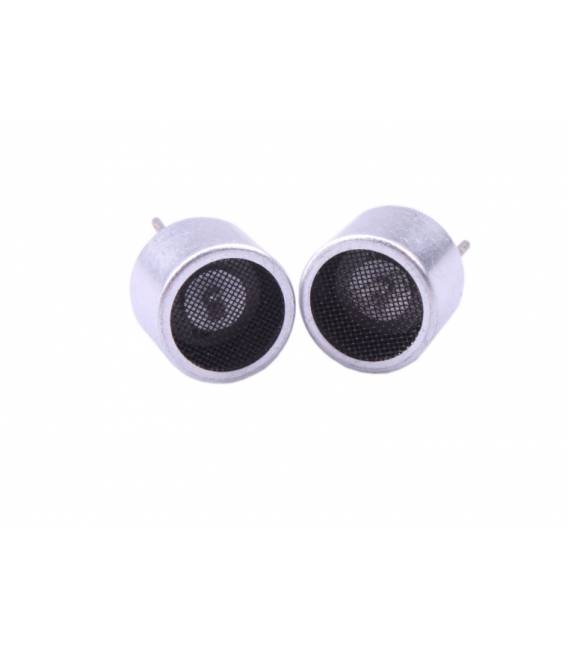
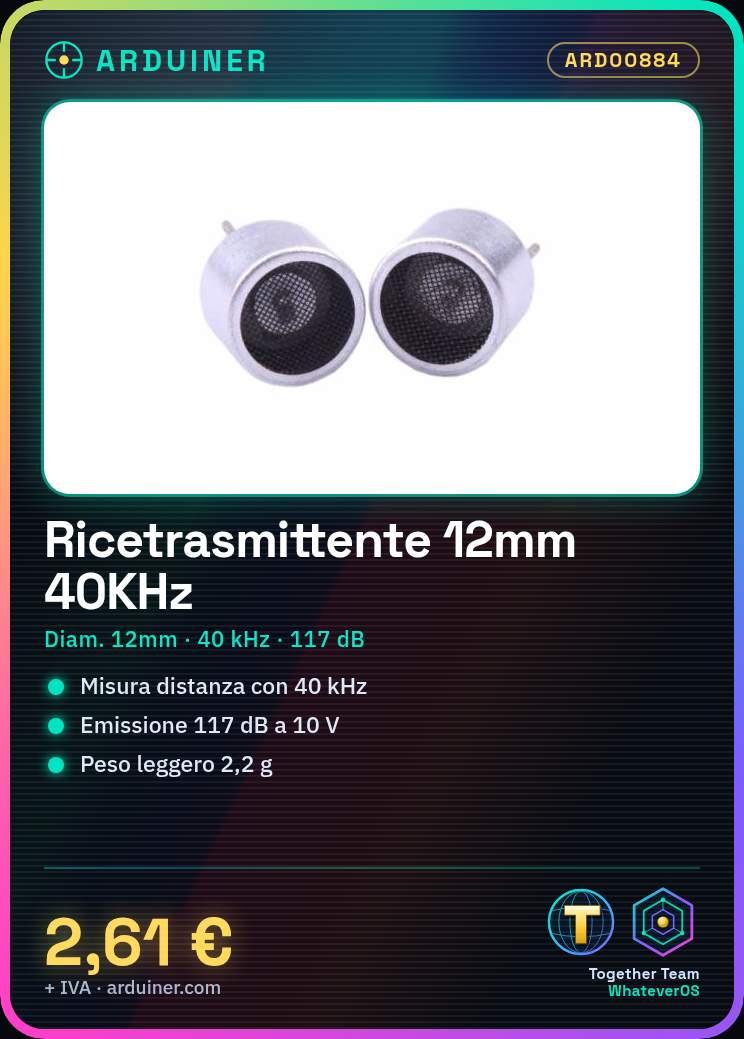
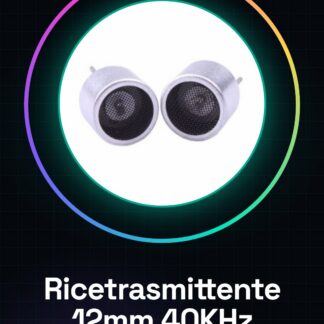
Ultrasonic Transceiver Pair Diameter 12MM 40KHz (Transmitter + Receiver) Distance Detection Sensor
transmitter + receiver
(diameter 12mm)
1 Nominal Frequency (KHz): 40KHz
2 sound pressure level at 10V emission (0 dB = 0.02 mPa): 117 dB
3 receiver sensitivity at 40KHz (0dB = V / ubar): -65dB
4 at 1 KHz, <1 V (PF): 2000 30%
Using the transmitter method
Construction Type of open structure
Central Frequency 40.0 1.0 KHz
Sound Pressure Level 112dB min.
Maximum Input Voltage 60Vp-p
Operating Temperature -20 C ~ + 70 C
Storage Temperature -40 C ~ + 85 C
Weight 2.2 g
We have datasheets available for all components, should they not be present in the product download card, send us a message from the contact us form and we will publish it as soon as possible on our website.
Tutorial: How to Use 12MM Diameter Ultrasonic Transceiver Pair
The ultrasonic transceiver pair is a fundamental component for projects requiring distance detection from obstacles or objects. Ideal for beginners and intermediate makers, this sensor can be used in robotics, drones, and security systems.
What you need
- Arduino Uno
- USB Cable
- 5V Power Supply
Steps
- Connect the transmitter to pin D4 of the Arduino and the receiver to pin D5.
- Check the polarity of the connectors between the sensors and the Arduino (positive red, negative black).
- Download or create a test sketch to send ultrasonic signals from the transmitter and receive responses from the receiver.
- Configure the Arduino code to measure the duration of the received signal (flight time).
- Calculate the distance in millimeters or centimeters using the formulas provided in the documentation (speed of sound * flight time / 2).
- Test the sensor with objects at different distances.
- Optimize the code to improve the precision and accuracy of the detection.
- Implement the sensor in a more complex project such as an obstacle-avoiding robot.
Example code
void setup() {
 Serial.begin(9600);
}

void loop() {
 long duration, distance;
 pinMode(trigPin, OUTPUT);
 digitalWrite(trigPin, LOW);
 delayMicroseconds(2); // stabilizzazione del segnale
 digitalWrite(trigPin, HIGH);
 delayMicroseconds(10); // invio di un impulso alto per iniziare la misurazione
 digitalWrite(trigPin, LOW);
 pinMode(echoPin, INPUT);
 duration = pulseIn(echoPin, HIGH);
 distance = (duration/2) / 29.1; // calcolo della distanza
 Serial.print(distance);
 Serial.println(" cm");
}
Mini project
Create an obstacle-avoiding robot with two motorized wheels and the ultrasonic sensor to detect obstacles in front of it.
Common mistakes
- Pulses too short or long sent from the transmitter.
- Polarity of the connectors reversed between the sensors and the Arduino.
- Minimum distance not respected (check the datasheet).
- Return signal non-existent due to the absence of an obstacle nearby.
Recommended accessories
- Arduino Uno R3
- LiPo Battery 3.7V
- Arduino Robotics Starter Kit
- DC Motor for Robot
Frequently asked questions
How is distance calculated?
The distance is calculated by multiplying the time of flight of the ultrasonic signal (in seconds) by 17000 and then dividing the result by 2.
How precise is this pair of sensors?
Accuracy varies depending on the application, but generally you can expect a precision of approximately ±5% at the maximum operating distance (check the datasheet).
Reviews
There are no reviews yet.