 EN
 IT Italiano
 ES Español
 FR Français
 DE Deutsch
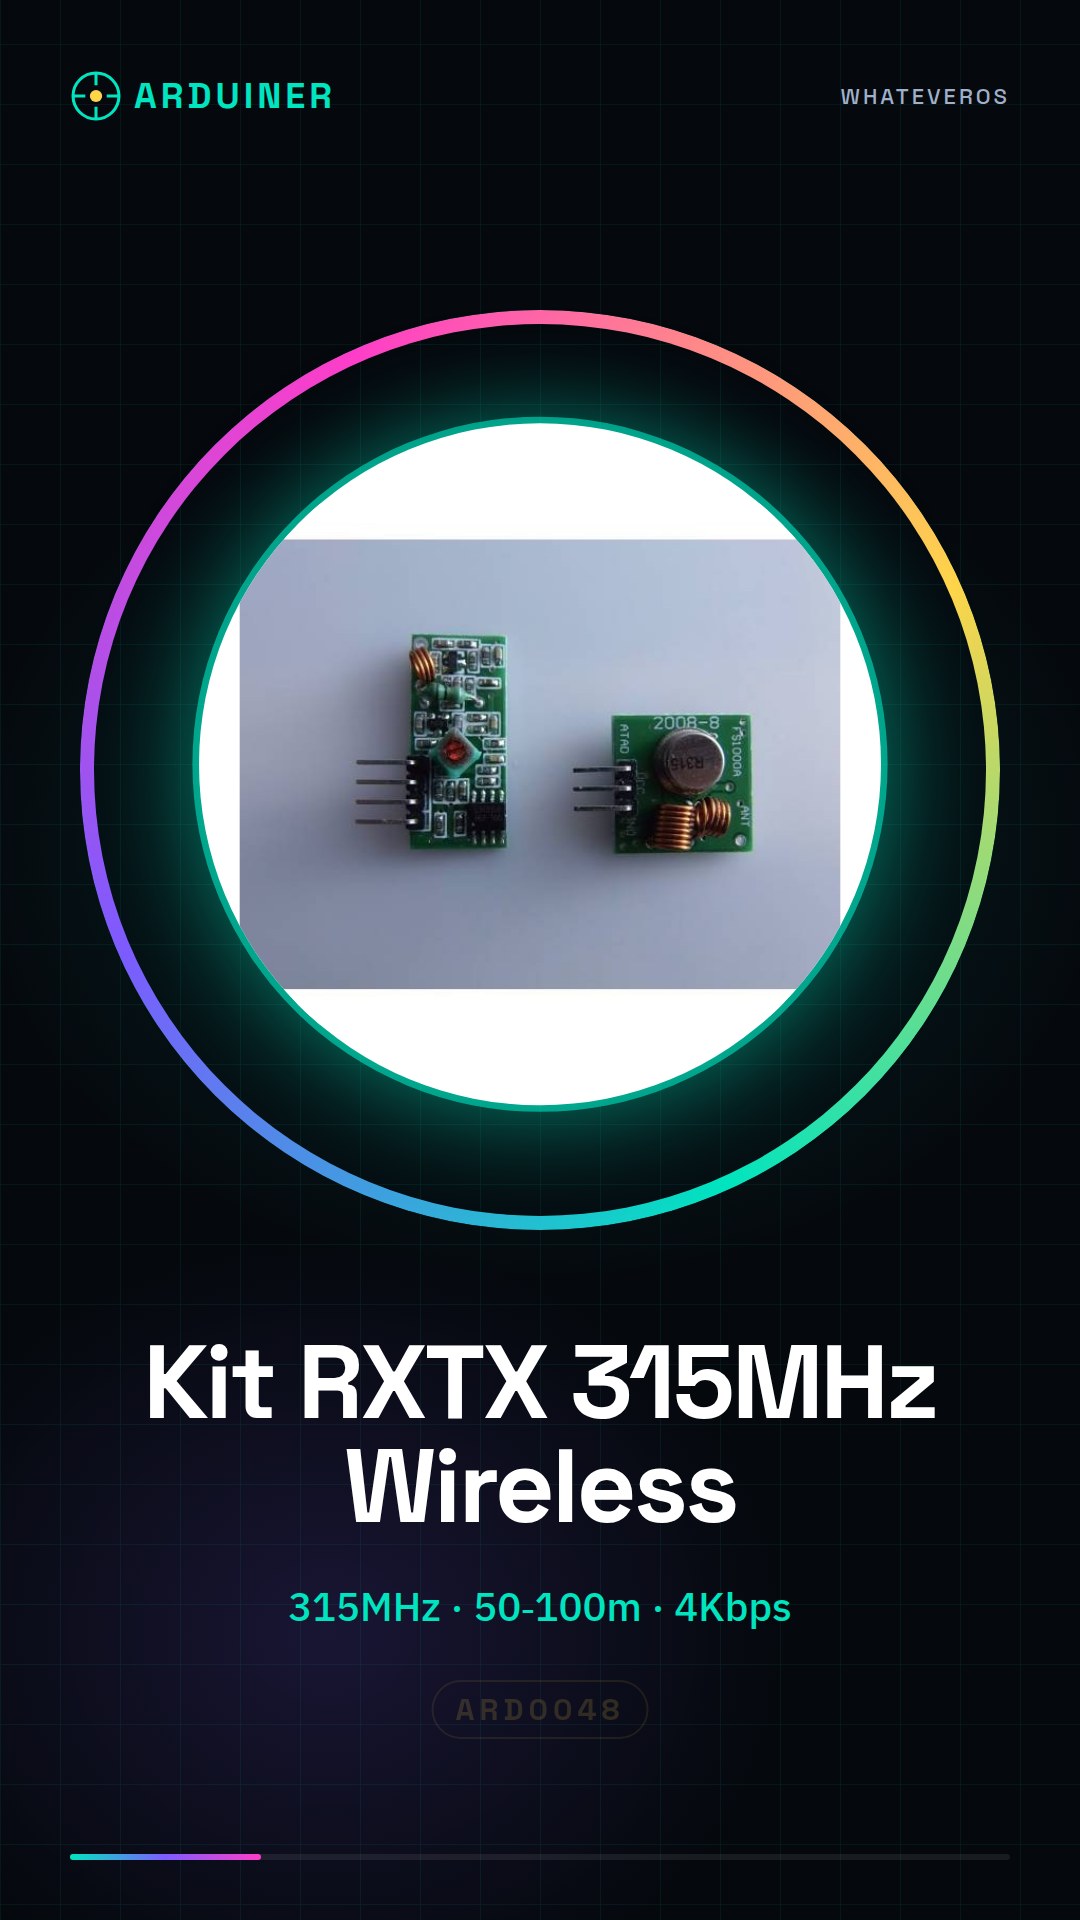
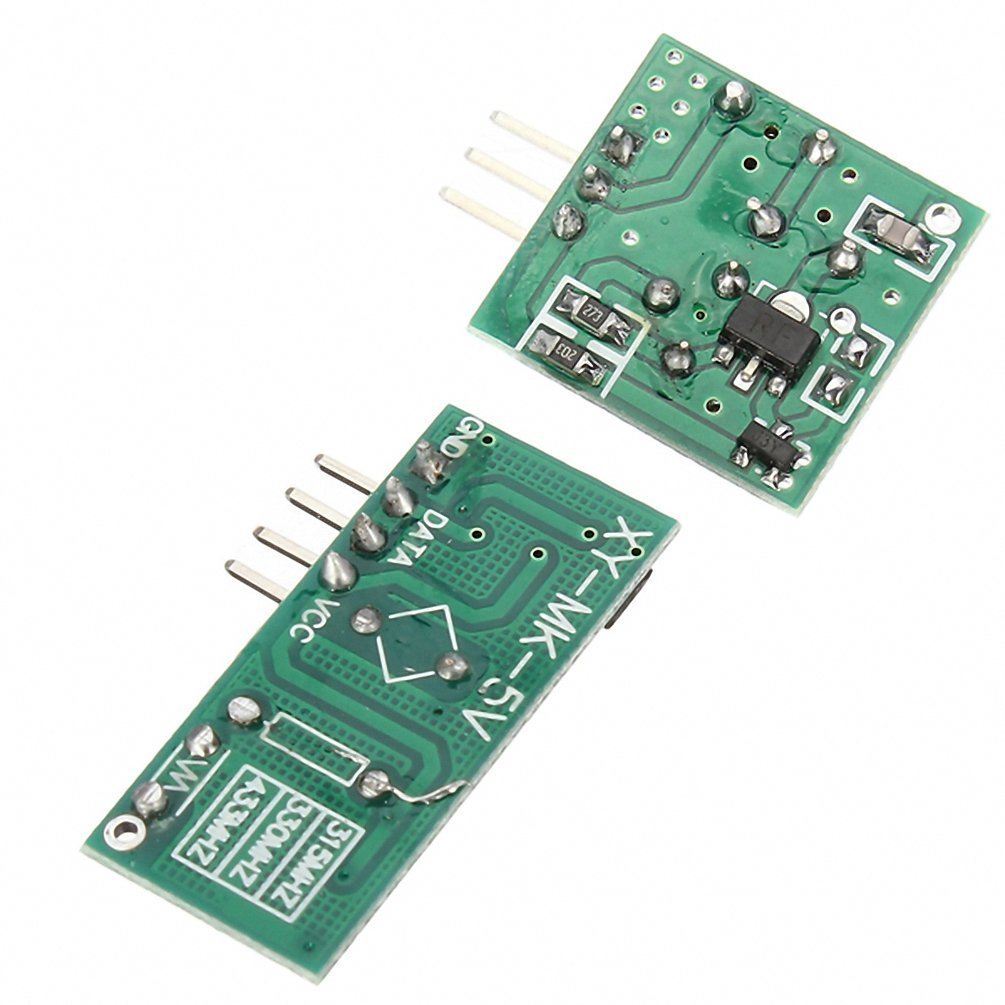
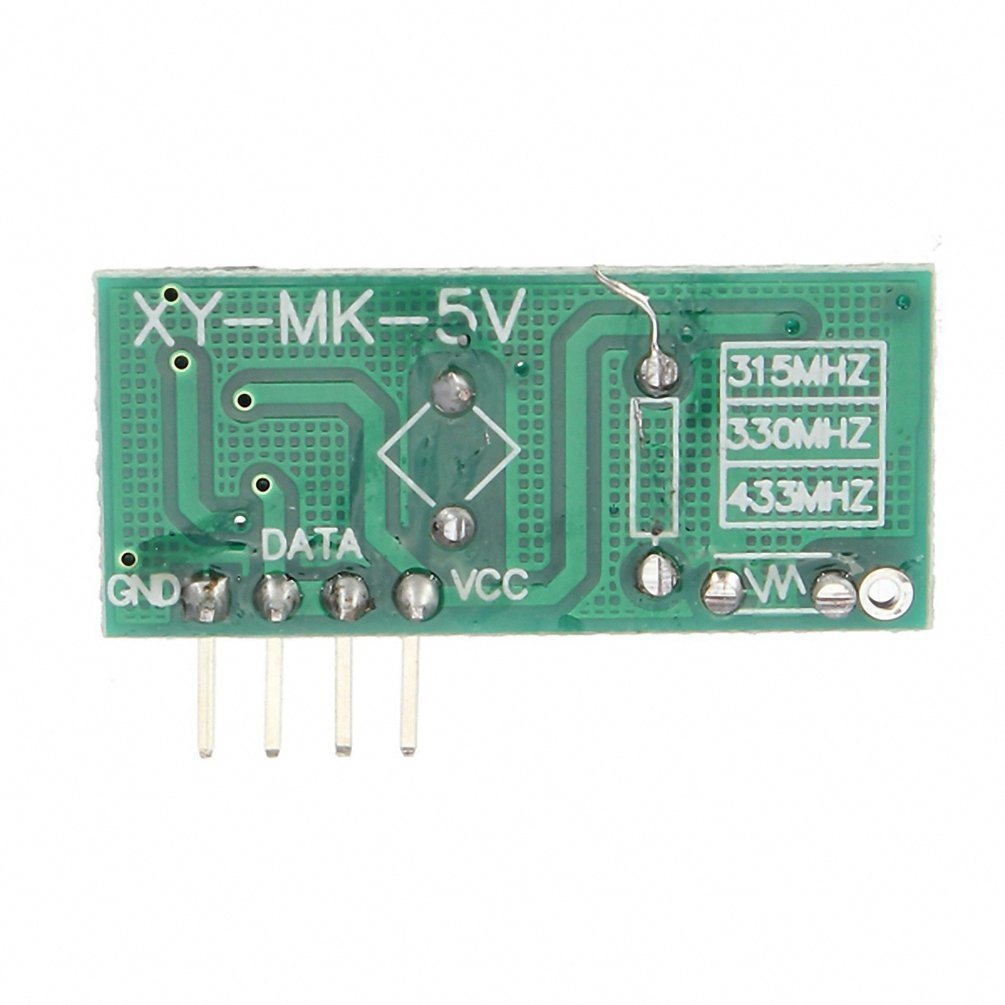
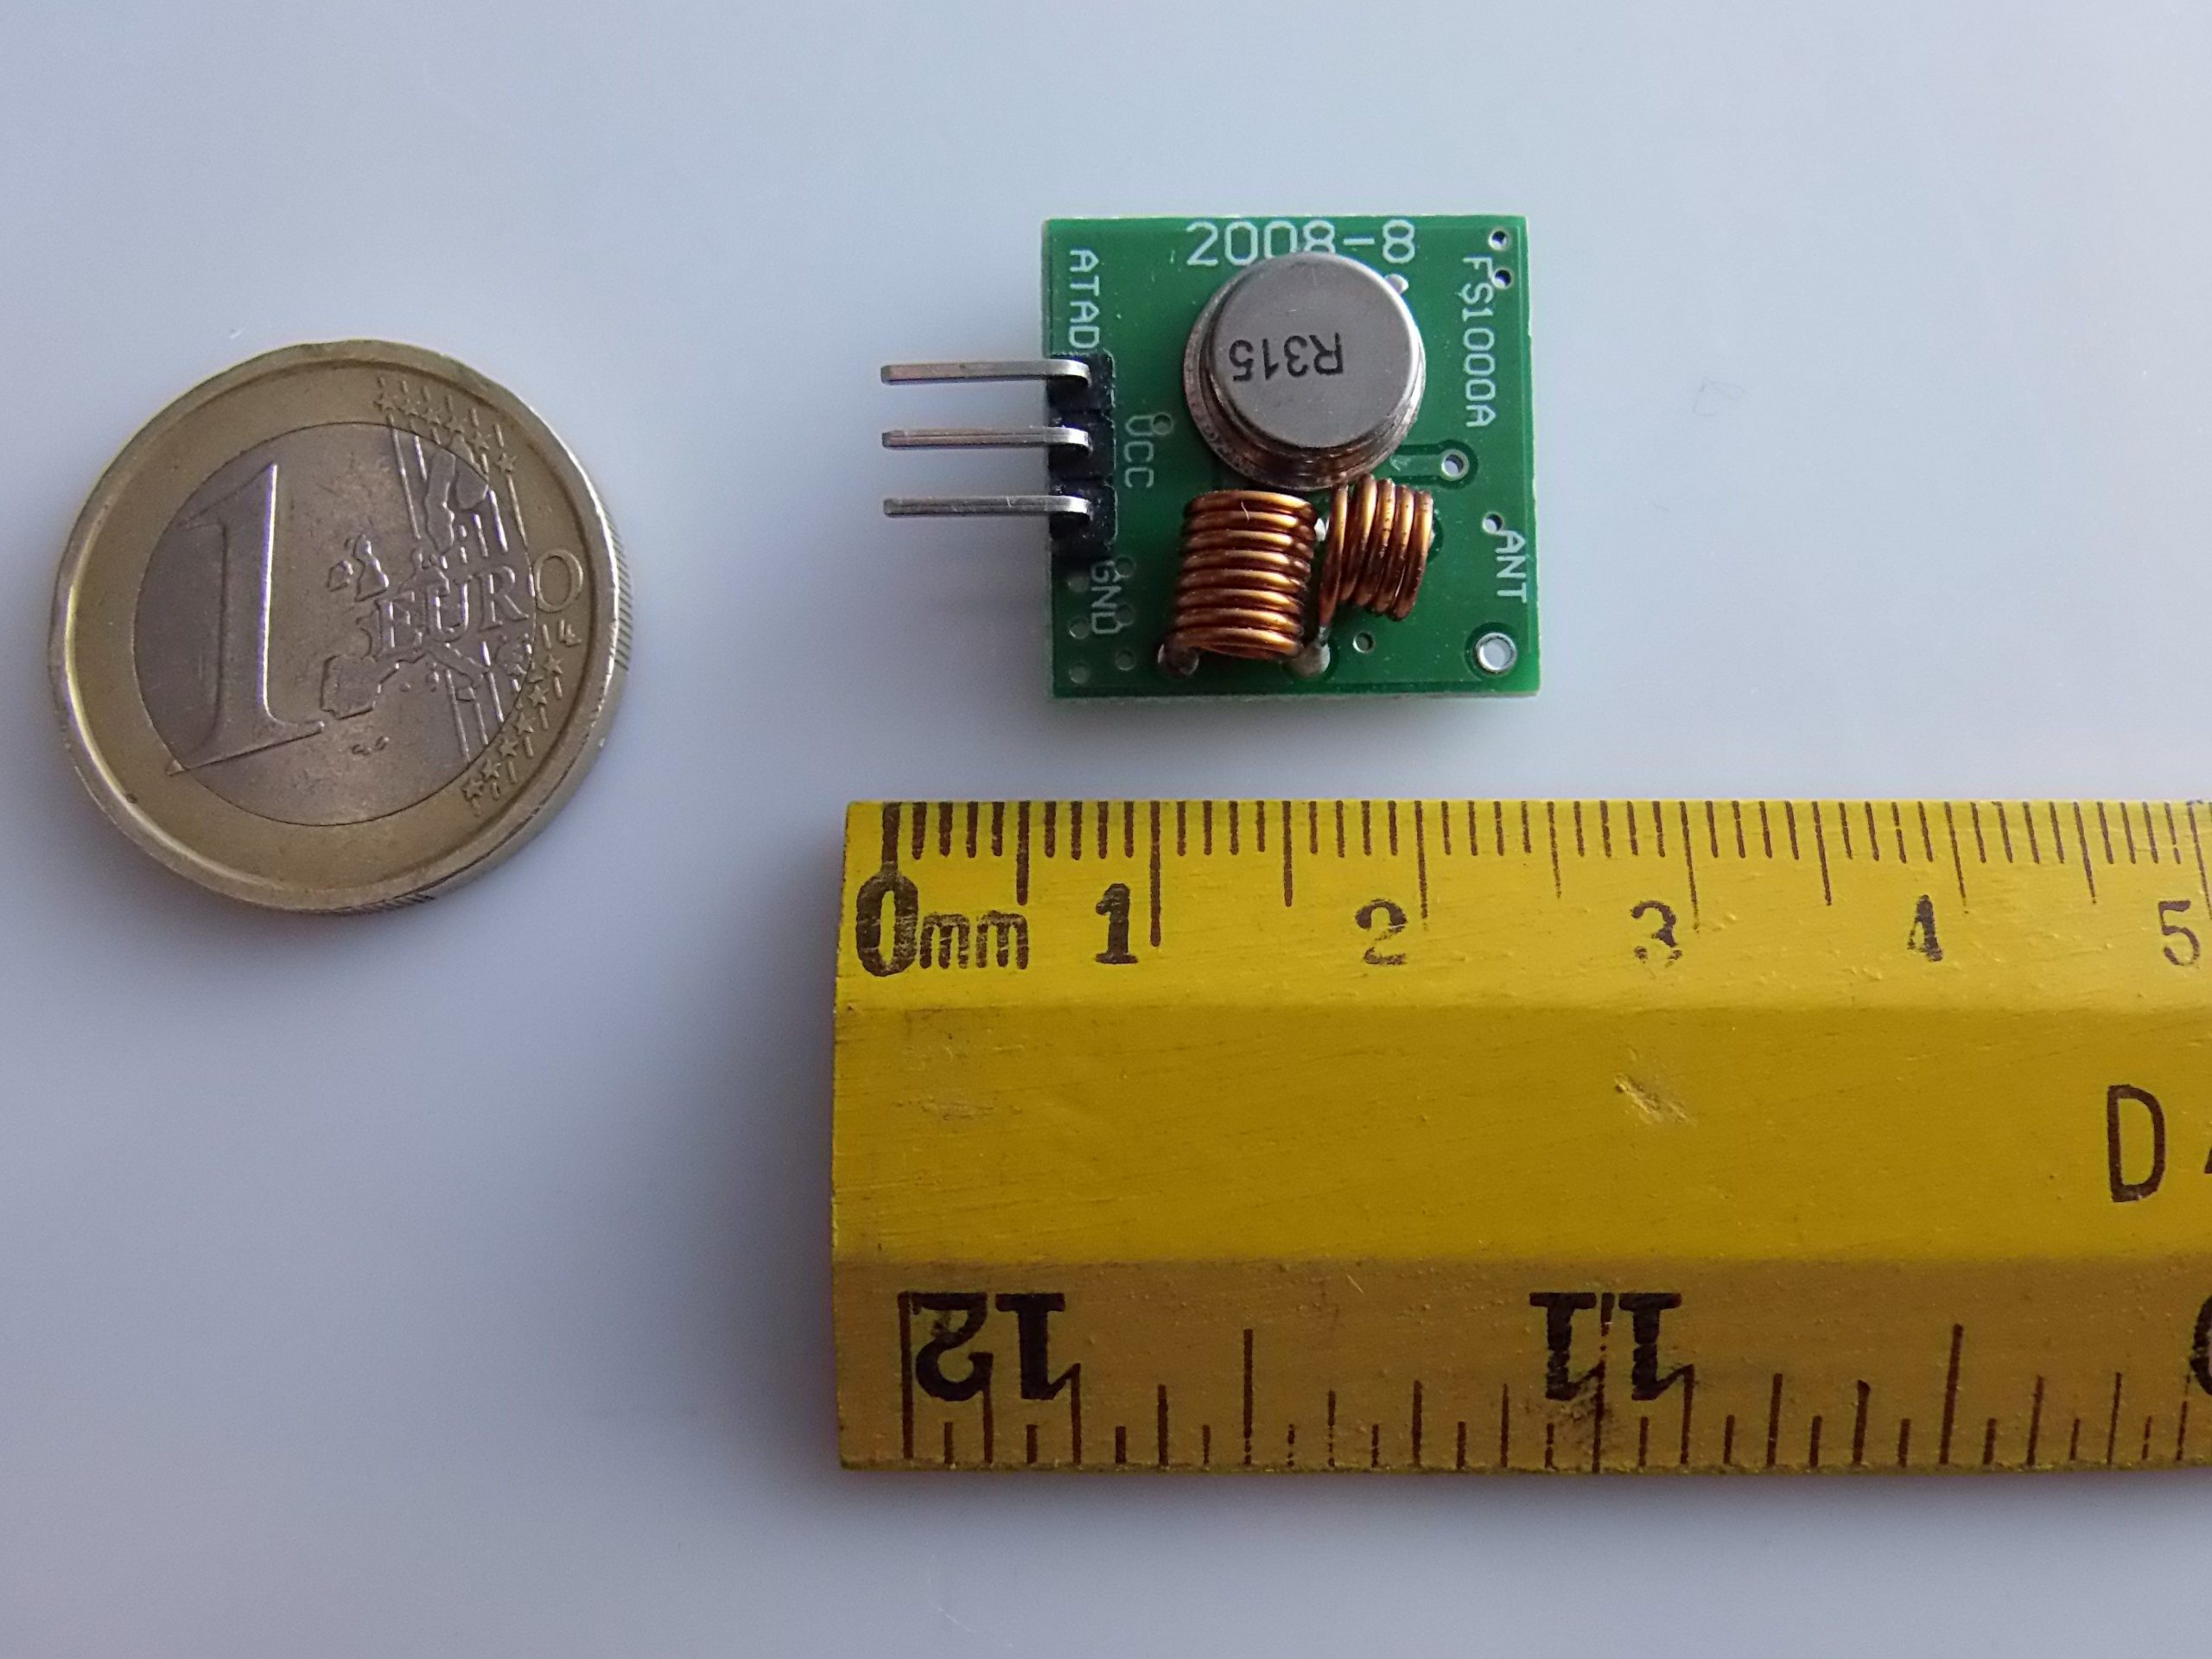
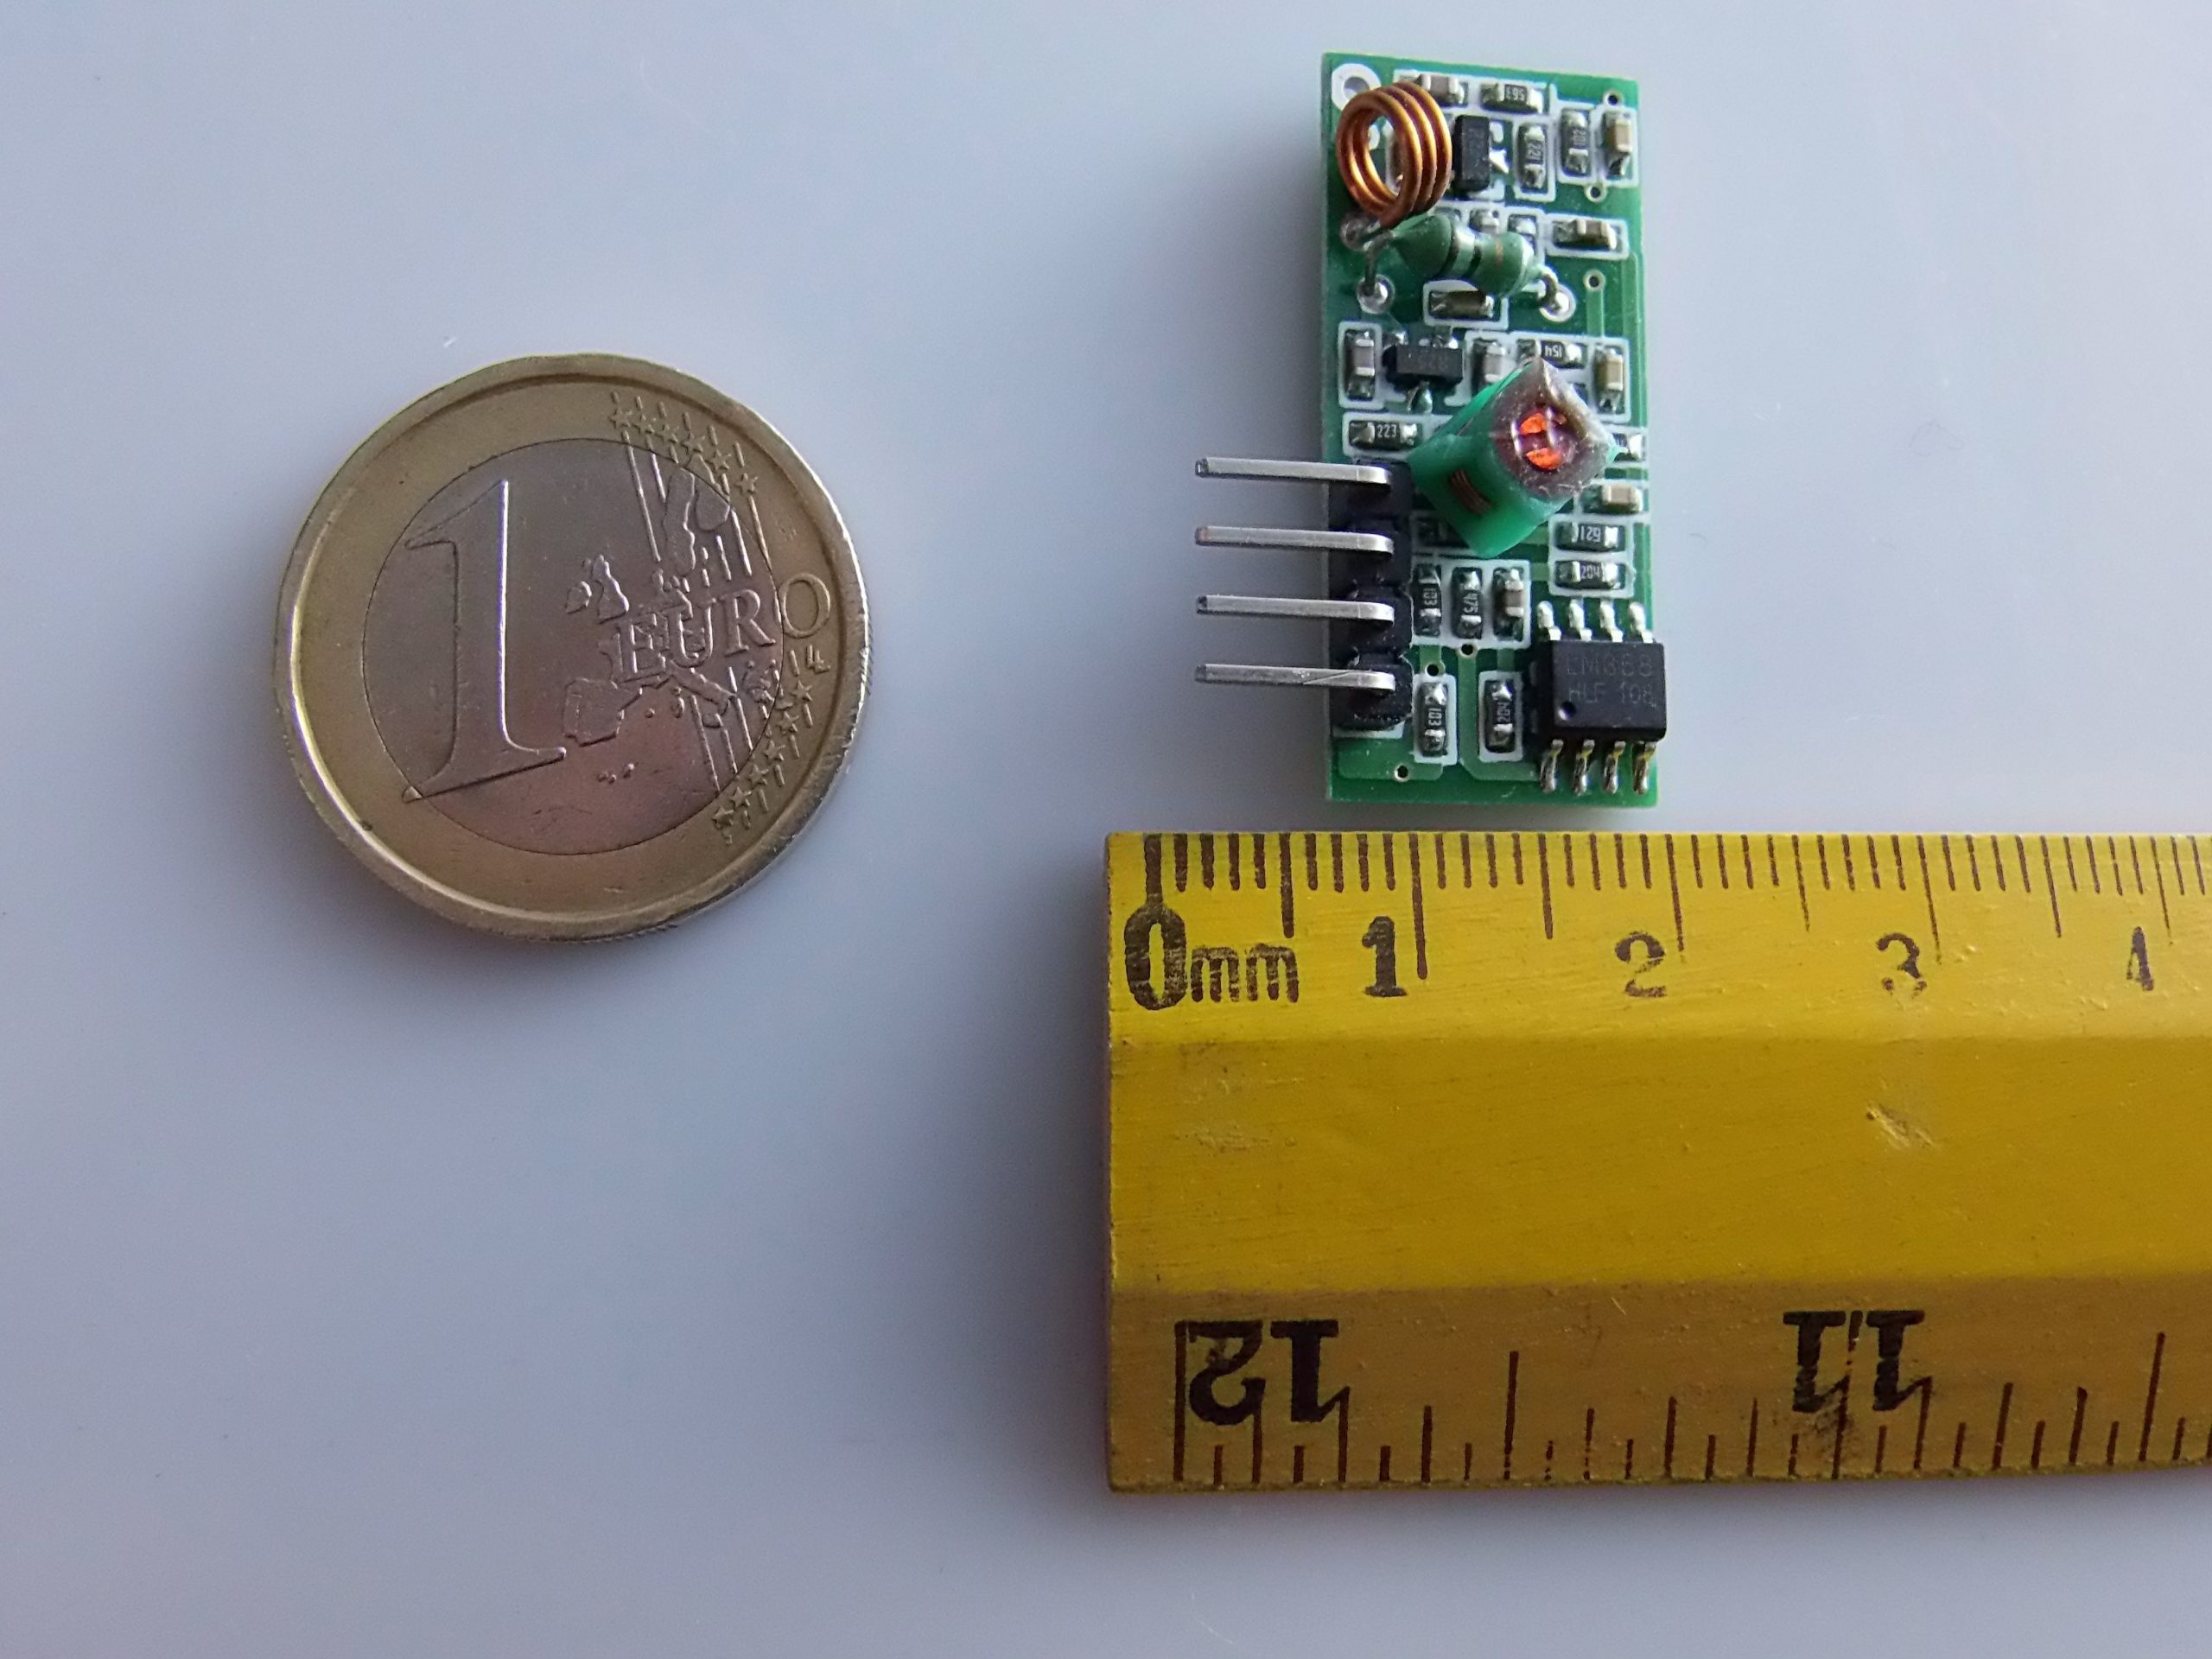
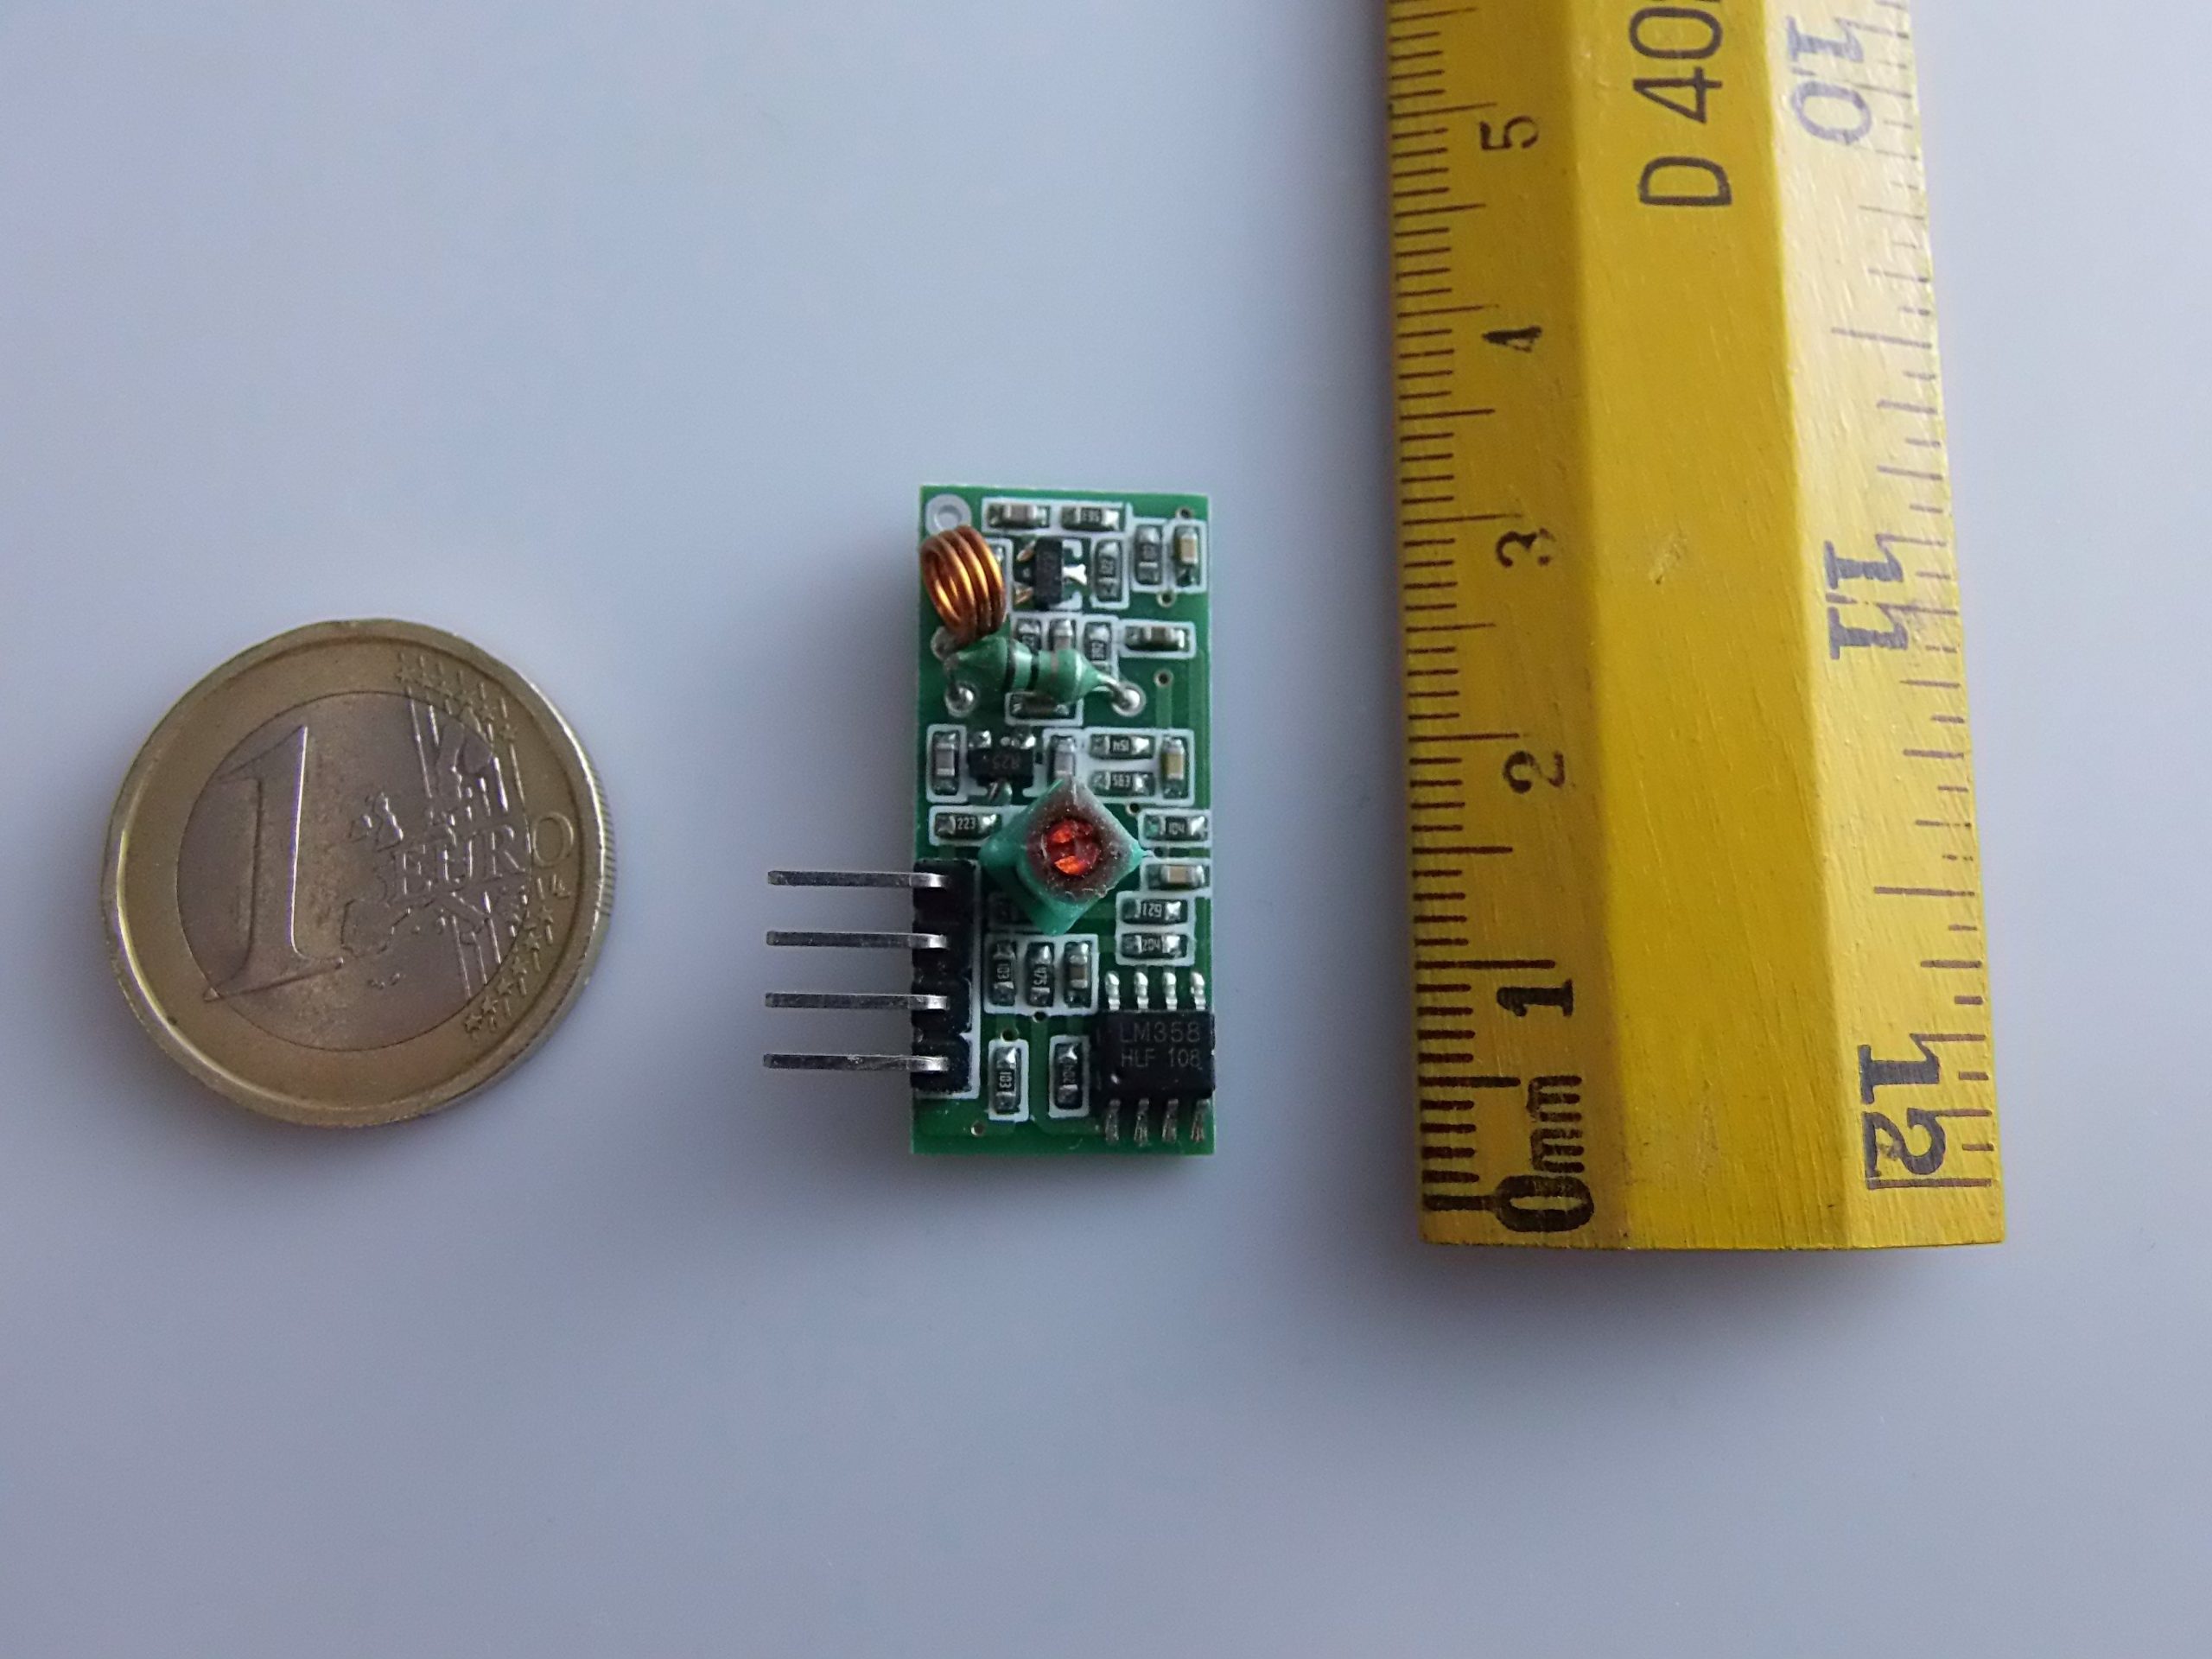
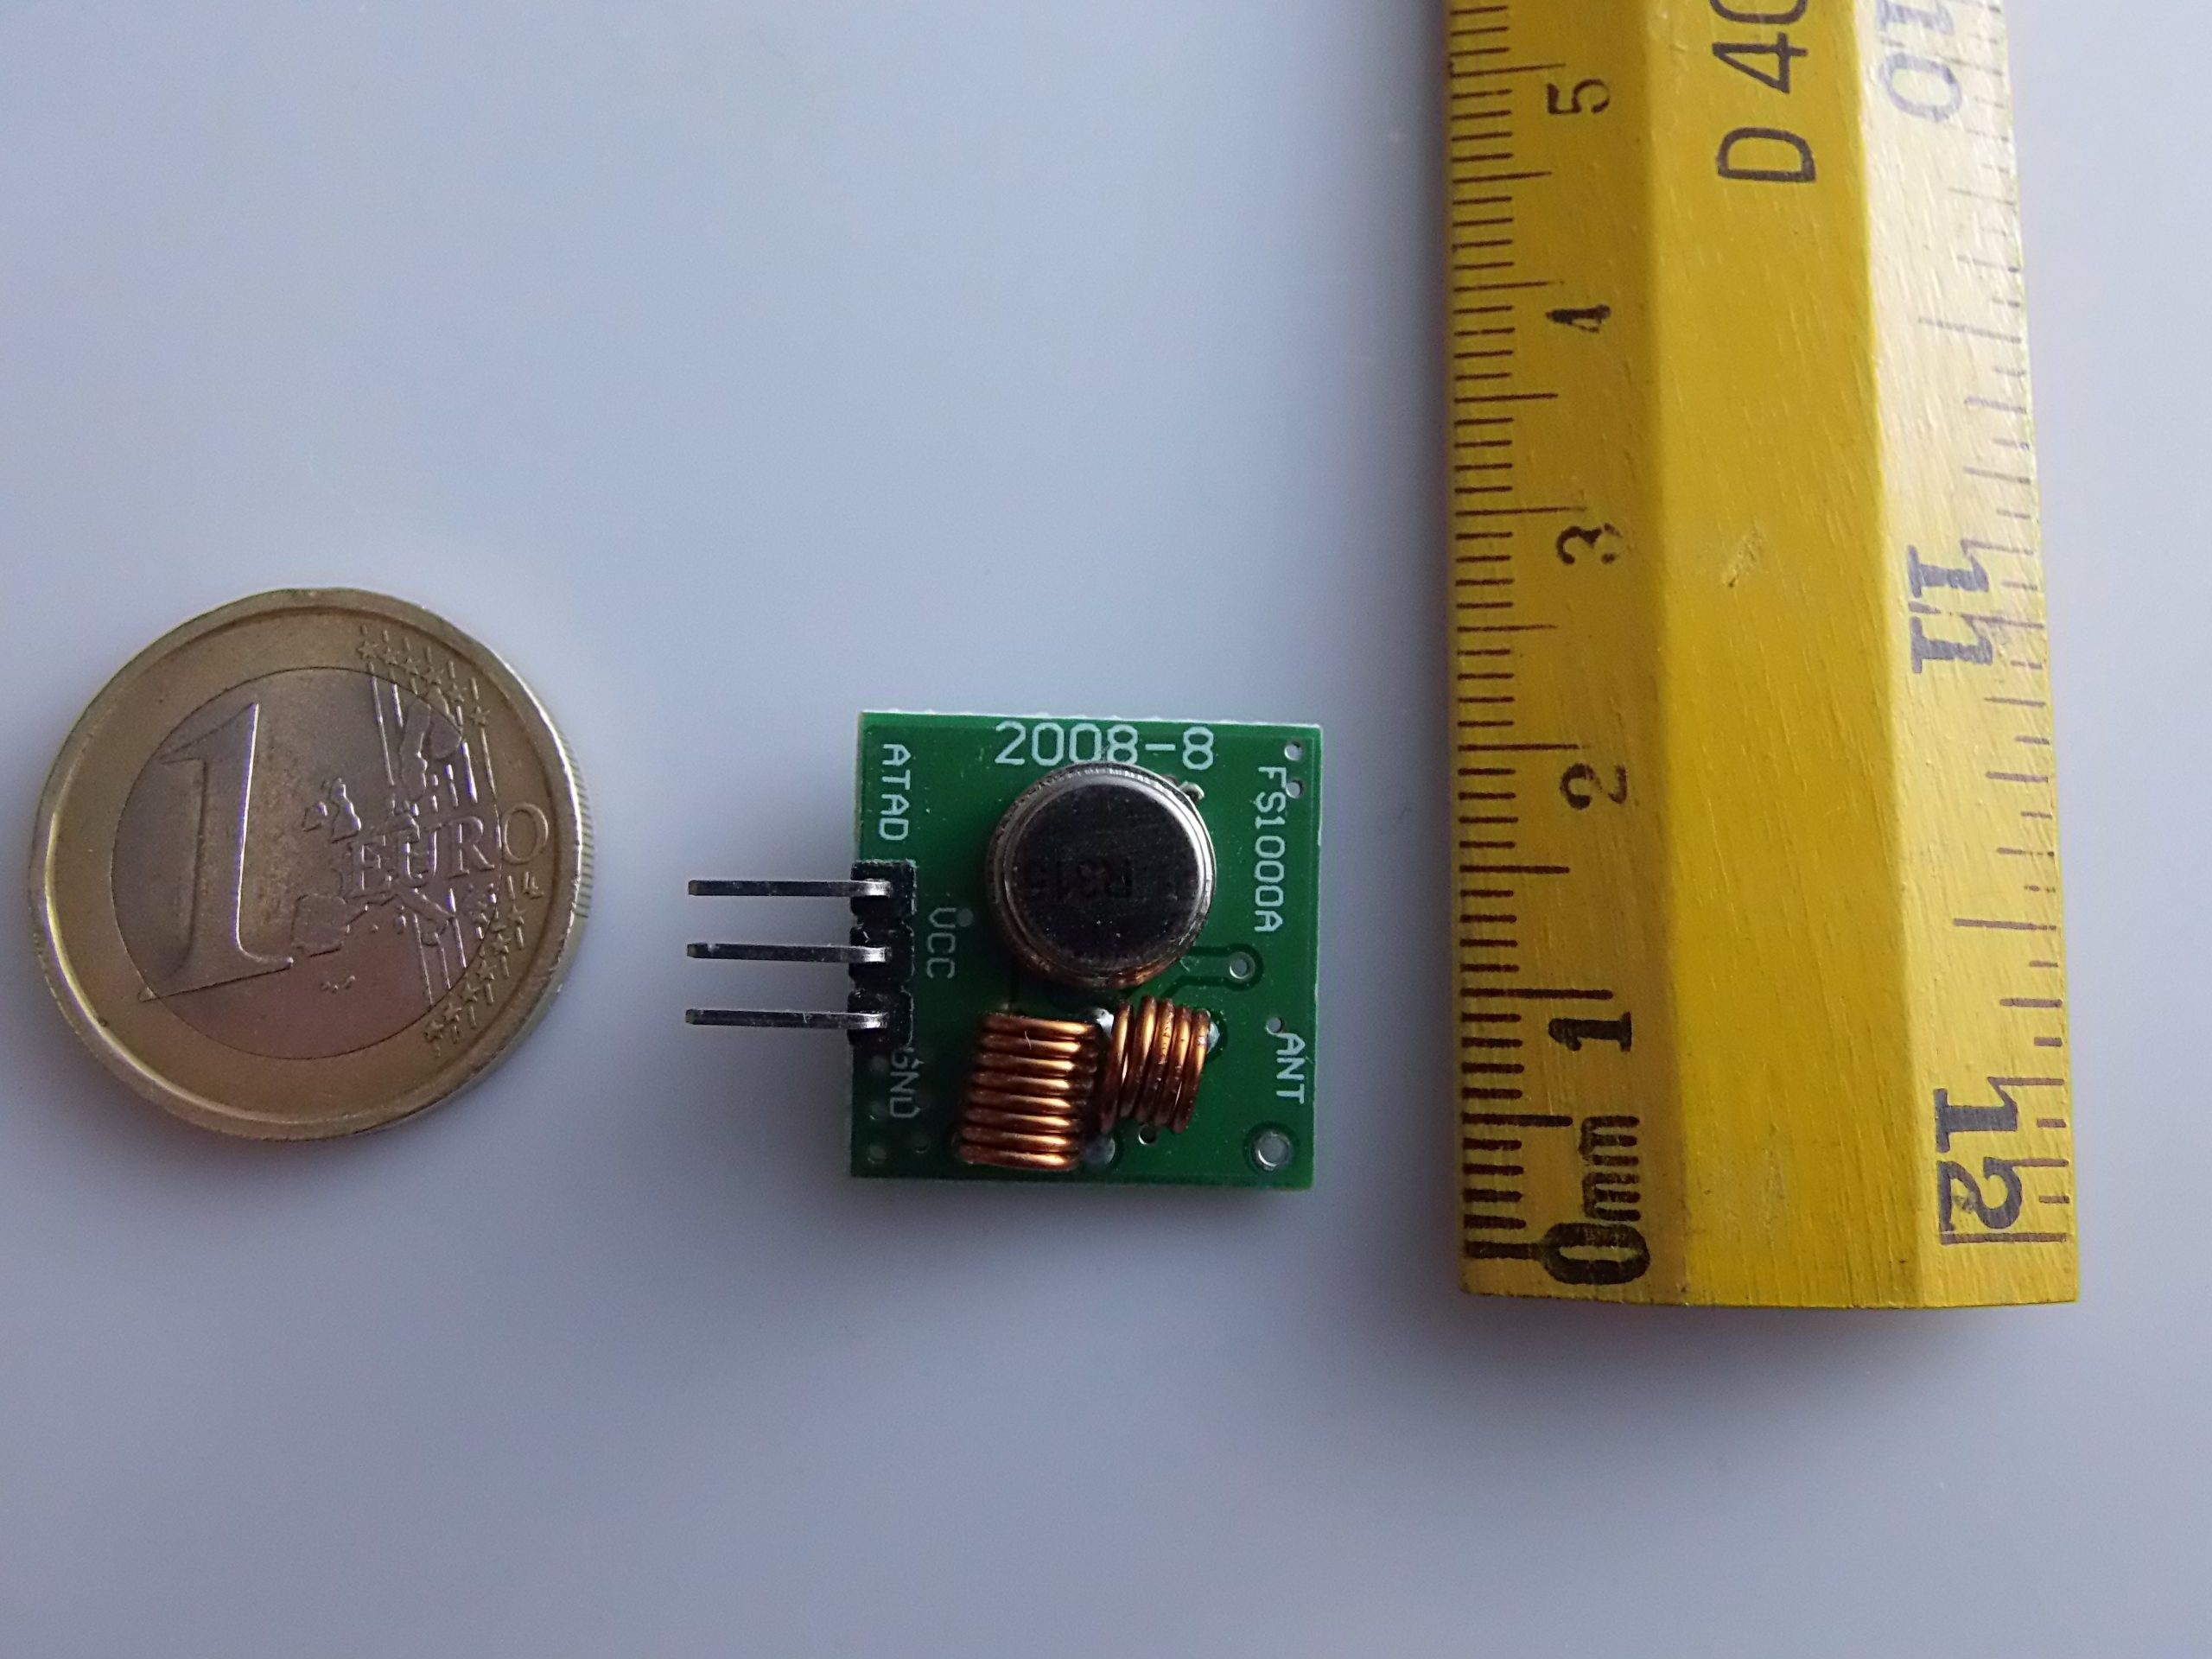
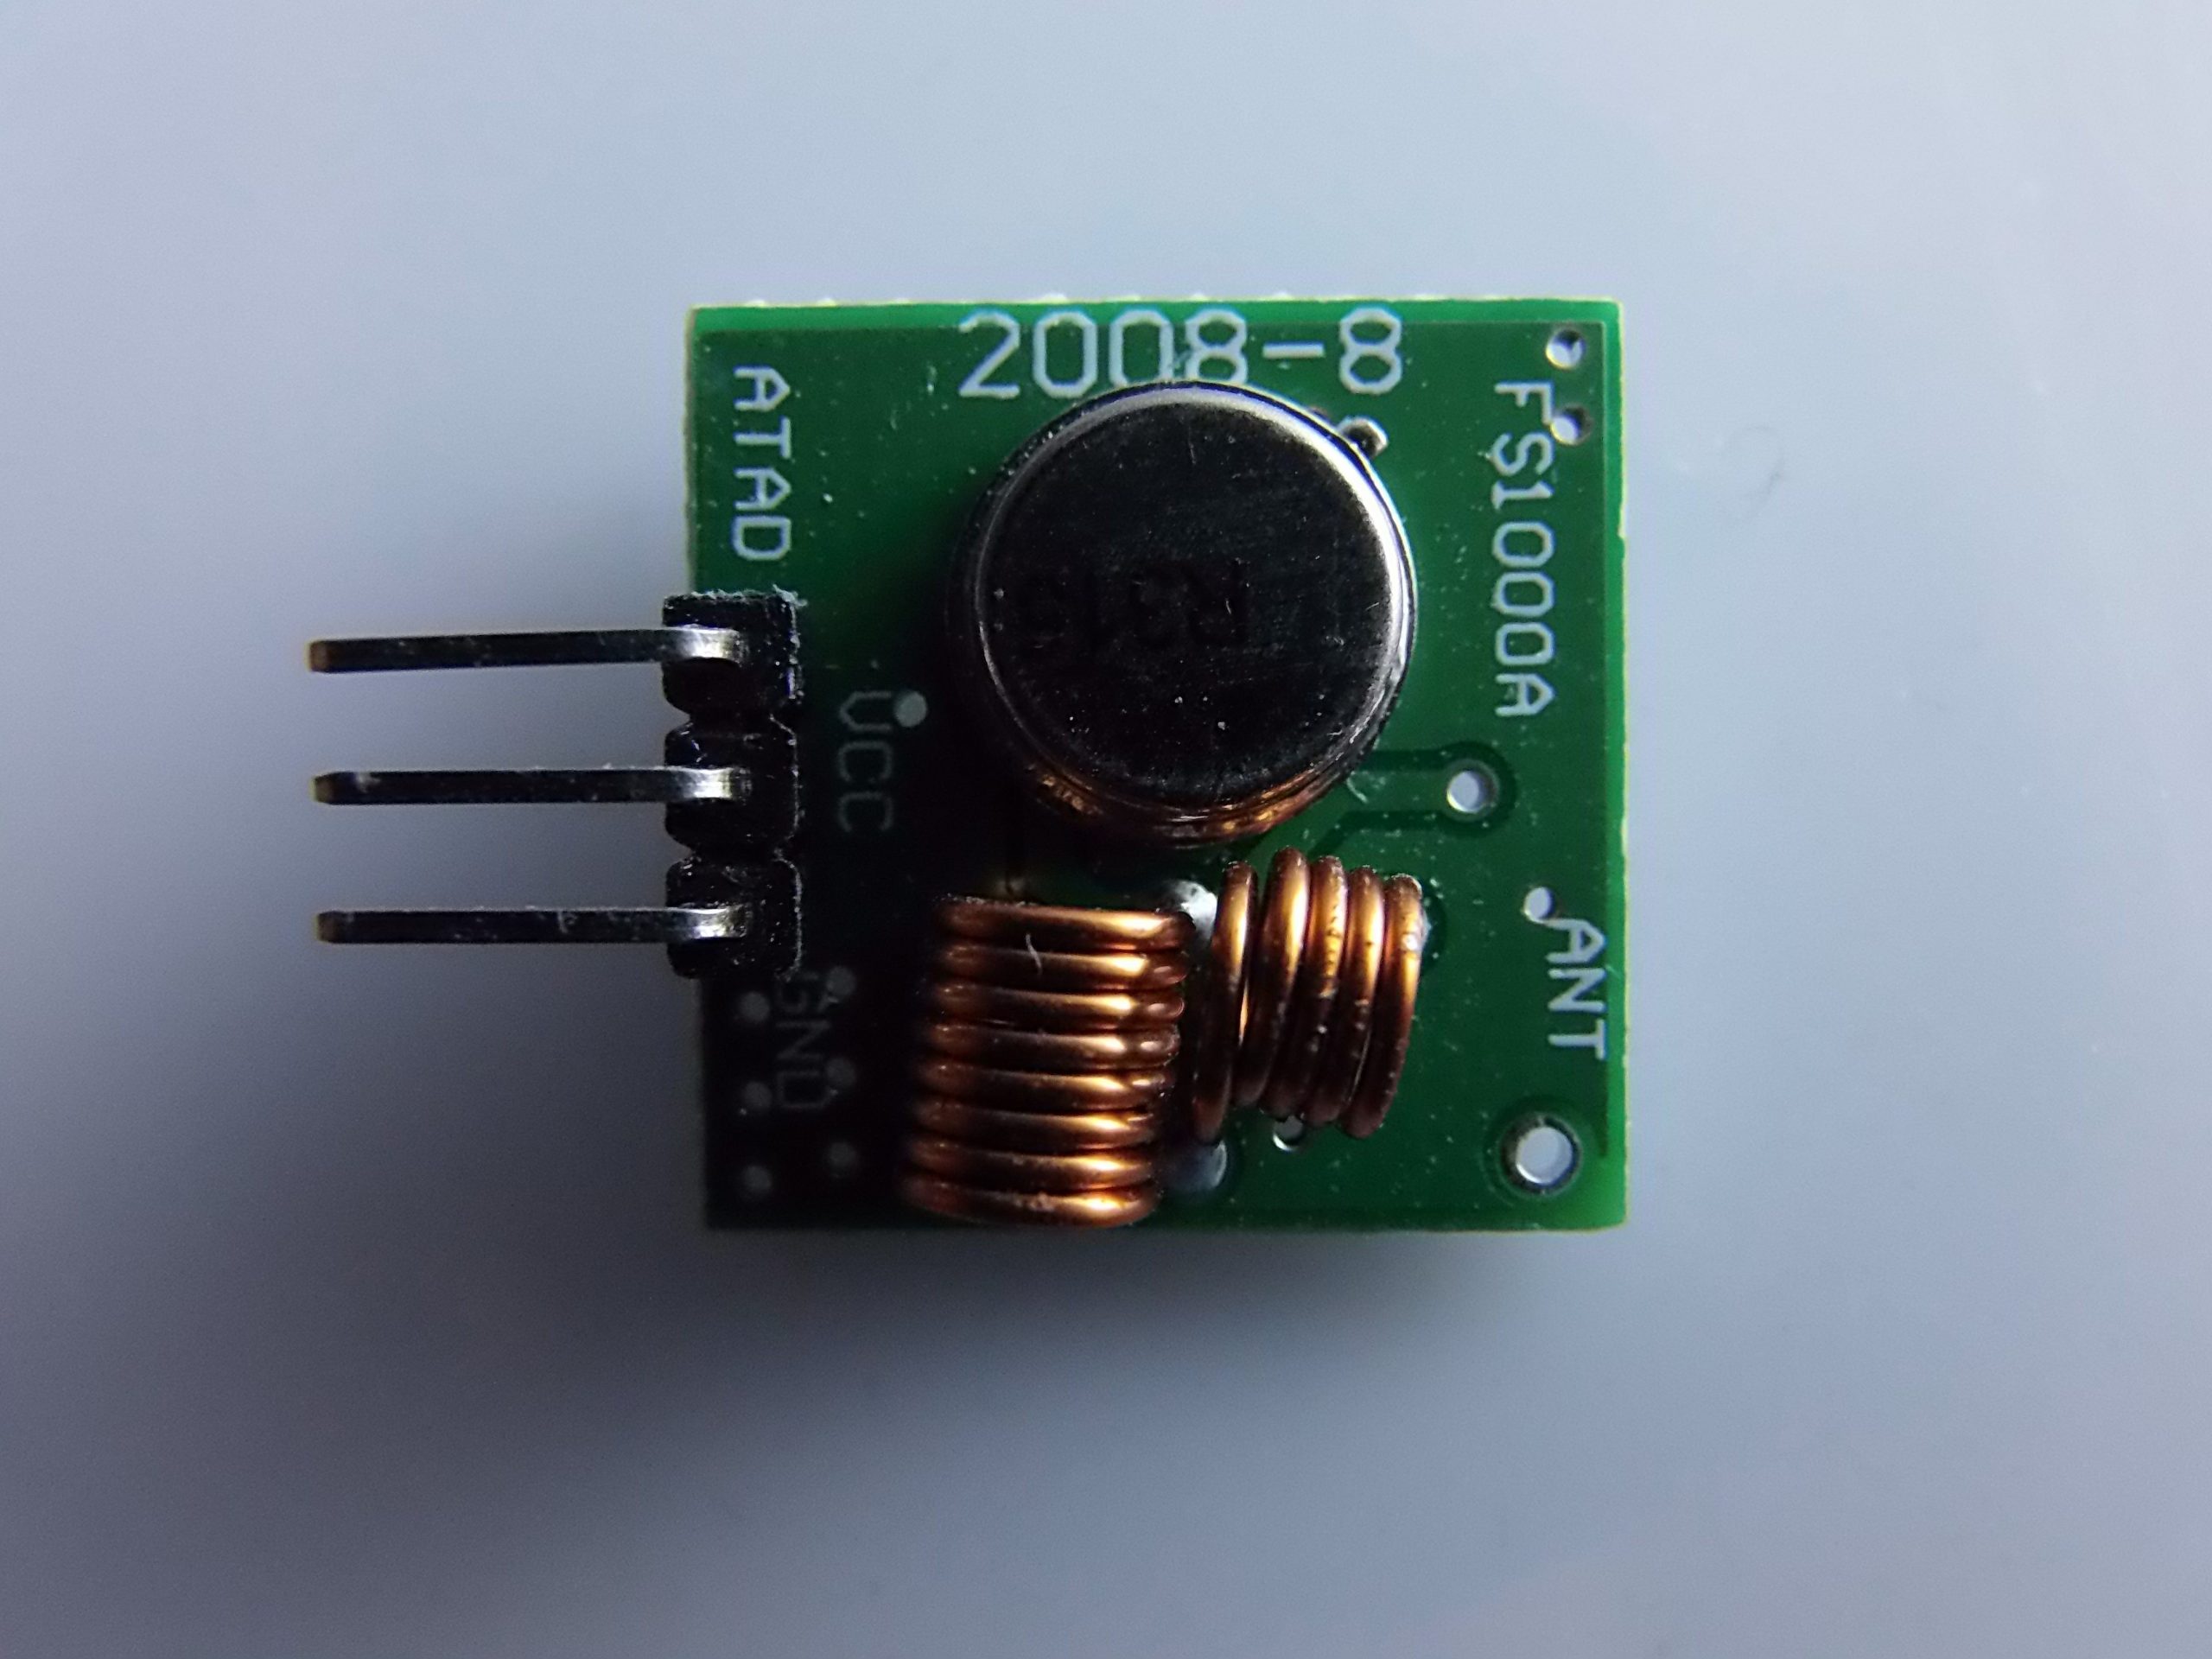
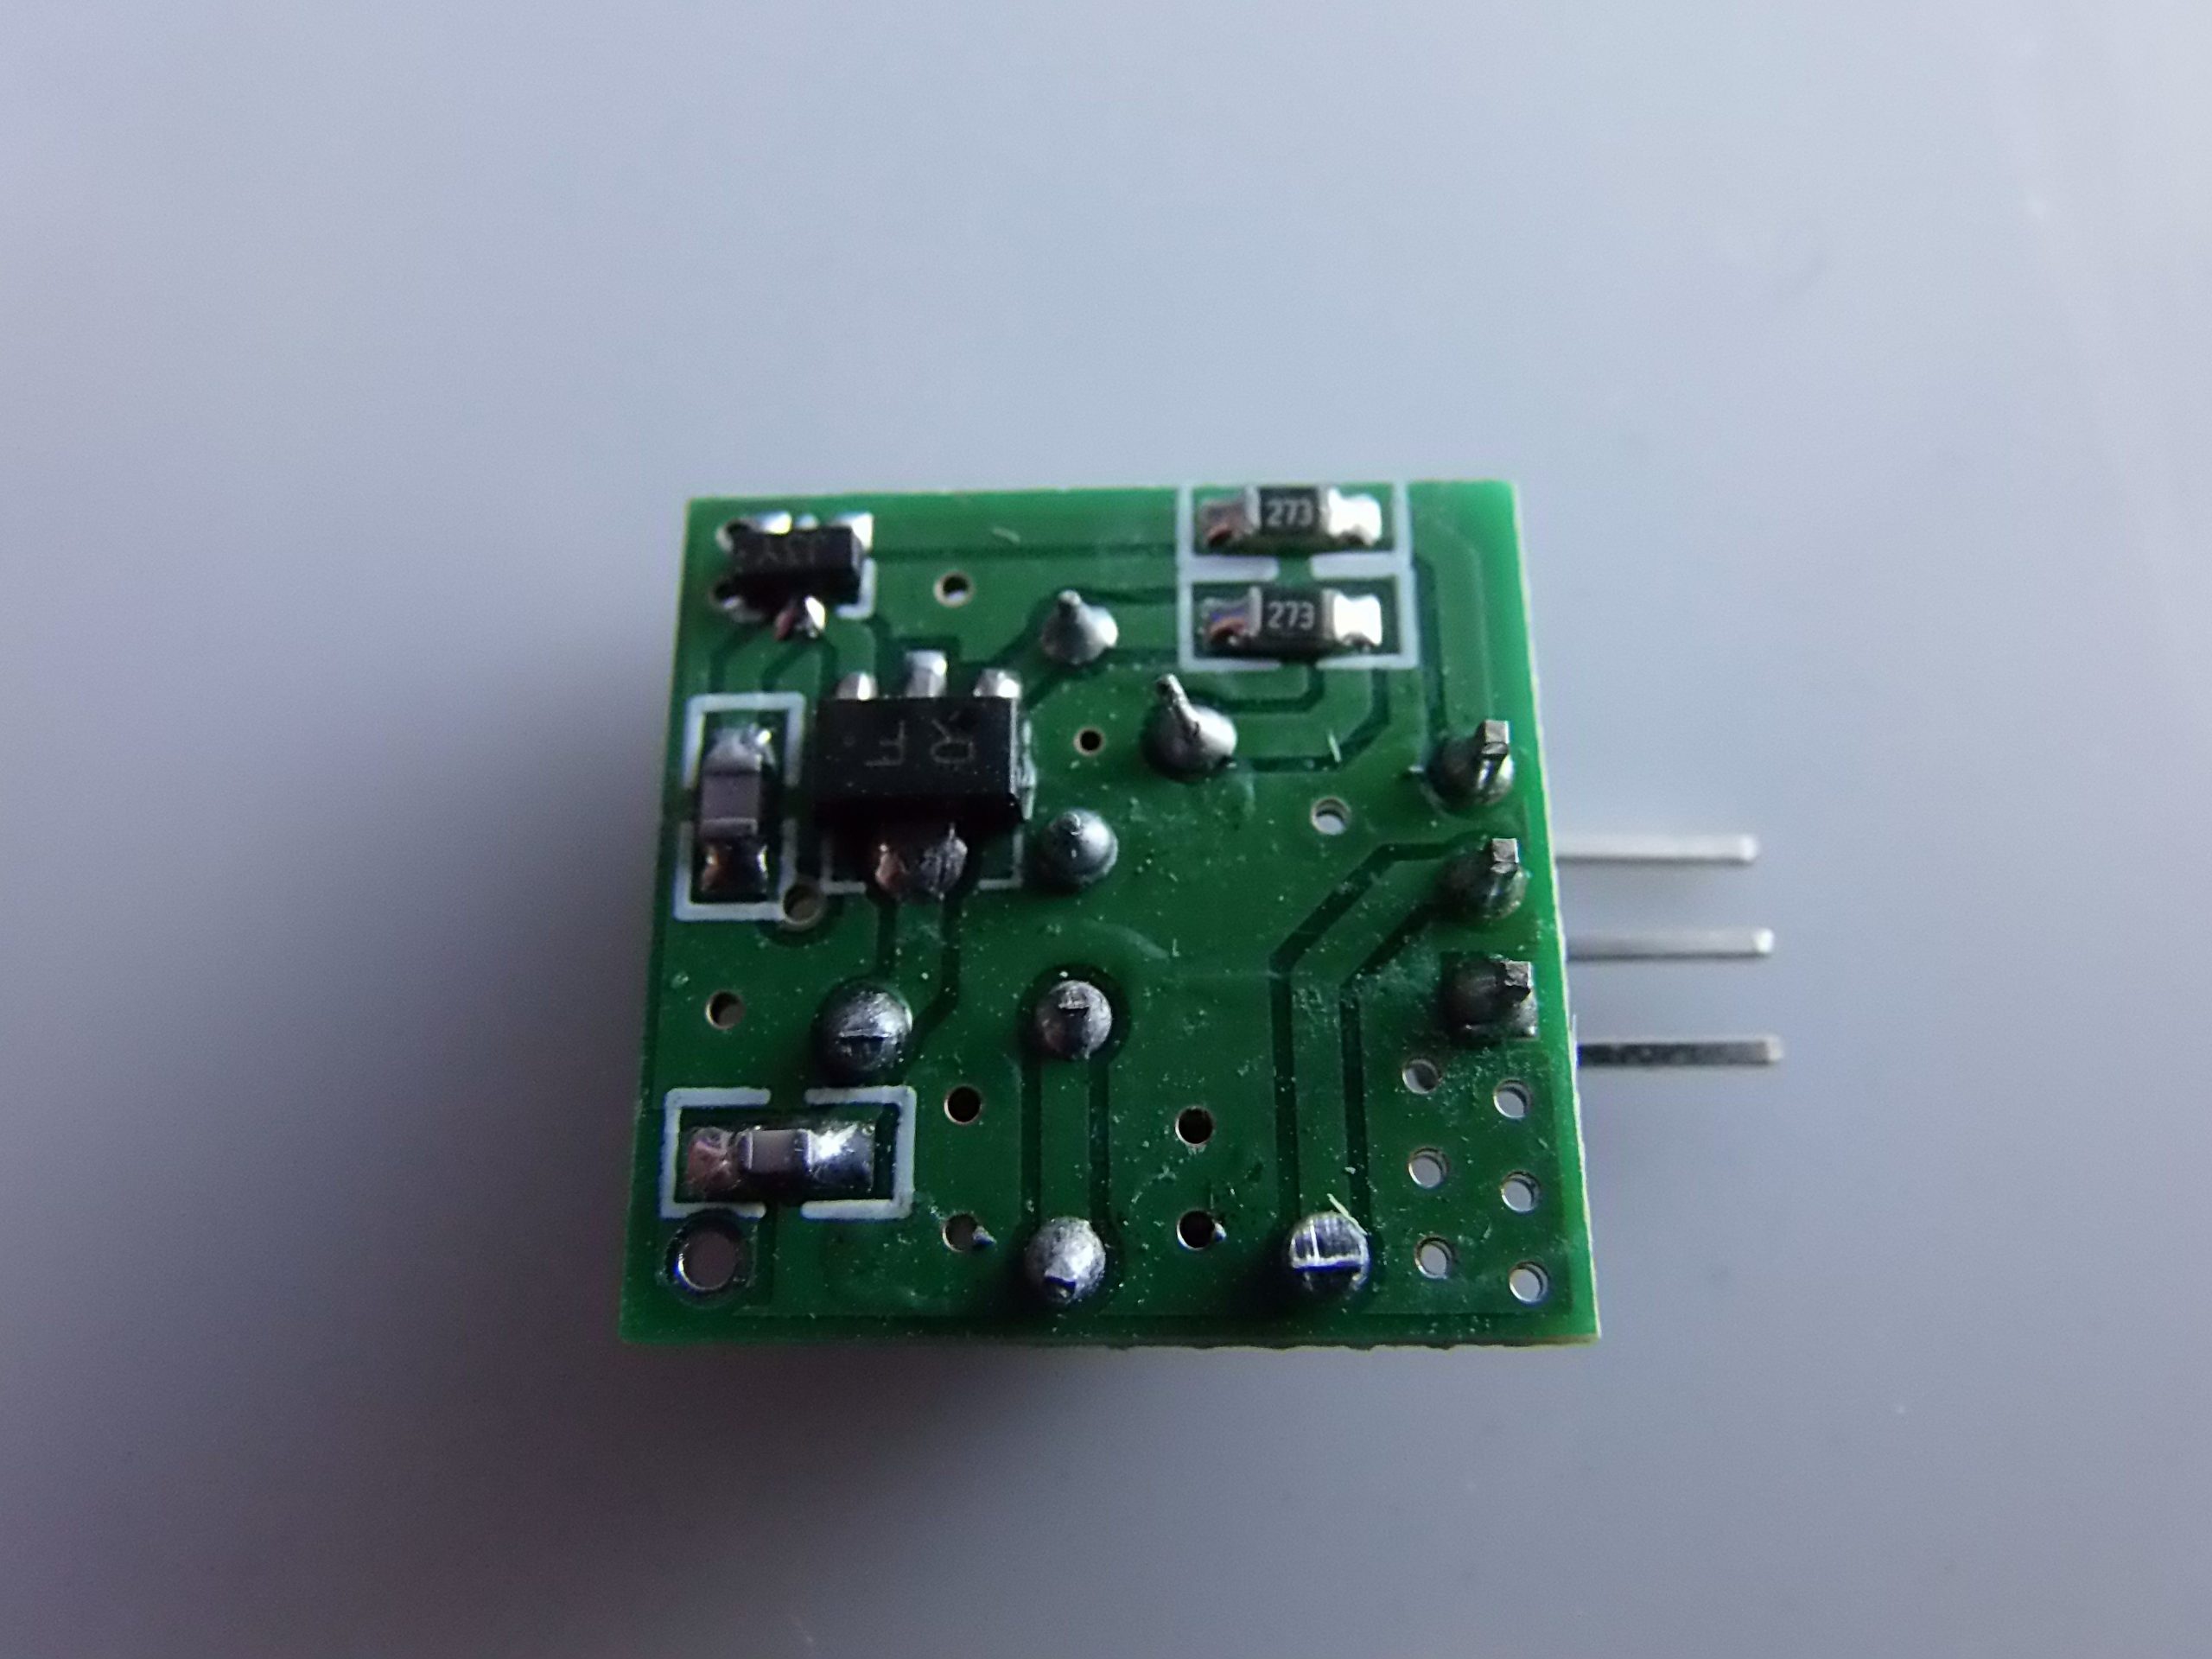
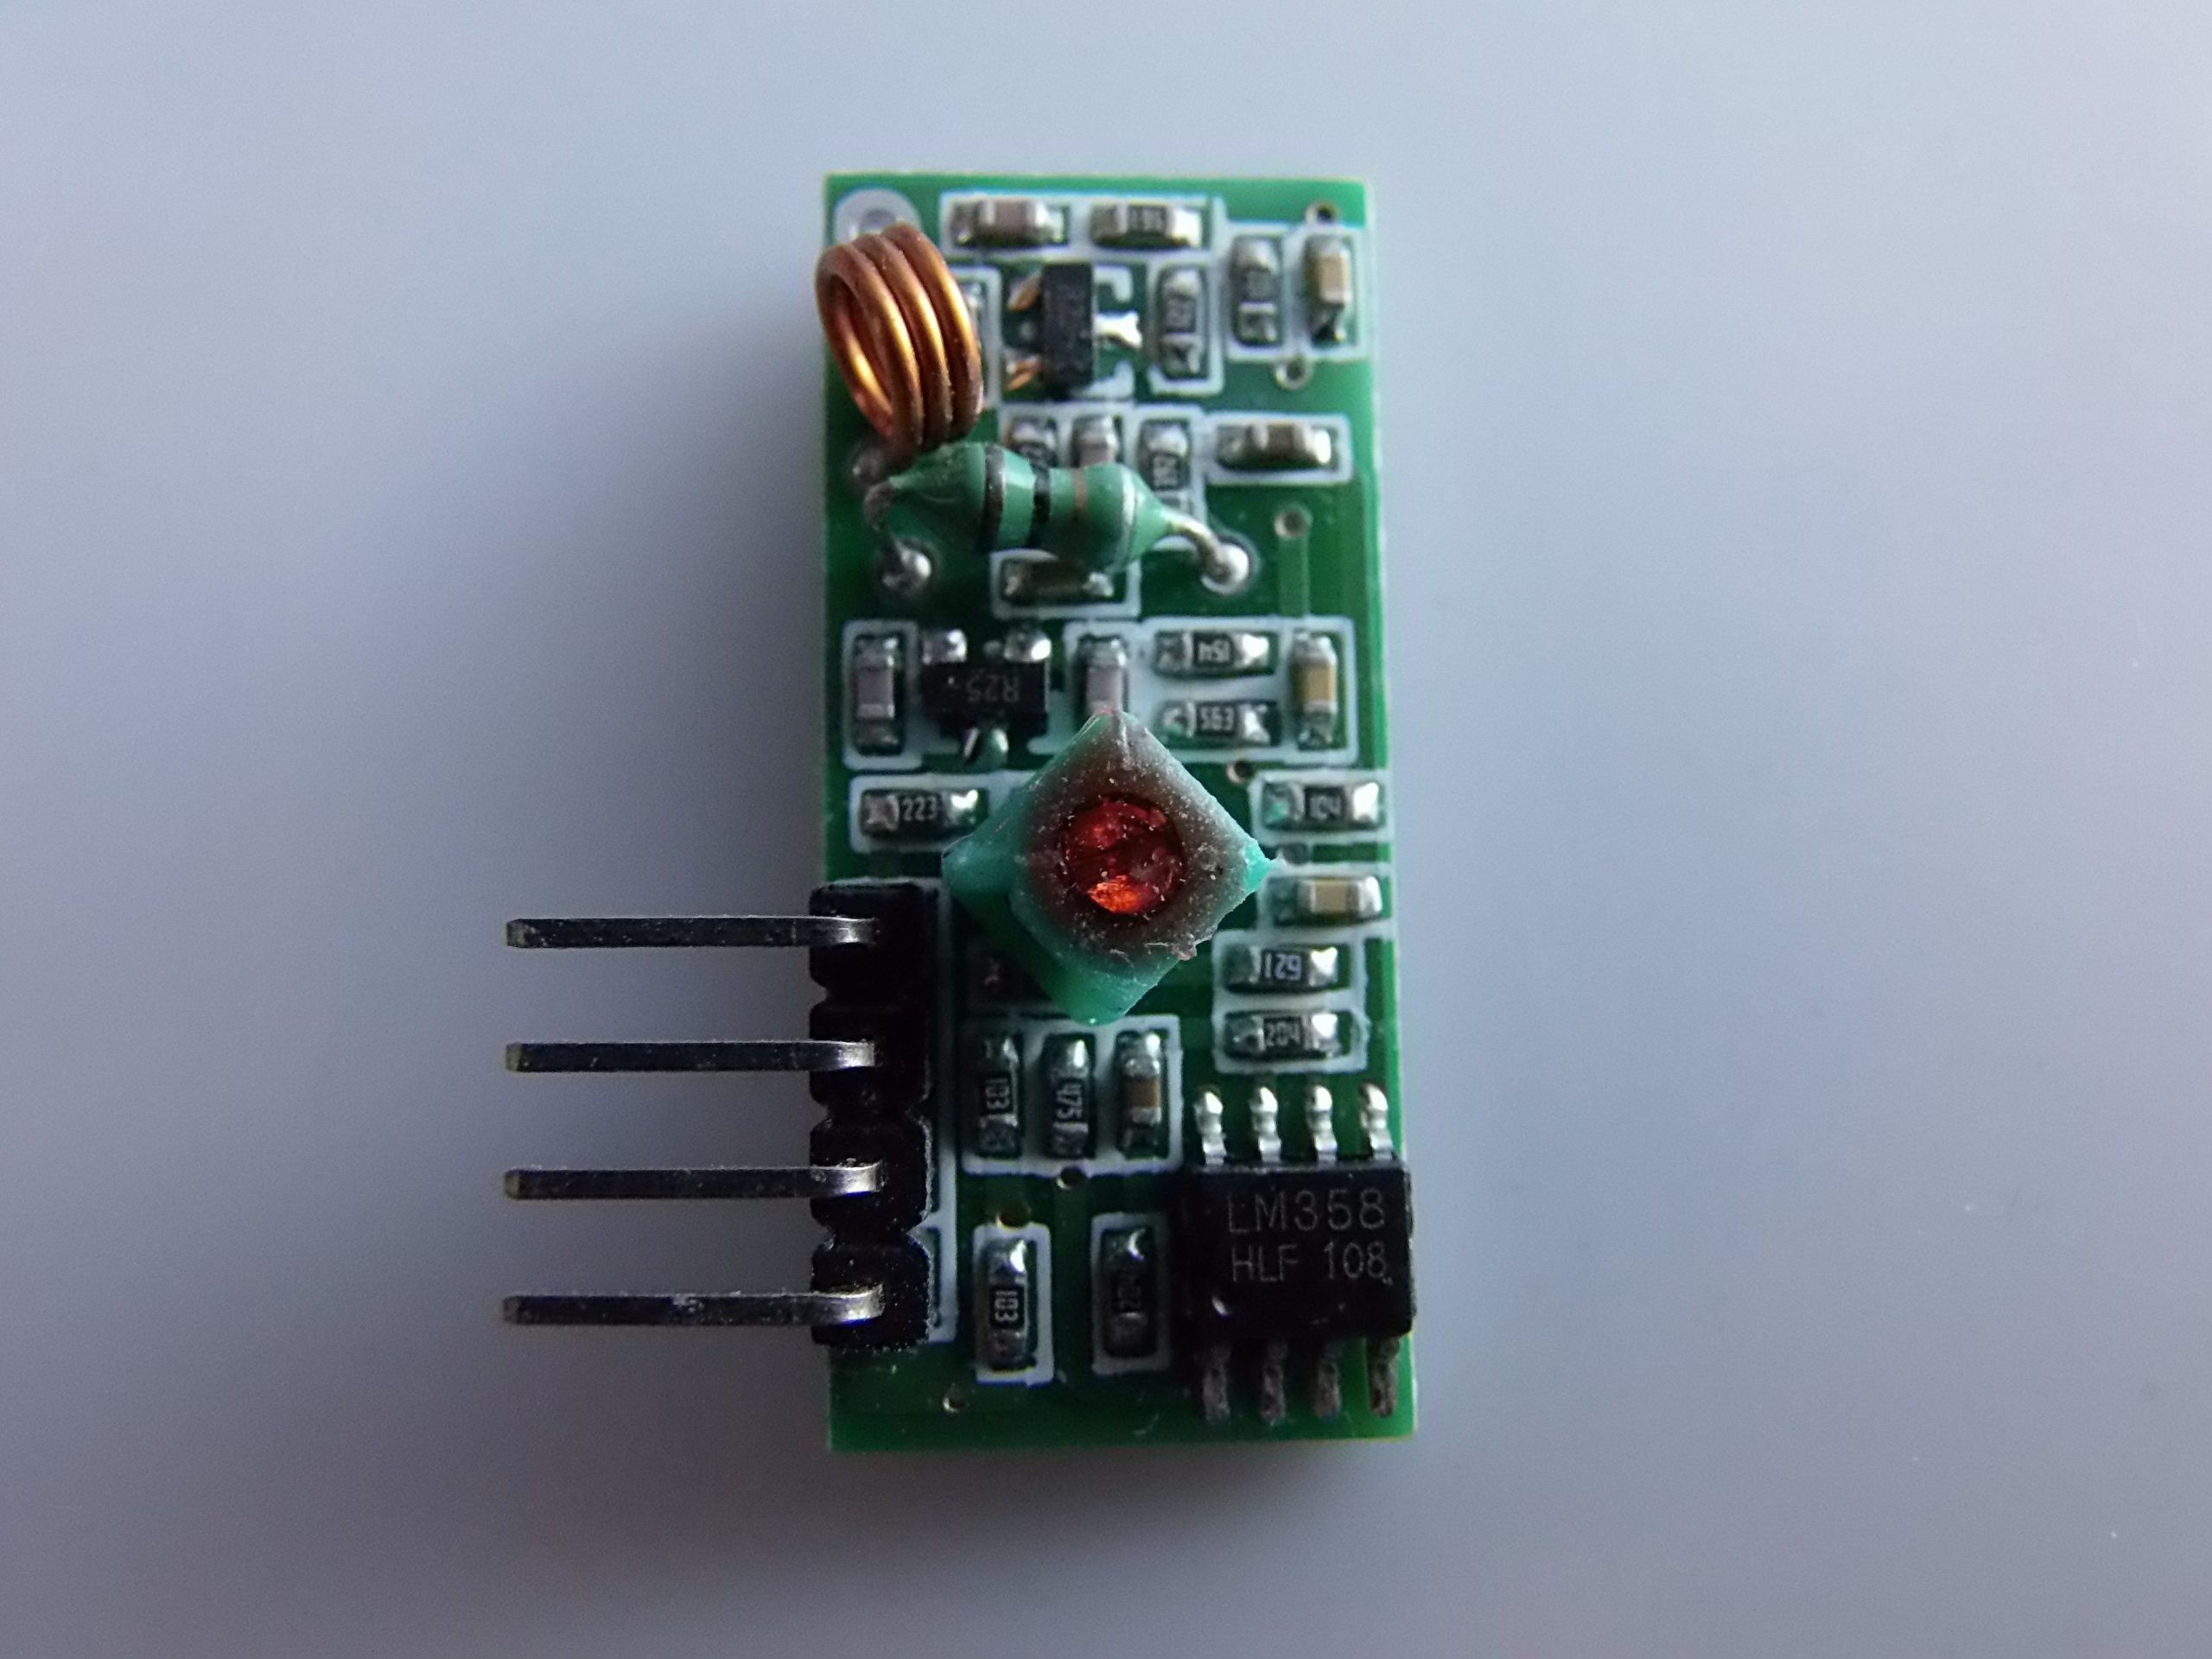
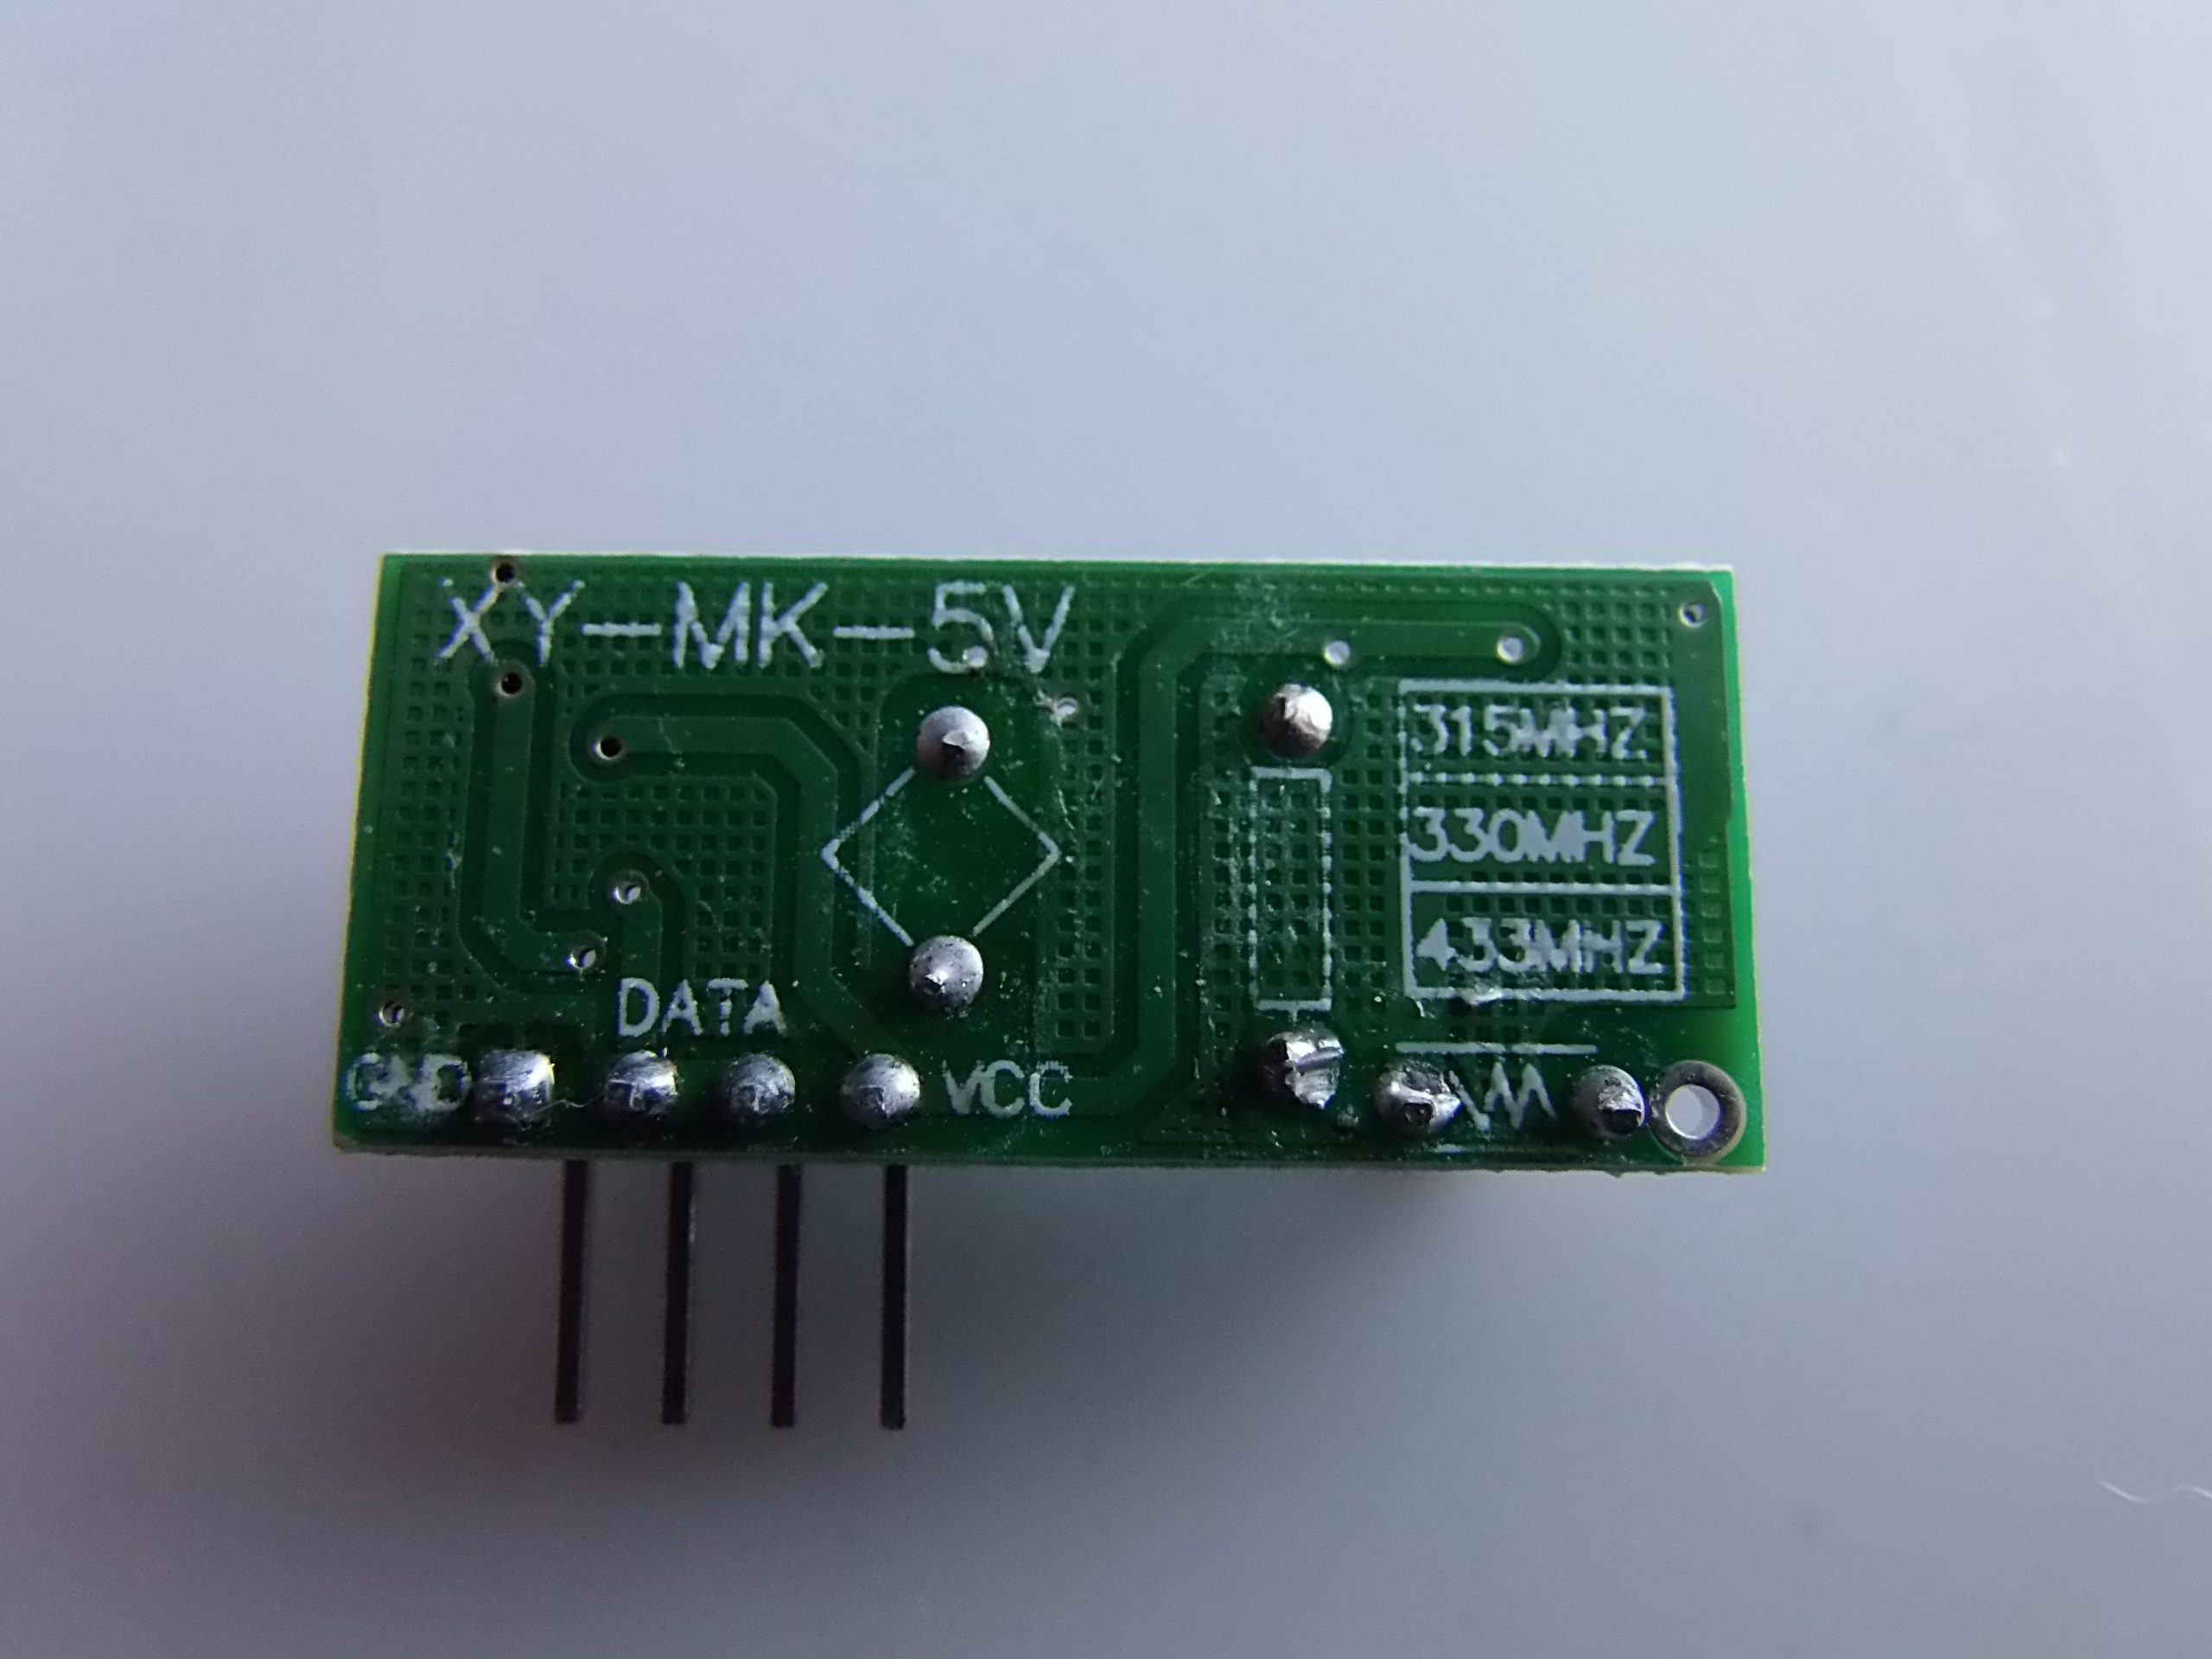
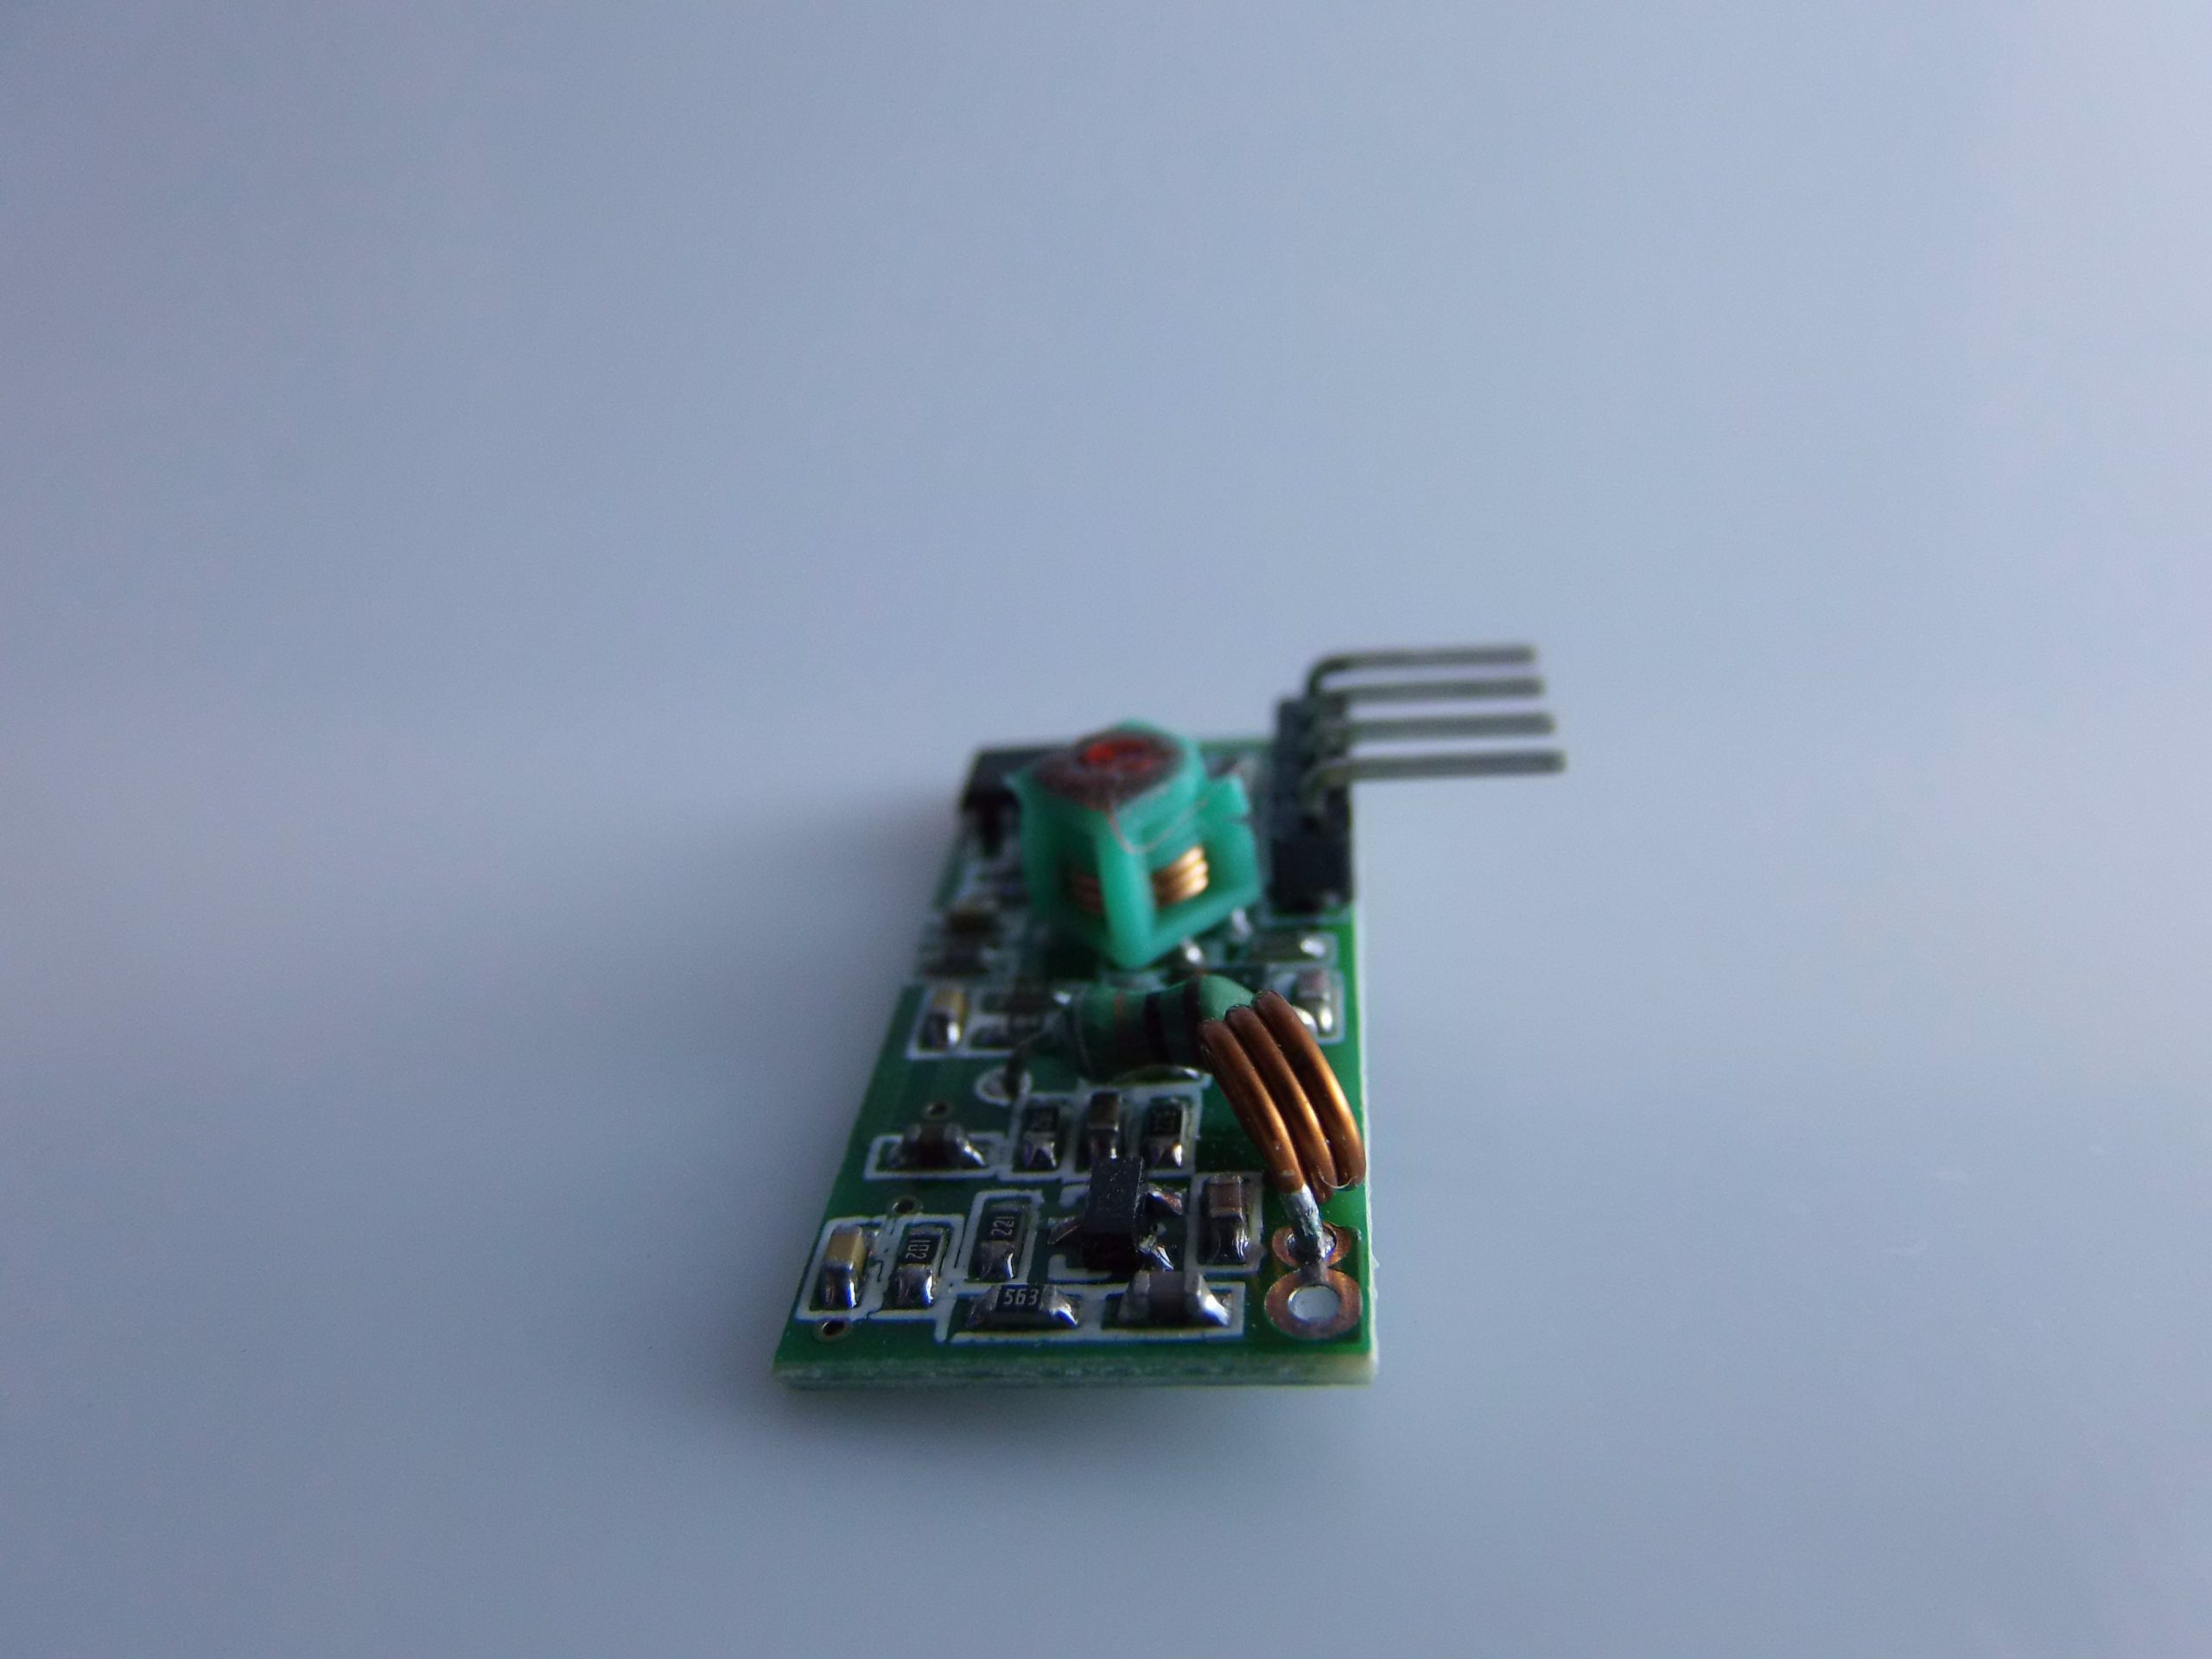
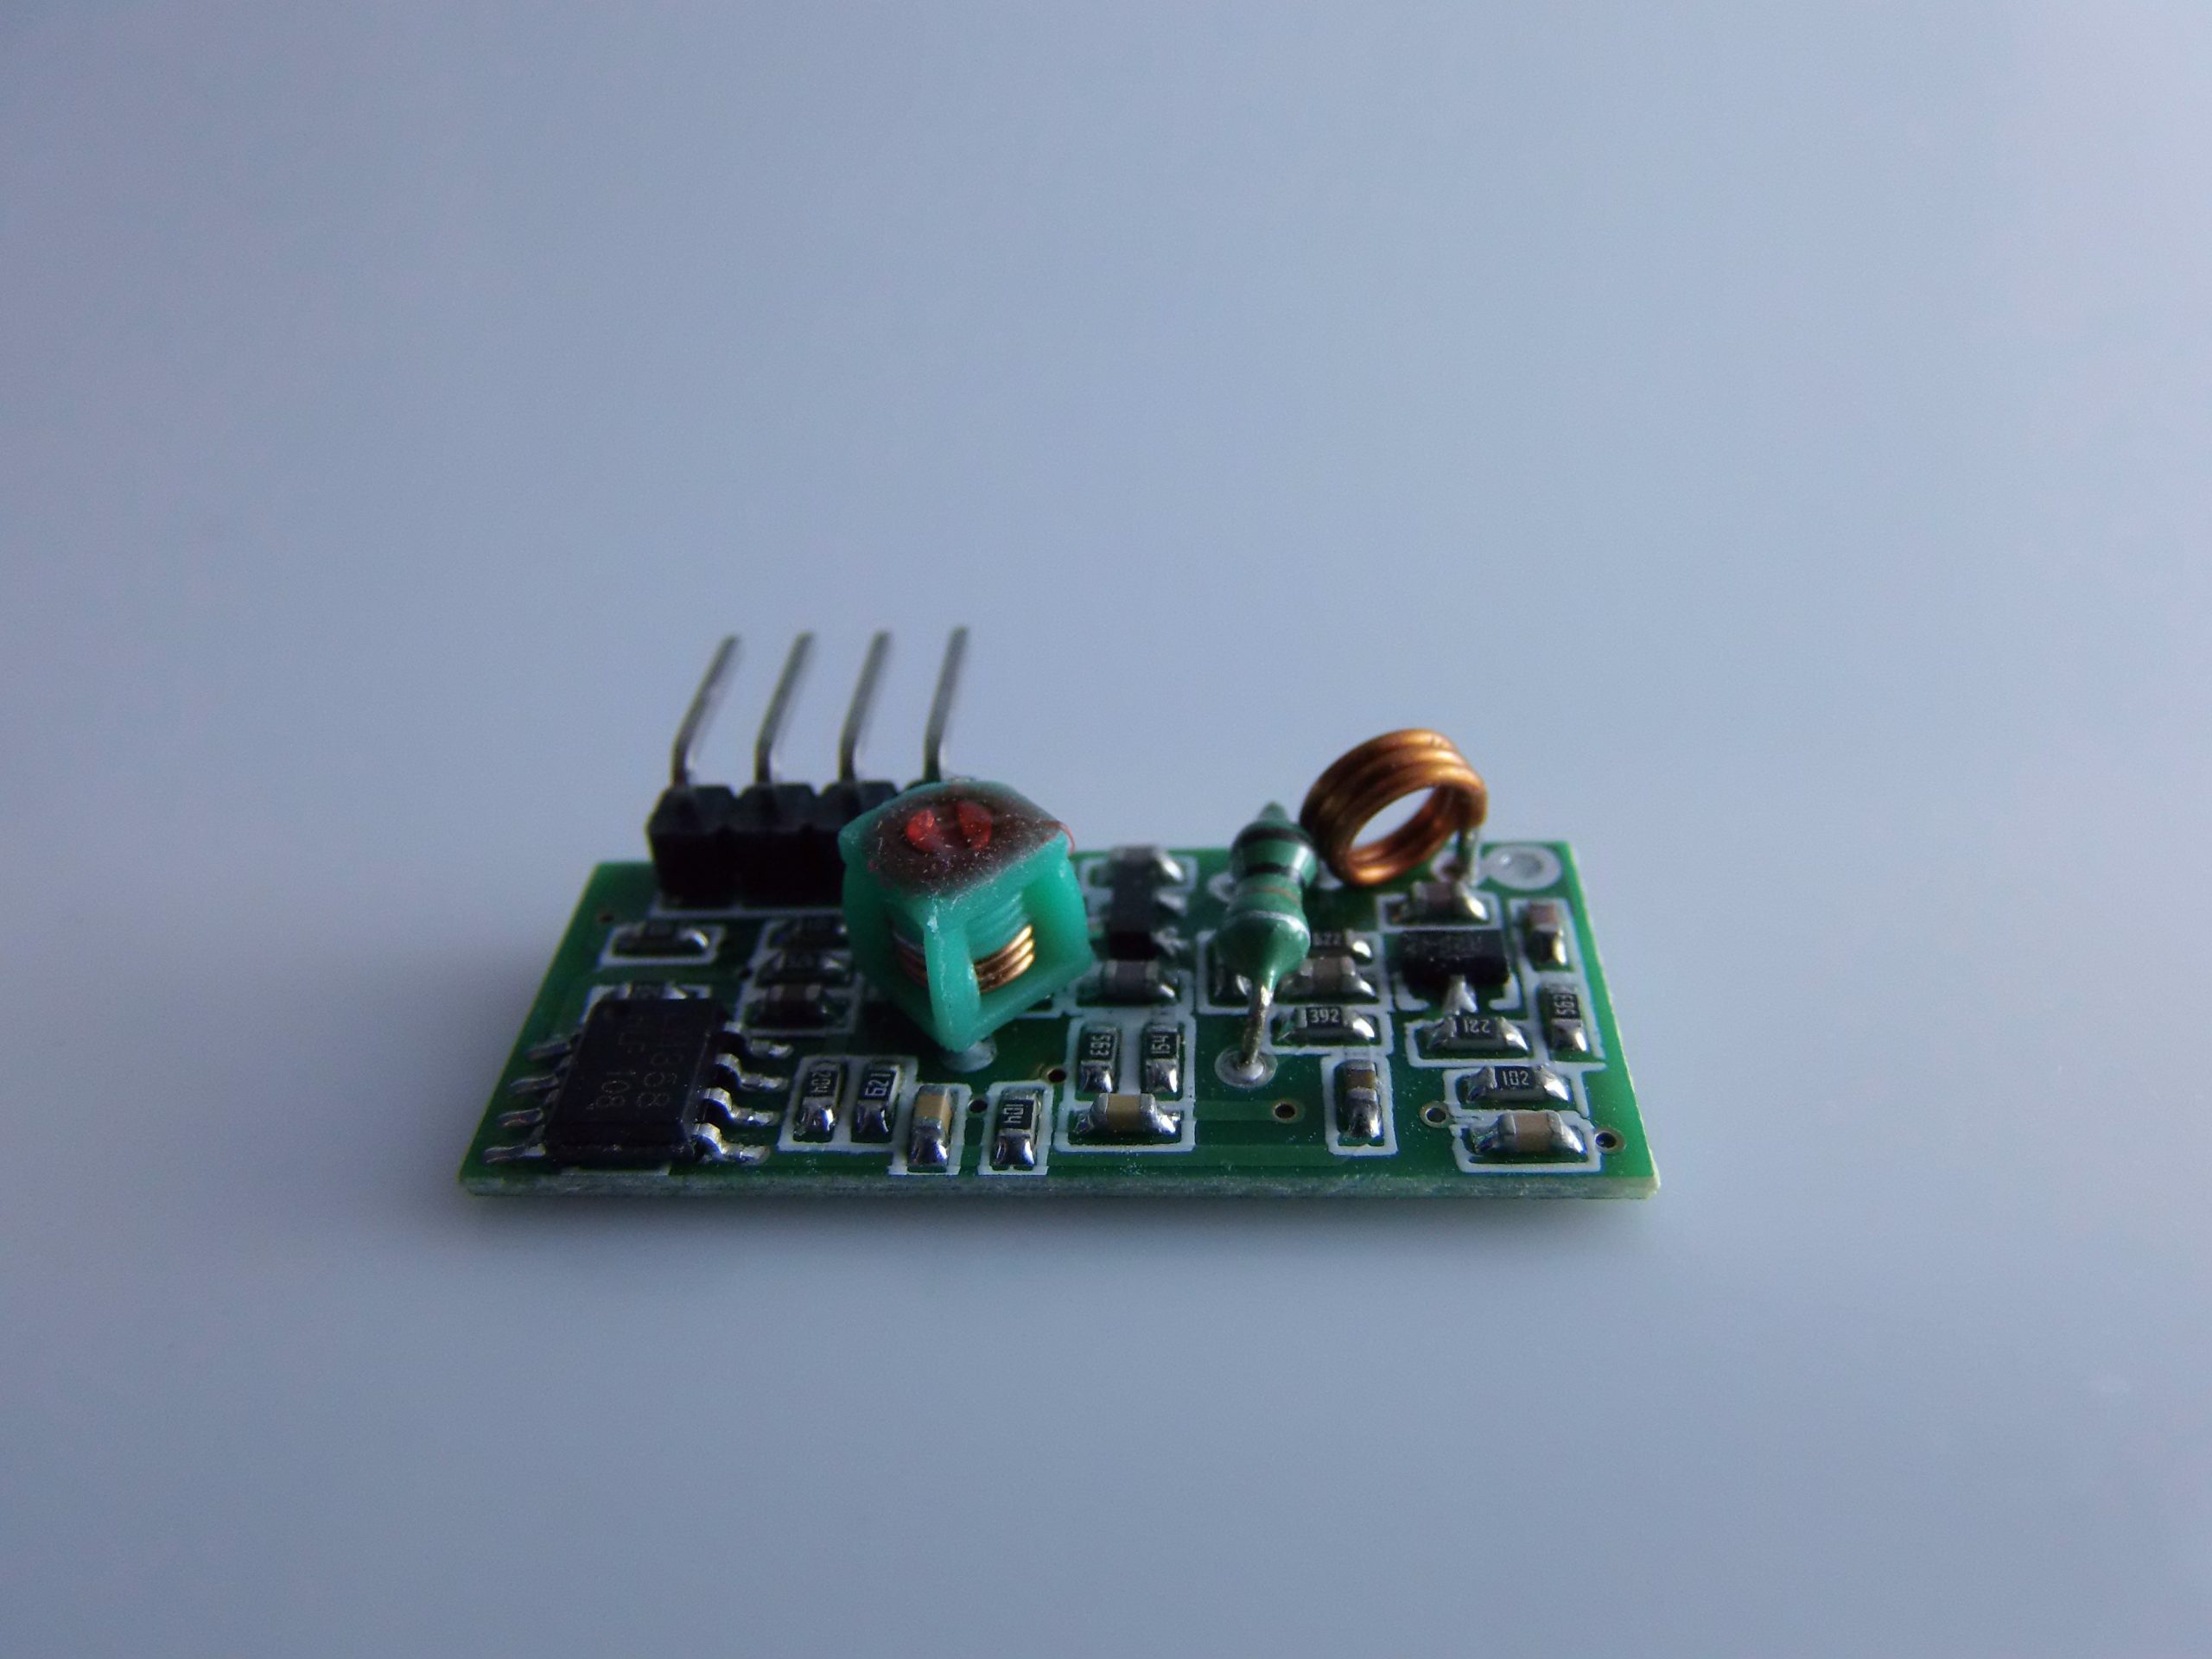
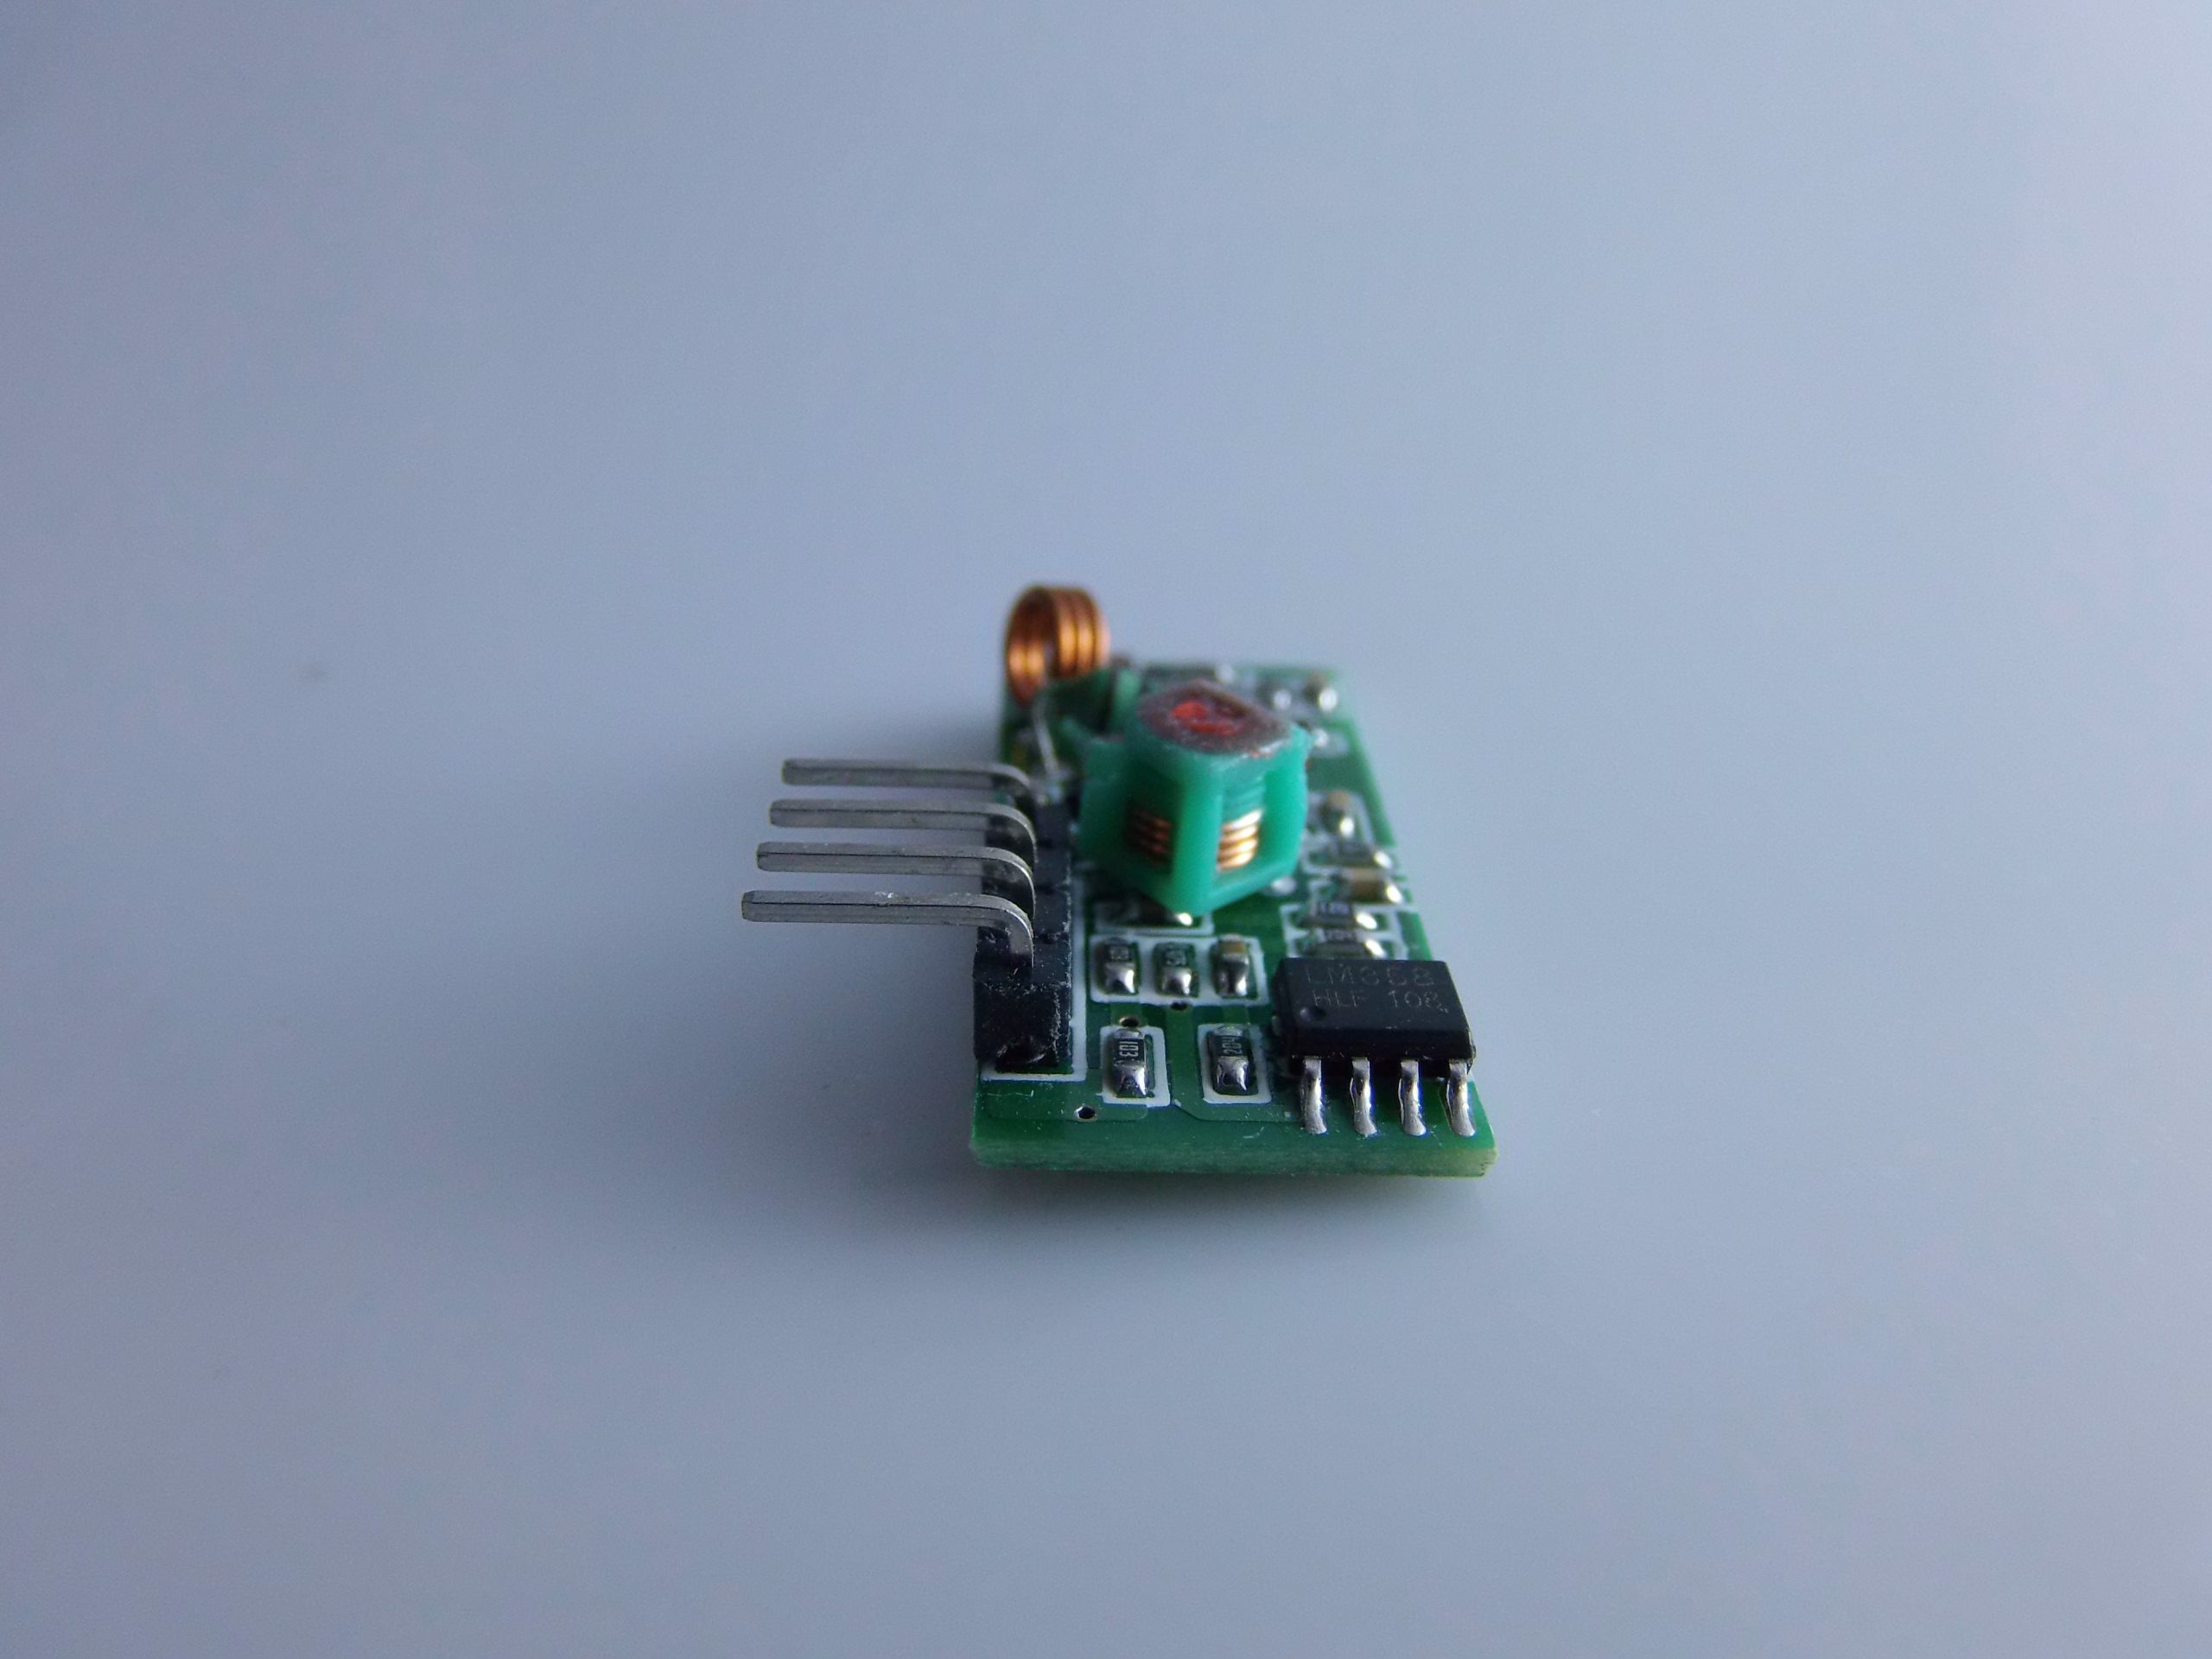
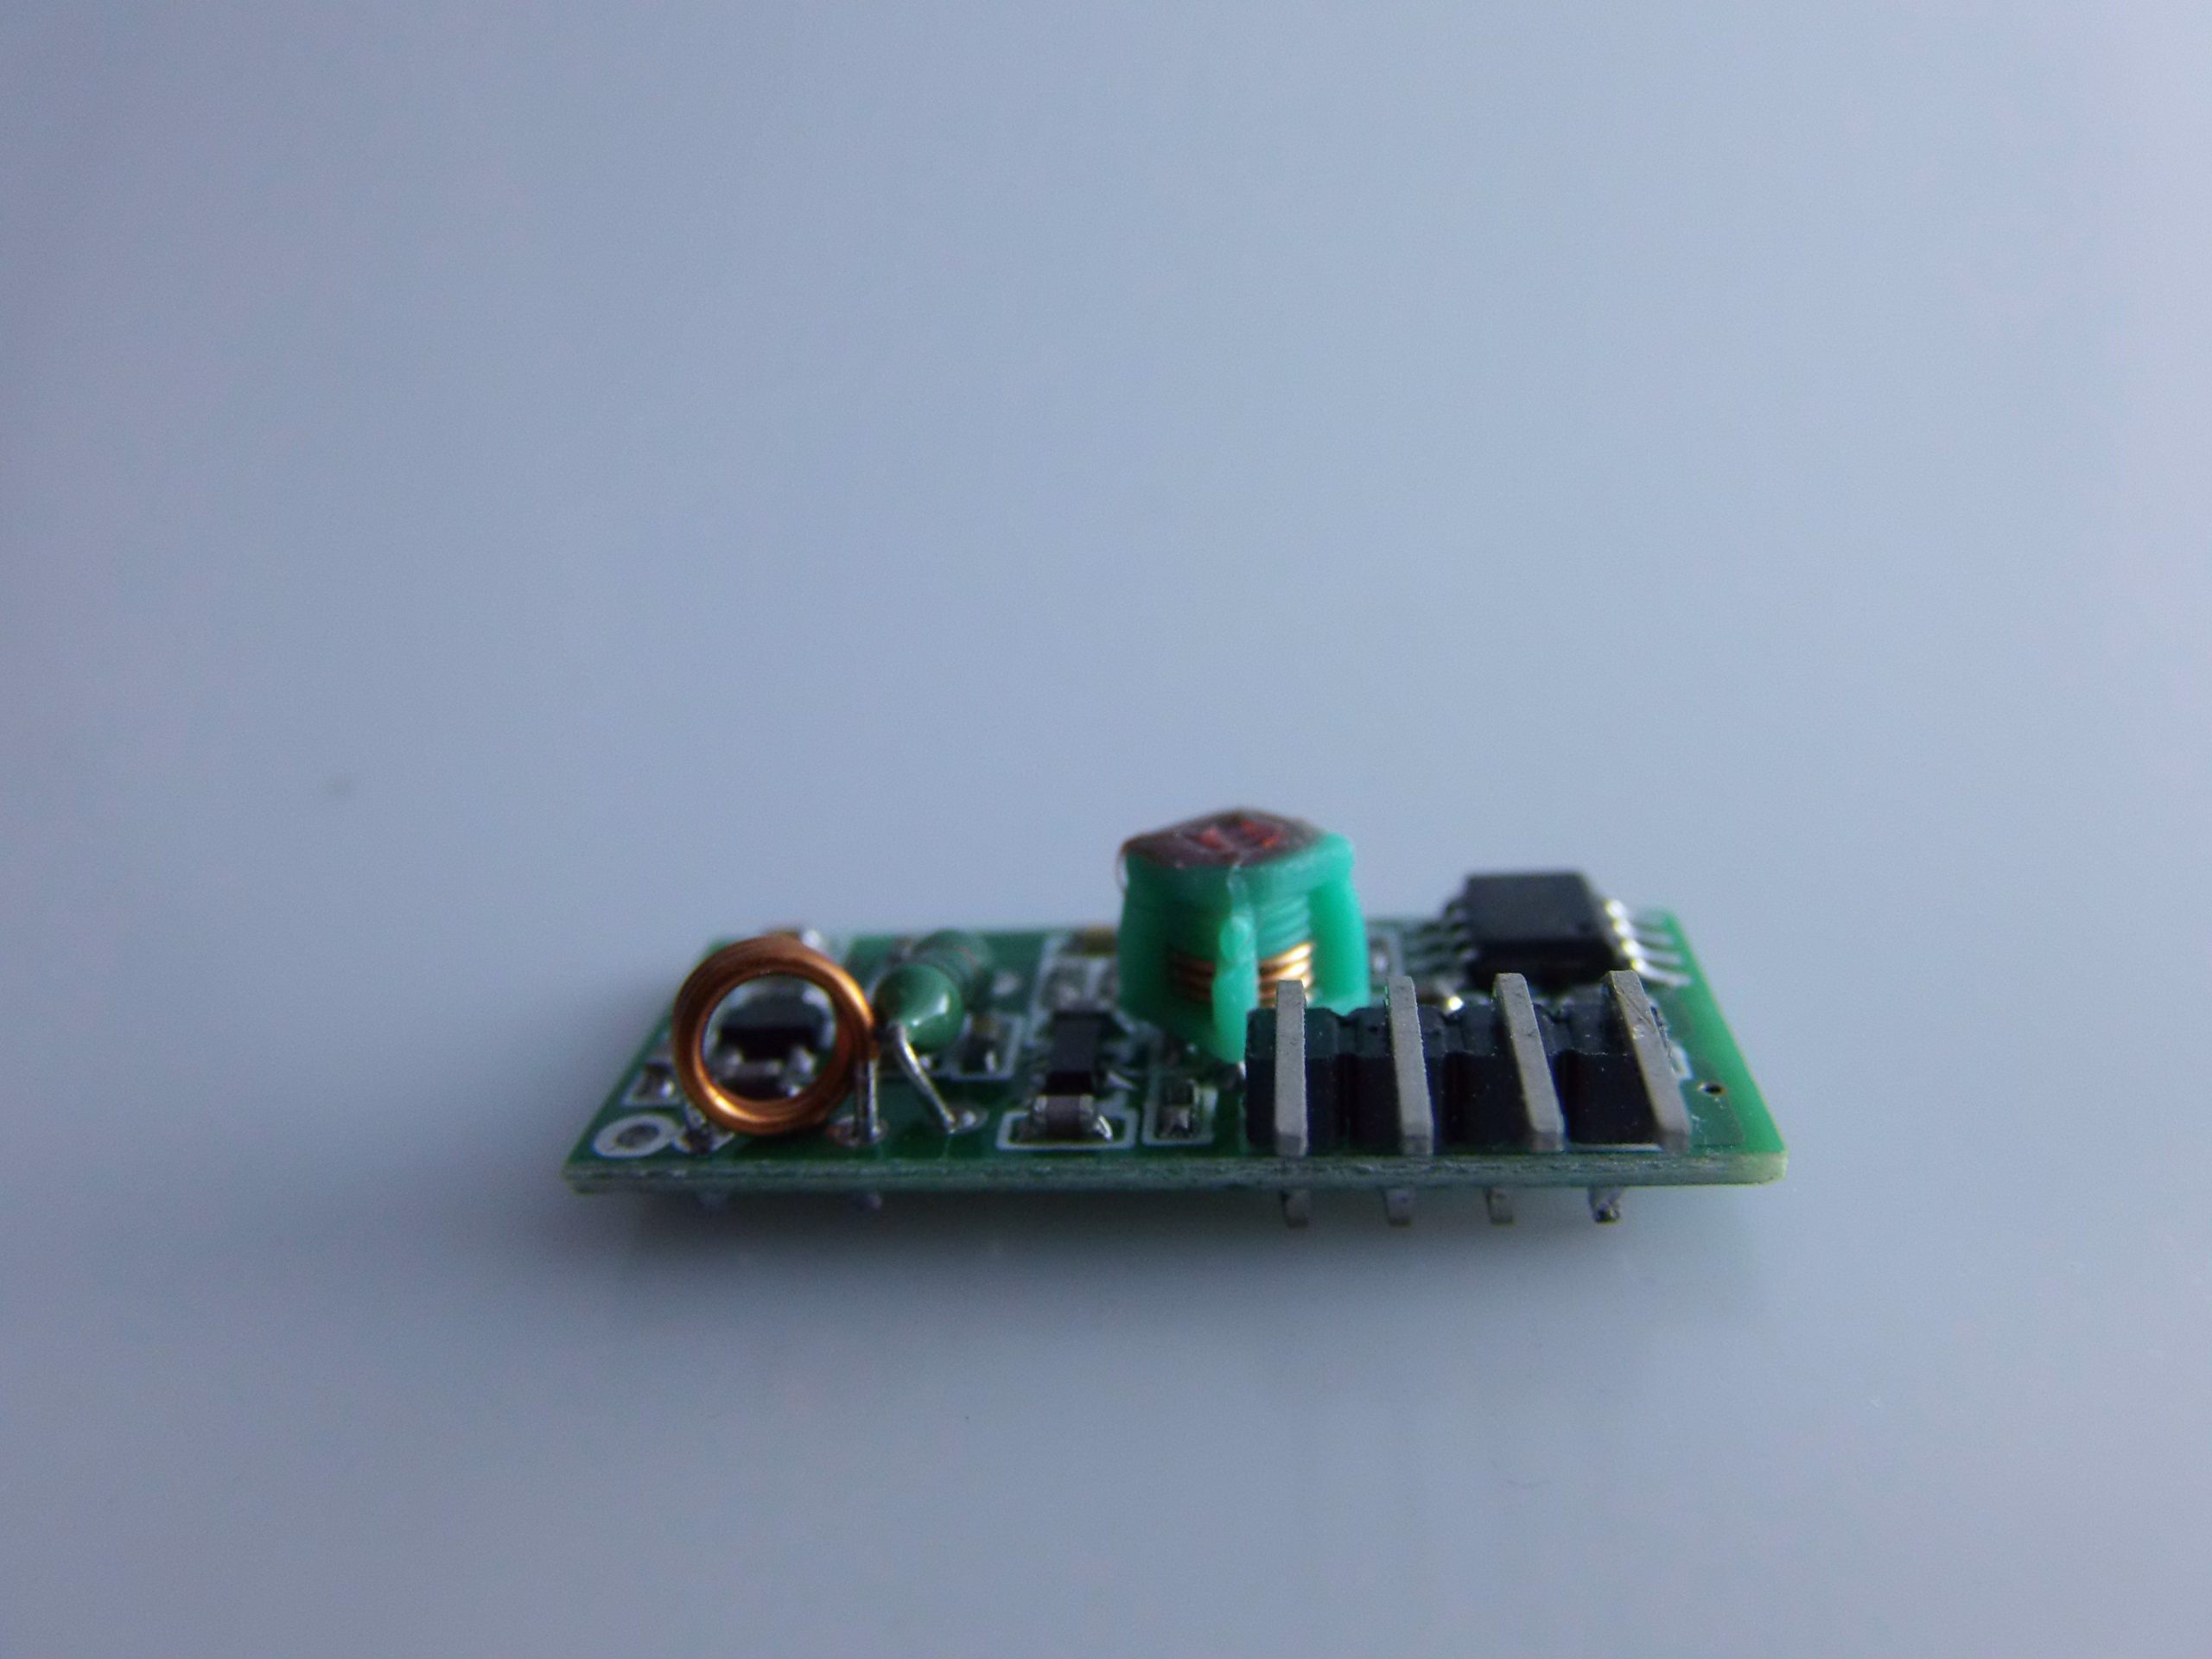
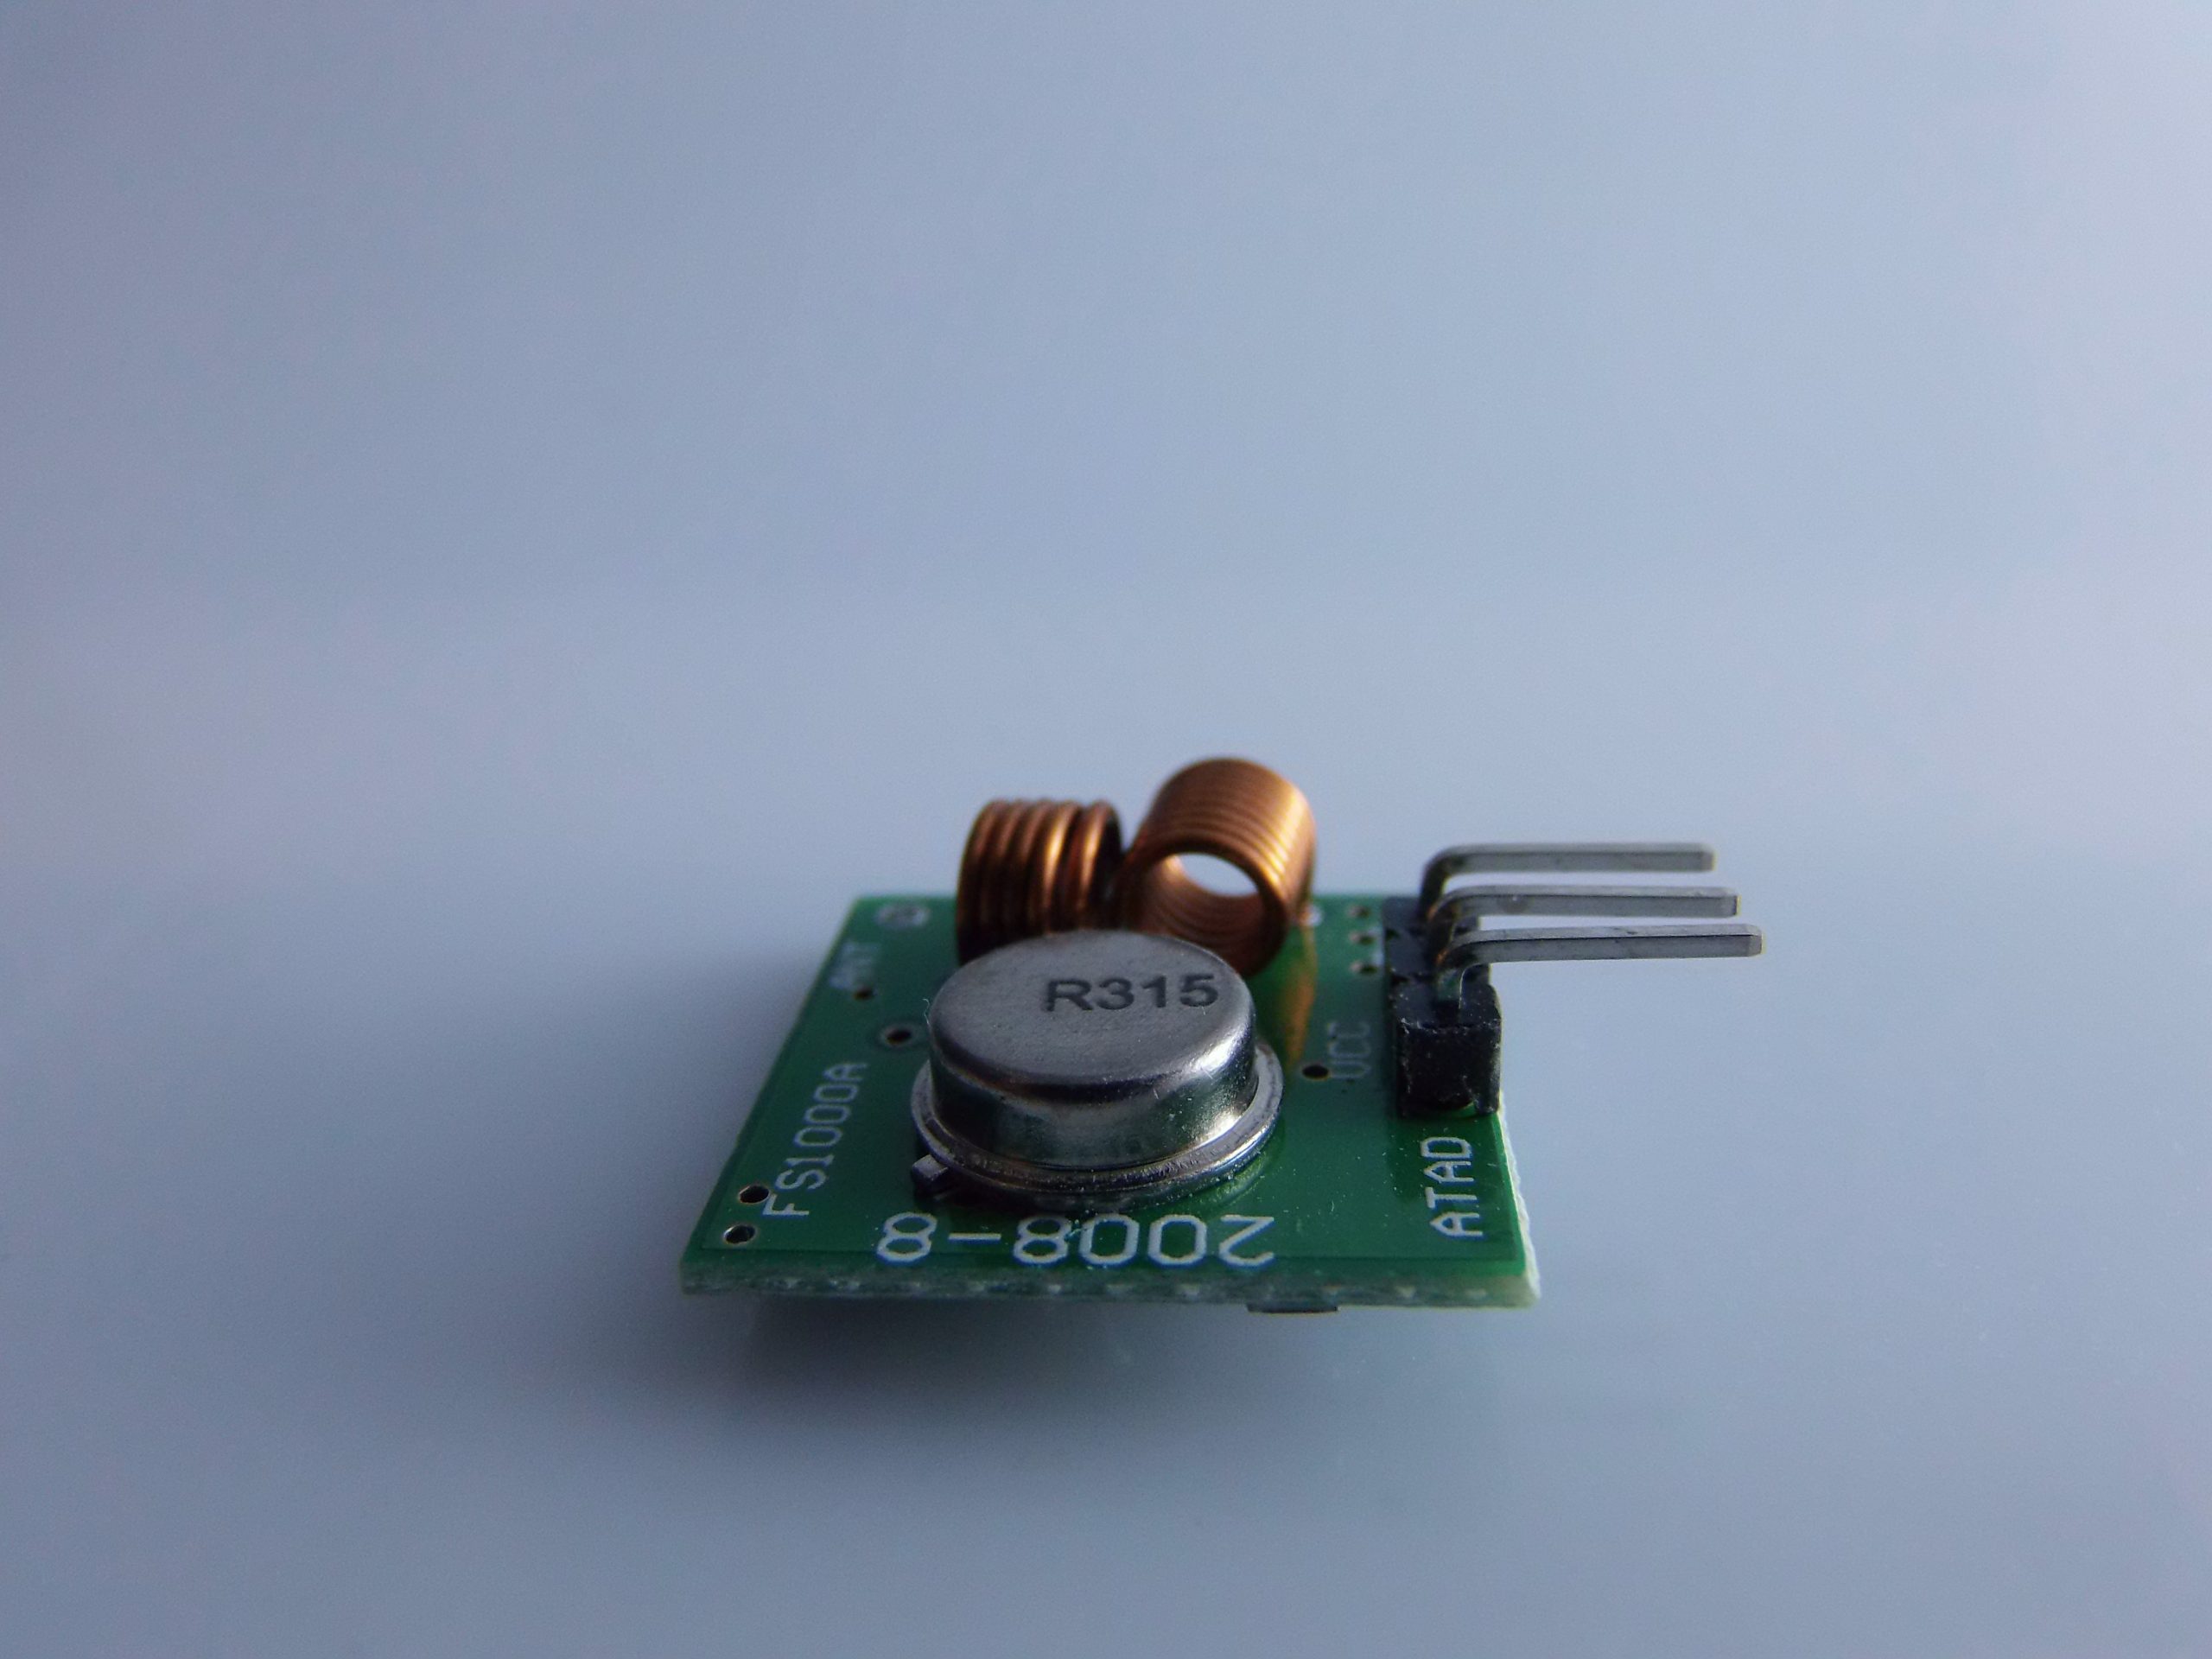
Description
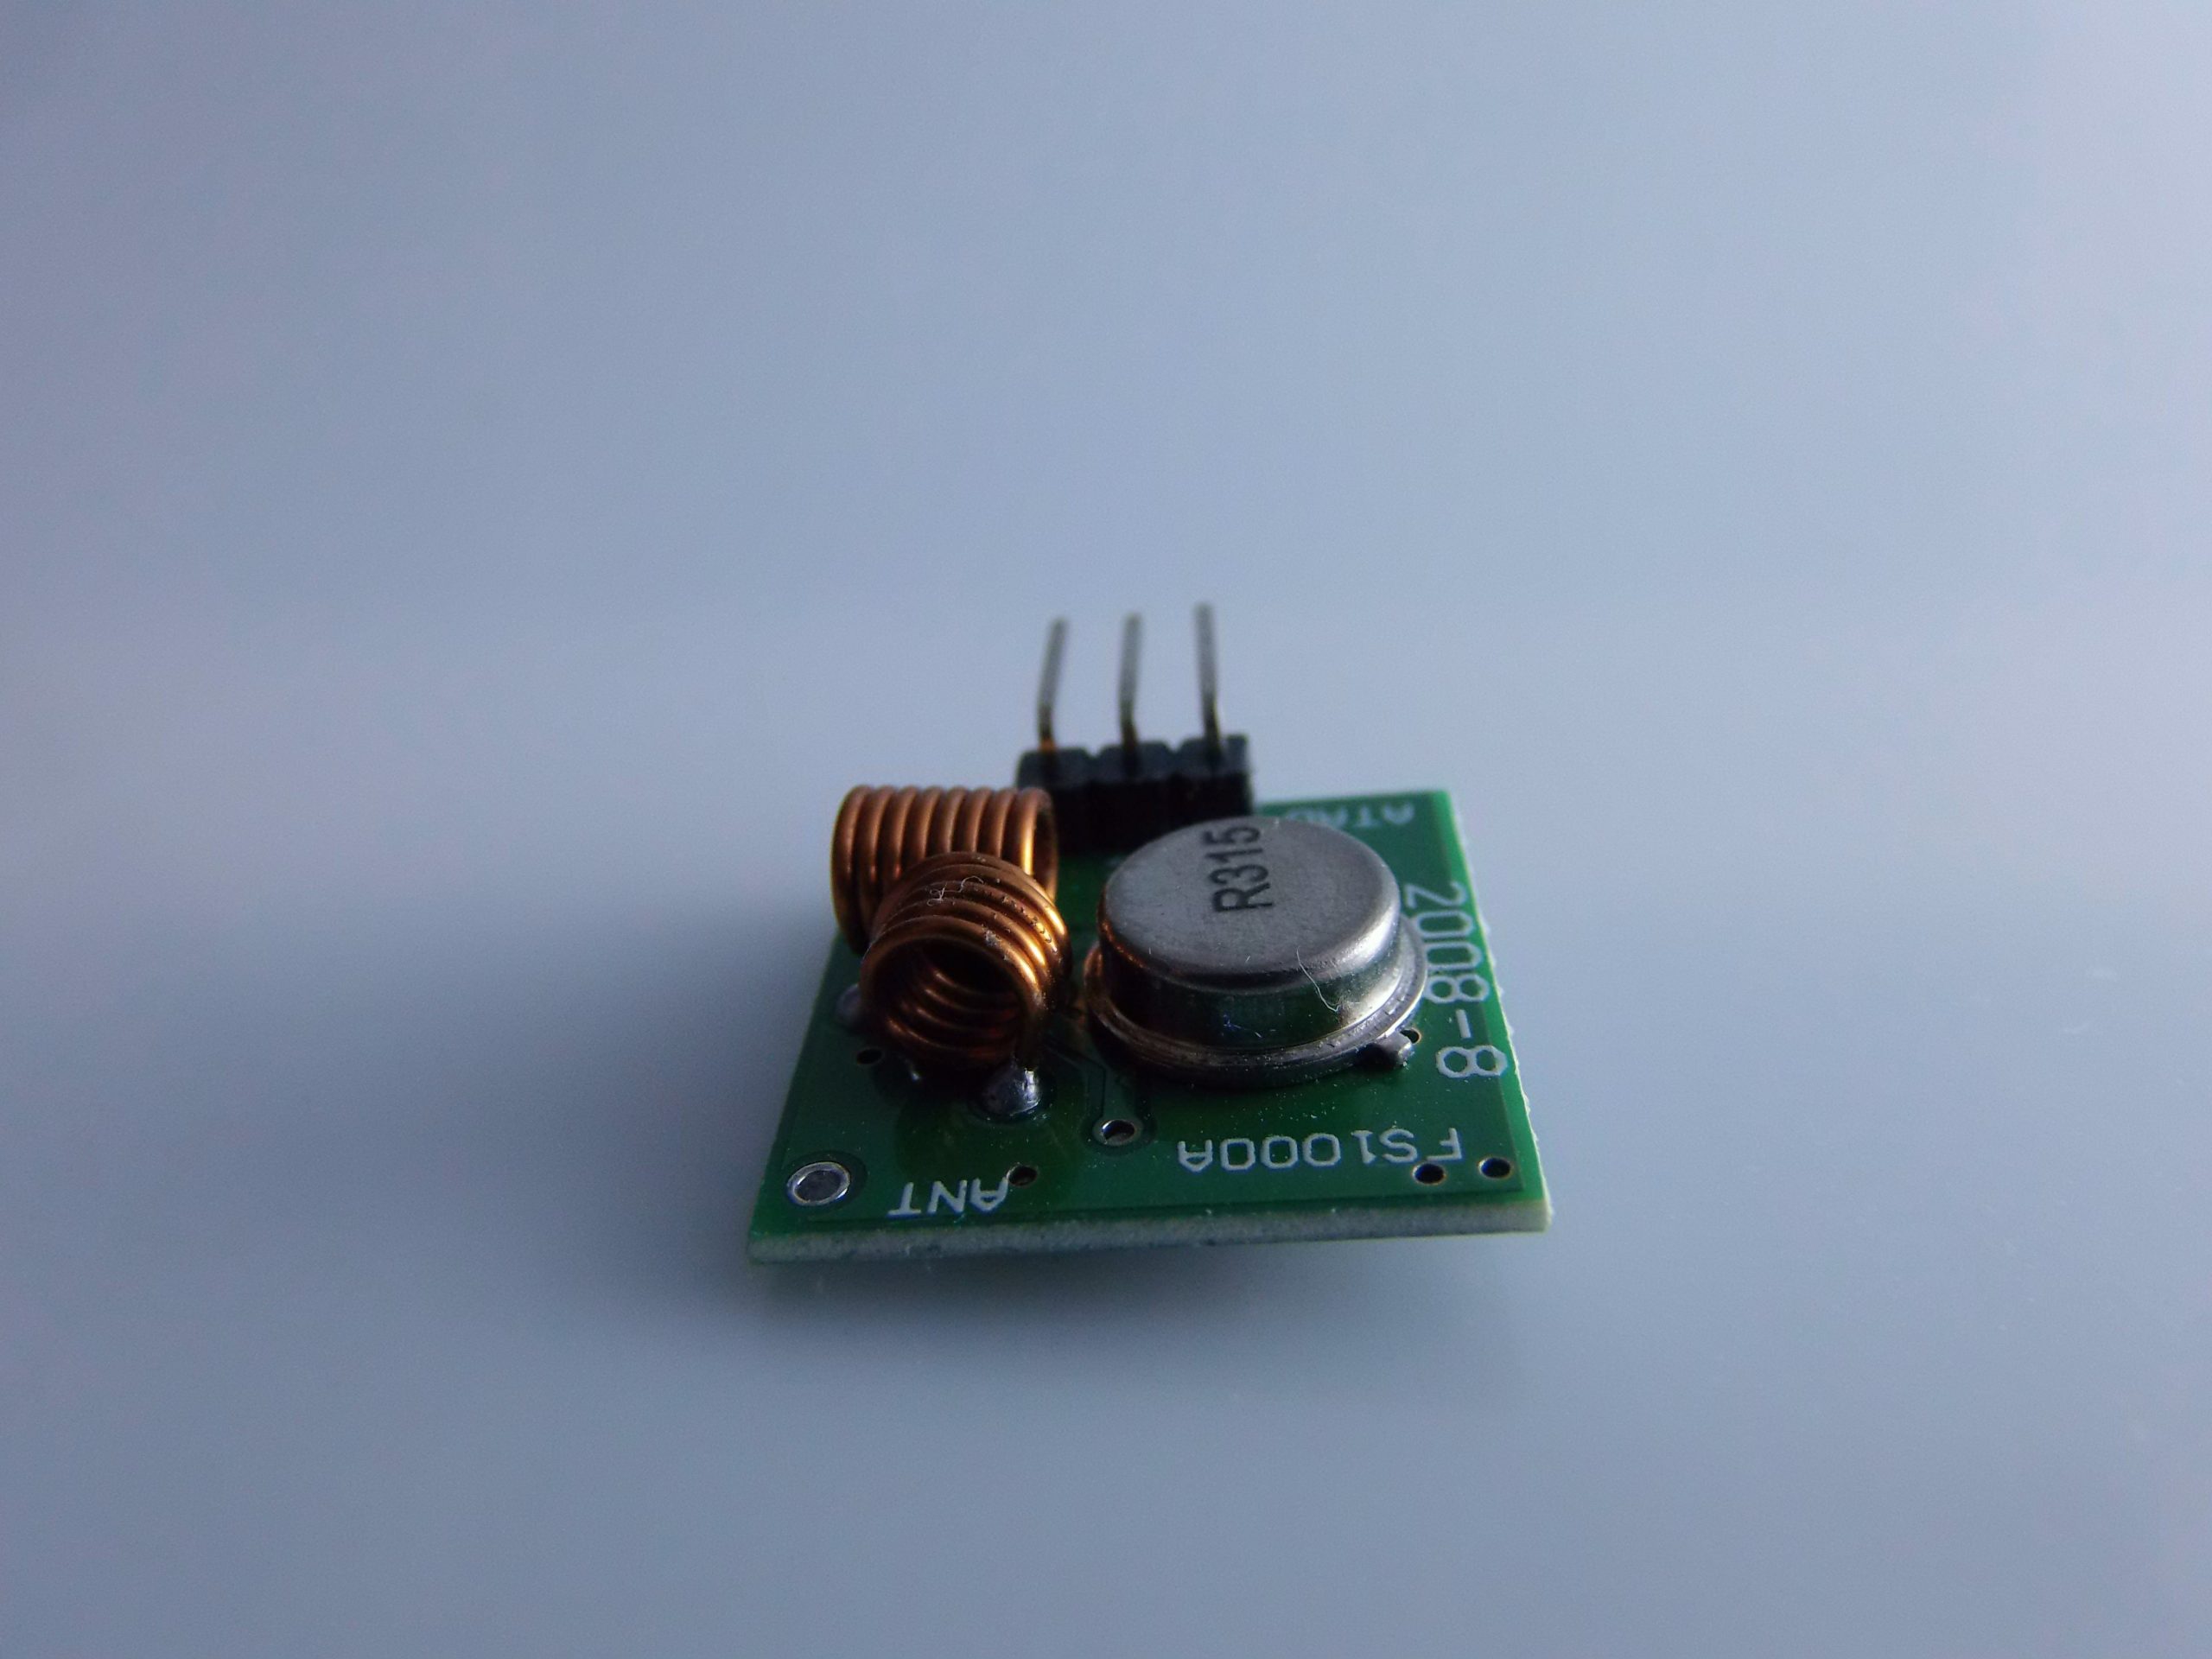
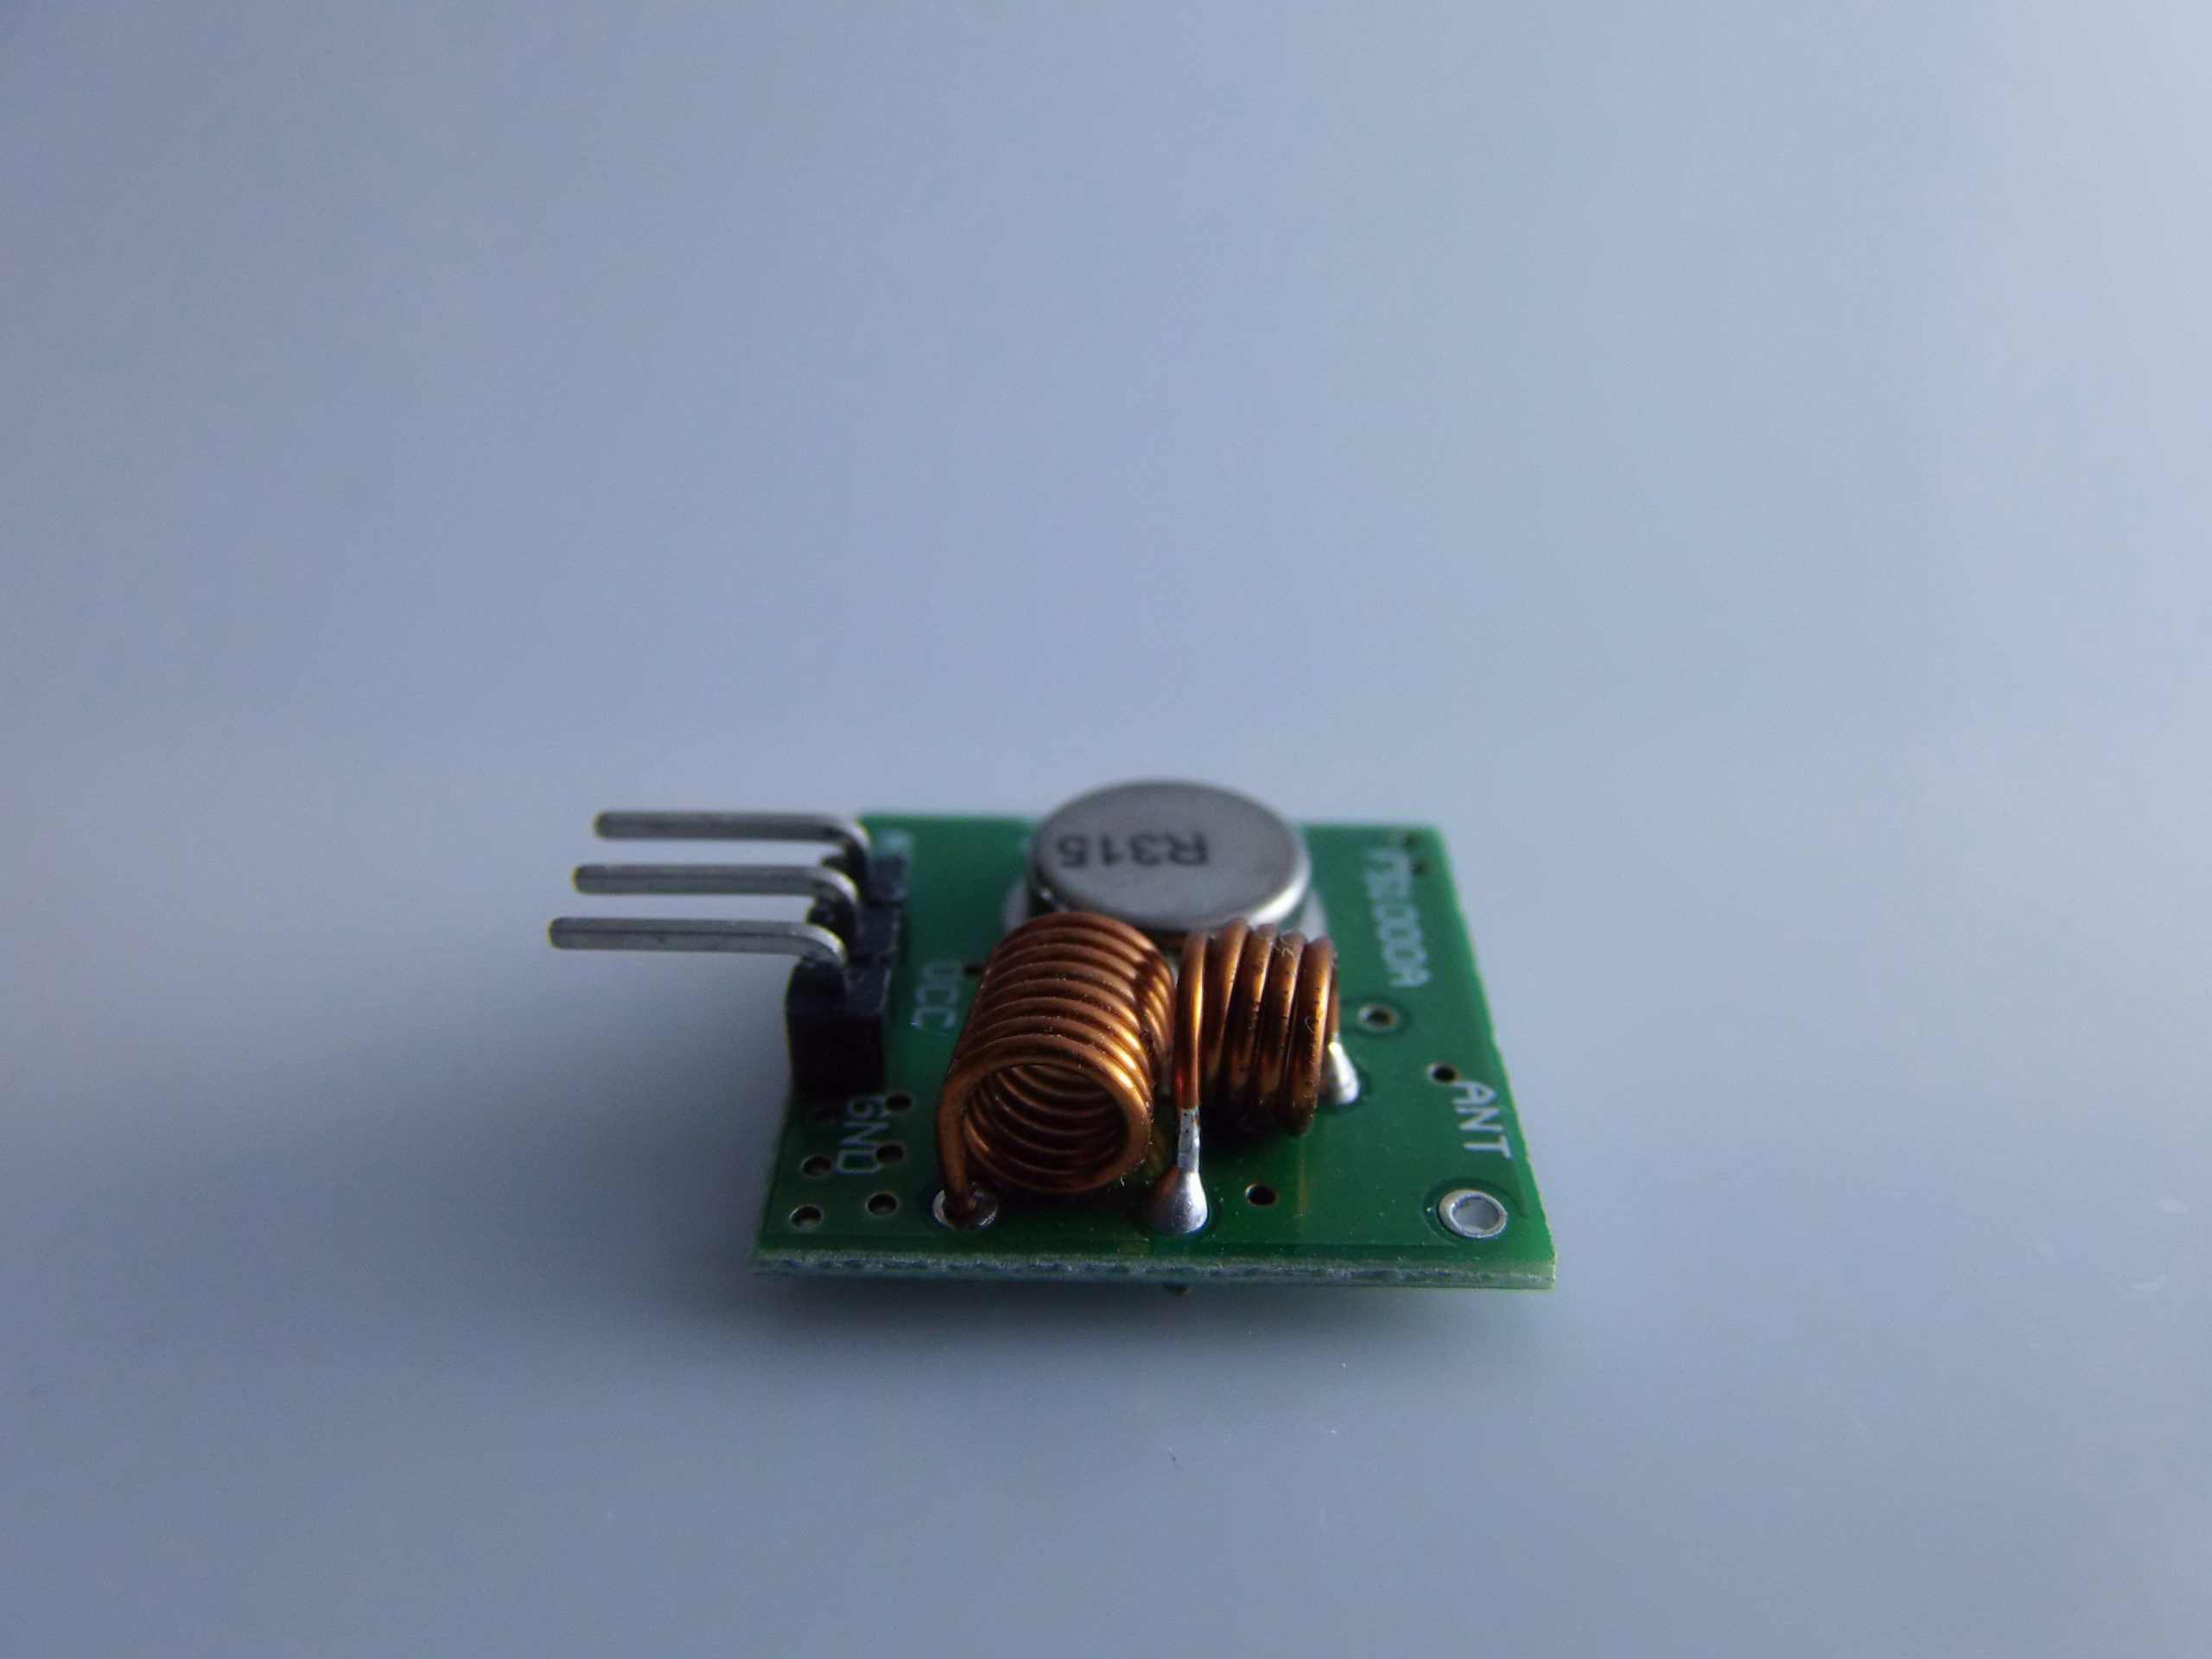
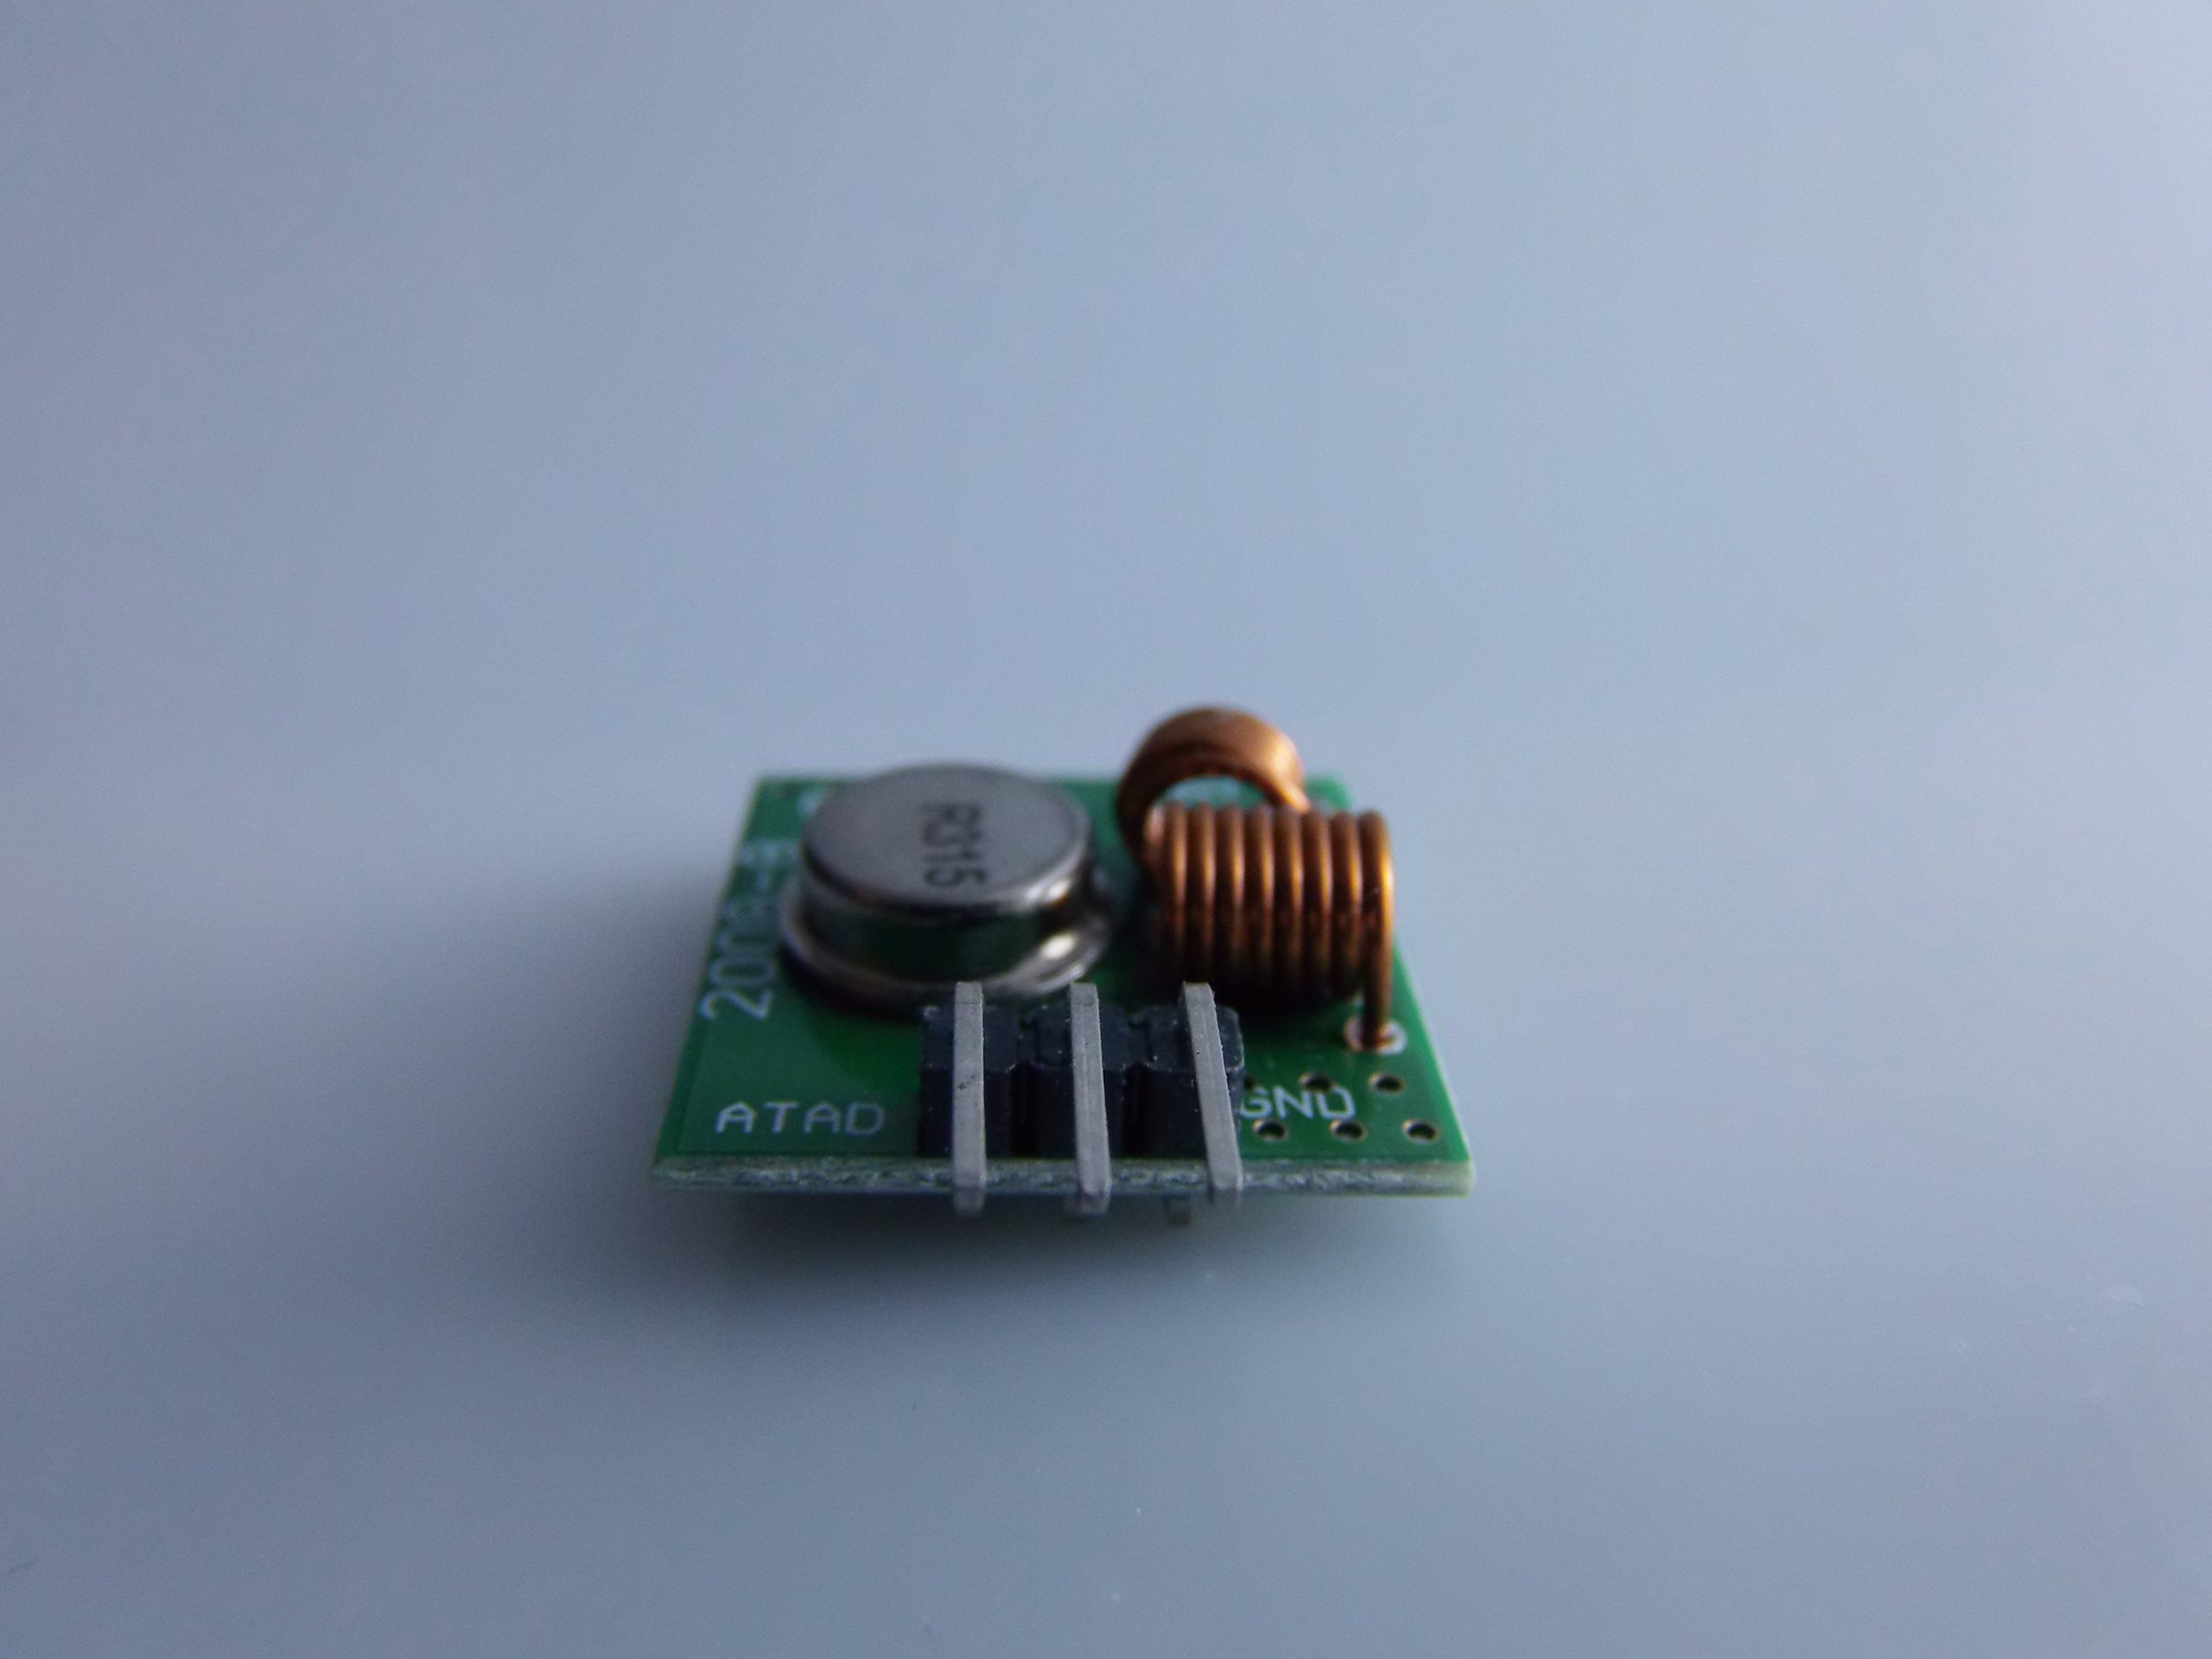
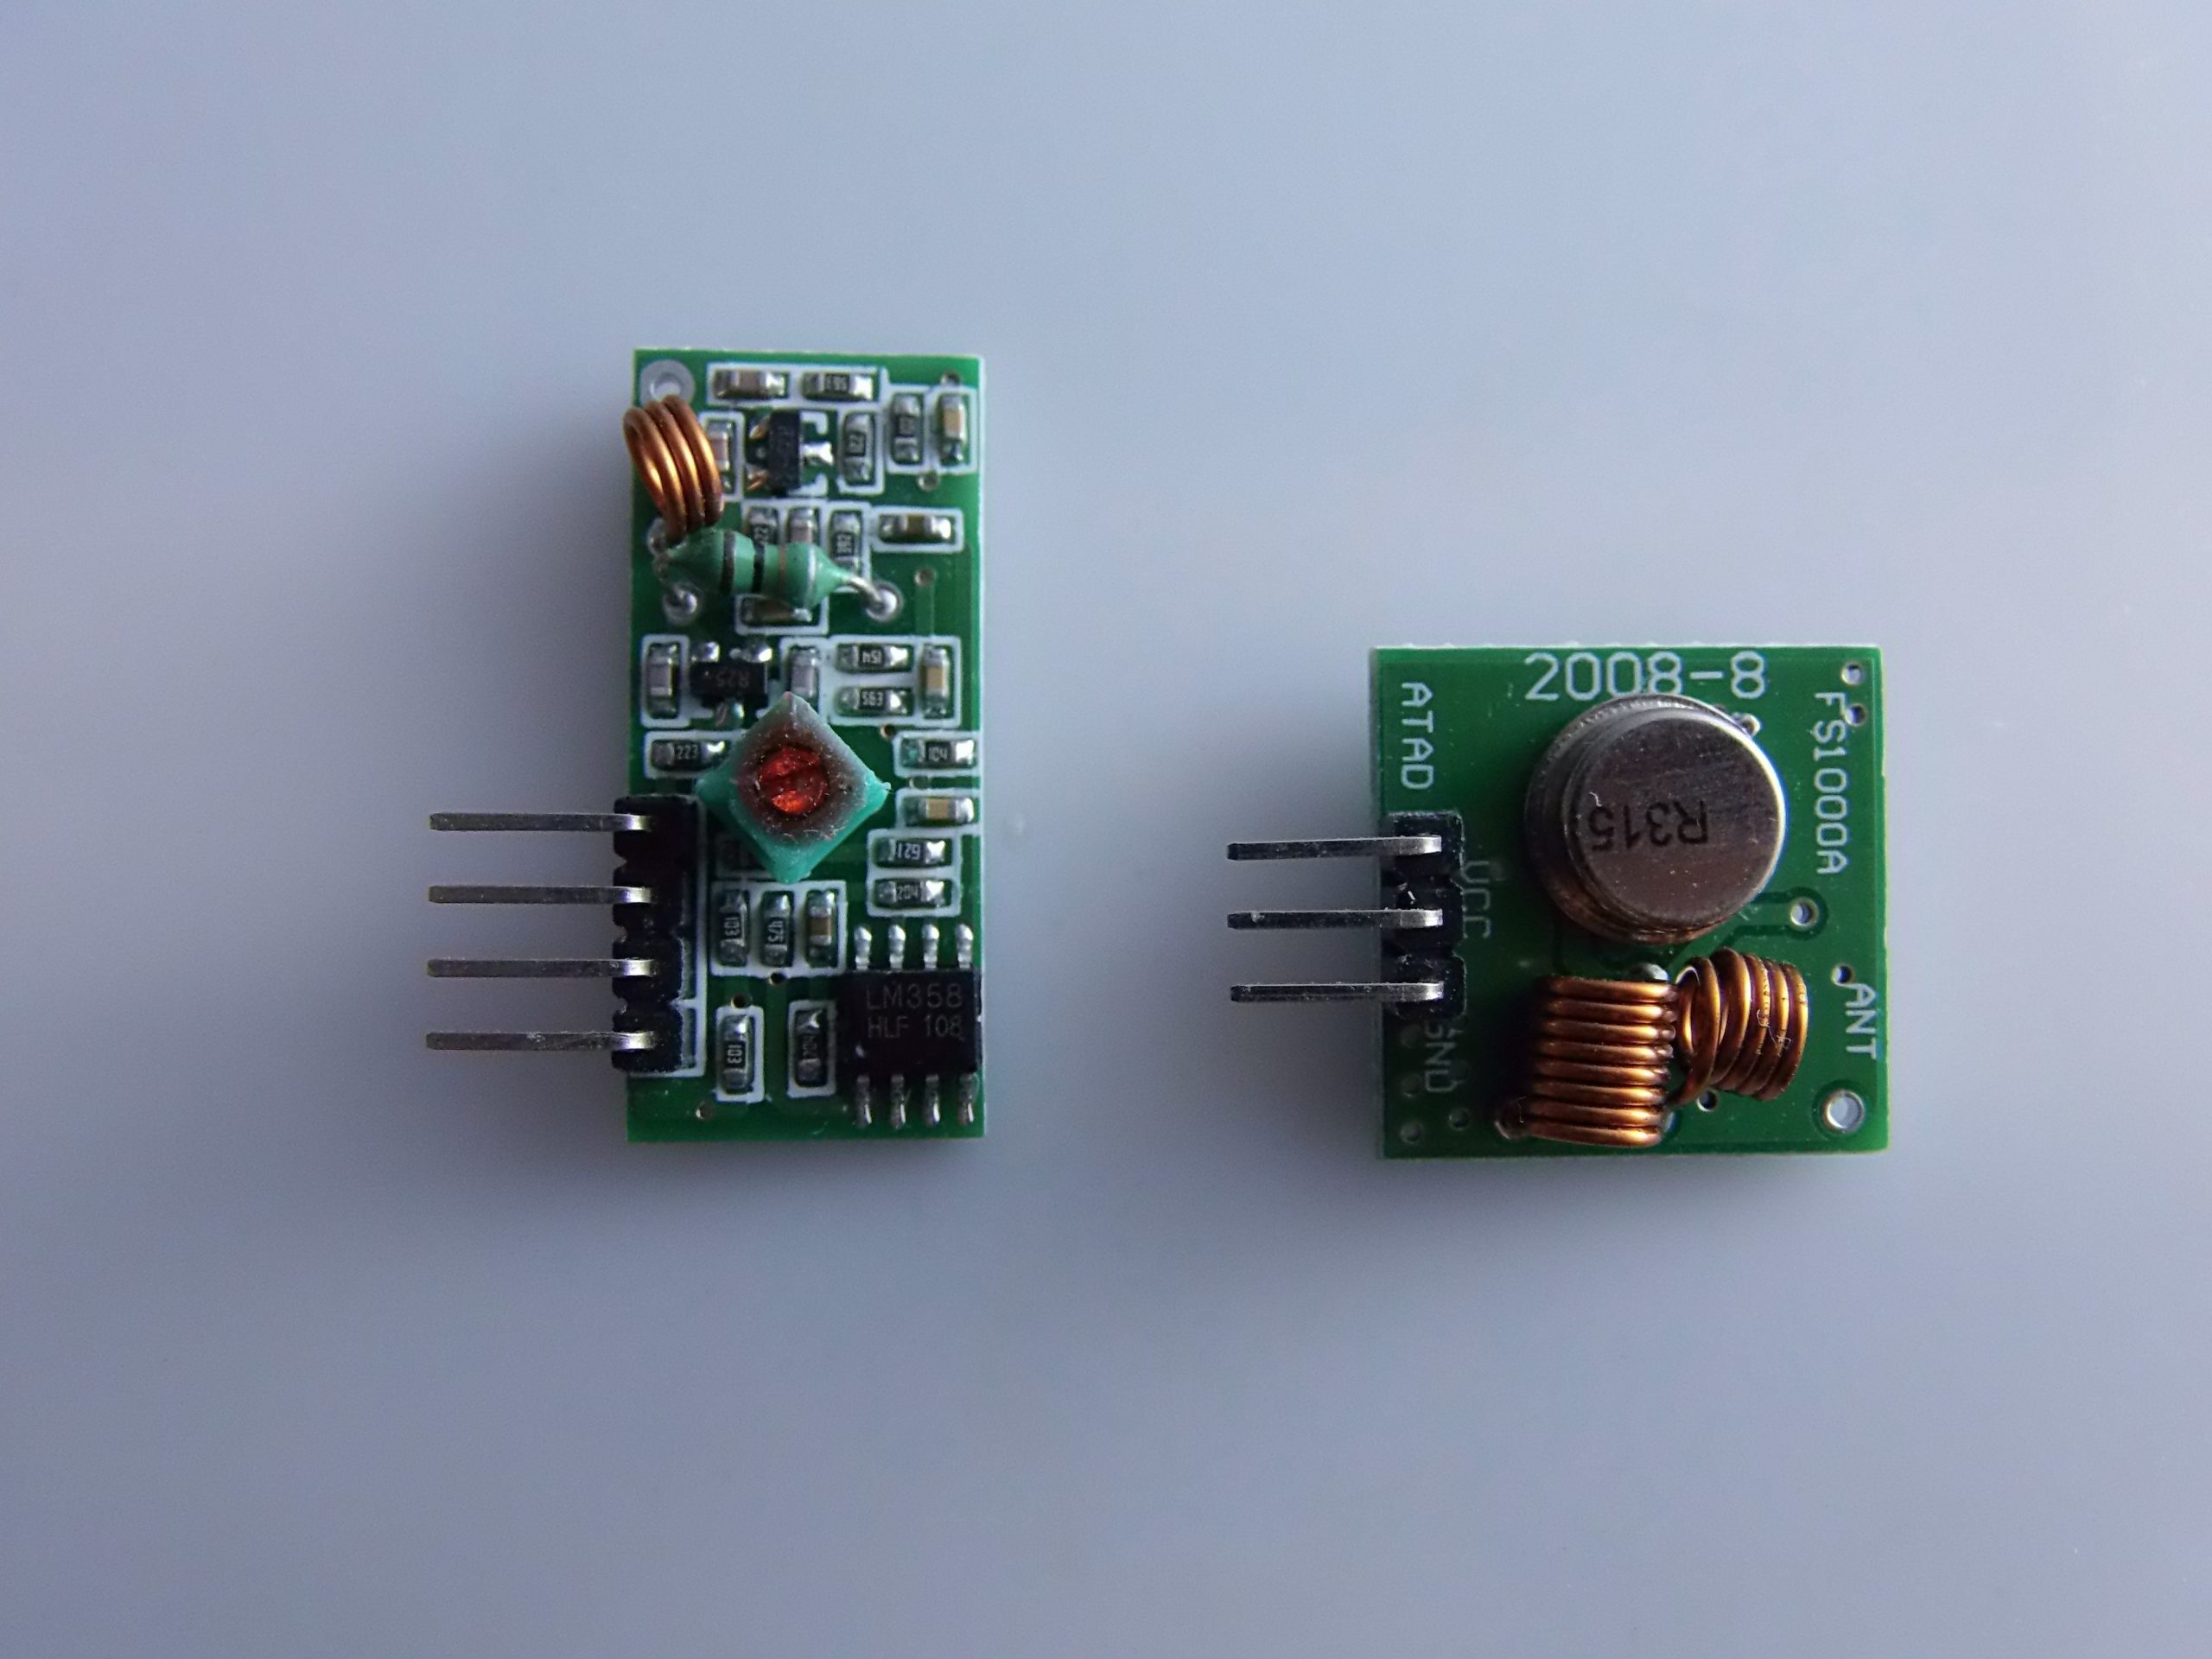
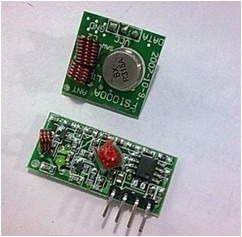
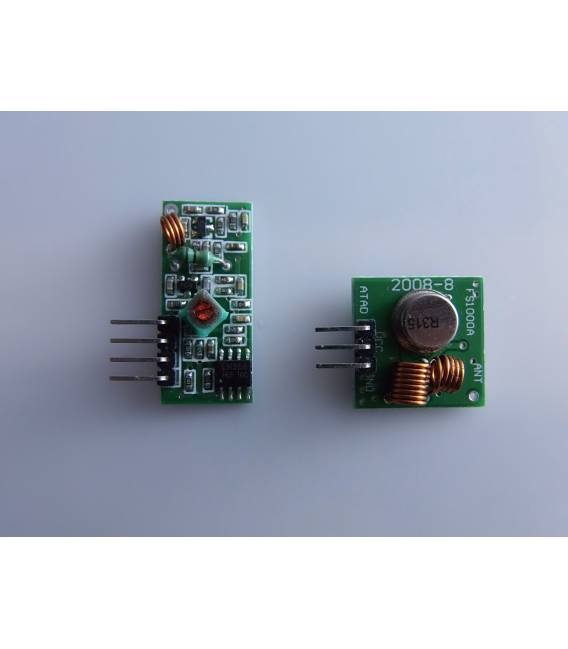
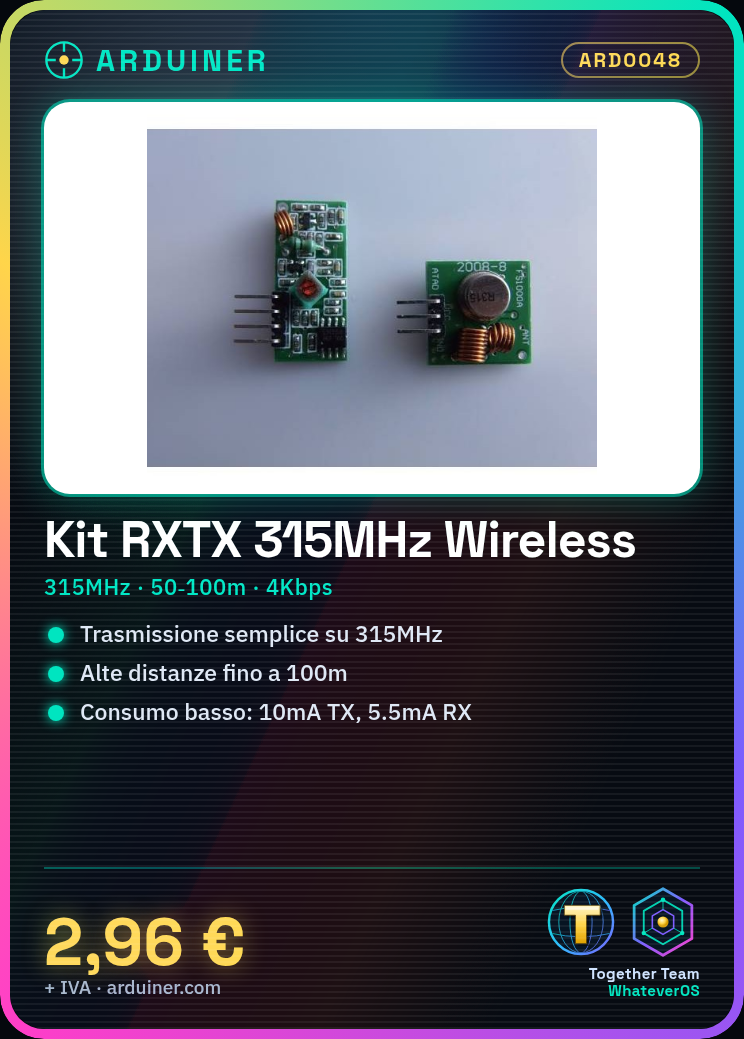
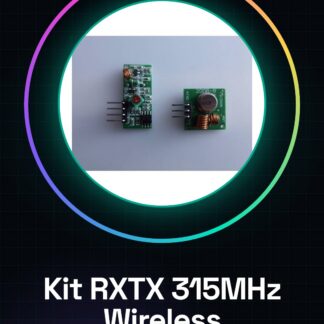
Here is a complete description of the module 315MHz Wireless Transceiver Module Kit for wireless communication, including a detailed guide for use with Arduino, with practical examples e code.
🔧 Description of the 315MHz Wireless Transceiver Module Kit
📦 Included Components:
- 1x Transmitter Module (TX) 315MHz
- 1x Receiver Module (RX) 315MHz
📡 Technical Specifications
Module Transmitter (TX):
- Operating Frequency: 315MHz
- Supply Voltage: 3–12V DC
- Operating Current: ~10mA @ 5V
- Transmission Range: 50-100 meters in open space
- Output Power: ≤ 10mW
- Transmission Speed: up to 4Kbps
Module Receiver (RX):
- Operating Frequency: 315MHz
- Supply Voltage: 5V DC
- Operating Current: ~5.5mA
- Receiver Sensitivity: -105dBm
- Reception Speed: up to 4Kbps
⚠️ These modules do not use any advanced transmission protocol: they send and receive simple digital signals. For reliable use, a software encoding protocol is necessary.
🔌 Connection with Arduino
1️⃣ Transmitter Connections (TX):
- VCC → 5V Arduino
- GND → GND Arduino
- DATA → digital pin (e.g., D12)
2️⃣ Receiver Connections (RX):
- VCC → 5V Arduino
- GND → GND Arduino
- DATA → one of the two data pins (choose one, e.g., D11)
📦 Recommended Library: VirtualWire (alternative: RadioHead)
To simplify transmission, it is recommended to use the VirtualWire library, now replaced by RadioHead, but still used for simple modules like these.
🔄 Installation:
- Go to Arduino IDE
- Sketch → Include Library → Manage Libraries…
- Search VirtualWire and install it
- Or download it from: https://www.pjrc.com/teensy/td_libs_VirtualWire.html
📟 Example of Arduino → Arduino Communication
🟨 Transmitter (TX) – Arduino Code:
#include <VirtualWire.h>

void setup() {
 vw_set_tx_pin(12); // Pin collegato al DATA del modulo TX
 vw_setup(2000); // Bit rate a 2000 bps
}

void loop() {
 const char *msg = "Ciao dal trasmettitore!";
 vw_send((uint8_t *)msg, strlen(msg));
 vw_wait_tx(); // Attendi il termine della trasmissione
 delay(1000); // Invia ogni 1 secondo
}
🟩 Receiver (RX) – Arduino Code:
#include <VirtualWire.h>

void setup() {
 Serial.begin(9600);
 vw_set_rx_pin(11); // Pin collegato al DATA del modulo RX
 vw_setup(2000); // Bit rate a 2000 bps
 vw_rx_start(); // Avvia il ricevitore
}

void loop() {
 uint8_t buf[VW_MAX_MESSAGE_LEN];
 uint8_t buflen = VW_MAX_MESSAGE_LEN;

 if (vw_get_message(buf, &buflen)) {
 Serial.print("Ricevuto: ");
 for (int i = 0; i < buflen; i++) {
 Serial.print((char)buf[i]);
 }
 Serial.println();
 }
}
🔧 Tips for Stable Use
- Antenna: Connect a 17 cm wire to the RX and TX modules as antenna.
- Power Supply: Avoid peaks or disturbances. If the module does not work well, try using a capacitor between VCC and GND (100µF).
- Interference: The RX module is very sensitive, it can pick up noise. Use messages with checksum or simple protocols.
🔄 Other Usage Examples
🔔 Wireless Button:
- An Arduino sends a signal every time a button is pressed → the other Arduino turns on an LED.
🧠 Data Transmission from Sensors:
- Arduino with sensor (e.g., temperature) sends values to the second Arduino which displays on LCD or serial monitor.
🧩 Alternatives to VirtualWire
If you use more advanced modules, consider:
- RadioHead (modern replacement and more flexible)
- Manchester (low-level encoding for superior reliability)
📌 Conclusion
The 315MHz RX/TX module is cost-effective and easy to use, ideal for short-range wireless communication projects between Arduinos. However, it requires good software management to ensure stability. Using libraries like VirtualWire allows you to transmit strings, signals, and data simply.
If you want, I can also provide you with a detailed electrical schematic or a step-by-step guide with images. Would you like me to prepare it?
|
GENERAL INFORMATION |
||
|
MATERIALS |
pbc + components |
|
|
COMPATIBILITY |
ARDUINO |
|
|
WEIGHT AND DIMENSIONS |
PRODUCT WEIGHT |
8g |
|
PACKAGE WEIGHT |
0.250 kg |
|
|
PRODUCT DIMENSIONS (L x W x H) |
2.5 x 2.3 x 0.3 cm + 3 x 2 x 0.3 cm |
|
|
10 x 10 x 2 cm |
||
|
PACKAGE CONTENT |
PACKAGE CONTENT |
2 Modules 1 x Module |
We have the technical specifications of all components available, if not present in the product download sheet, send us a message through the contact form and we will publish it as soon as possible on our website.
Tutorial: How to Use the 315MHz Wireless Transceiver Kit
This module allows for wireless signal transmission and reception at 315MHz, ideal for remote control projects and short-range communication.
What you need
- 315MHz Wireless Transceiver Kit
- Arduino
- Arduino Power Supply Cable
- 1kΩ Resistor
Steps
- Check the datasheet for the module specifications.
- Connect the module to pin 10 of Arduino as TX.
- Connect the module to pin 2 of Arduino as RX.
- Connect the 1kΩ resistor between VCC and GND of the module.
- Upload the following code to Arduino.
- Verify that the communication works correctly.
- Test reception and transmission with another module.
- Verify the stability of the connection.
Example code
```
#include <SoftwareSerial.h>

SoftwareSerial mySerial(10, 2); // RX, TX

void setup() {
 mySerial.begin(9600);
}

void loop() {
 if (mySerial.available()) {
 Serial.write(mySerial.read());
 }
}
```
Mini project
Create a remote control system for an LED with another 315MHz module.
Common mistakes
- Connection error: ensure that the pins are correctly connected.
- Power supply error: check that the resistor is correctly installed.
- Communication error: check the baud rate configuration.
- Receive error: verify that the receiver is active.
Recommended accessories
- 315MHz Wireless Transceiver Module for Arduino
- Arduino
- Power Supply Cable
- 1kΩ Resistor
Frequently asked questions
Does the module work at 433MHz as well?
Check the datasheet, it may vary.
Which Arduino pins can I use?
Use digital pins as indicated in the tutorial.
How to test the connection?
Use another module to send signals and verify the reception.
Does the module require a specific driver?
No, use SoftwareSerial.
Reviews
There are no reviews yet.