 EN
 IT Italiano
 ES Español
 FR Français
 DE Deutsch
Description
What it is
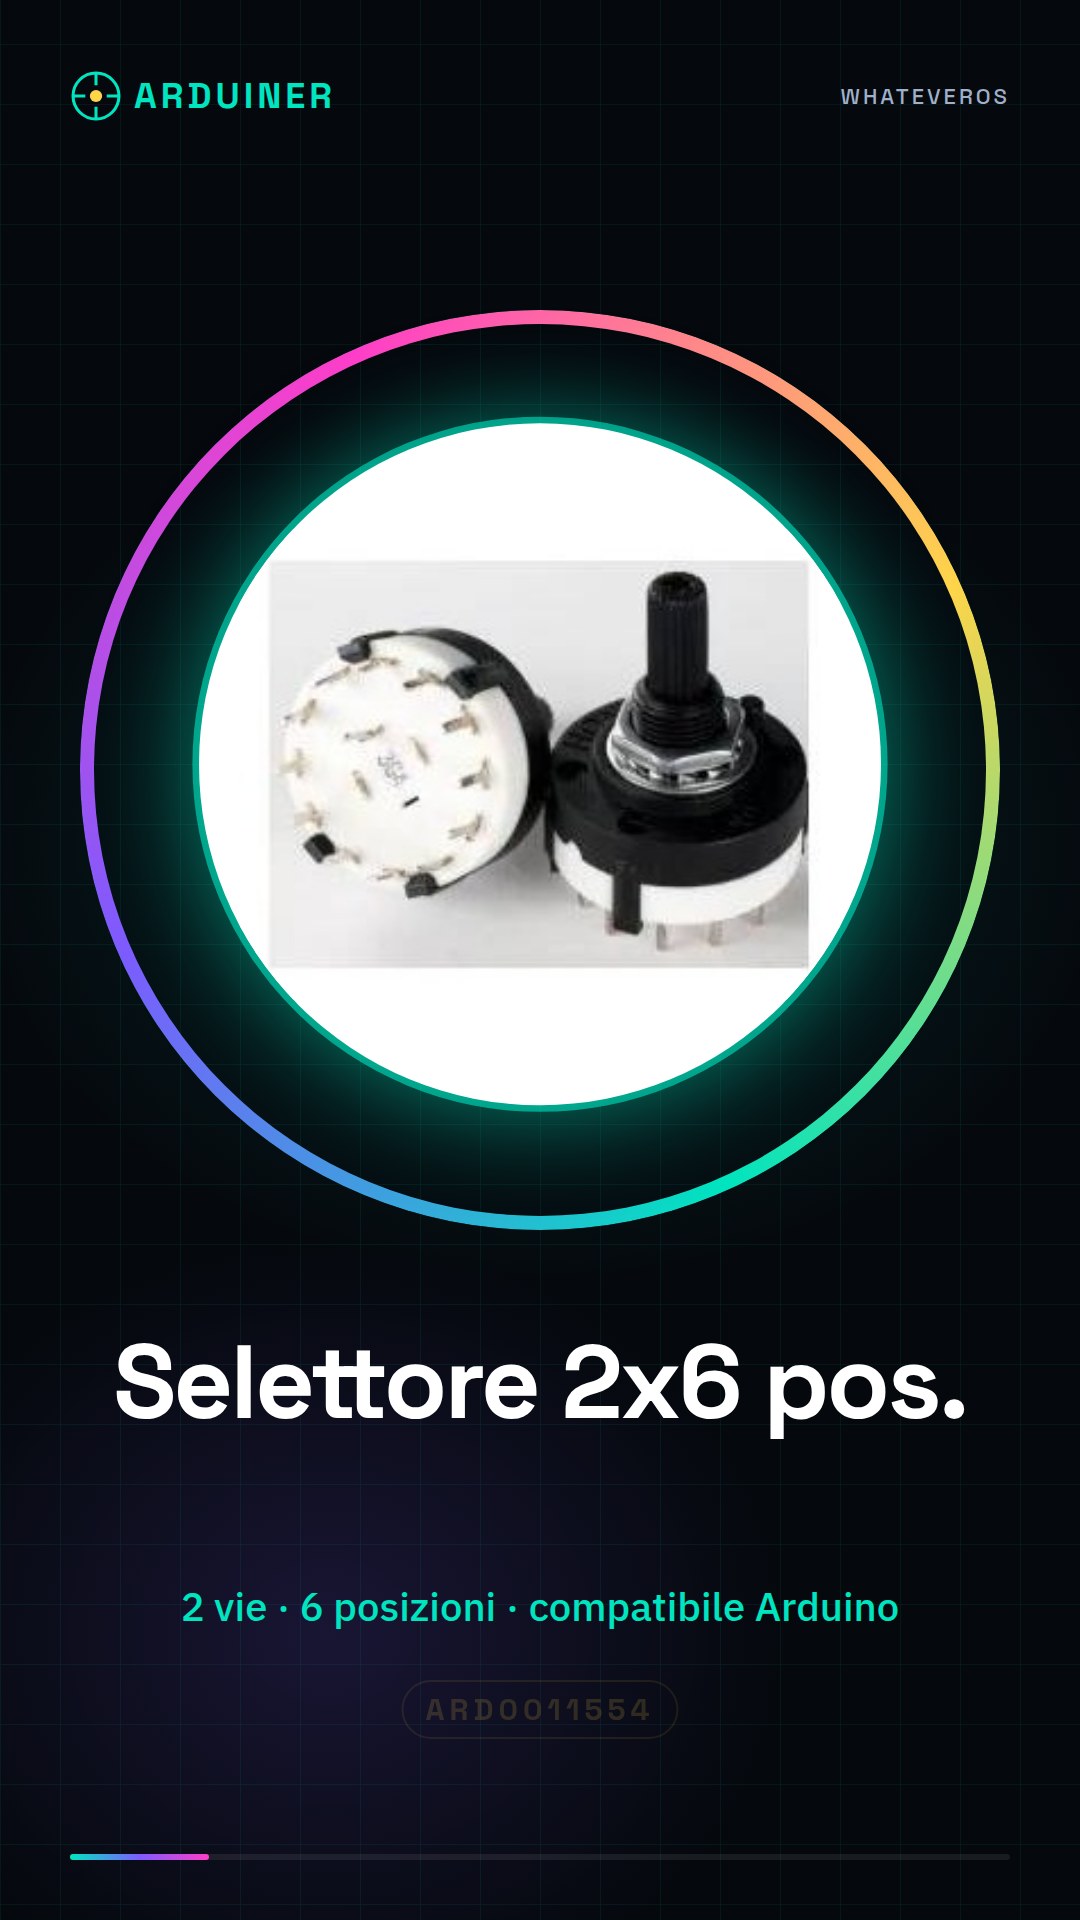
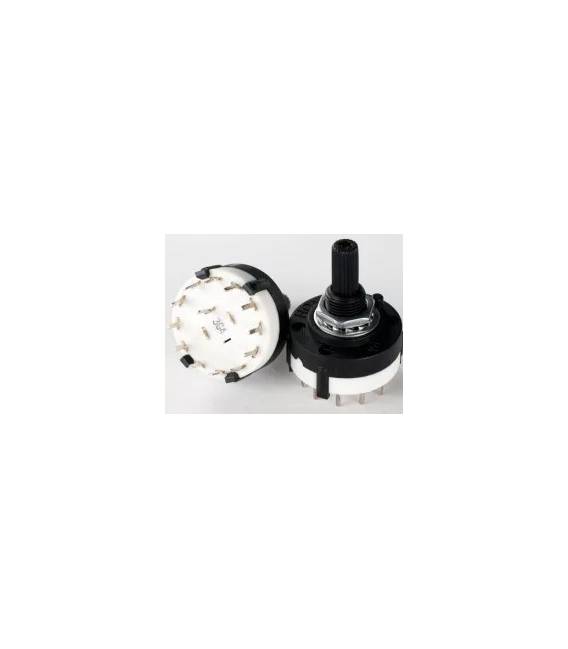
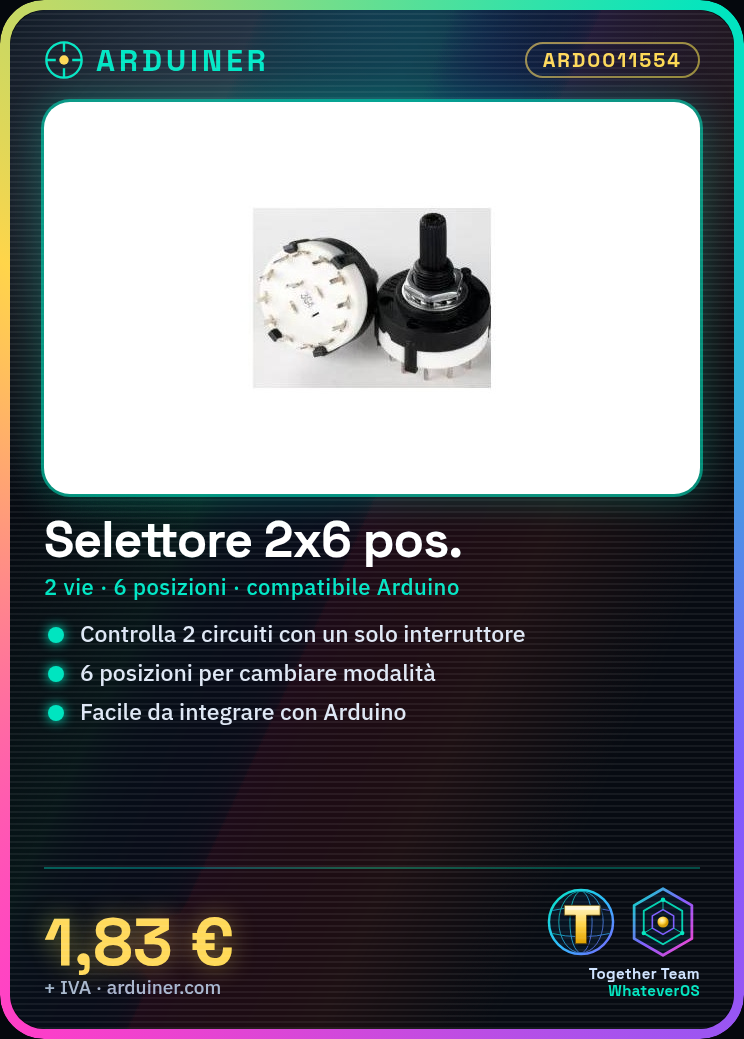
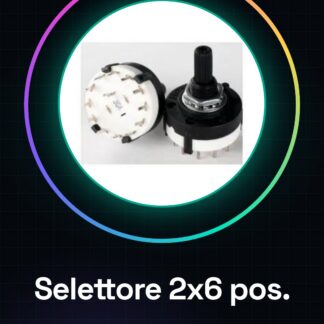
The 2-way 6-position rotary switch is an electronic component that allows you to choose between two circuits (2 ways) in 6 different positions.
Features
- 2 ways
- 6 selectable positions
What it is for
This switch is useful for projects that require the selection of a signal from multiple options. For example, it can be used to change the operating mode of a device, select an audio input or a communication channel. It is compatible with Arduino and other microcontrollers.
Tutorial: How to use 2-way 6-position rotary switch
The 2-way 6-position rotary switch is an electronic component useful for projects that require enabling a signal on one of the six available positions. Ideal for makers looking for a simple and intuitive way to manage input choices in their project.
What you need
- Arduino
- Jumper cable
- Breadboard (optional)
- LED (optional)
- Resistors (optional)
Steps
- Connect the rotary switch to the breadboard (if used).
- Connect the jumper wires to the contacts of the rotary switch.
- Connect the jumper wires to the Arduino.
- Check the datasheet for the specific pins to use to connect the rotary switch to the Arduino.
- Write the Arduino sketch to read the state of the rotary switch.
- Upload the sketch to the Arduino.
- Test the rotary switch to ensure it works correctly.
- Insert the code to handle the different positions of the rotary switch in your project.
Example code
const int selectorPin = 2; // Verifica sul datasheet il pin corretto

void setup() {
  pinMode(selectorPin, INPUT);
}

void loop() {
  int position = digitalRead(selectorPin);
  // Aggiungi qui il codice per gestire le diverse posizioni
}
Mini project
Create a simple selection system with an LCD display that changes message based on the position of the rotary switch.
Common mistakes
- Do not connect the rotary switch pins correctly.
- Do not check the datasheet for the specific pins to use.
- Do not write the correct Arduino sketch to read the state of the rotary switch.
- Do not test the rotary switch before integrating it into the project.
Recommended accessories
- LCD Display
- Breadboard
- Jumper Wire
- LED
Frequently asked questions
Which pins should I use to connect the rotary selector?
Check the datasheet for the specific pin to use to connect the rotary selector to the Arduino.
How can I test the rotary selector?
Write an Arduino sketch that reads the state of the rotary selector and displays the current position.
Reviews
There are no reviews yet.