 EN
 IT Italiano
 ES Español
 FR Français
 DE Deutsch
Description
What it is
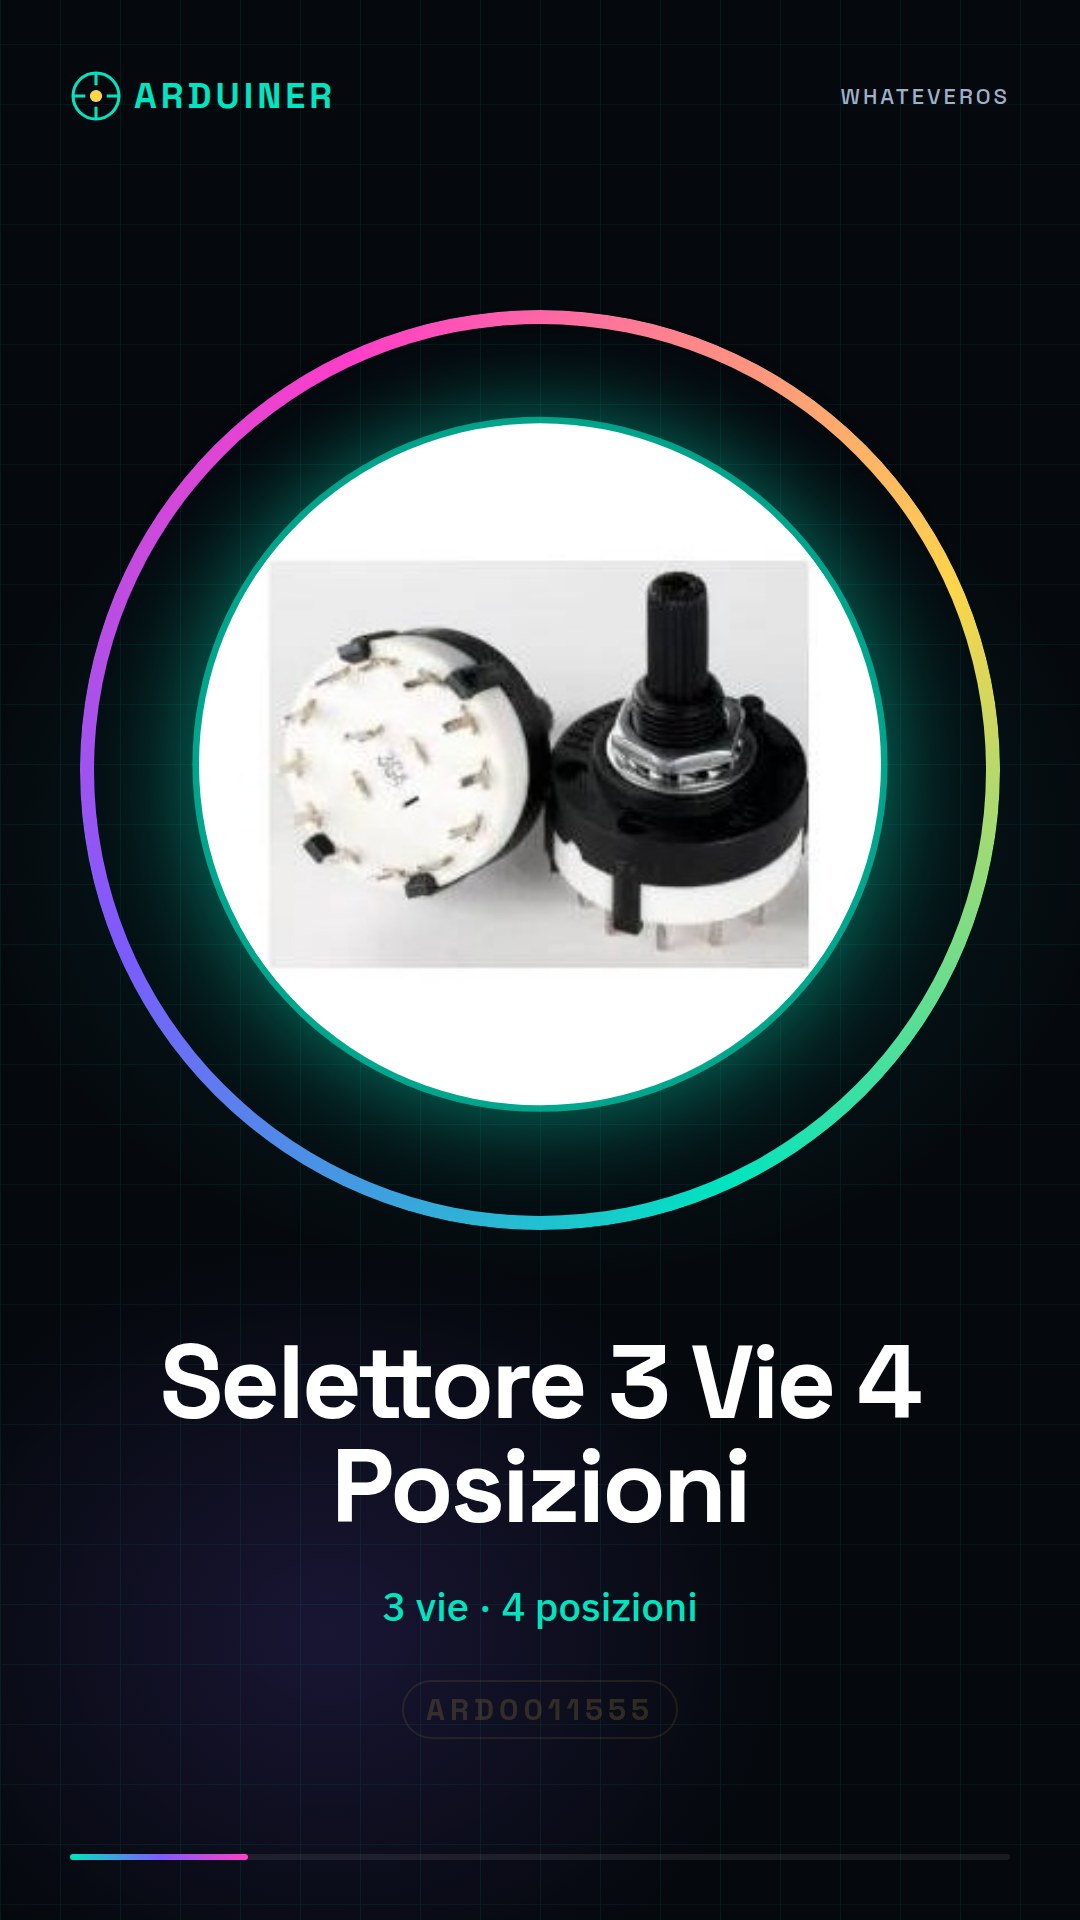
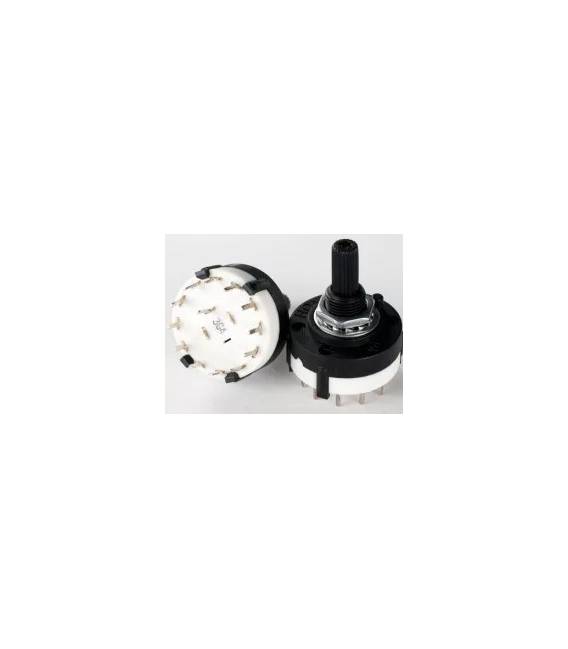
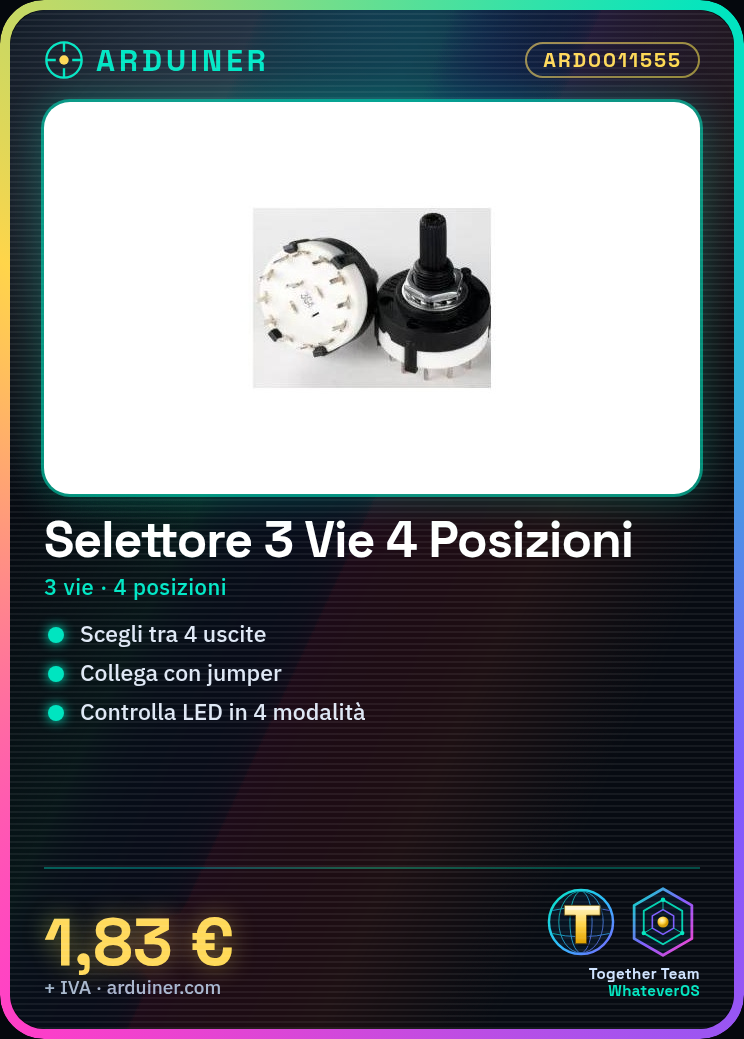
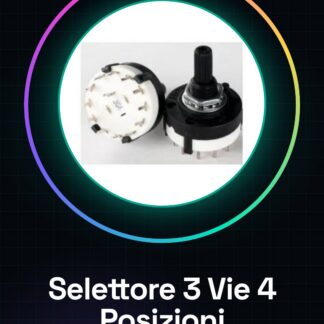
The 3-way 4-position selector is an electronic component that allows you to choose between 4 different outputs for a control signal.
Features
- 3-way (3 inputs/outputs)
- 4 positions (selectable)
- SKU: ARD0011555
- Price: 1.83 €
- Availability: Pre-order
What it is for
This selector is ideal for Arduino projects, 3D printing, and control system prototypes where it is necessary to select between different output options. A typical example is controlling an LED with 4 different modes: on, off, blinking, and button.
Tutorial: How to use 3-way 4-position selector
The 3-way 4-position selector is an electronic component useful for anyone who wants to control the orientation of a signal in 4 different directions. Ideal for Arduino projects, 3D printing, and control system prototypes.
What you need
- Arduino Uno
- Jumper Connections
- 3-way 4-position selector
Steps
- Connect the selector to an Arduino using jumper connectors.
- Check the selector positions and corresponding connections.
- Write an Arduino sketch to read the state of the selector.
- Upload the sketch to the Arduino.
- Test the selector function by changing positions.
- Check the datasheet for any adjustments.
- Implement the logic in your project.
- Test the complete project to ensure it works as expected.
Example code
int selectorPin = 2; // Posizione del selettore sulla scheda Arduino
void setup() {
  pinMode(selectorPin, INPUT);
}
void loop() {
  int position = digitalRead(selectorPin);
  Serial.println(position);
}
Mini project
Create a control system for an LED that changes state based on the selector position. Set 4 positions to turn on, off, blink, and pulse the LED.
Common mistakes
- Do not properly verify the connections.
- Do not read the datasheet correctly to understand the selector positions.
- Do not test the component before integrating it into the project.
- Use an Arduino that is not compatible with the selector.
Recommended accessories
- Arduino Uno
- Jumper Connections
- LED
- 330 Ohm Resistor
Frequently asked questions
What are the selector positions?
The selector has 4 selectable positions, check the datasheet for details.
How to connect the selector?
Connect the selector using jumper connectors to an input pin of the Arduino.
What projects can I do with this selector?
You can use it to control data flow, manage device control, or create custom control interfaces.
Reviews
There are no reviews yet.