 EN
 IT Italiano
 ES Español
 FR Français
 DE Deutsch
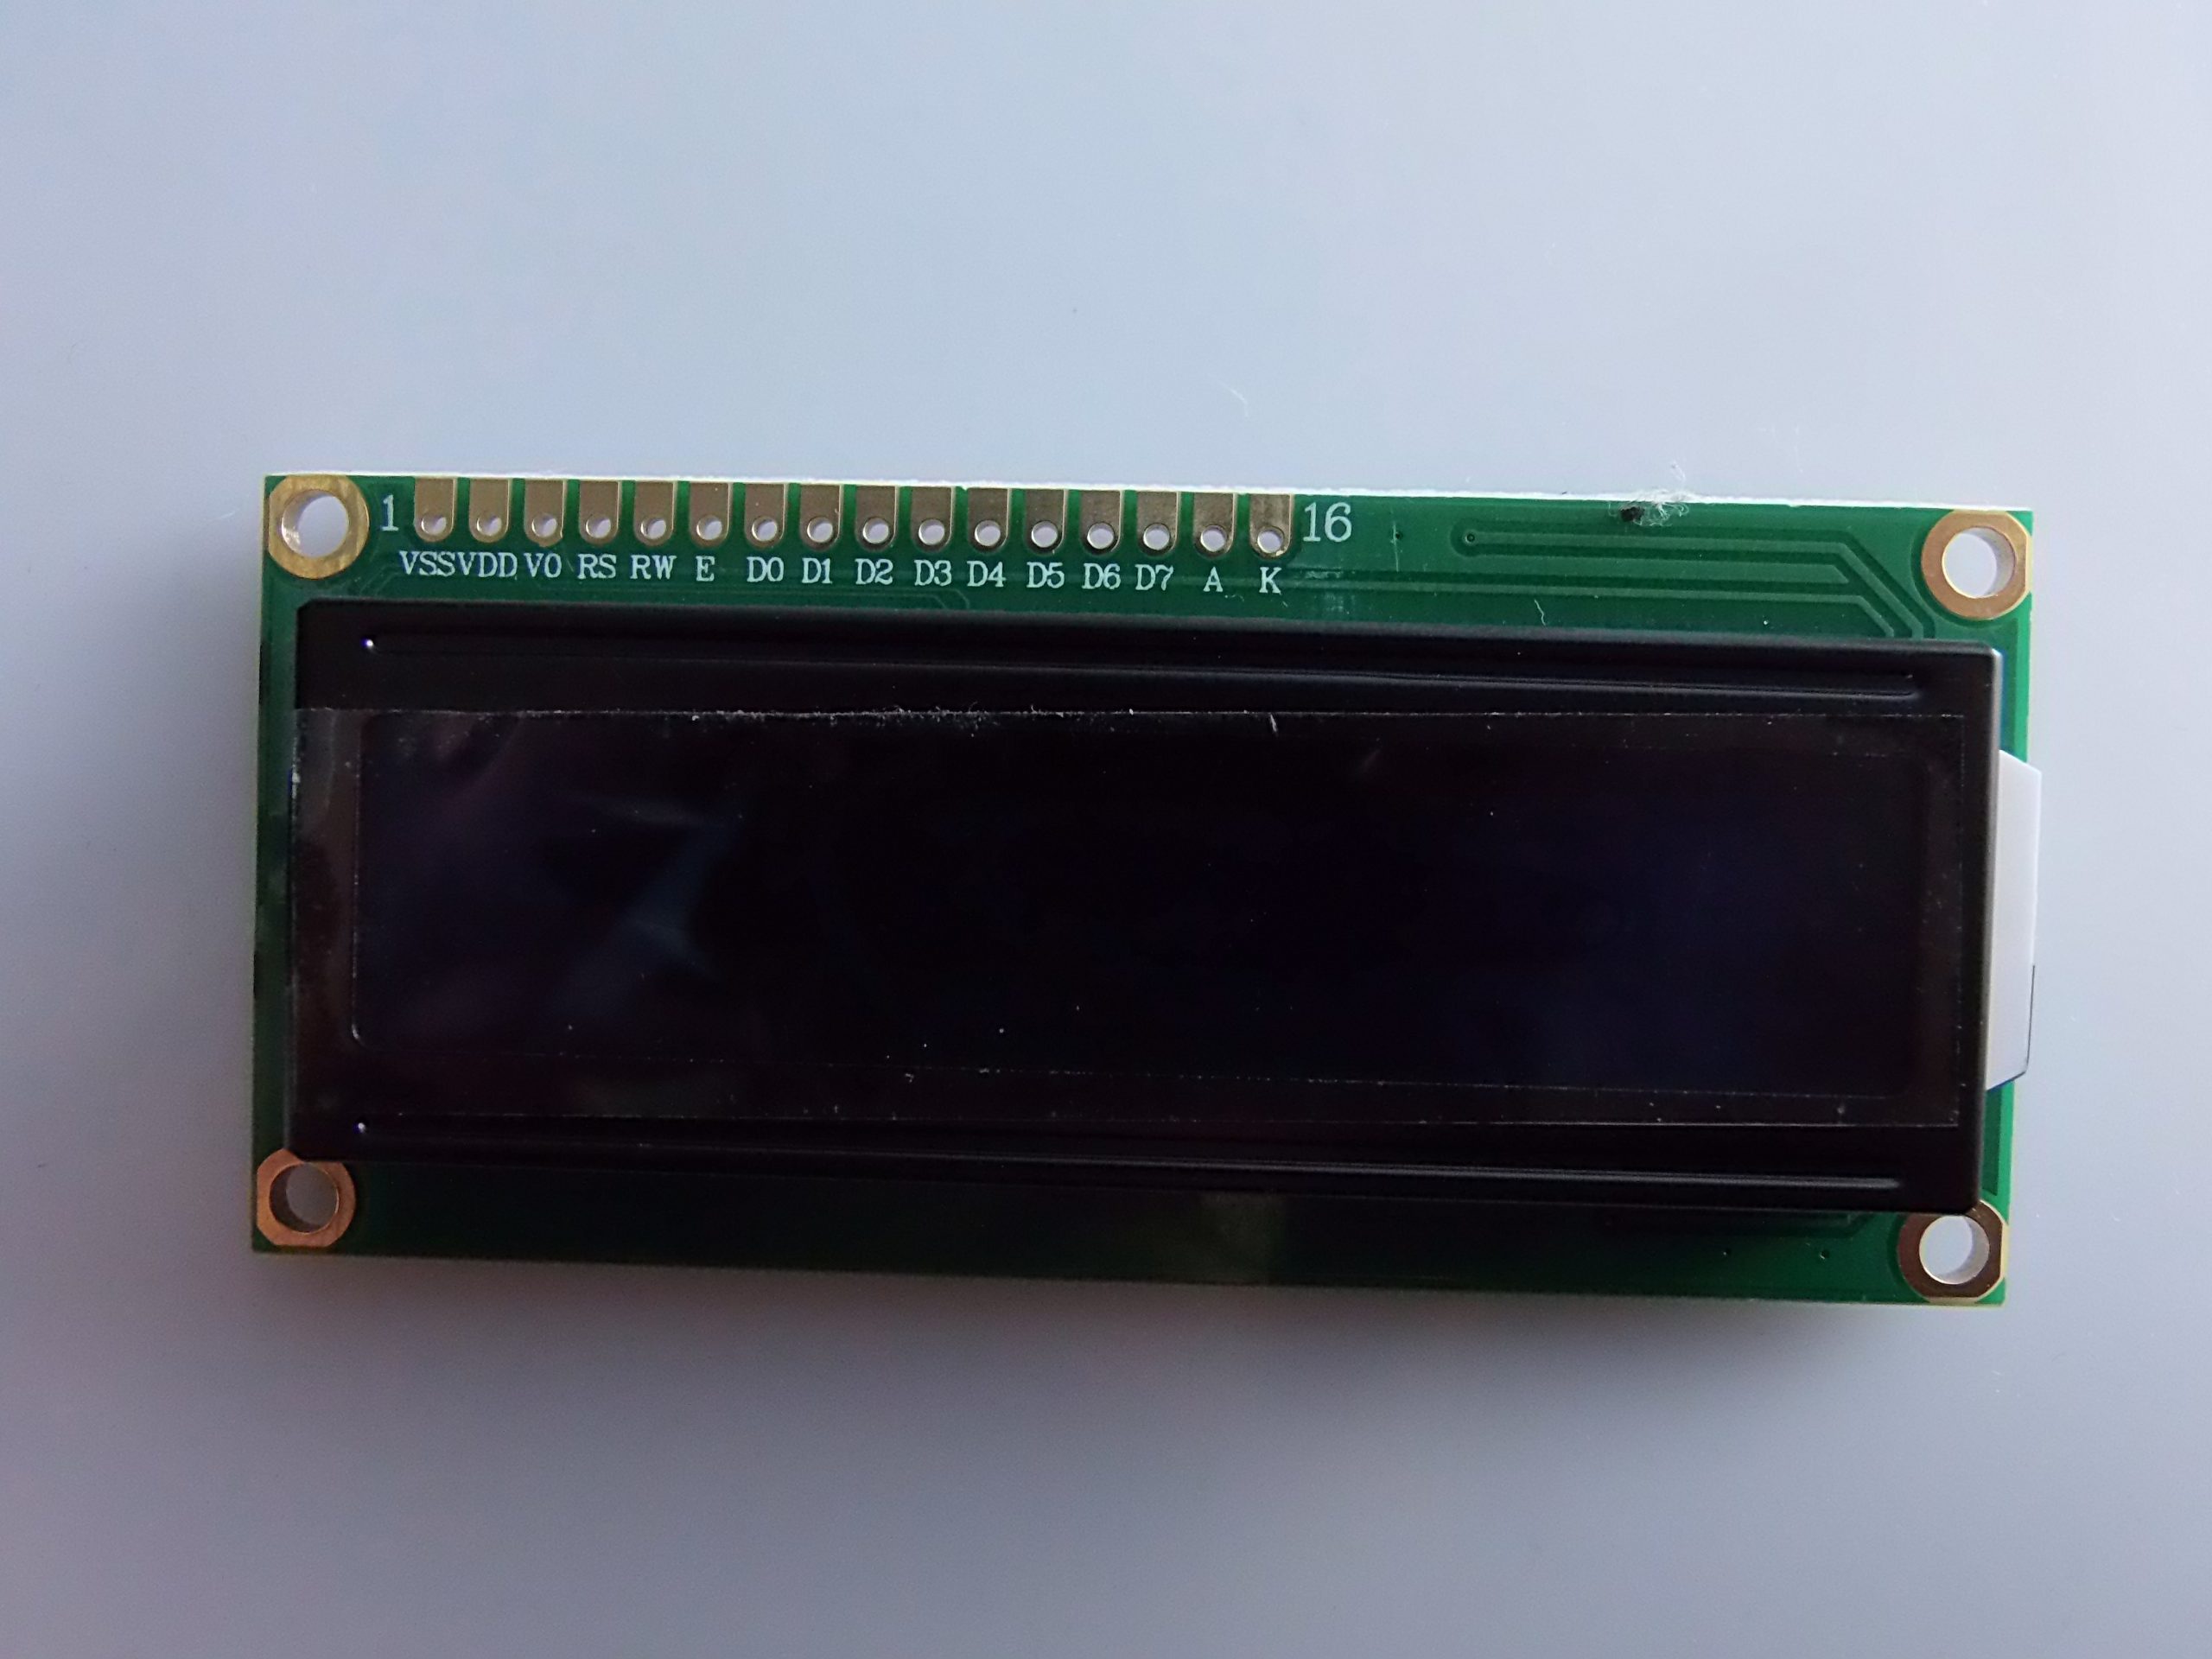
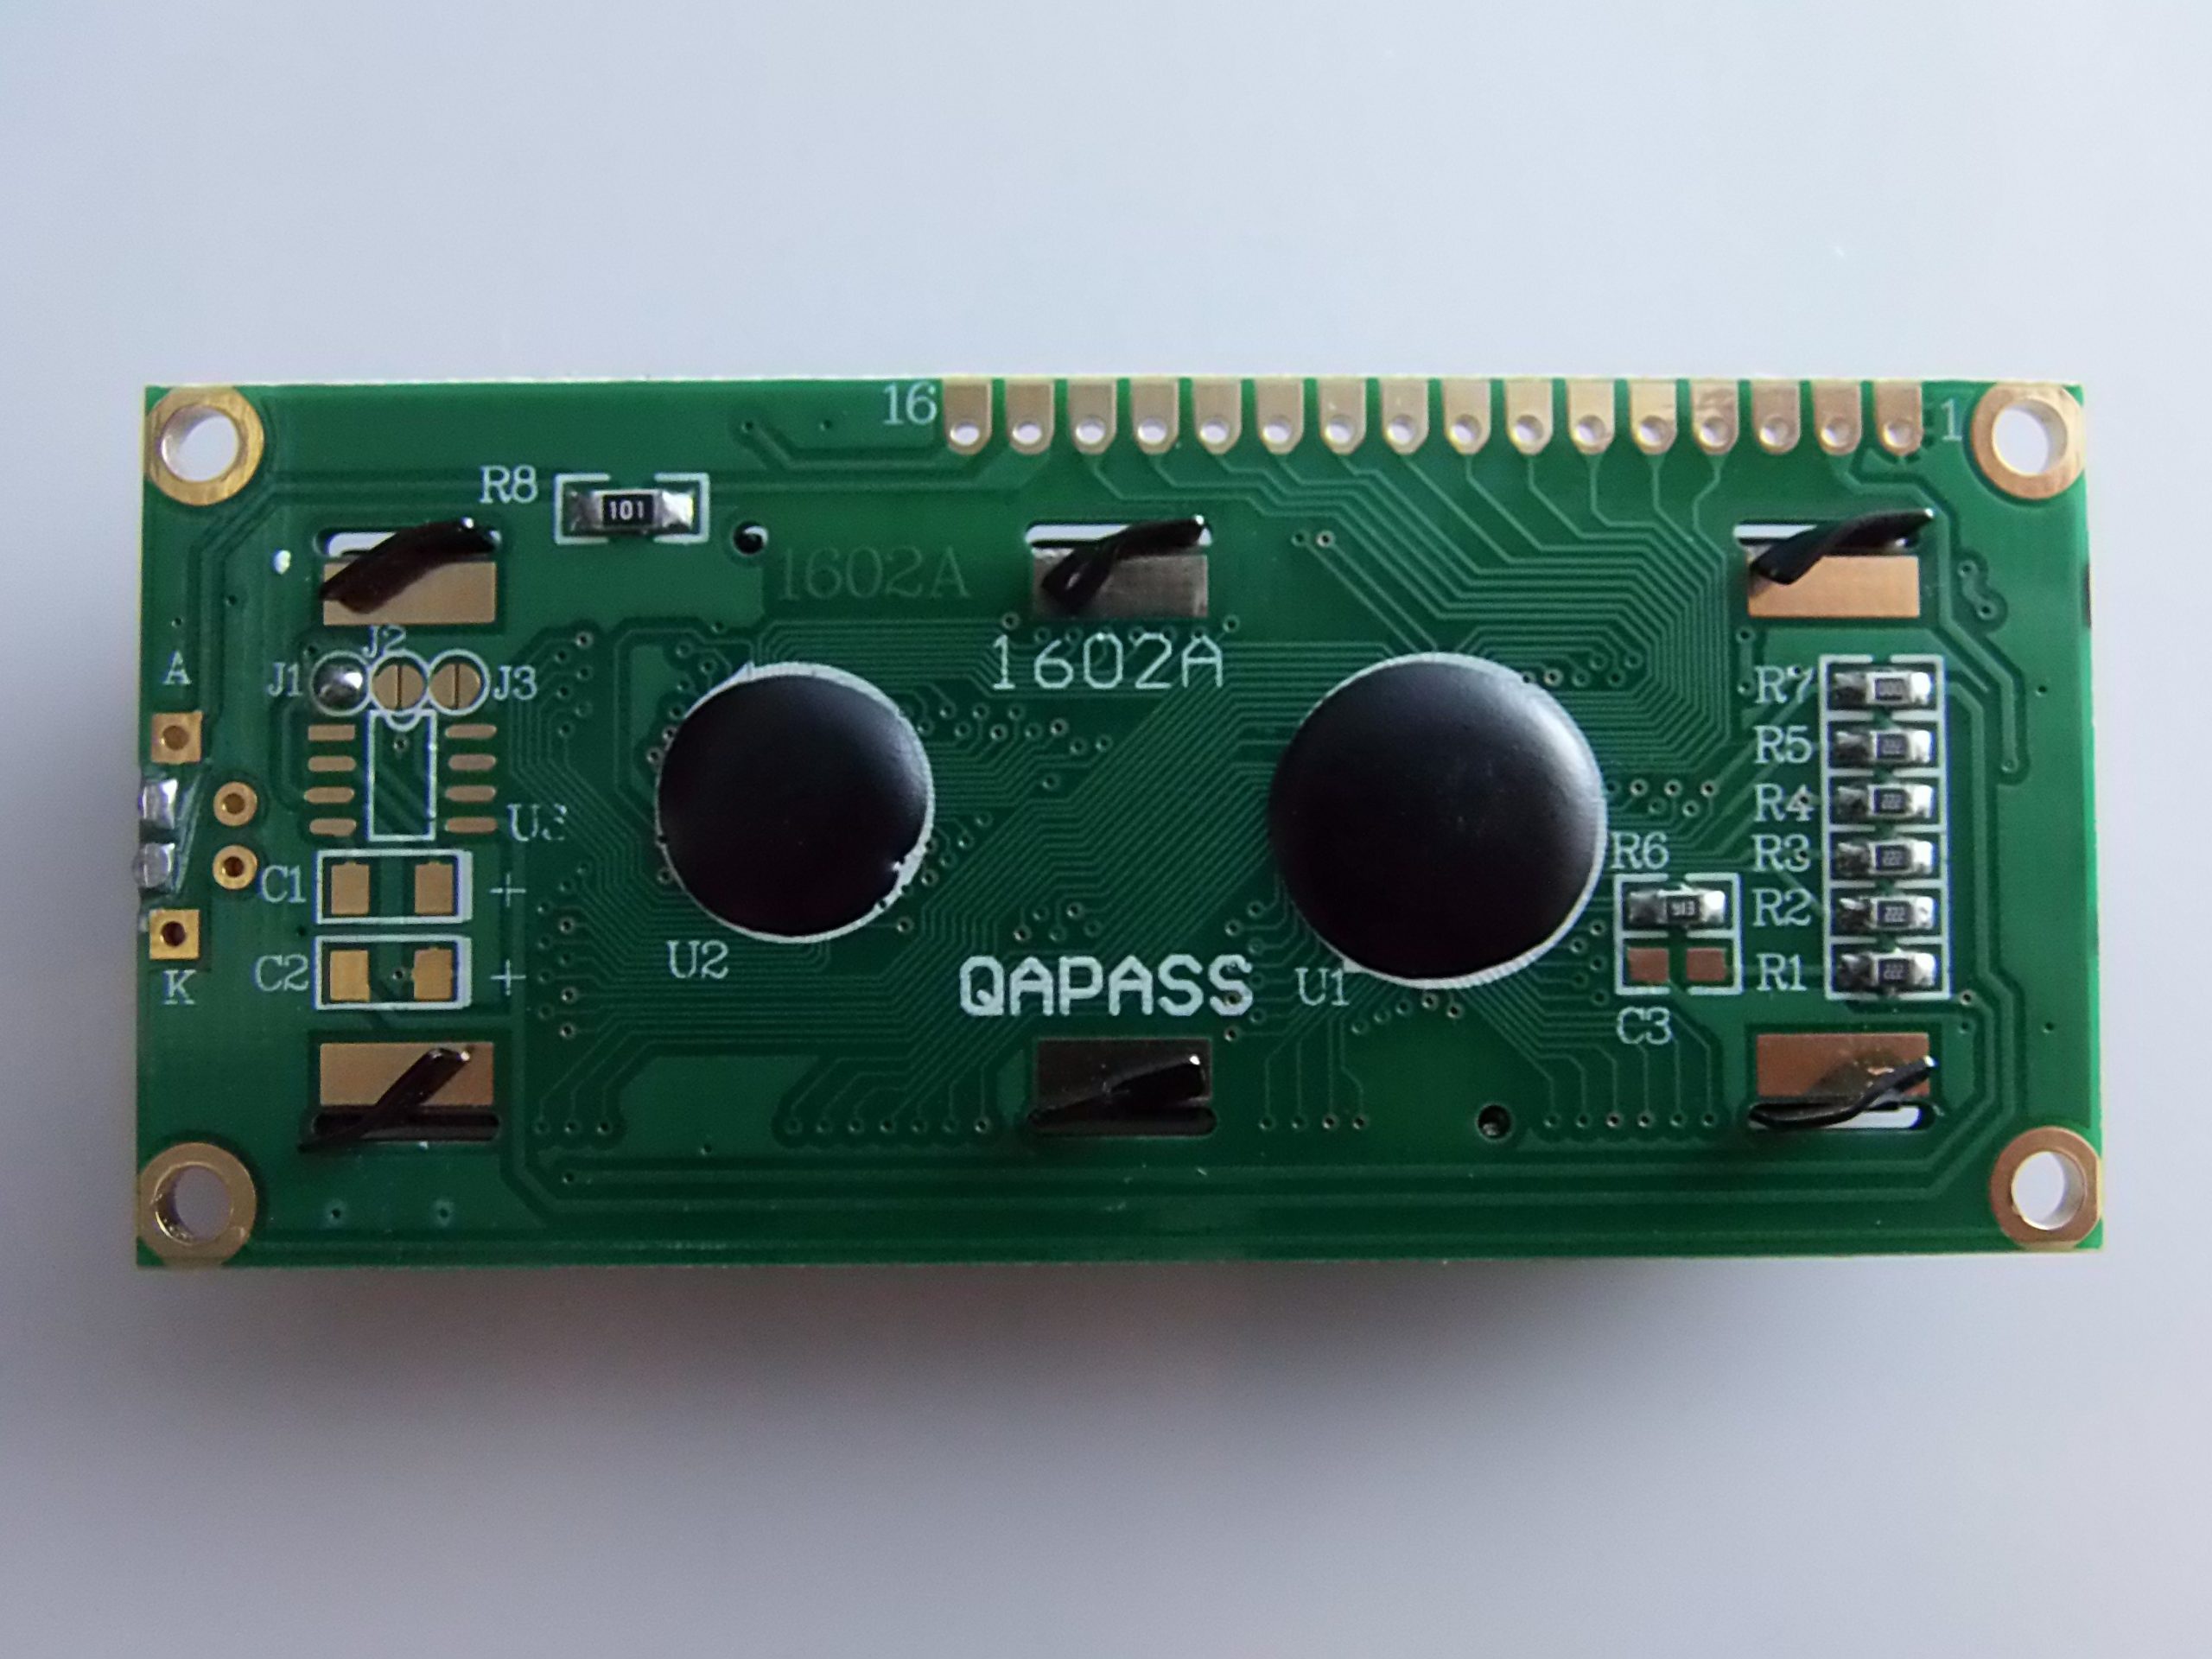
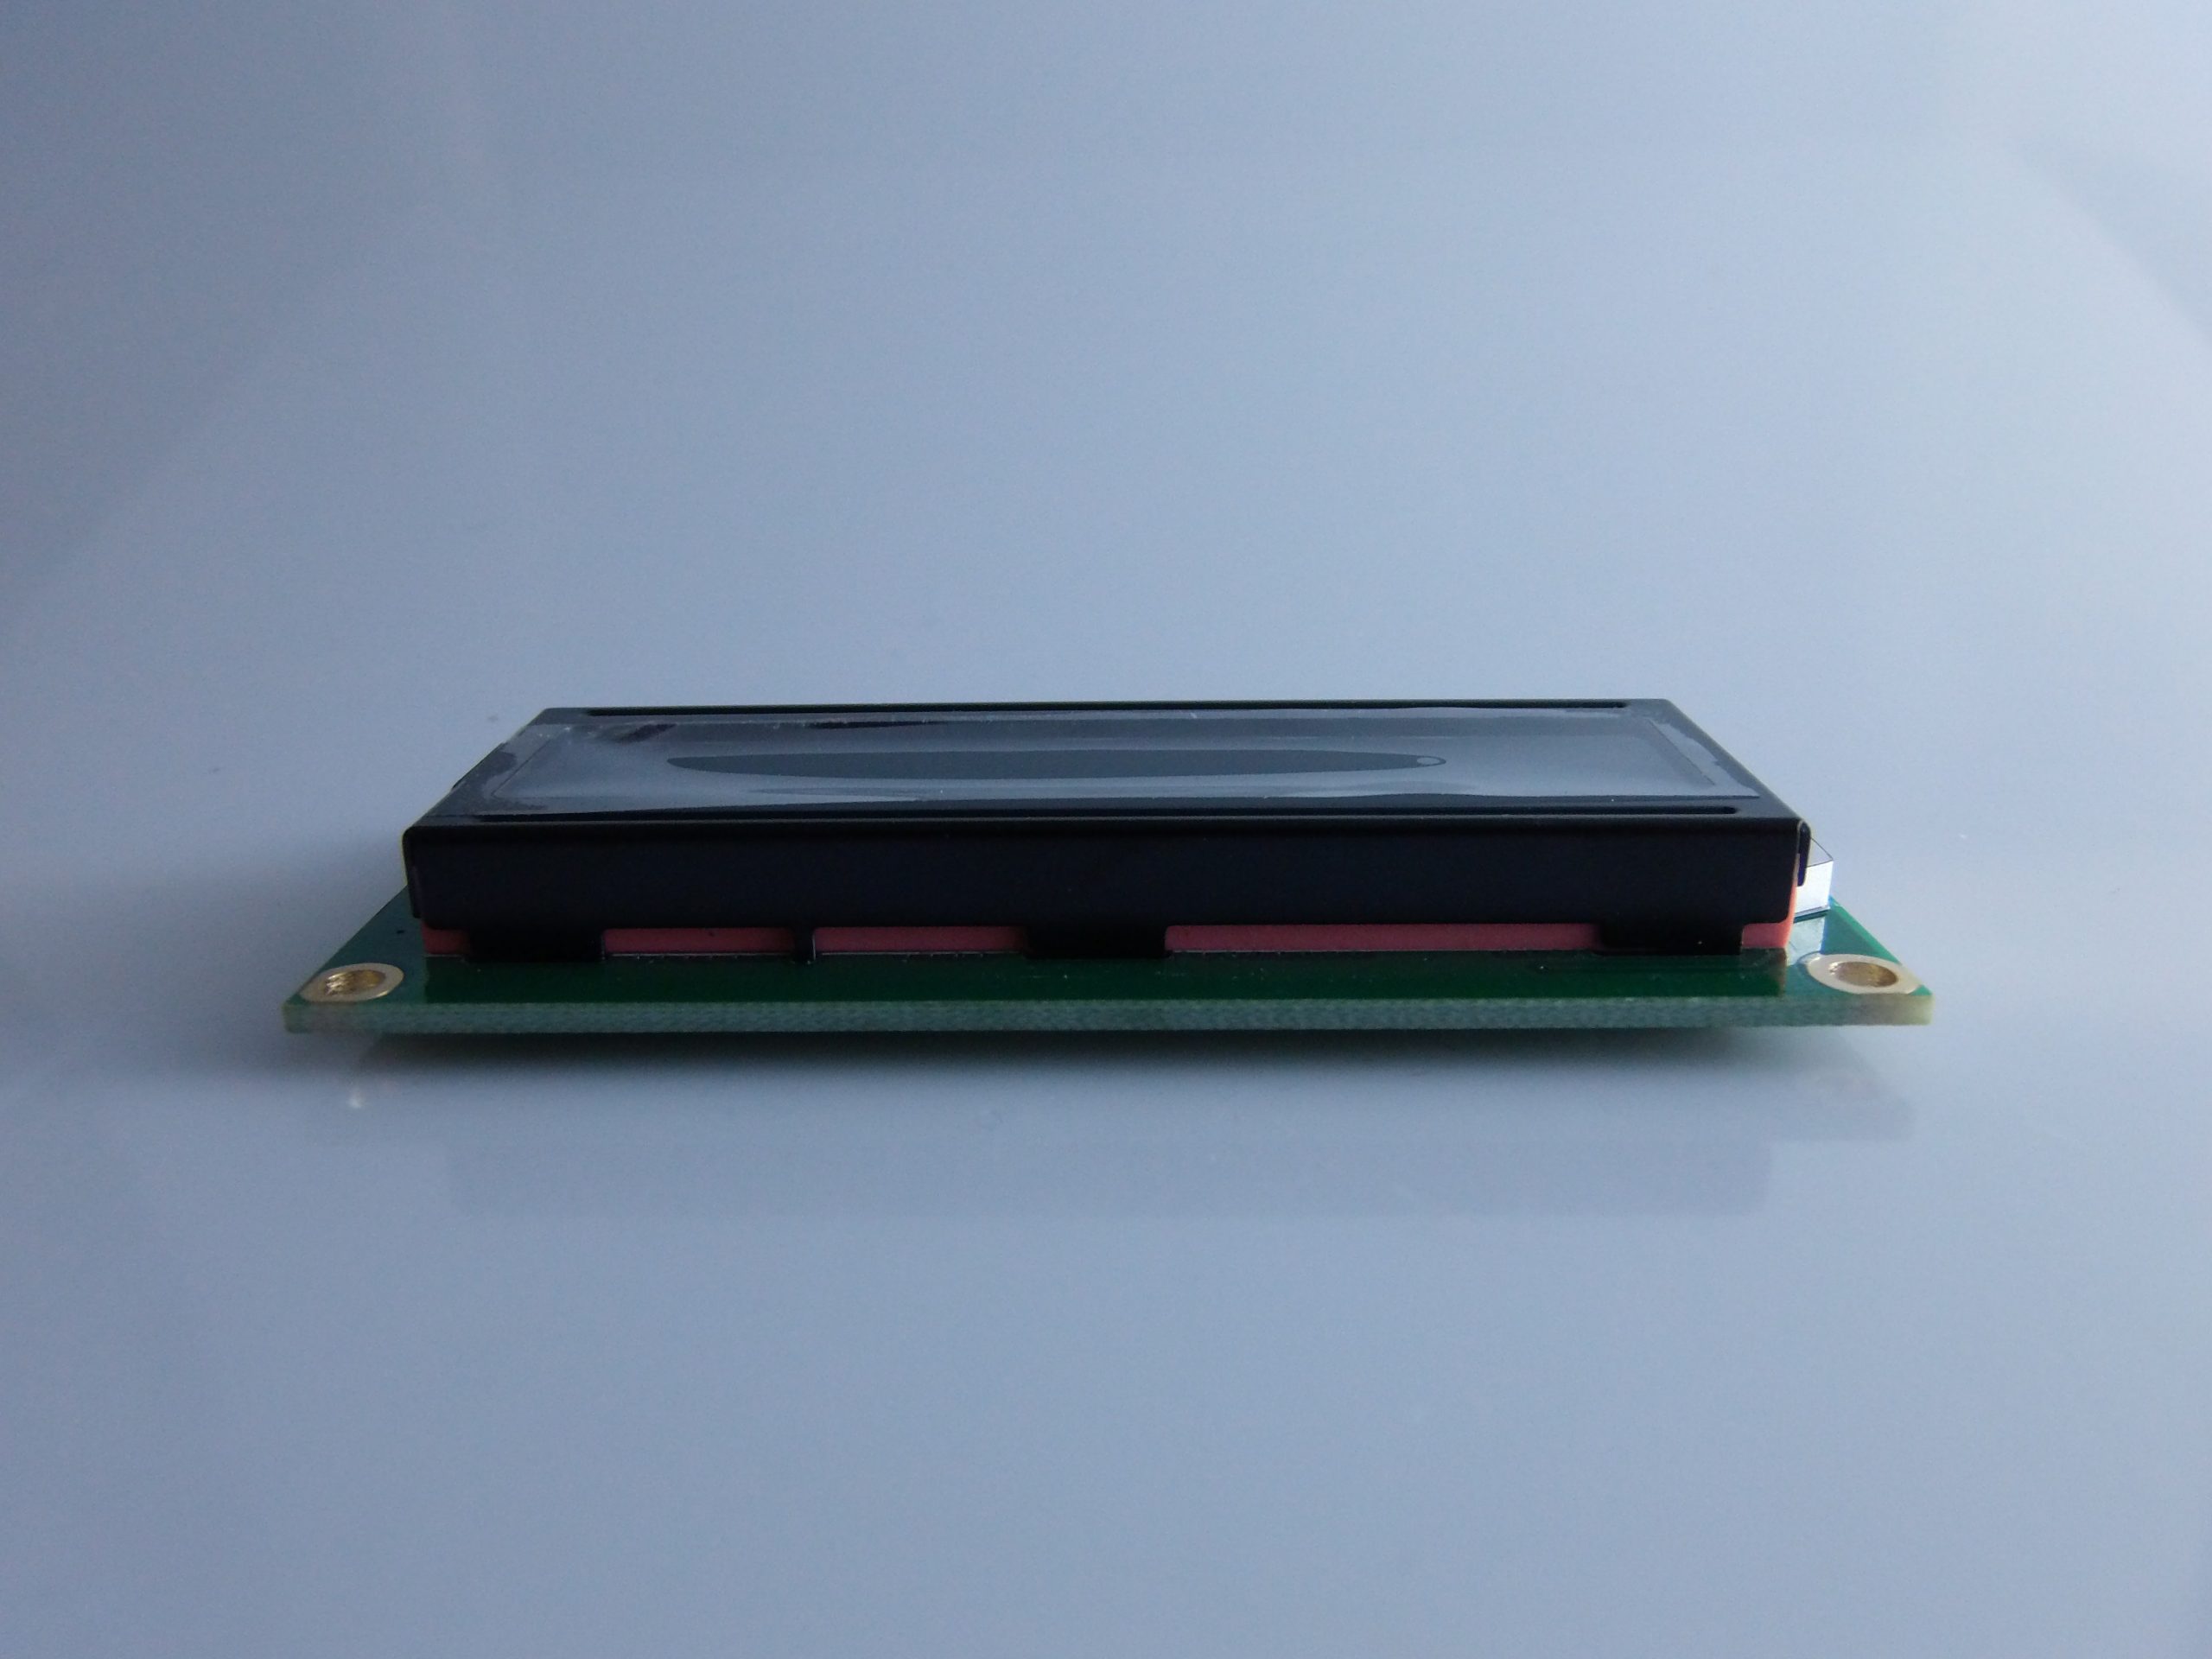
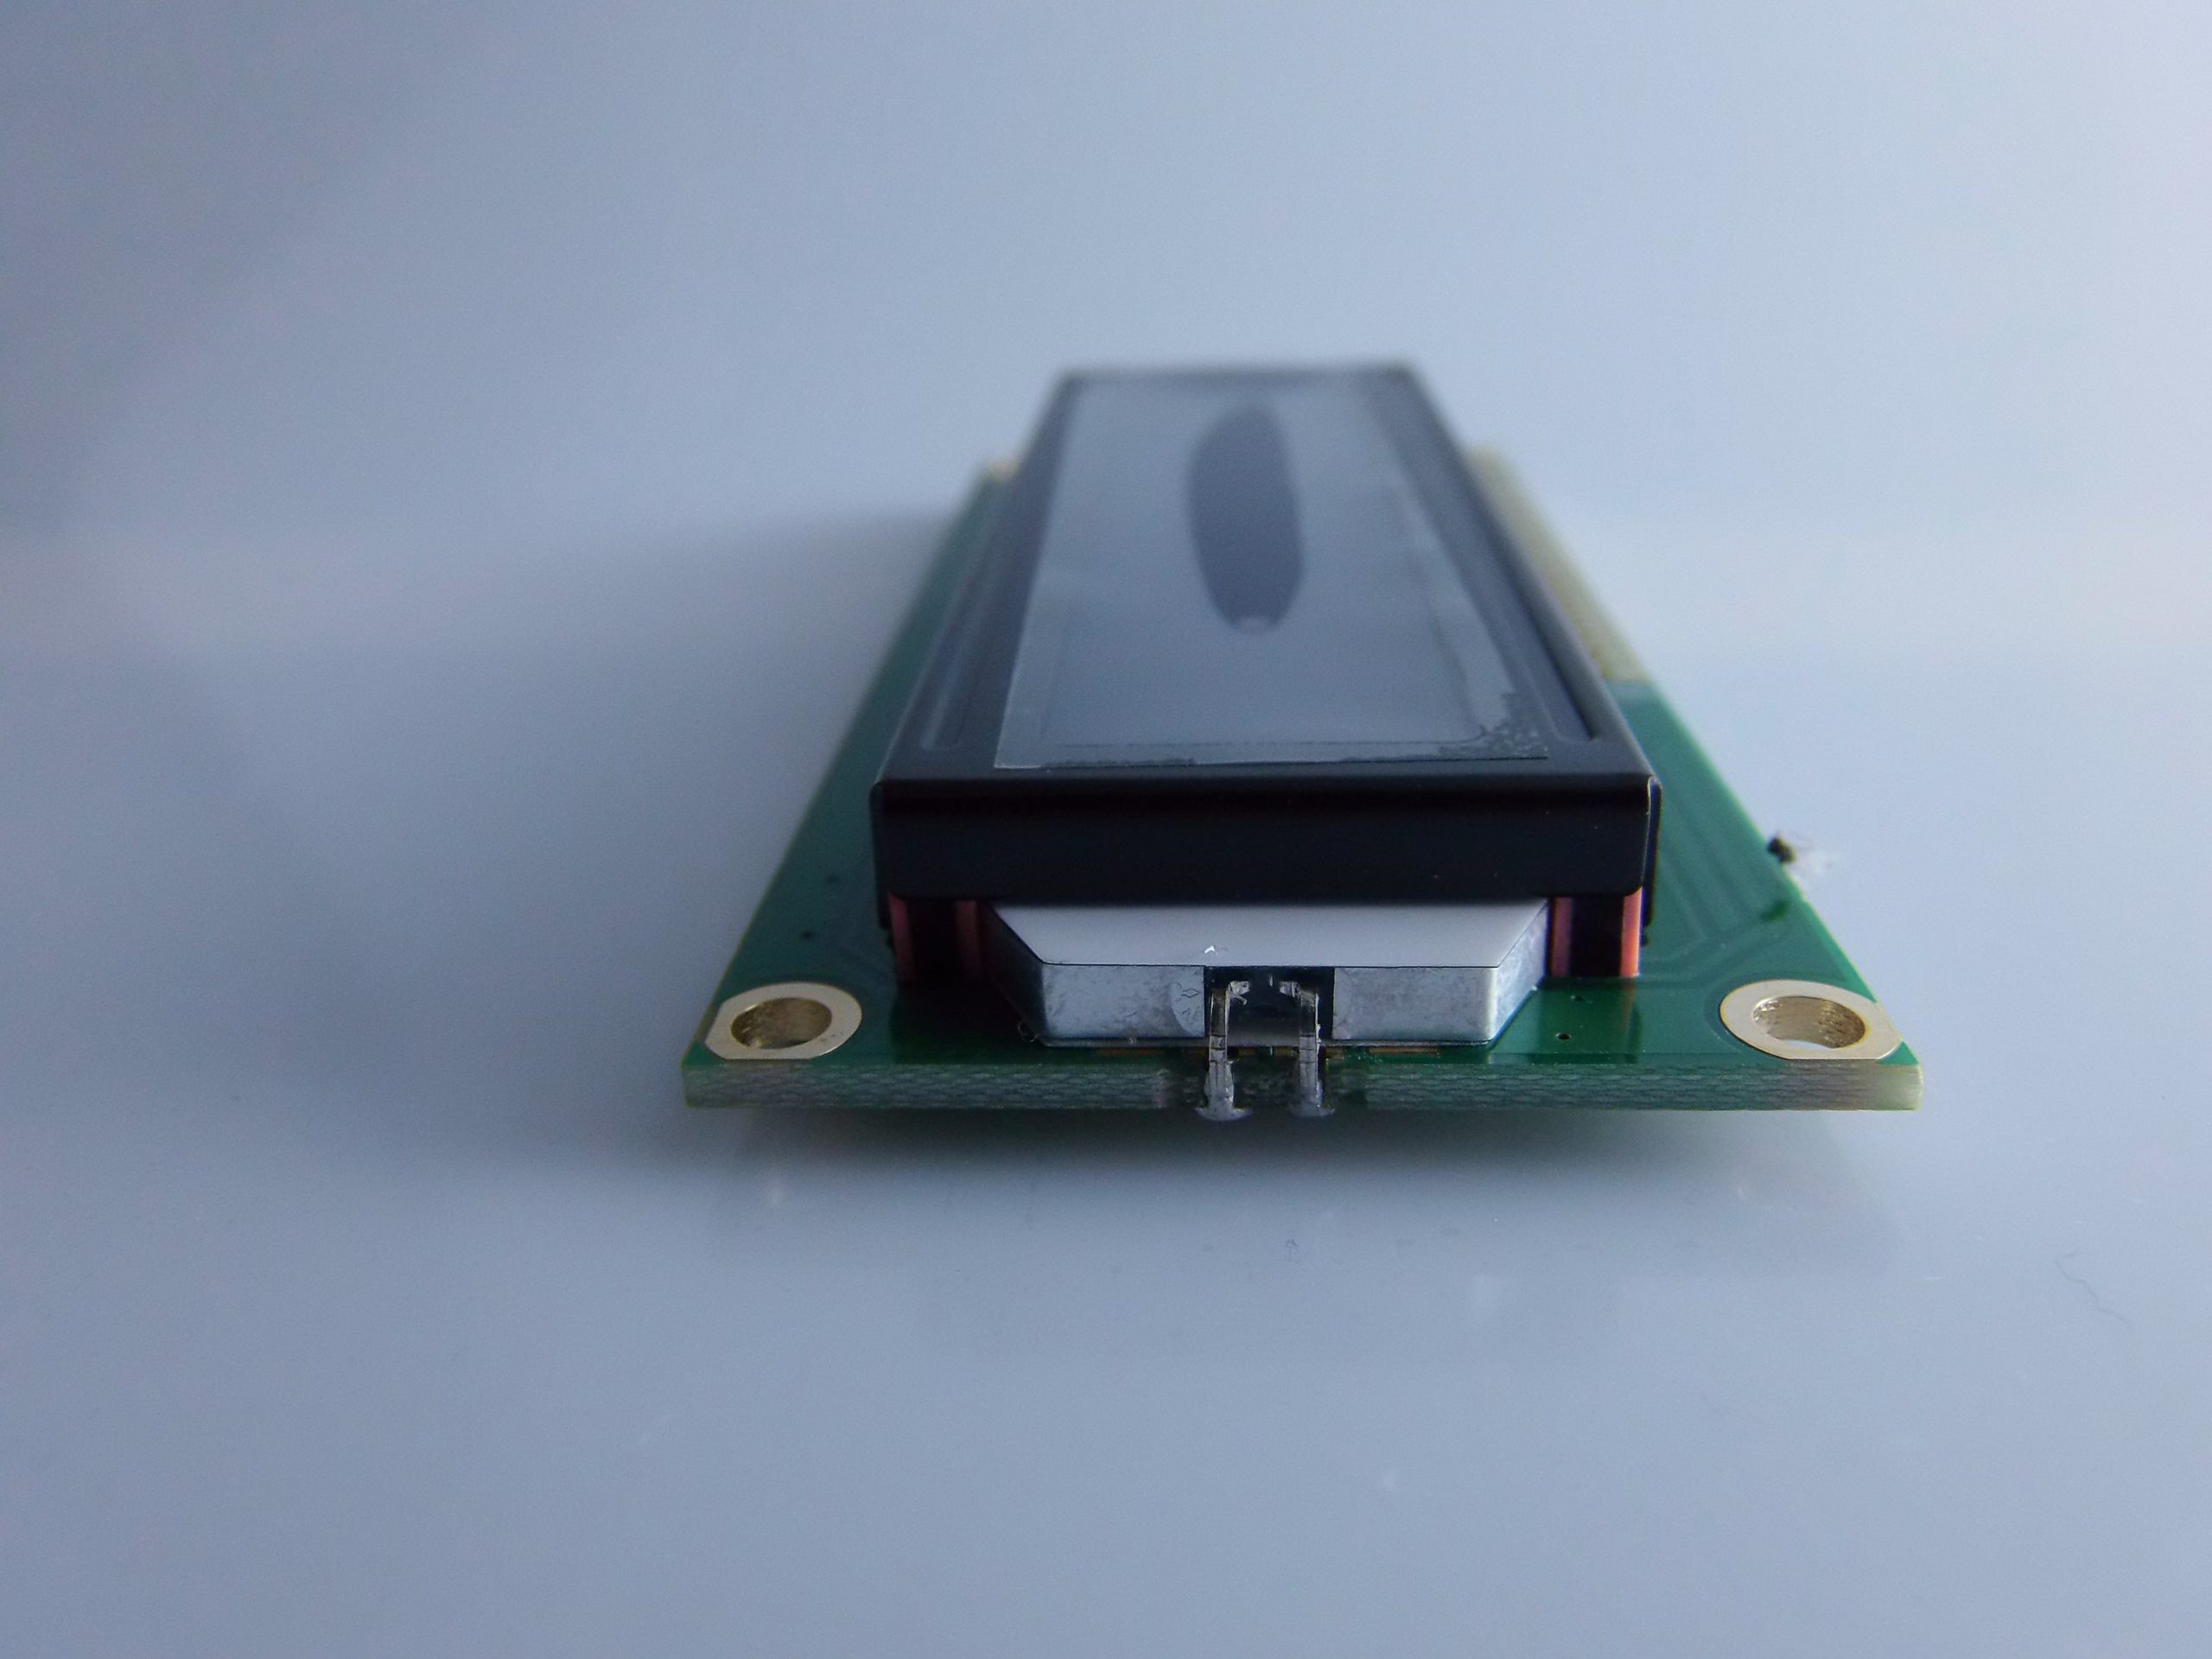
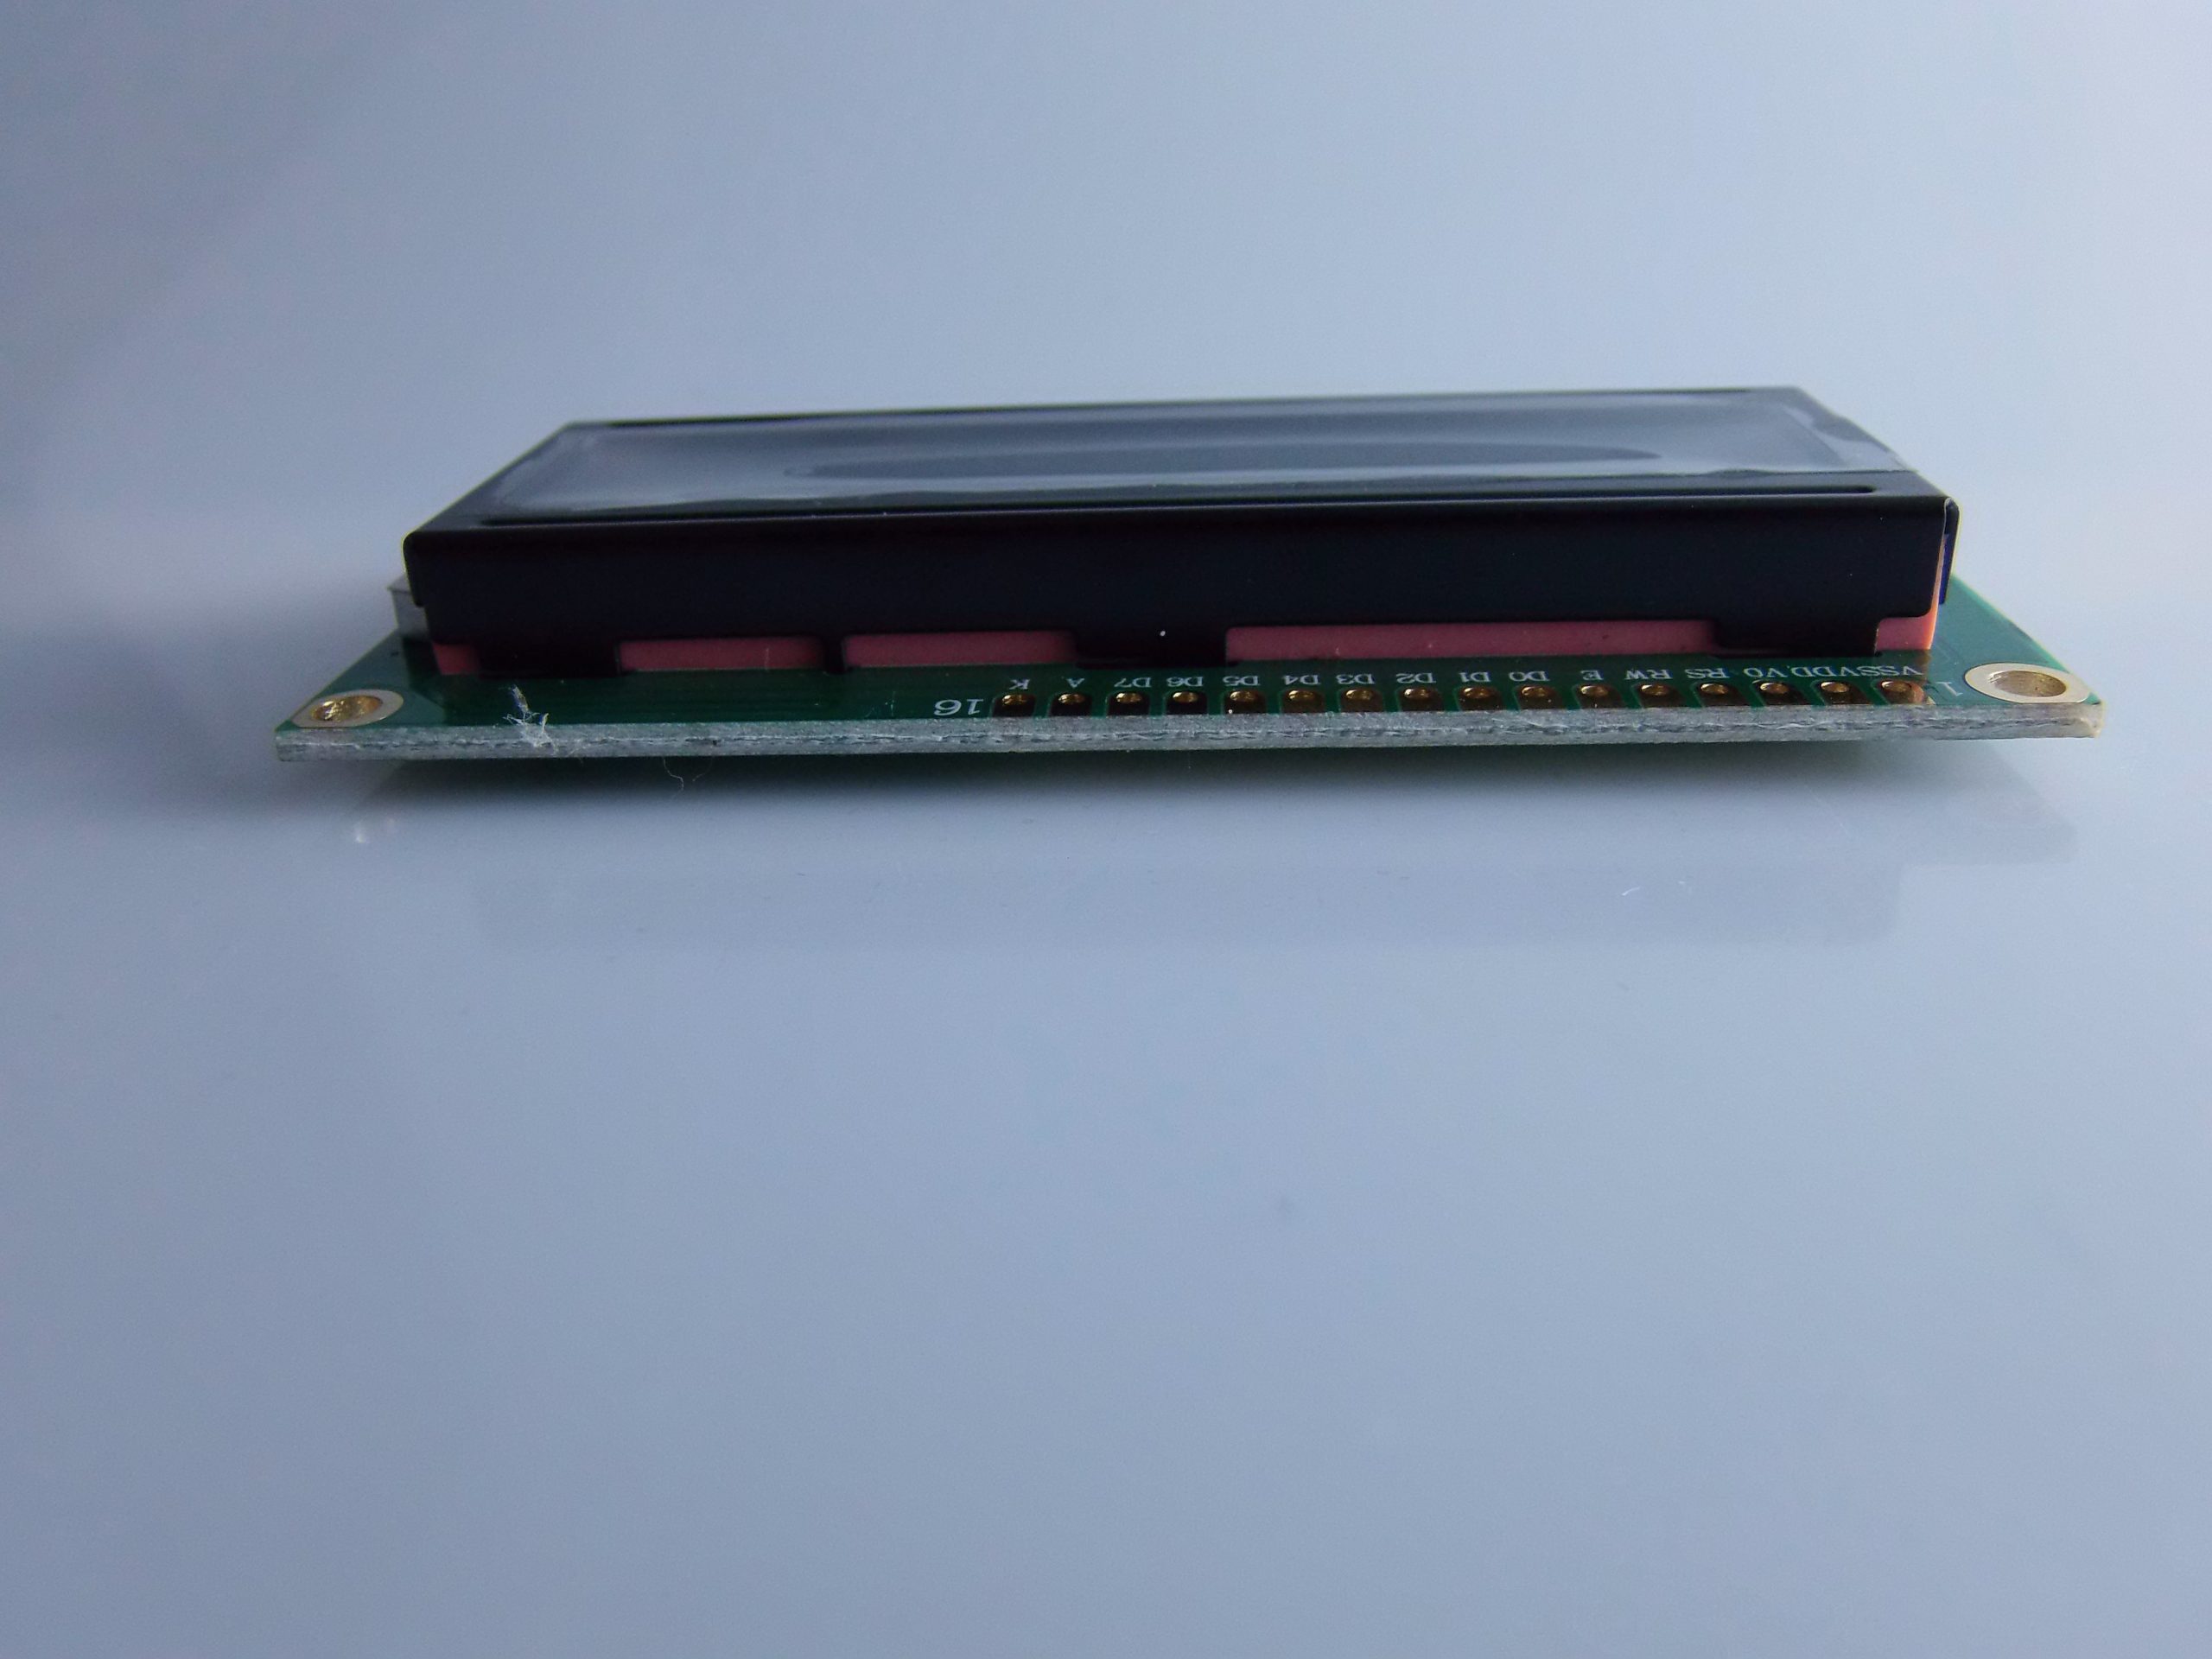
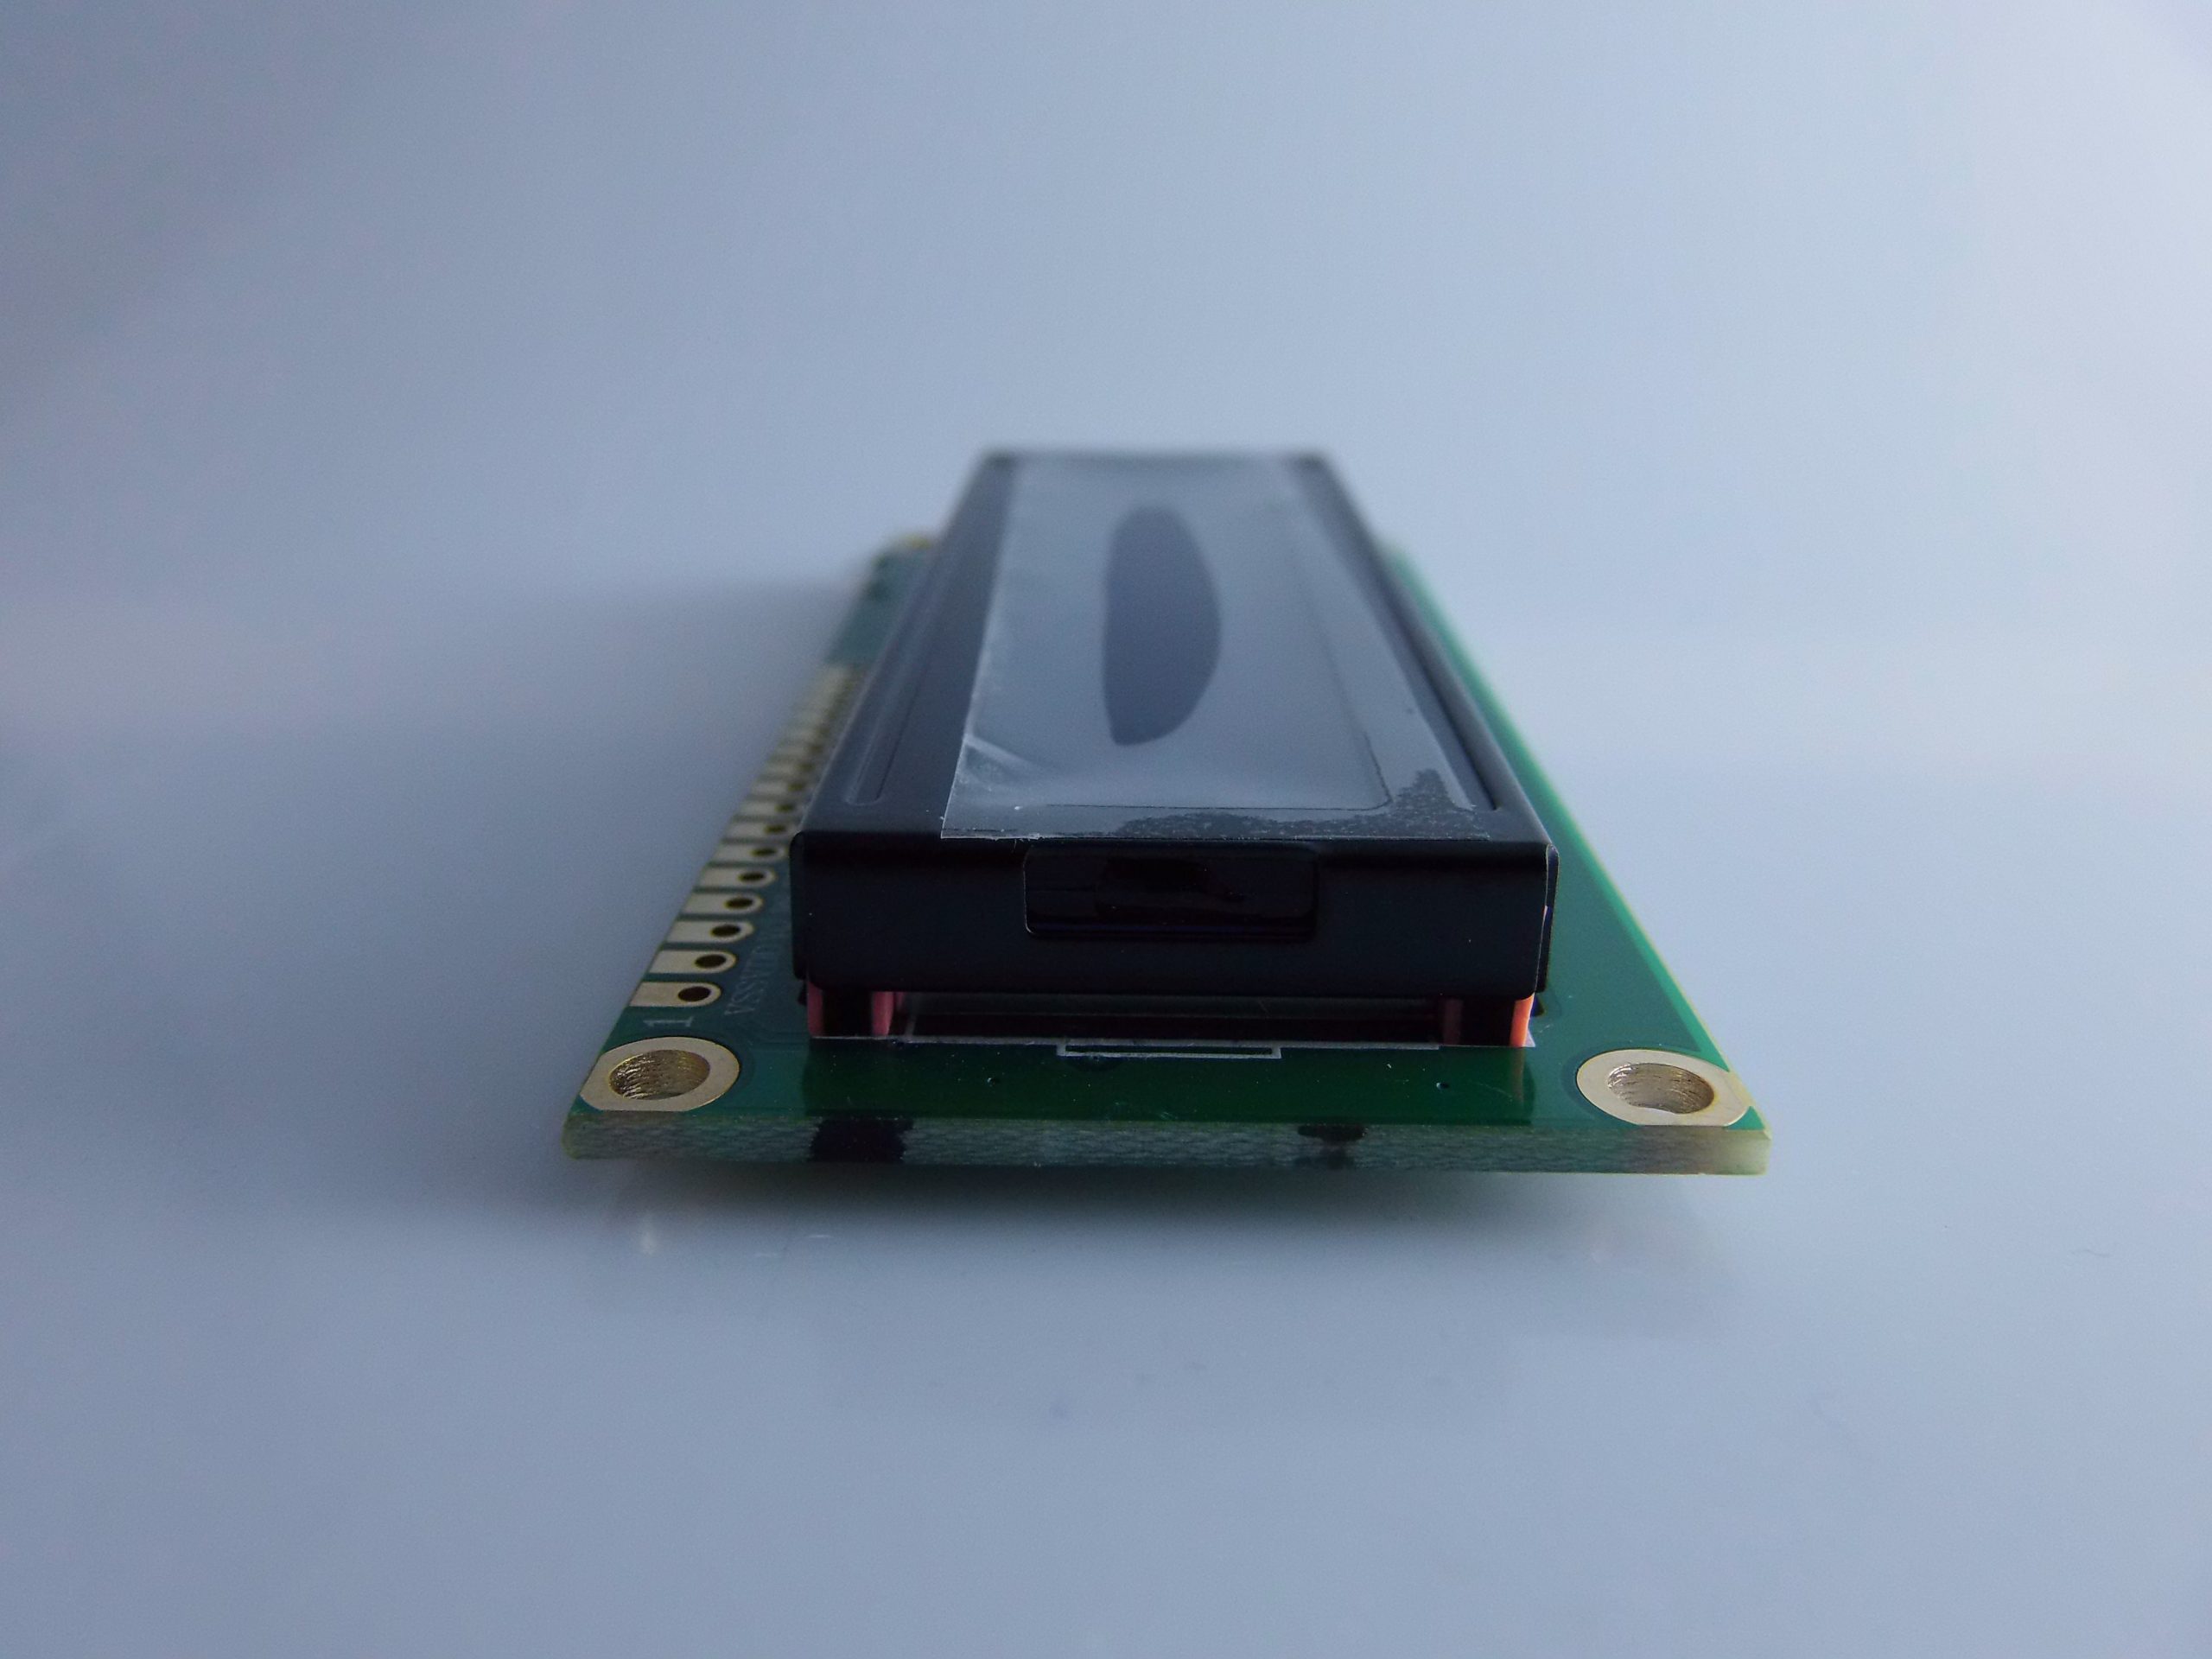
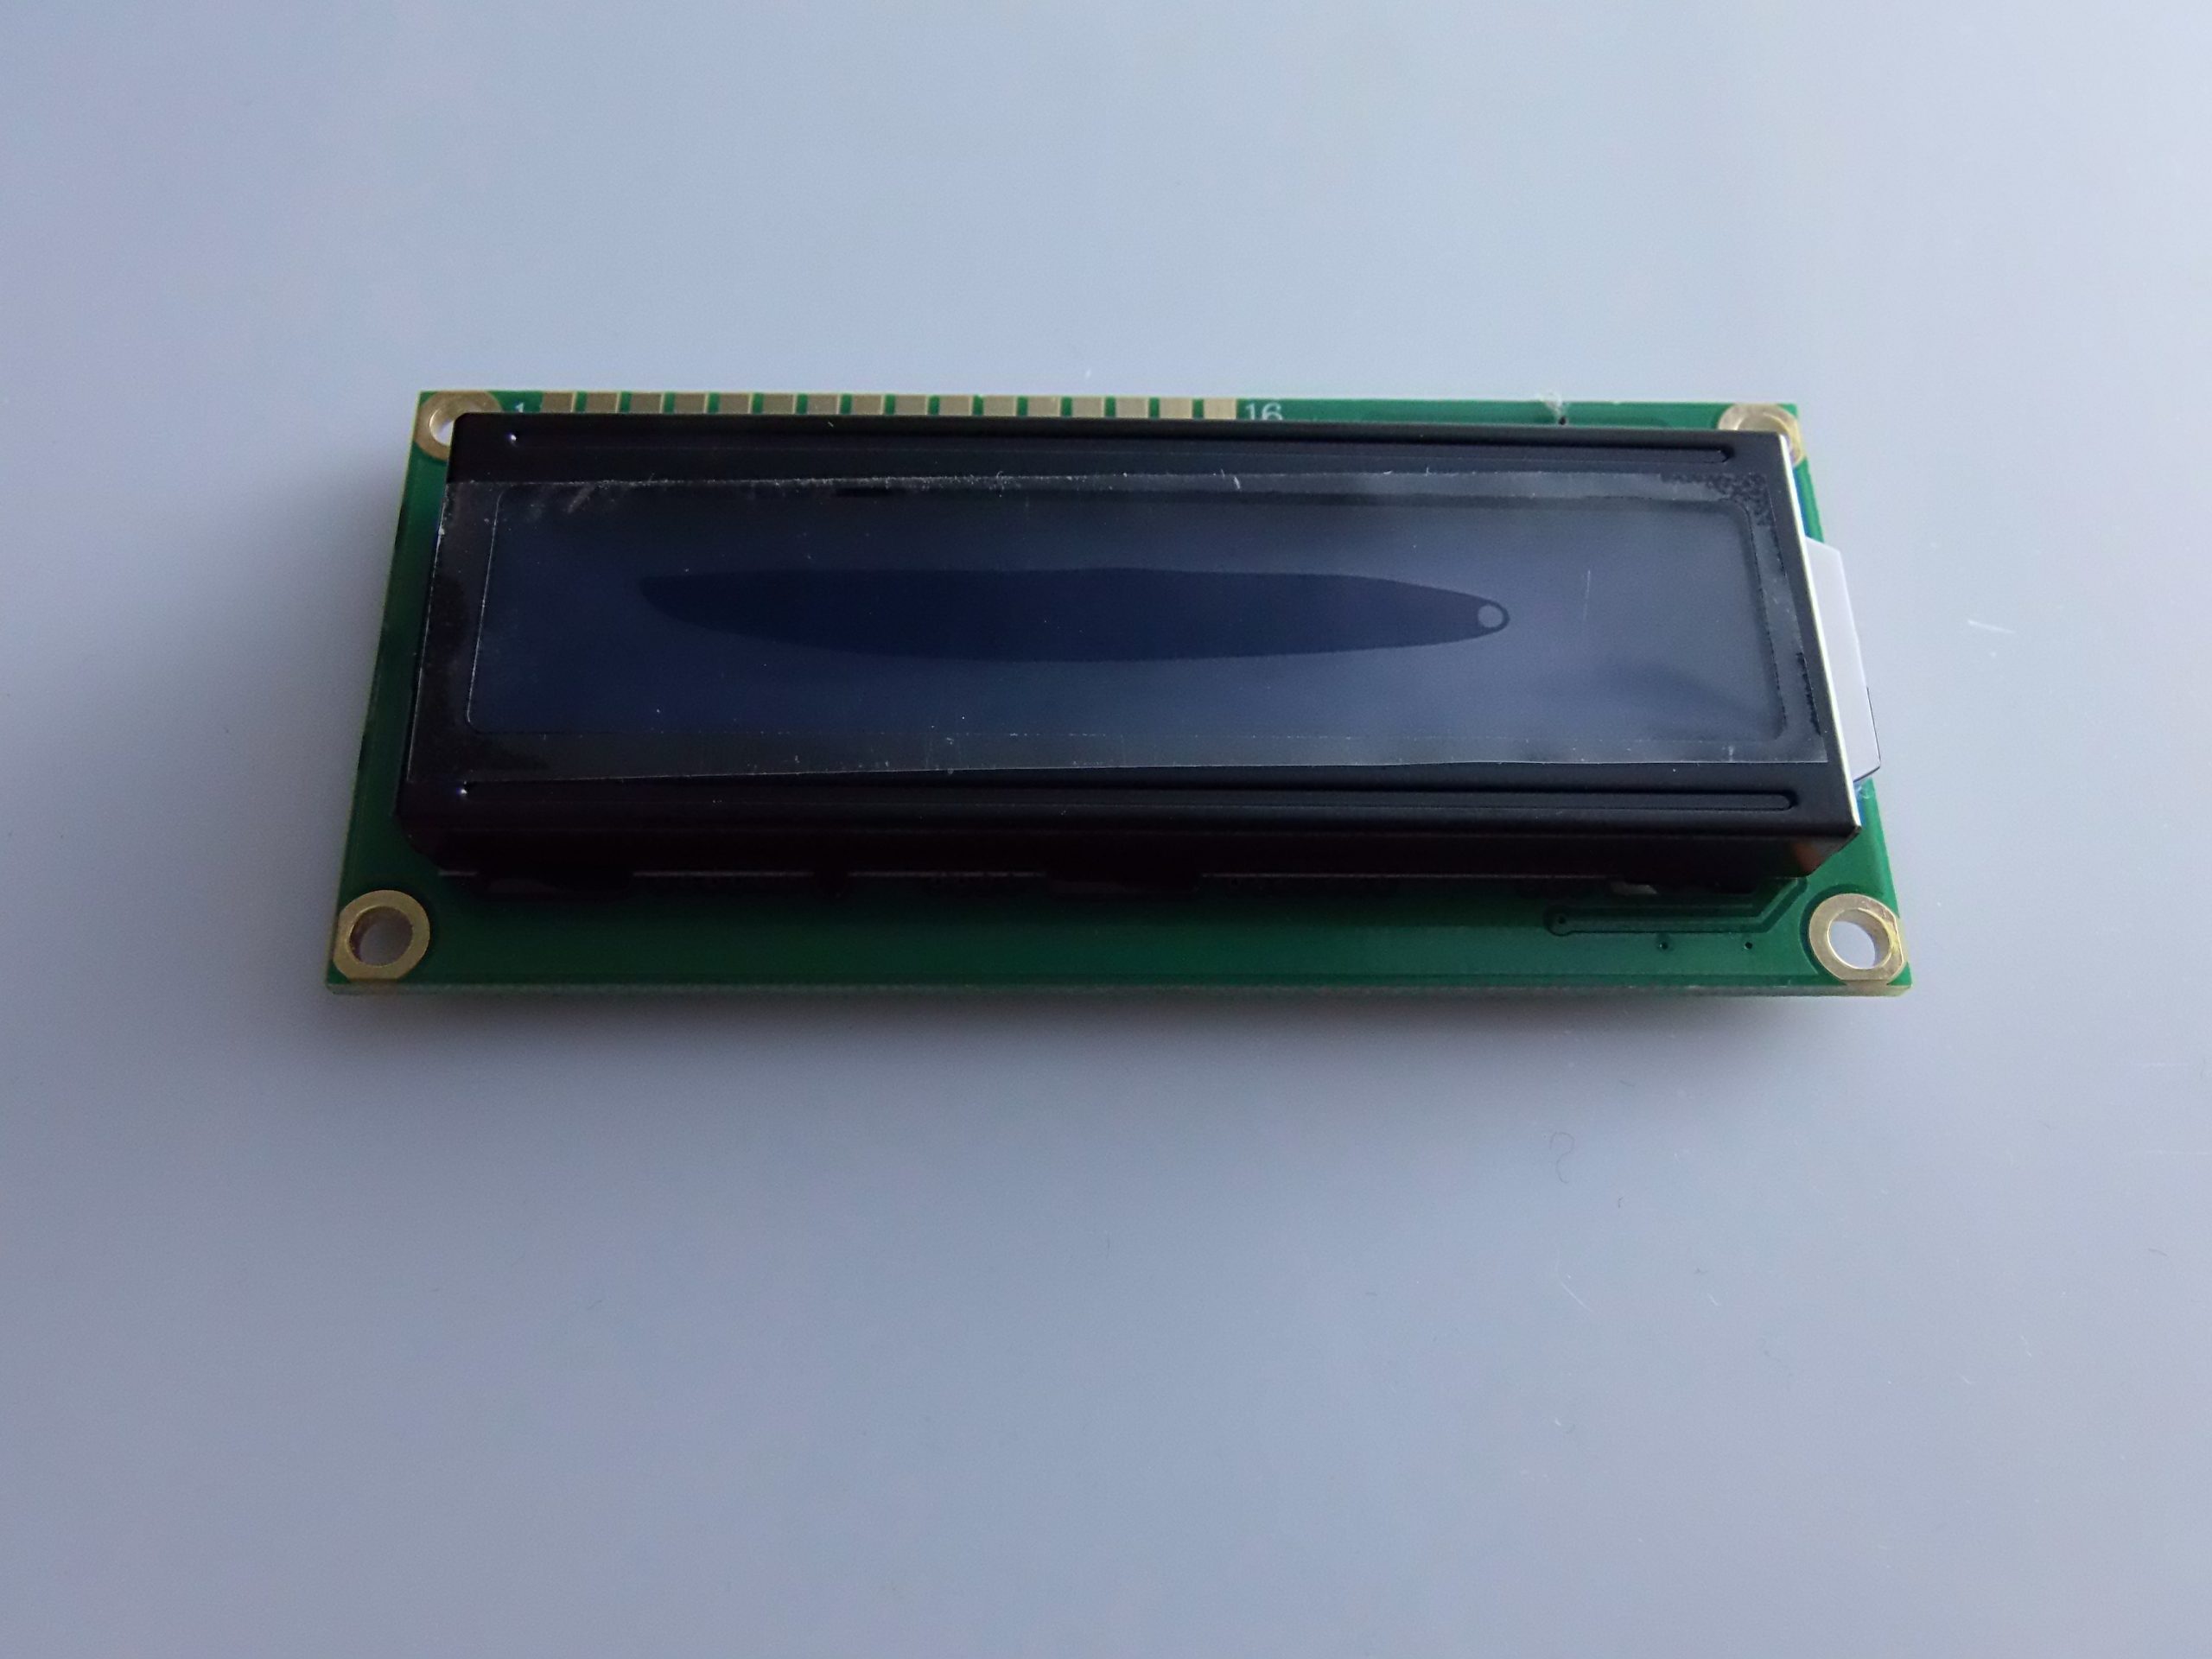
Description
📦 Complete Module Description for the 16×2 HD44780 LCD for Arduino (Green Backlight)
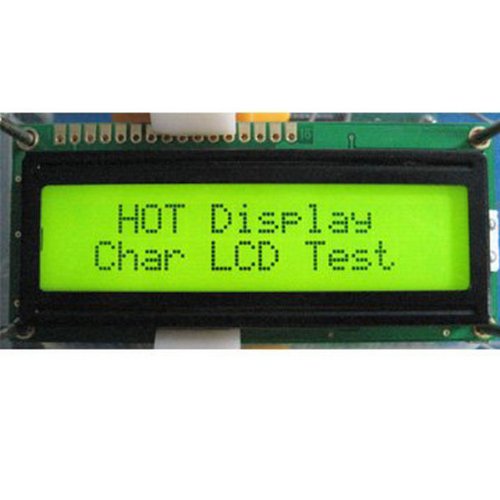
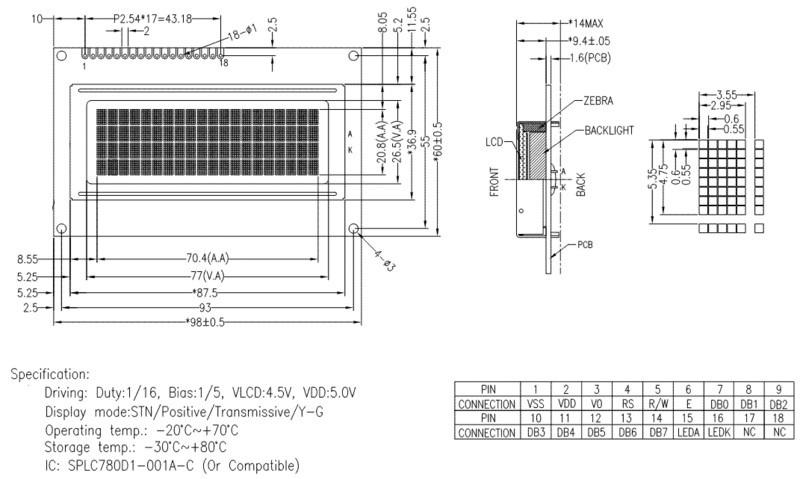
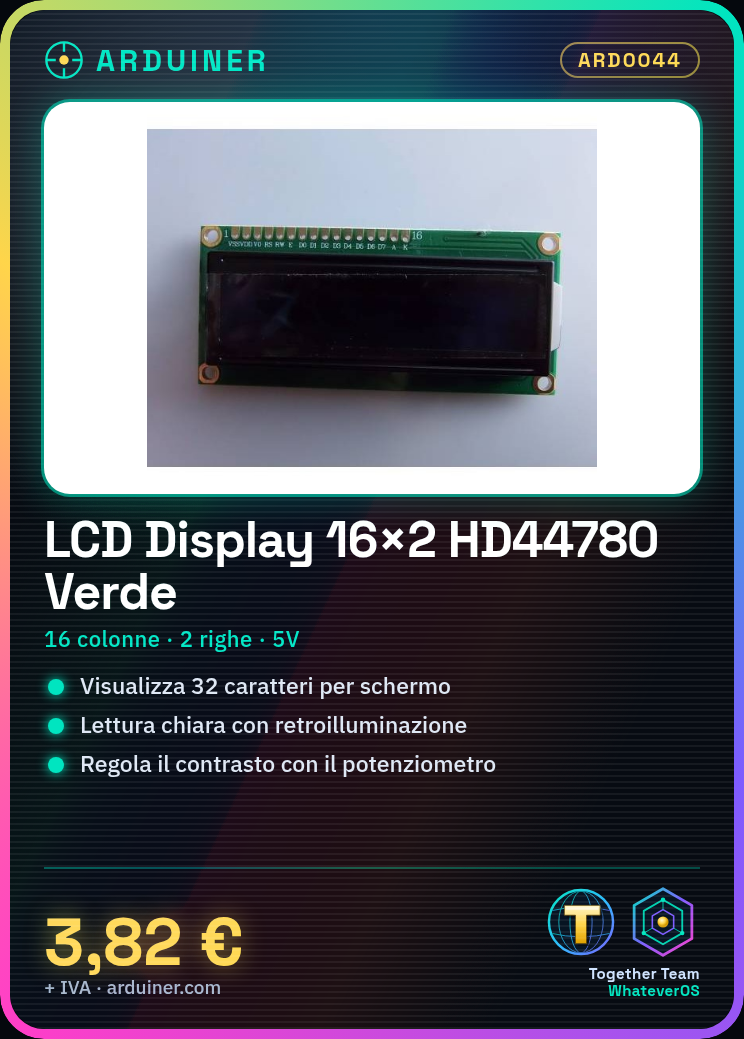
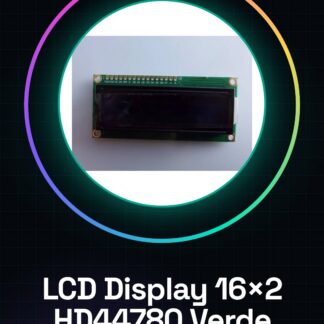
The 16×2 LCD module with HD44780 controller is one of the most common and widely used alphanumeric displays in projects with Arduino and other microcontrollers. This module is capable of displaying 16 characters per line, for a total of32 characters .Each character is formed by a 5×8 pixel matrix .The module includes a green backlight that makes reading easy even in poorly lit environments.
🔧 Technical Specifications
- Model: LCD1602
- Controller: Hitachi HD44780 or compatible
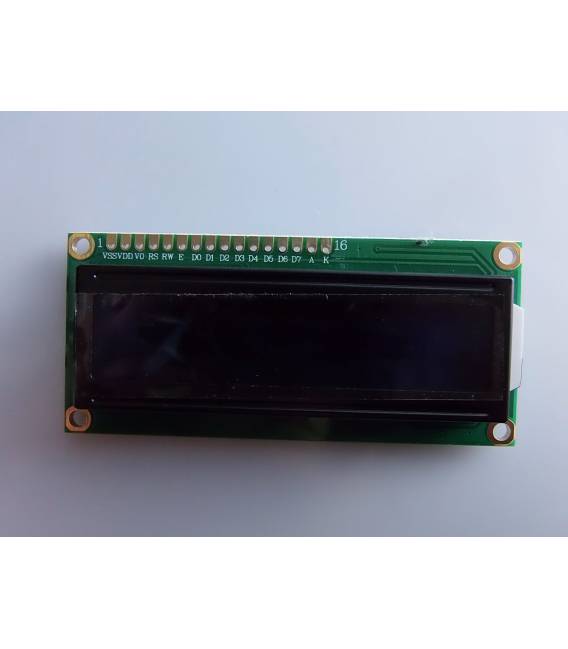
- Standard 16-pin interface
- Resolution: 16 columns x 2 rows
- Character color: Black on green background
- Supply voltage: 5V DC
- Green LED backlight
- Compatibility: Arduino, Raspberry Pi, ESP32, STM32, etc.
- Contrast control: Through potentiometer (variable resistor) on Vo pin
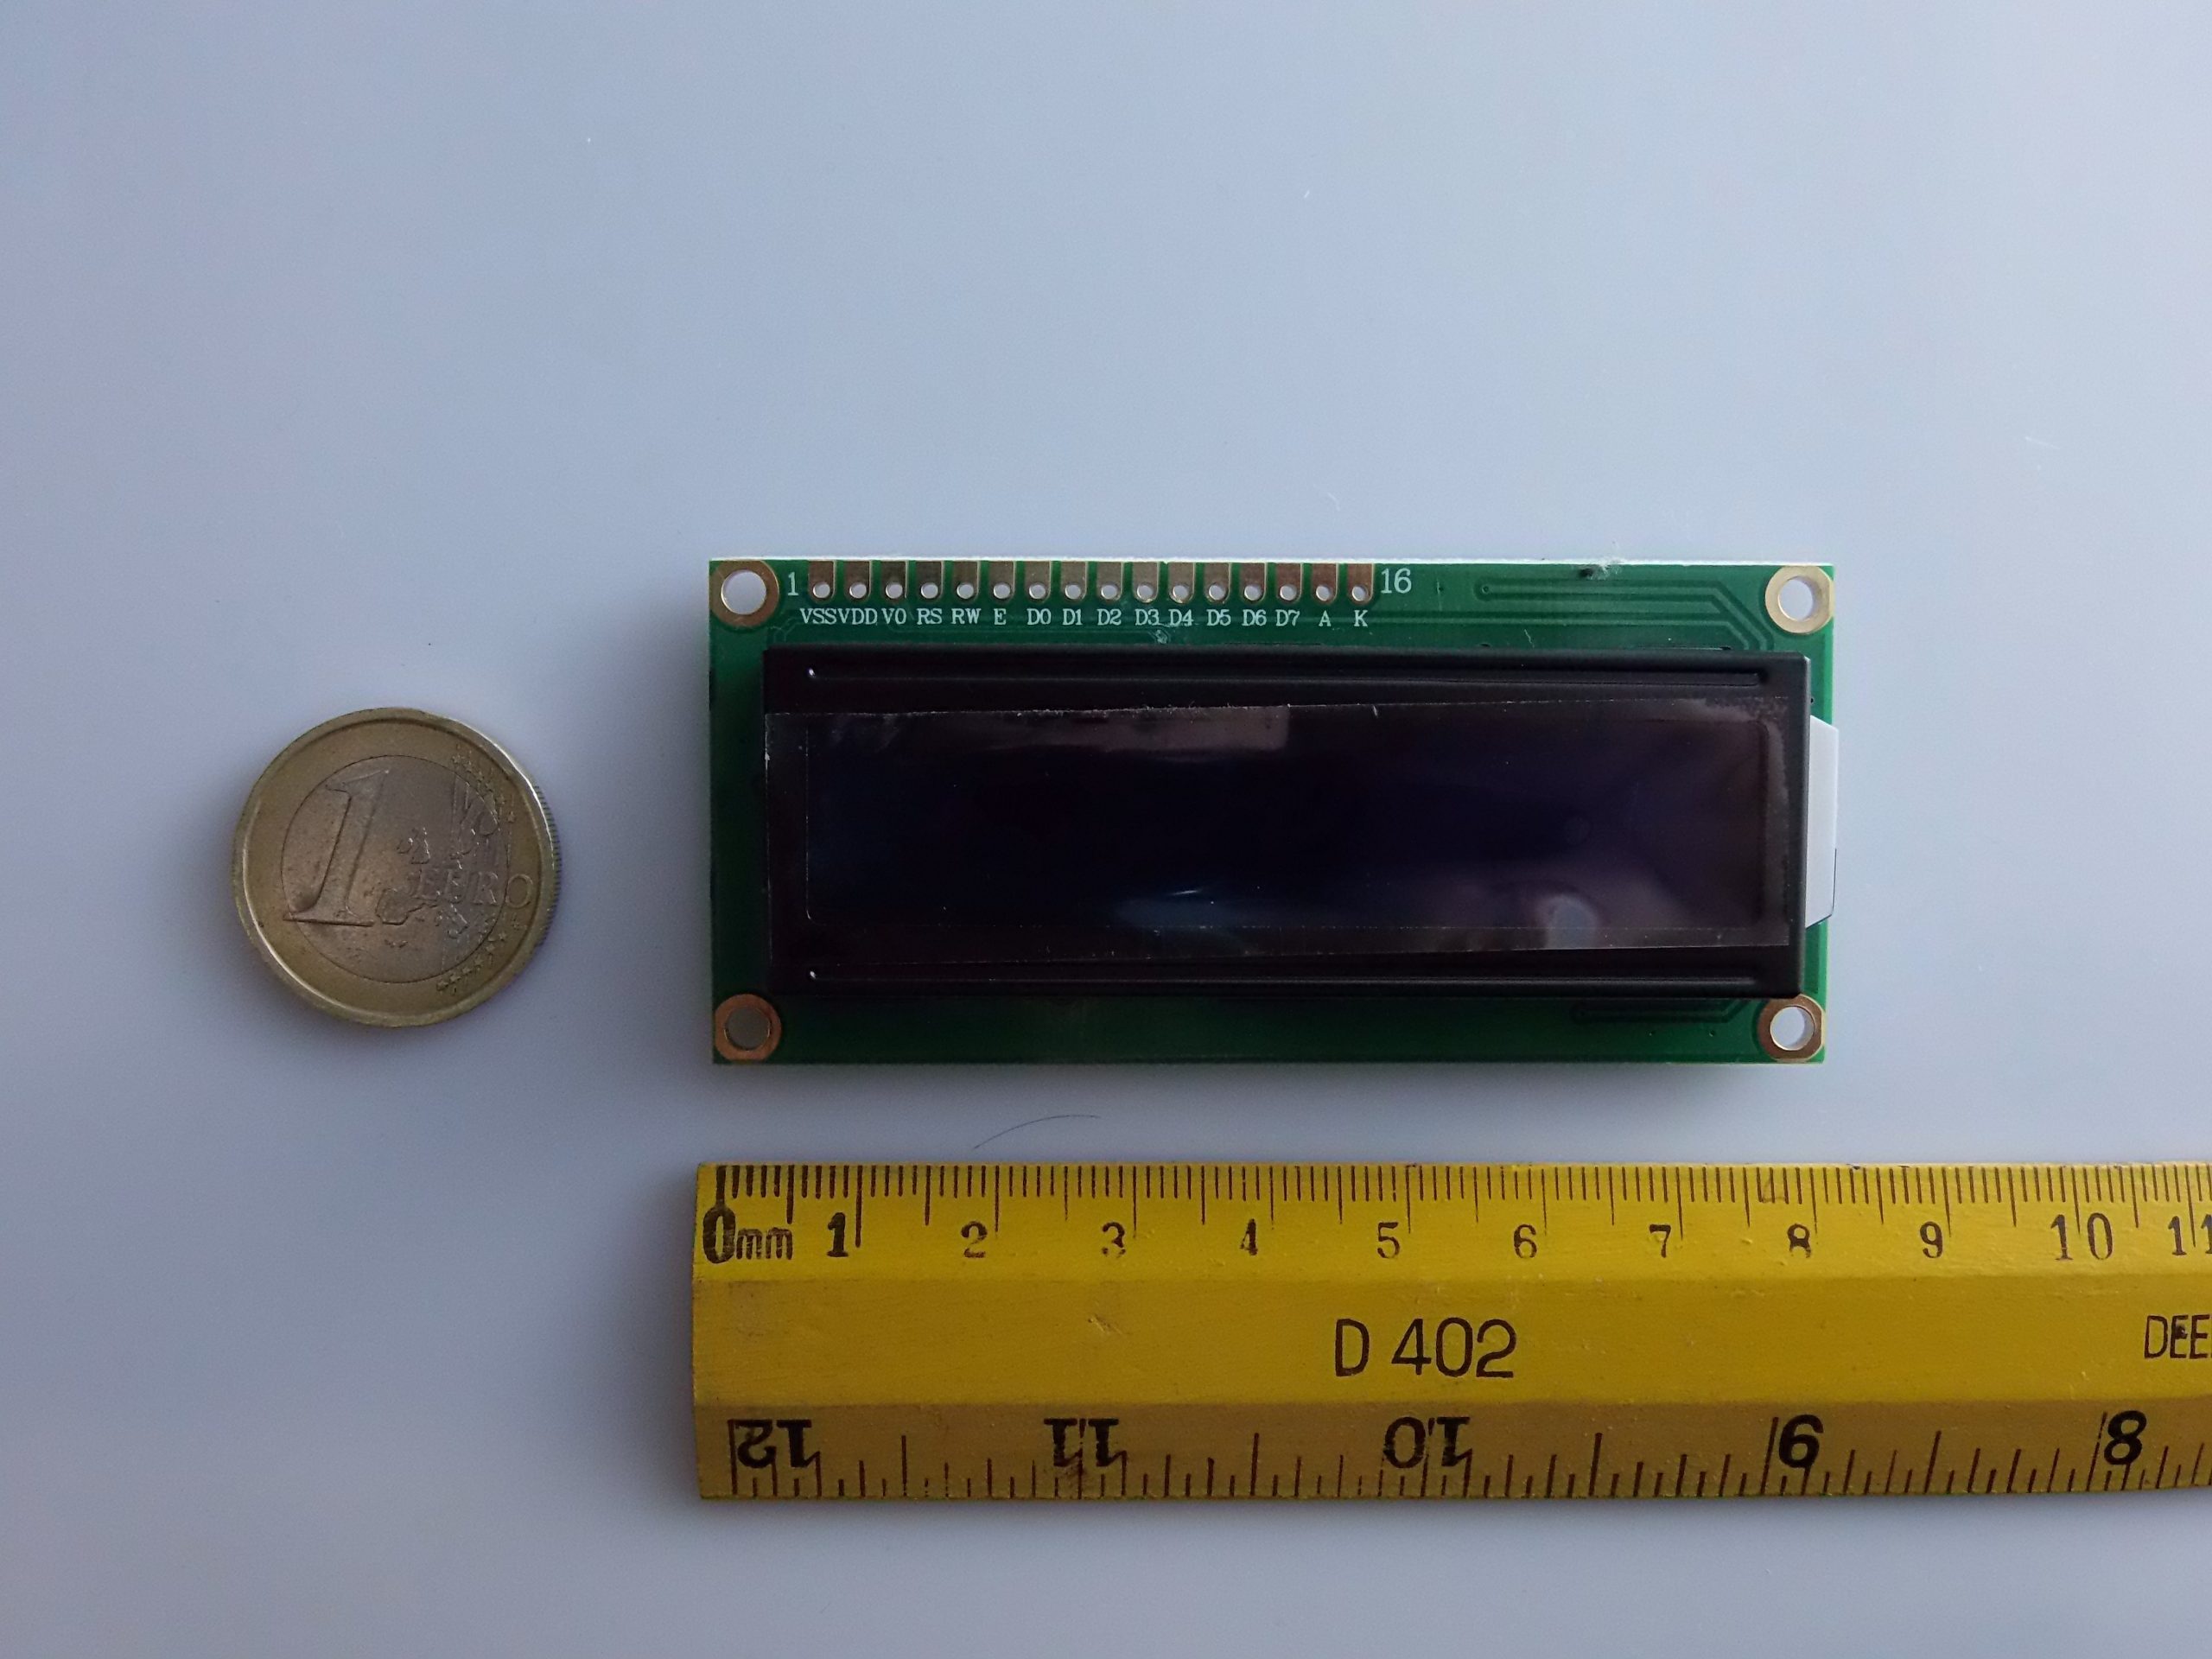
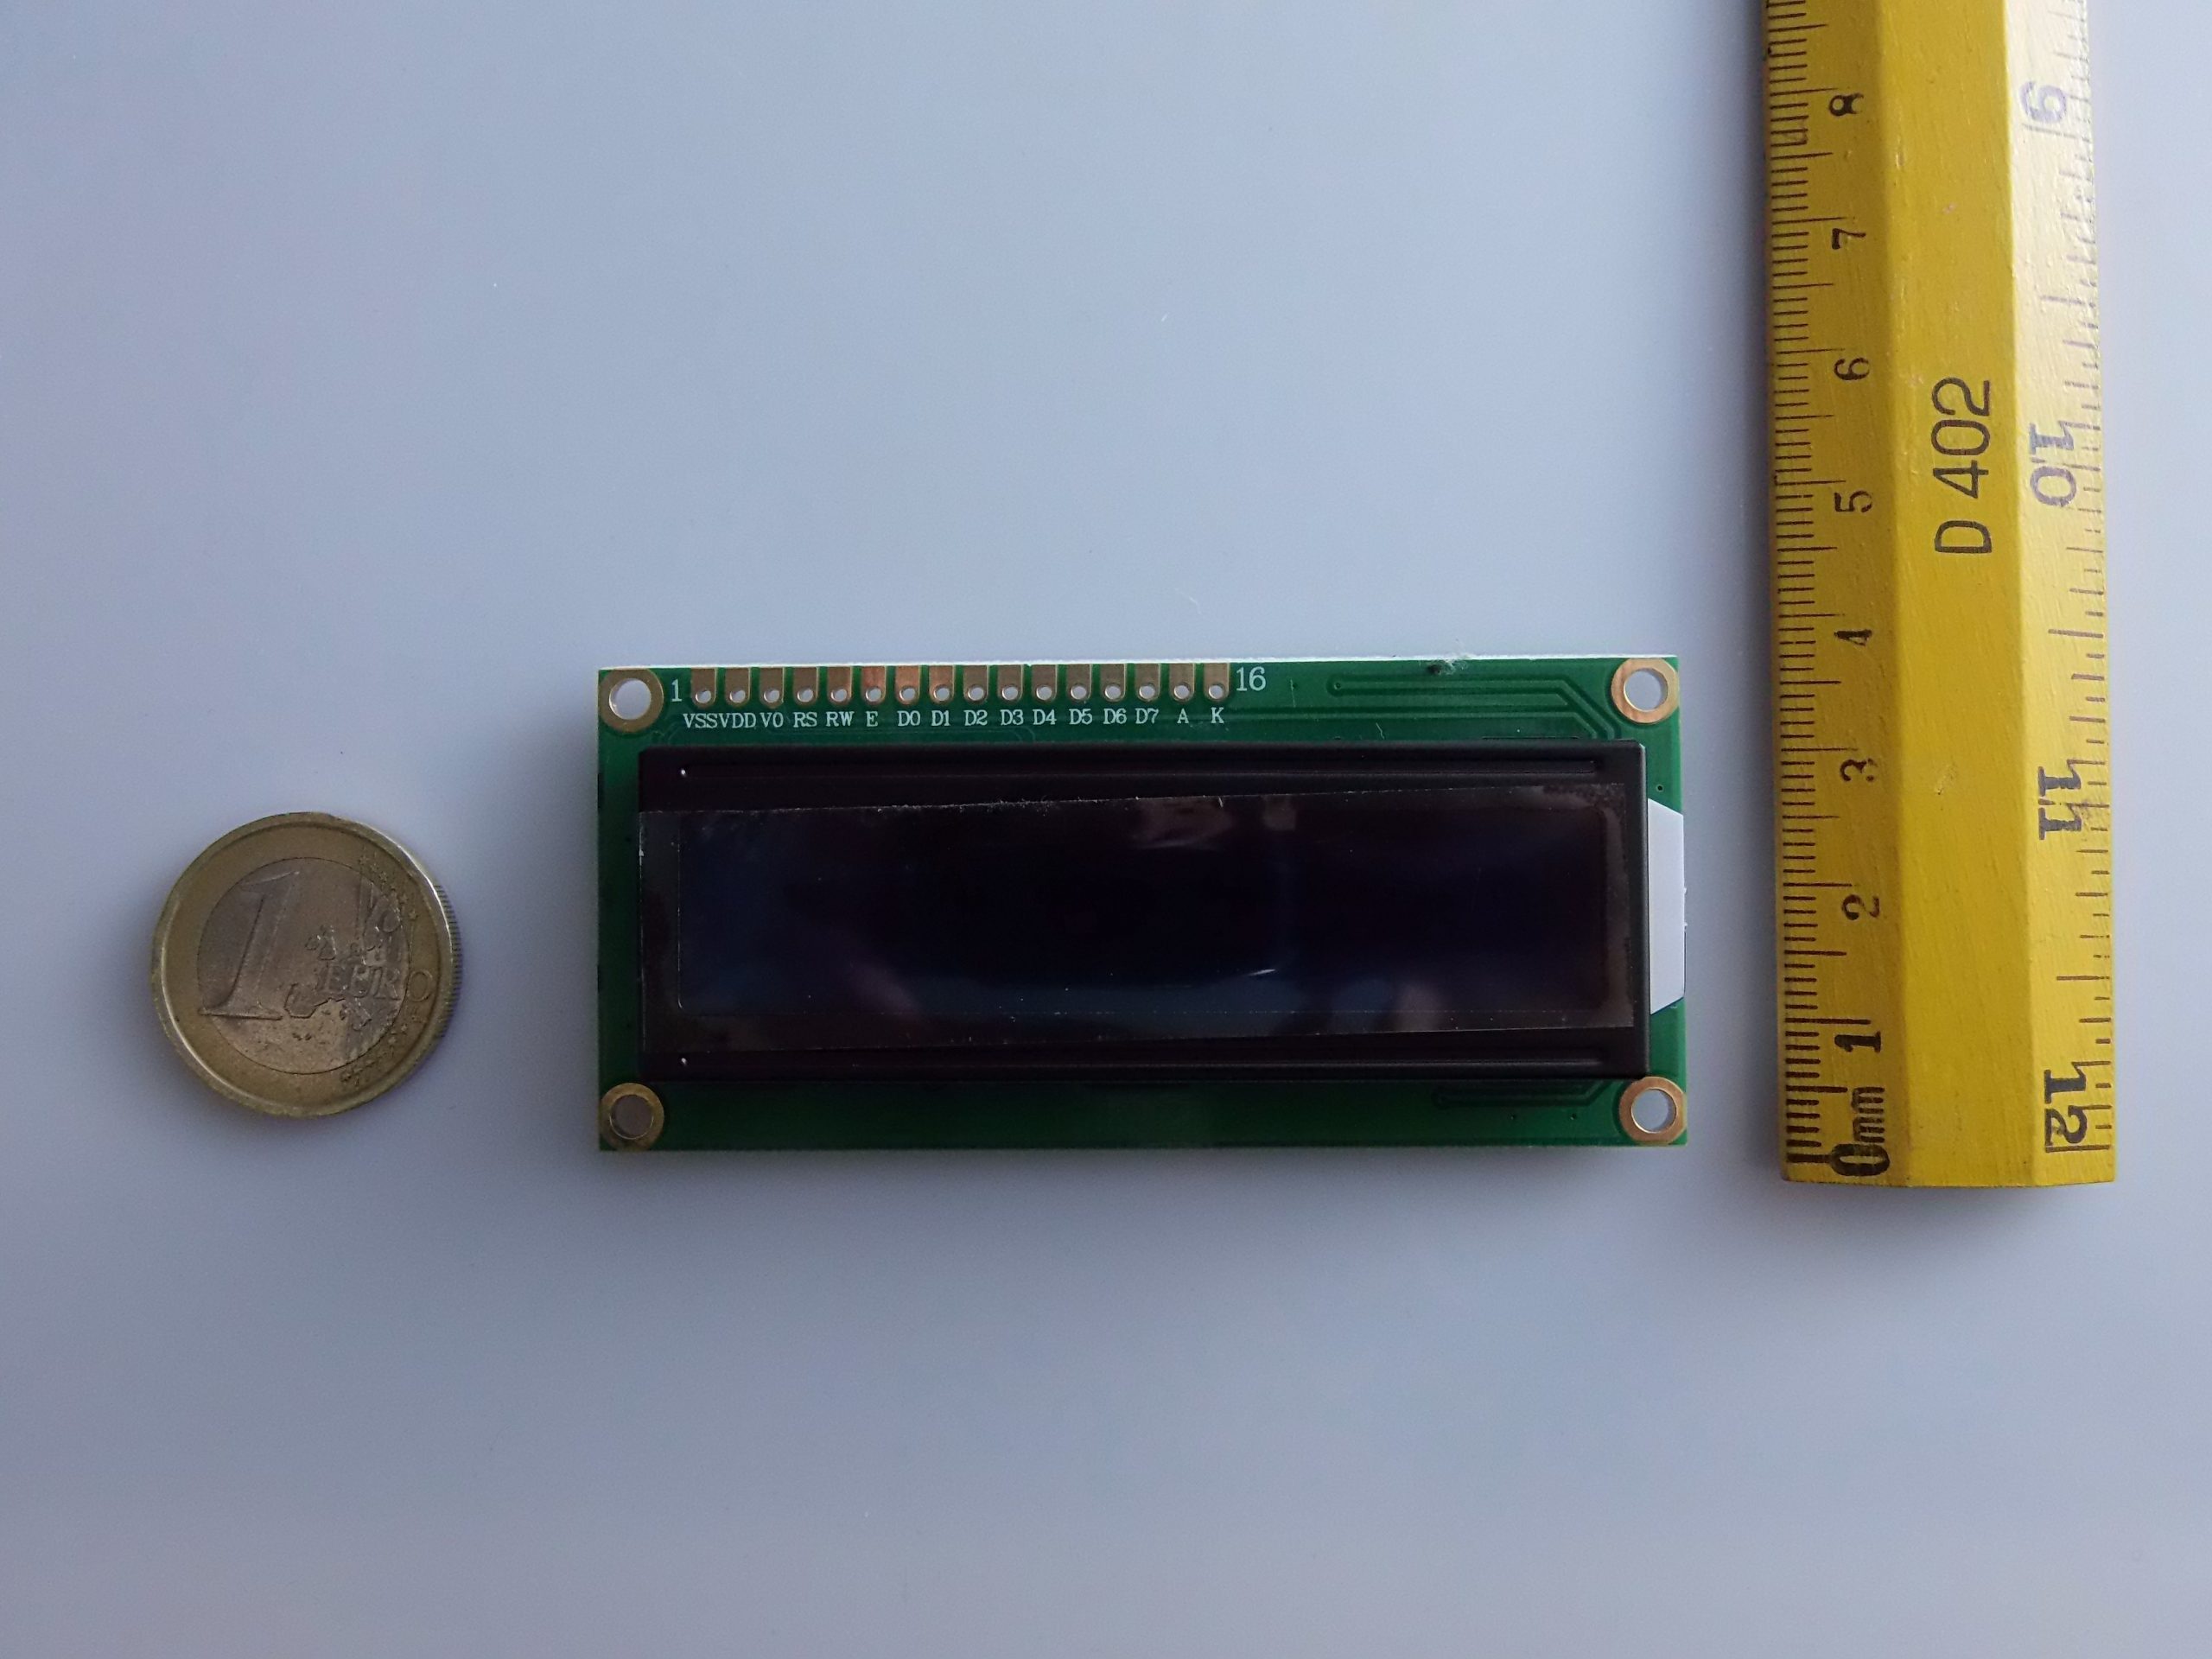
📡 Display pinout (parallel mode)
| Pin | Name | Function |
|---|---|---|
| 1 | VSS | GND (ground) |
| 2 | VDD | +5V (power supply) |
| 3 | VO | Contrast adjustment (connect to a potentiometer) |
| 4 | RS | Register Select |
| 5 | RW | Read/Write (connect to GND to write) |
| 6 | E | Enable |
| 7-14 | D0-D7 | Data (use D4 to D7 in 4-bit mode) |
| 15 | LED+ | Anode backlight (connect to +5V through a resistor) |
| 16 | LED- | Cathode backlight (connect to GND) |
⚠️ In most uses, 4-bit mode is employed 4-bit mode (only D4-D7), to save pins.
🔌 Connection with Arduino (without I2C)
| LCD Pin | Arduino |
|---|---|
| VSS | GND |
| VDD | 5V |
| VO | 10kΩ Potentiometer Center |
| RS | Pin 12 |
| RW | GND |
| E | Pin 11 |
| D4 | Pin 5 |
| D5 | Pin 4 |
| D6 | Pin 3 |
| D7 | Pin 2 |
| A (LED+) | 5V |
| K (LED-) | GND |
💡 Library Installation
Open Arduino IDE and follow these steps:
- Sketch > Include Library > Manage Libraries
- Search
"LiquidCrystal" - Select
"LiquidCrystal by Arduino"and click on Install
🧪 Basic Arduino Code Example
#include <LiquidCrystal.h>

// Inizializzazione display in modalità 4-bit
LiquidCrystal lcd(12, 11, 5, 4, 3, 2);

void setup() {
 lcd.begin(16, 2); // 16 colonne, 2 righe
 lcd.print("Ciao, Mondo!");
}

void loop() {
 lcd.setCursor(0, 1); // Colonna 0, Riga 1 (la seconda)
 lcd.print("Arduino LCD");
 delay(1000);
}
🔄 Main Library Functions LiquidCrystal
| Function | Description |
|---|---|
lcd.begin(16, 2) |
Initialize the display with 16 columns and 2 rows |
lcd.print("Testo") |
Print text to the display |
lcd.setCursor(x, y) |
Set cursor position (x=column, y=row) |
lcd.clear() |
Clear the display |
lcd.blink() |
Activate blinking cursor |
lcd.noBlink() |
Turn off the blinking cursor |
lcd.cursor() |
Show the cursor |
lcd.noCursor() |
Hide the cursor |
🧰 Use with I2C Interface (additional module)
To save pins, you can use an I2C PCF8574 module, which converts parallel signals to serial (only 2 pins used: SDA and SCL).
I2C Connections (Arduino UNO):
- SDA → A4
- SCL → A5
Recommended library:
"LiquidCrystal_I2C"(by Frank de Brabander or compatible)
Code with I2C:
#include <Wire.h>
#include <LiquidCrystal_I2C.h>

// Indirizzo I2C: solitamente 0x27 o 0x3F
LiquidCrystal_I2C lcd(0x27, 16, 2);

void setup() {
 lcd.begin();
 lcd.backlight();
 lcd.print("I2C LCD 16x2");
}

void loop() {
 lcd.setCursor(0, 1);
 lcd.print("Funziona!");
 delay(1000);
}
🔍 Use the sketch I2C Scanner to find the address of your I2C module if you are unsure.
📘 Conclusion
The module LCD 16×2 HD44780 is a versatile tool for adding visual output to your projects. It can be used for:
- Displaying data from sensors
- Creating menus
- Building basic user interfaces
Ease of use, extensive support, and ready-to-use libraries make it perfect for beginners and experienced makers.
If you want, I can provide you with practical project examples (thermometer, clock, counter, etc.). Do you want to add them?
|
GENERAL |
MODEL |
LCD Display Module 16×2 HD44780 Character |
|
MATERIALS |
pcb + lcd + components |
|
|
COMPATIBILITY |
ARDUINO |
|
|
WEIGHT AND DIMENSIONS |
PRODUCT WEIGHT |
30g |
|
PACKAGE WEIGHT |
0.450 kg |
|
|
PRODUCT DIMENSIONS (L x W x H) |
8.3 x 3.8 x 2 cm |
|
|
PACKAGE DIMENSIONS (L x W x H) |
15 x 10 x 2 cm |
|
|
PACKAGE CONTENTS |
PACKAGE CONTENTS |
1 x Module |
We have available datasheet for all components, should it not be present in the product download sheet, send us a message through the contact form and we will publish it as soon as possible on our website.
Tutorial: How to use LCD Display Module arduino 16×2 HD44780 LCM Backlight Green
This 16×2 LCD display is ideal for projects requiring simple and clear text display, perfect for beginners and intermediate makers.
What you need
- Arduino
- Power cable
- 1kΩ resistor
Steps
- 1. Module installation: insert the display into the I2C or SPI port of your Arduino.
- 2. Connection: connect the 1kΩ resistor between VCC and COM of the display.
- 3. VCC Connection: connect VCC of the display to the 5V of the Arduino.
- 4. Connect GND: connect the display’s GND to the Arduino’s GND.
- 5. Connect RS: connect RS to pin 12 of the Arduino.
- 6. Connect EN: connect EN to pin 11 of the Arduino.
- 7. Connect D4: connect D4 to pin 5 of the Arduino.
- 8. Connect D5: connect D5 to pin 4 of the Arduino.
- 9. Connect D6: connect D6 to pin 3 of the Arduino.
- 10. Connect D7: connect D7 to pin 2 of the Arduino.
Example code
```
#include <LiquidCrystal.h>

LiquidCrystal lcd(12, 11, 5, 4, 3, 2);

void setup() {
 lcd.begin(16, 2);
}

void loop() {
 lcd.clear();
 lcd.print("Ciao, Arduino!");
}
```
Mini project
Create a simple timer that displays the remaining time on the display.
Common mistakes
- Incorrect connection: make sure to connect the display pins correctly.
- Missing resistor: check that you have connected the 1kΩ resistor between VCC and COM.
- Incorrect power supply: make sure VCC is connected to the Arduino’s 5V.
- Unused pins: make sure all unused pins are properly connected (e.g., to GND).
Recommended accessories
- 1kΩ resistor
- Arduino
- Power cable
- Cable to connect the pins
Frequently asked questions
How can I customize the content displayed on the screen?
Use the functions of the LiquidCrystal library to print text or numbers.
The display does not turn on. What could have gone wrong?
Check that VCC is connected to the 5V and GND to the GND of the Arduino. Also check the 1kΩ resistor.
Which pins of the display are used for backlighting?
Backlighting does not require additional connections, it is integrated into the display.
Can I use this display with a microcontroller other than Arduino?
Yes, but it may be necessary to adapt the code and connections.
Reviews
There are no reviews yet.