 EN
 IT Italiano
 ES Español
 FR Français
 DE Deutsch
Description
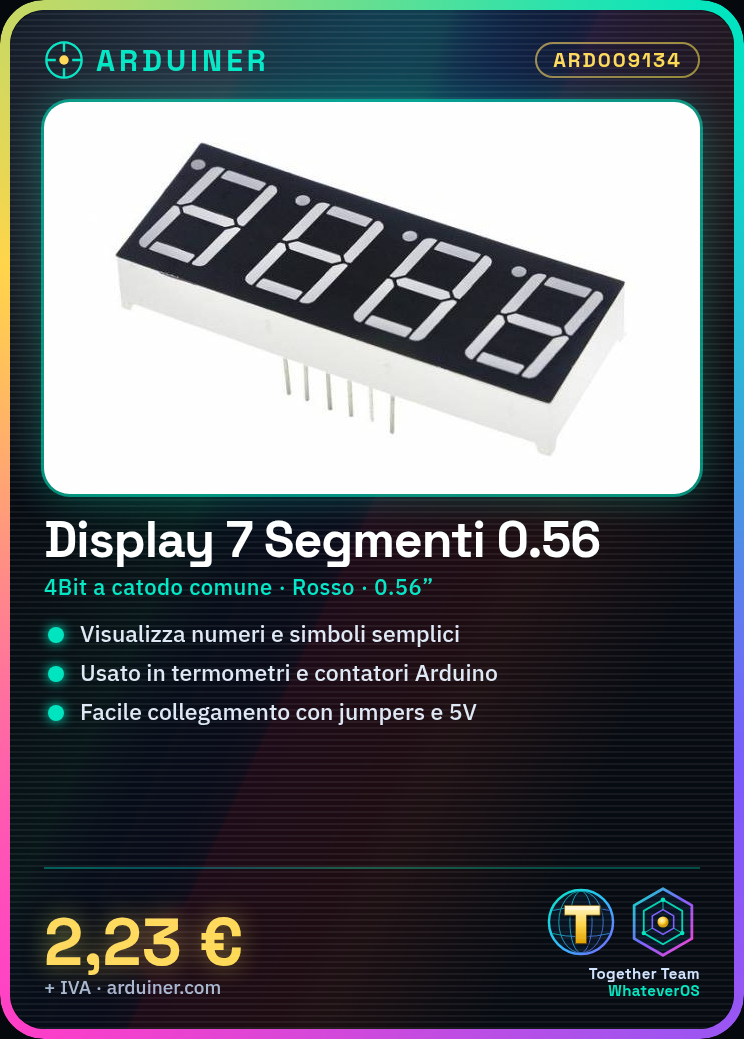
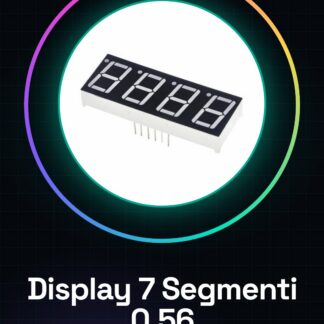
Tutorial: How to Use 0.56″ Red 7-Segment Display
The red 7-segment display is perfect for displaying numbers and simple symbols, suitable for Arduino projects such as thermometers or counters.
What you need
- Arduino Uno
- USB A-Micro B Cable
- External Power Supply (5V)
- Jumpers
Steps
- Connect the display to the microcontroller using jumpers.
- Check the correct polarity of data and clock signals.
- Install the ‘SevenSegment’ library on the Arduino IDE.
- Write a simple sketch to test the display.
- Modify the sketch to display specific numbers or symbols.
Example code
// Includi la libreria SevenSegment
#include <SevenSegment.h>
// Definisci i pin di Arduino collegati ai segmenti del display
#define PIN_A 2
#define PIN_B 3
#define PIN_C 4
#define PIN_D 5
SevenSegment ss(PIN_A, PIN_B, PIN_C, PIN_D);
void setup() {
  ss.begin();
}
void loop() {
  ss.showNumber(1); // Mostra il numero '1'
}
Mini project
Build a temperature counter that displays the temperature on a red 7-segment display.
Common mistakes
- Incorrect polarity of data and clock signals.
- Insufficient or excessive power supply.
- Library not installed correctly.
- Number of pins does not conform to the display configuration.
Recommended accessories
- Arduino Uno
- Multicolor Jumpers
- Resistors to limit the flow of current
- Temperature sensors
Frequently asked questions
How can I change the brightness of the display?
Check the datasheet to see if the display has a dedicated pin for brightness control.
The number does not appear correctly. What can I do?
Check the connections and verify that the library is configured with the correct settings for your display.
Reviews
There are no reviews yet.