 EN
 IT Italiano
 ES Español
 FR Français
 DE Deutsch
Description
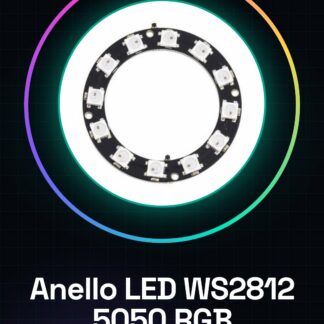
Tutorial: How to Use WS2812 5050 RGB 12 LED Ring
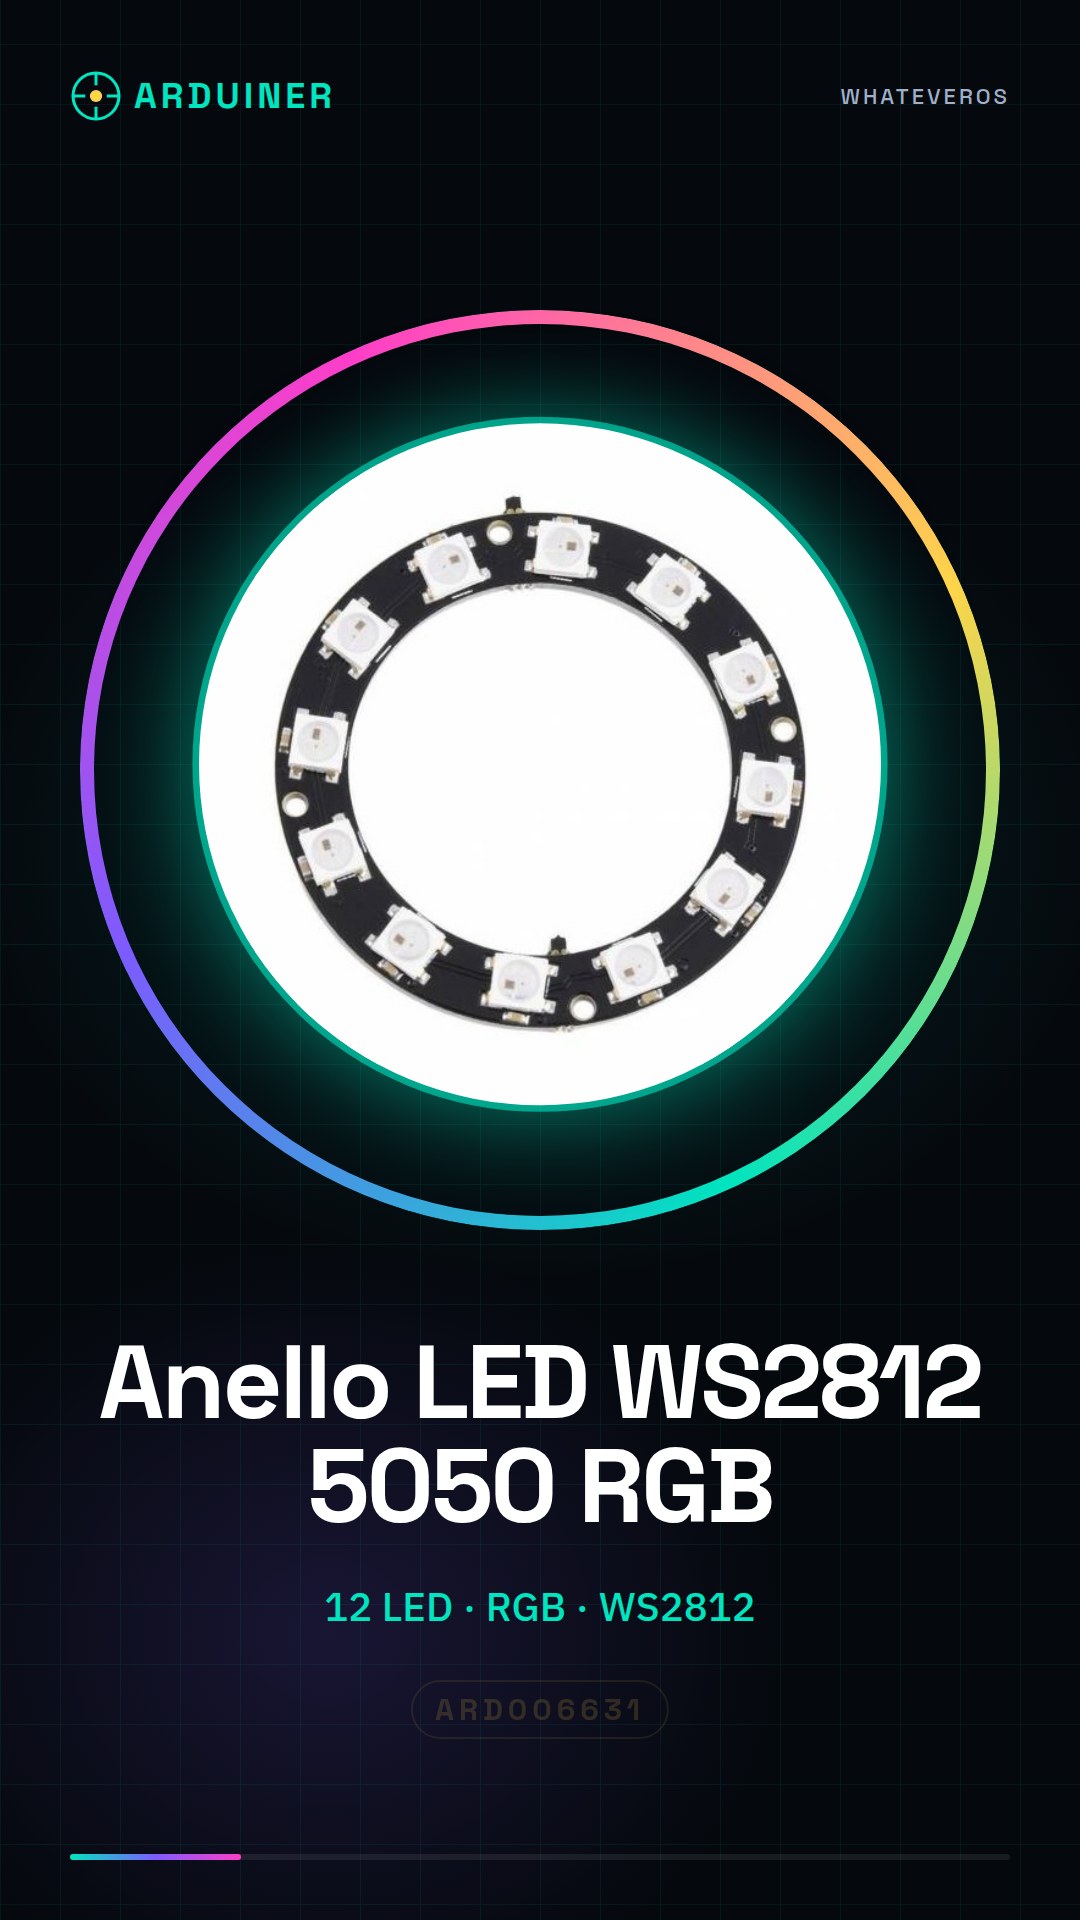
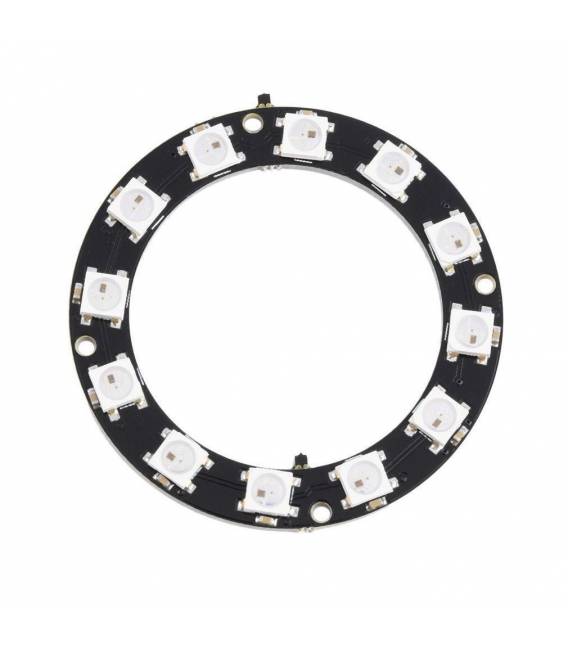
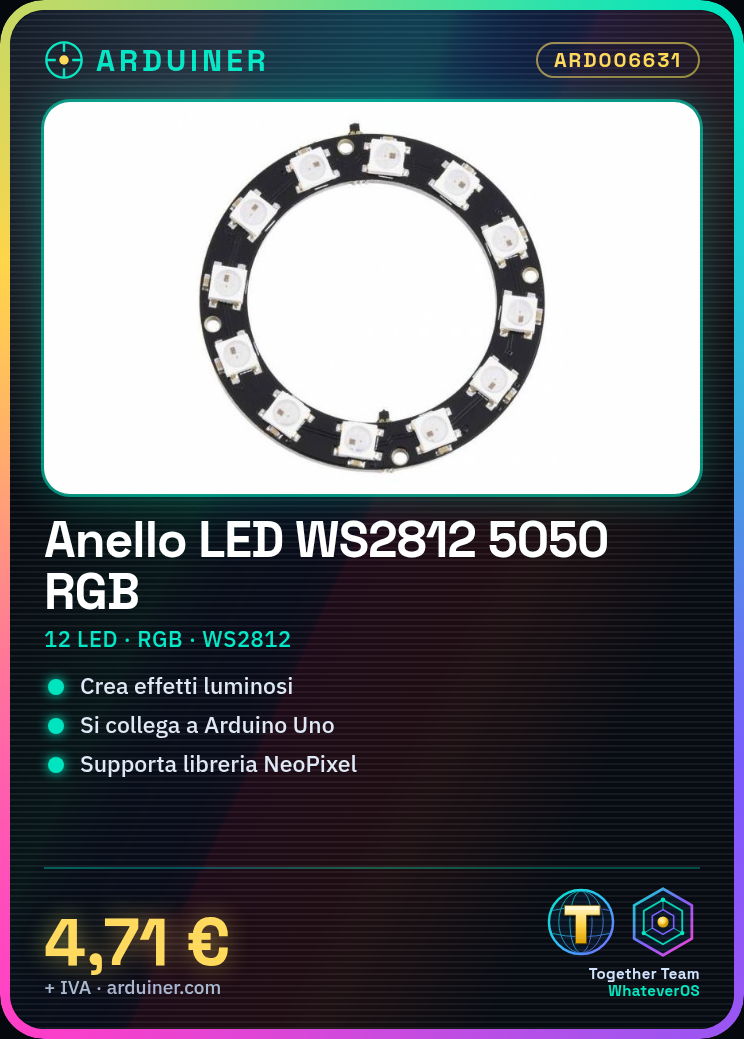
The WS2812 LED ring is a versatile component that allows for the creation of stunning light effects. Ideal for custom lighting projects, suitable for both beginners and more experienced creators.
What you need
- Arduino Uno
- USB Type B cable
- Arduino IDE Software
Steps
- Connect the LED ring to the Arduino board using a universal connection cable. The data pin of the module must be connected to pin 6 of the Arduino (check the datasheet for the correct configuration).
- Open the Arduino IDE software and install the Adafruit NeoPixel library following the instructions on GitHub.
- Load the example sketch ‘strandtest’ provided by the NeoPixel library, modifying the parameters based on the number of LEDs in the ring (12 in our case).
- Check the connection between Arduino and the ring is correct by opening the Serial Monitor to view any error messages.
- Once the issues are resolved, run the loaded sketch on Arduino. The LED ring should start to glow following the default ‘strandtest’ pattern.
- Modify the sketch to create custom effects such as color changes or temporary sequences.
- Test additional examples from the NeoPixel library to discover new features and color combinations.
- Once satisfied with the project, download the final code from the computer to Arduino.
Example code
// Includere la libreria Adafruit_NeoPixel
#include <Adafruit_NeoPixel.h>
// Definire le costanti per l'anello LED
#define PIN 6 // Pin di connessione dell'anello al microcontrollore
#define NUMPIXELS 12 // Numero totale di LED nell'anello
// Inizializzare il modulo NeoPixel
Adafruit_NeoPixel pixels = Adafruit_NeoPixel(NUMPIXELS, PIN);
void setup() {
pixels.begin(); // Inizializza l'anello LED
}
void loop() {
// Aggiungi qui le istruzioni per cambiare i colori e gli effetti
}
Mini project
Create an LED ring that changes color in response to commands from an infrared remote control. Use the ‘strandtest’ sketch as a base, adding the necessary code to intercept the remote signals and modify the lighting sequence.
Common mistakes
- Check that the data pin is correctly connected to the Arduino.
- Make sure you have installed the correct NeoPixel library.
- Check the LED ring power supply to avoid operational issues.
- Respect the maximum number of LEDs the pin can handle (check the datasheet).
Recommended accessories
- Infrared Remote Control
- 3.7V LiPo Battery
- 3D Printed Case for Arduino
- PIR Motion Sensors
Frequently asked questions
How can I change the LED color?
Modify the RGB values in the sketch code.
The ring is not responding. What should I do?
Check the connection and verify that the power supply is sufficient.
Reviews
There are no reviews yet.