 EN
 IT Italiano
 ES Español
 FR Français
 DE Deutsch
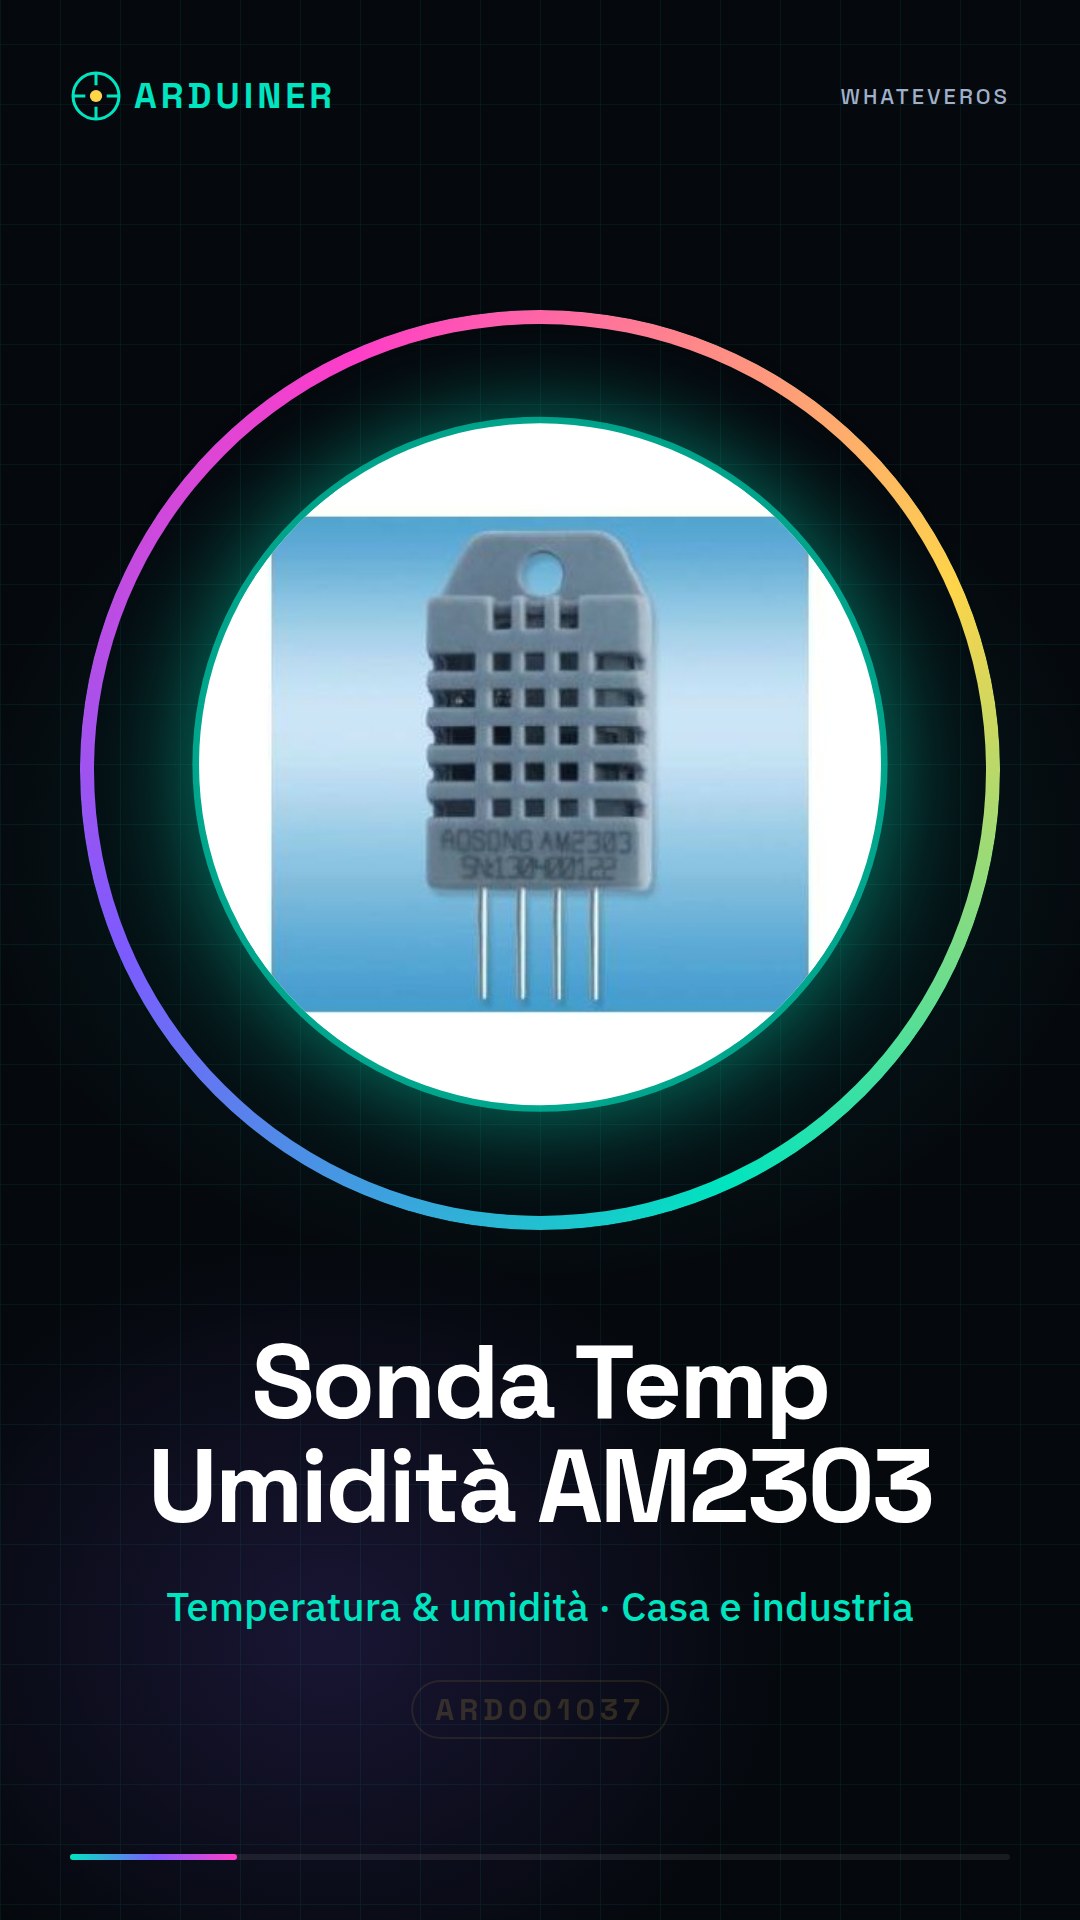
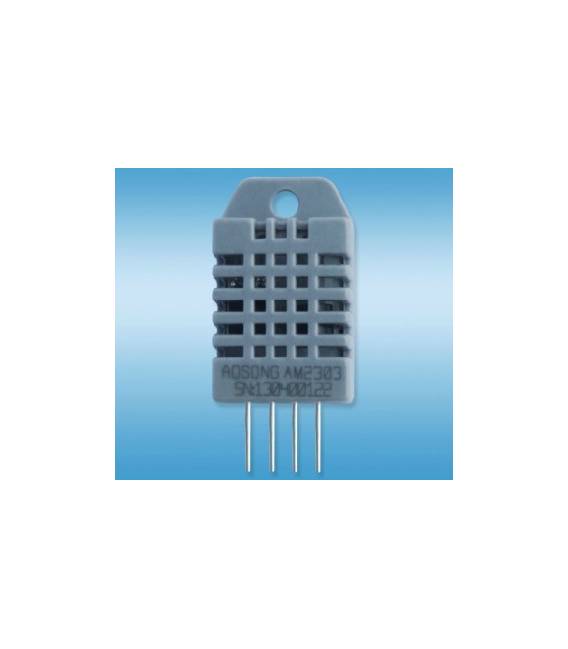
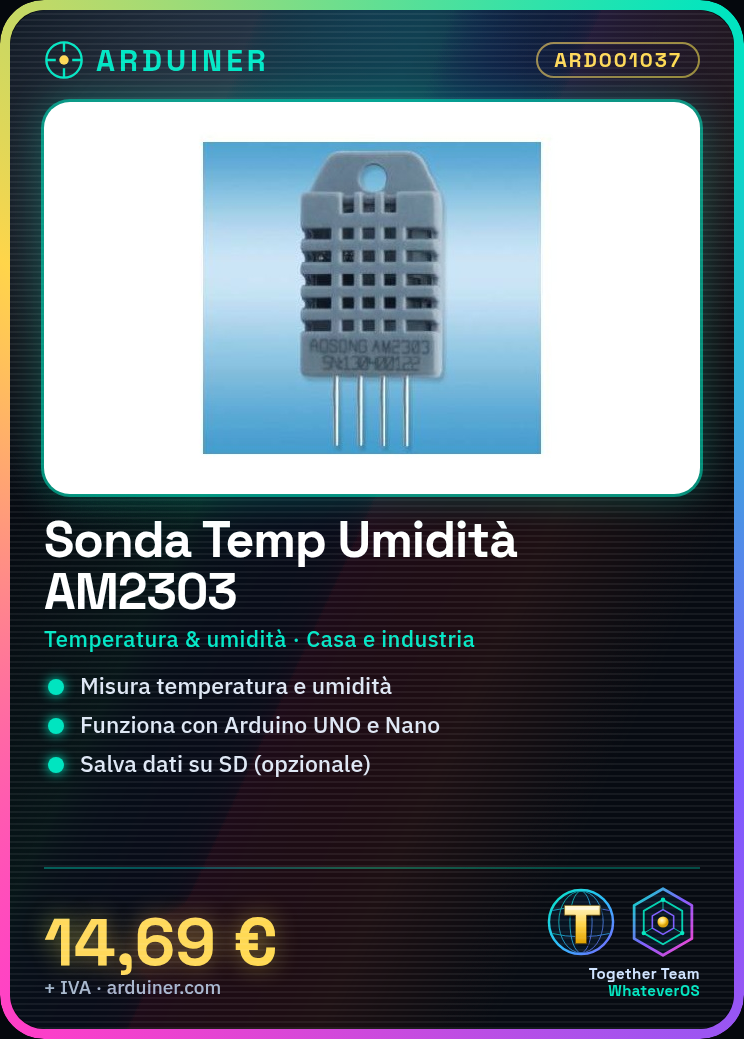
Description
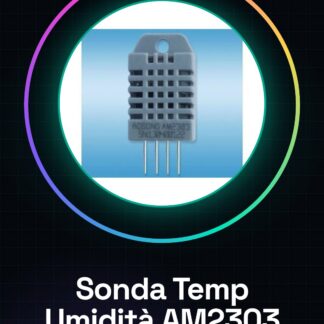
Tutorial: How to Use the AM2303 Temperature and Humidity Sensor
The AM2303 sensor is ideal for measuring temperature and humidity in domestic or industrial environments. It is useful for beginners and intermediate makers.
What you need
- Arduino
- Power Cable
- Pull-up Resistor (10kΩ)
- Connection Cable
- Arduino Microcontroller
Steps
- 1. Installation: Download the driver for the AM2303 sensor.
- 2. Connection: Connect the sensor to the Arduino microcontroller.
- 3. Configuration: Enter the correct pins in the code.
- 4. Code: Copy the provided code and upload it to the microcontroller.
- 5. Test: Turn on the Arduino and check the data.
- 6. Debug: Check the connection and code if the data is not displayed.
- 7. Usage: Use the data for environmental control.
- 8. Saving: Save the data to an SD module (optional)
Example code
void loop() { sensor.read(); Serial.print("Temperatura: "); Serial.print(sensor.getTemperature()); Serial.print("°C, Umidità: "); Serial.print(sensor.getHumidity()); Serial.println("%"); delay(1000);}Mini project
Create a room humidity monitoring system. In 30 minutes, connect the probe to an LCD display and display the data.
Common mistakes
- Do not use incorrect pins in the code.
- Do not connect the pull-up resistor correctly.
- Forget to load the driver.
- Do not check the physical connection.
Recommended accessories
- LCD Display
- Arduino UNO Microcontroller
- SD Module
- Text Display
Frequently asked questions
How can I check the connection?
Check the pins used and the connection cable.
Does the code work with Arduino Nano?
Yes, but make sure to change the pins used.
Can I use the probe without Arduino?
Yes, but another microcontroller or interface board will be required.
What are the temperature and humidity limits?
Check the datasheet for operating limits.
Reviews
There are no reviews yet.