 EN
 IT Italiano
 ES Español
 FR Français
 DE Deutsch
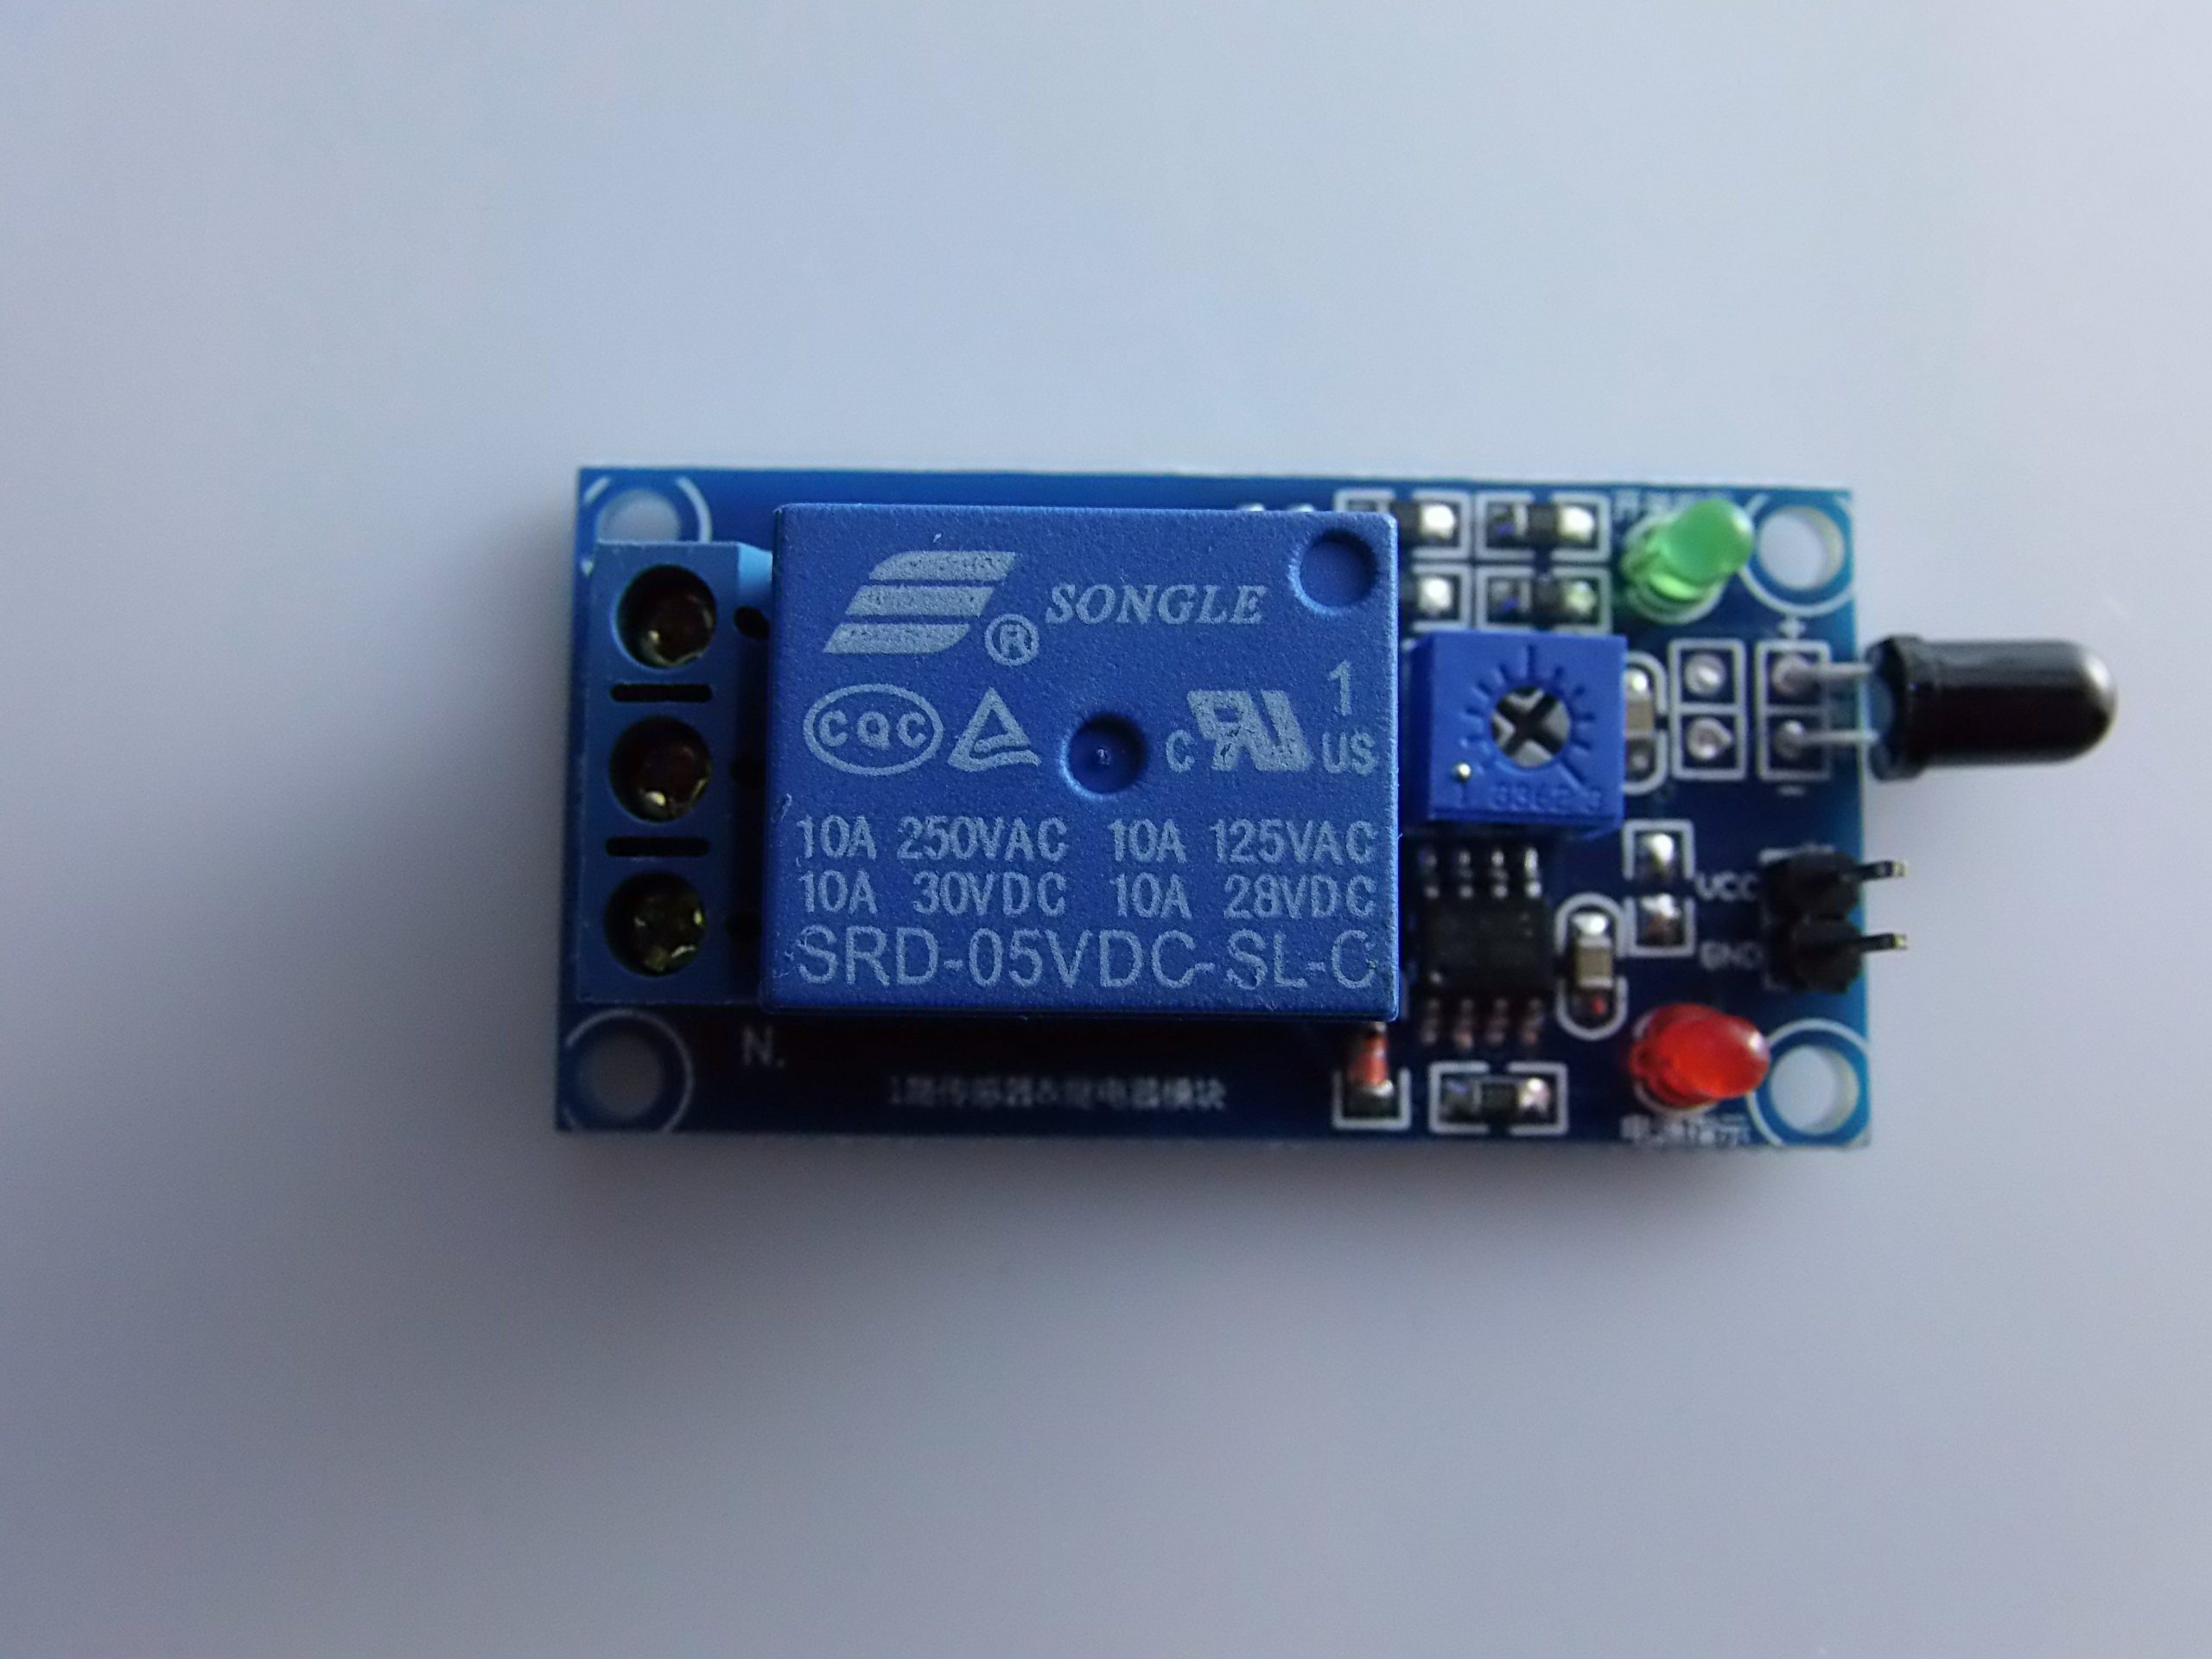
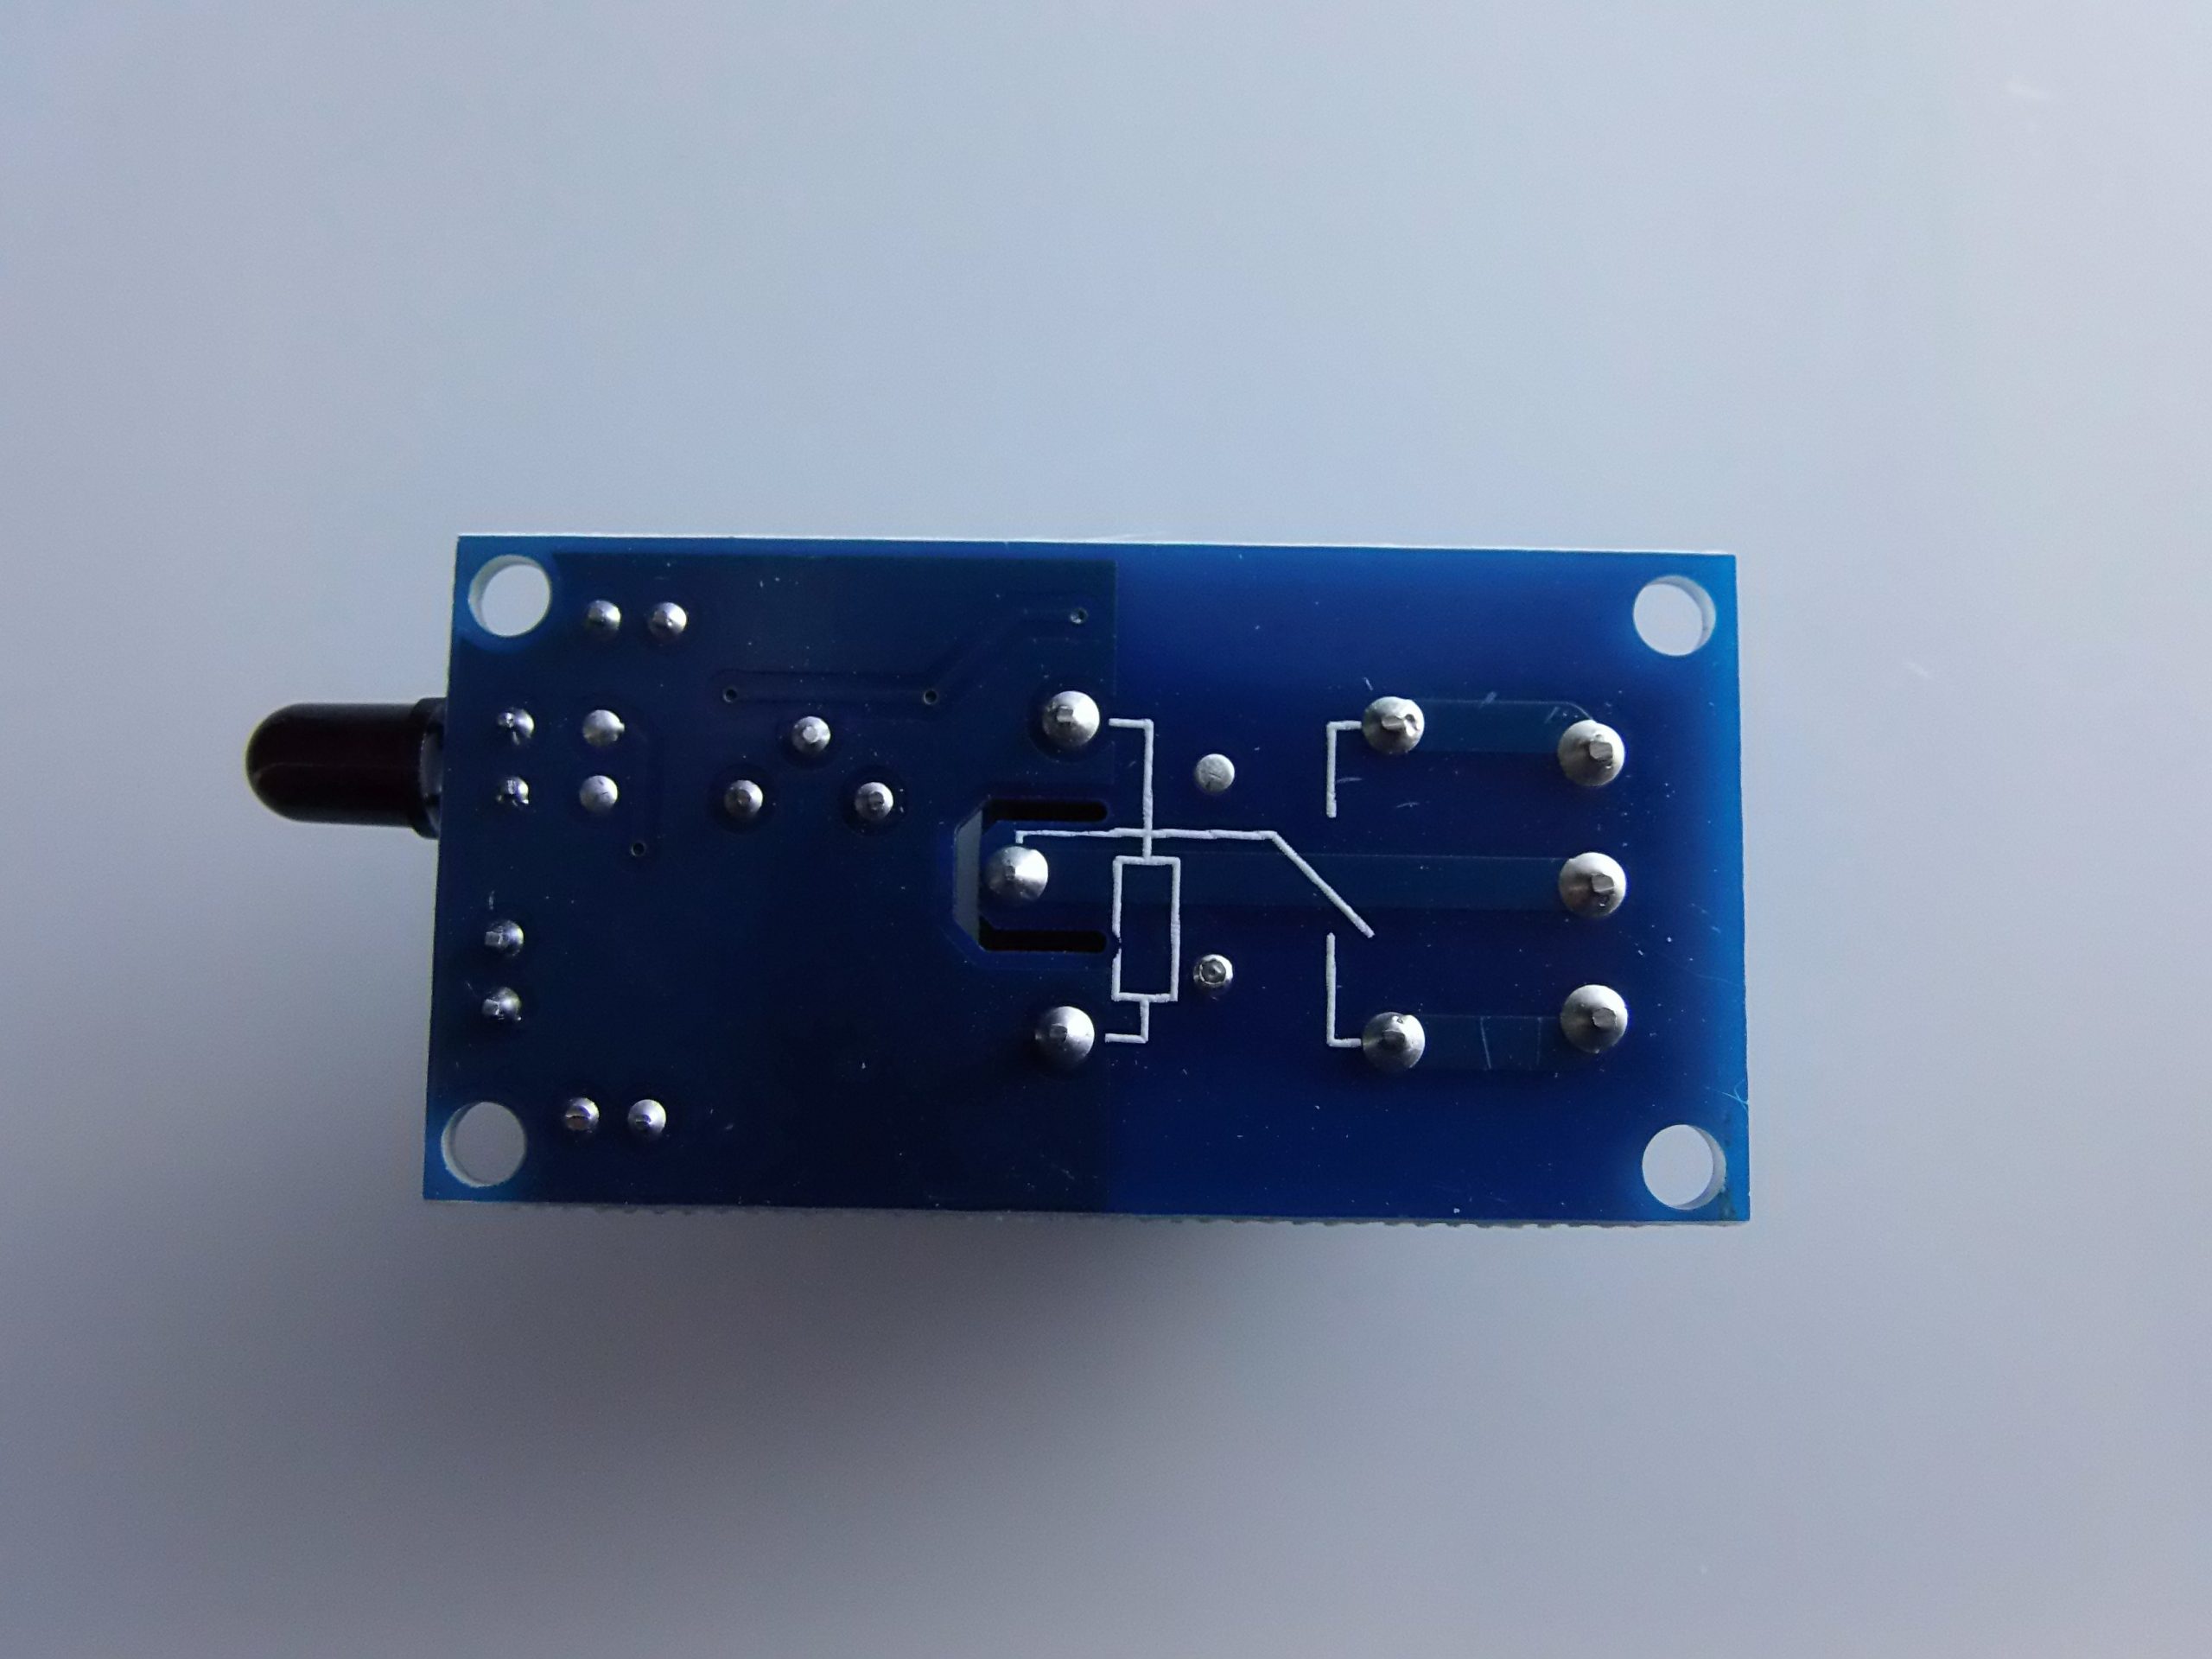
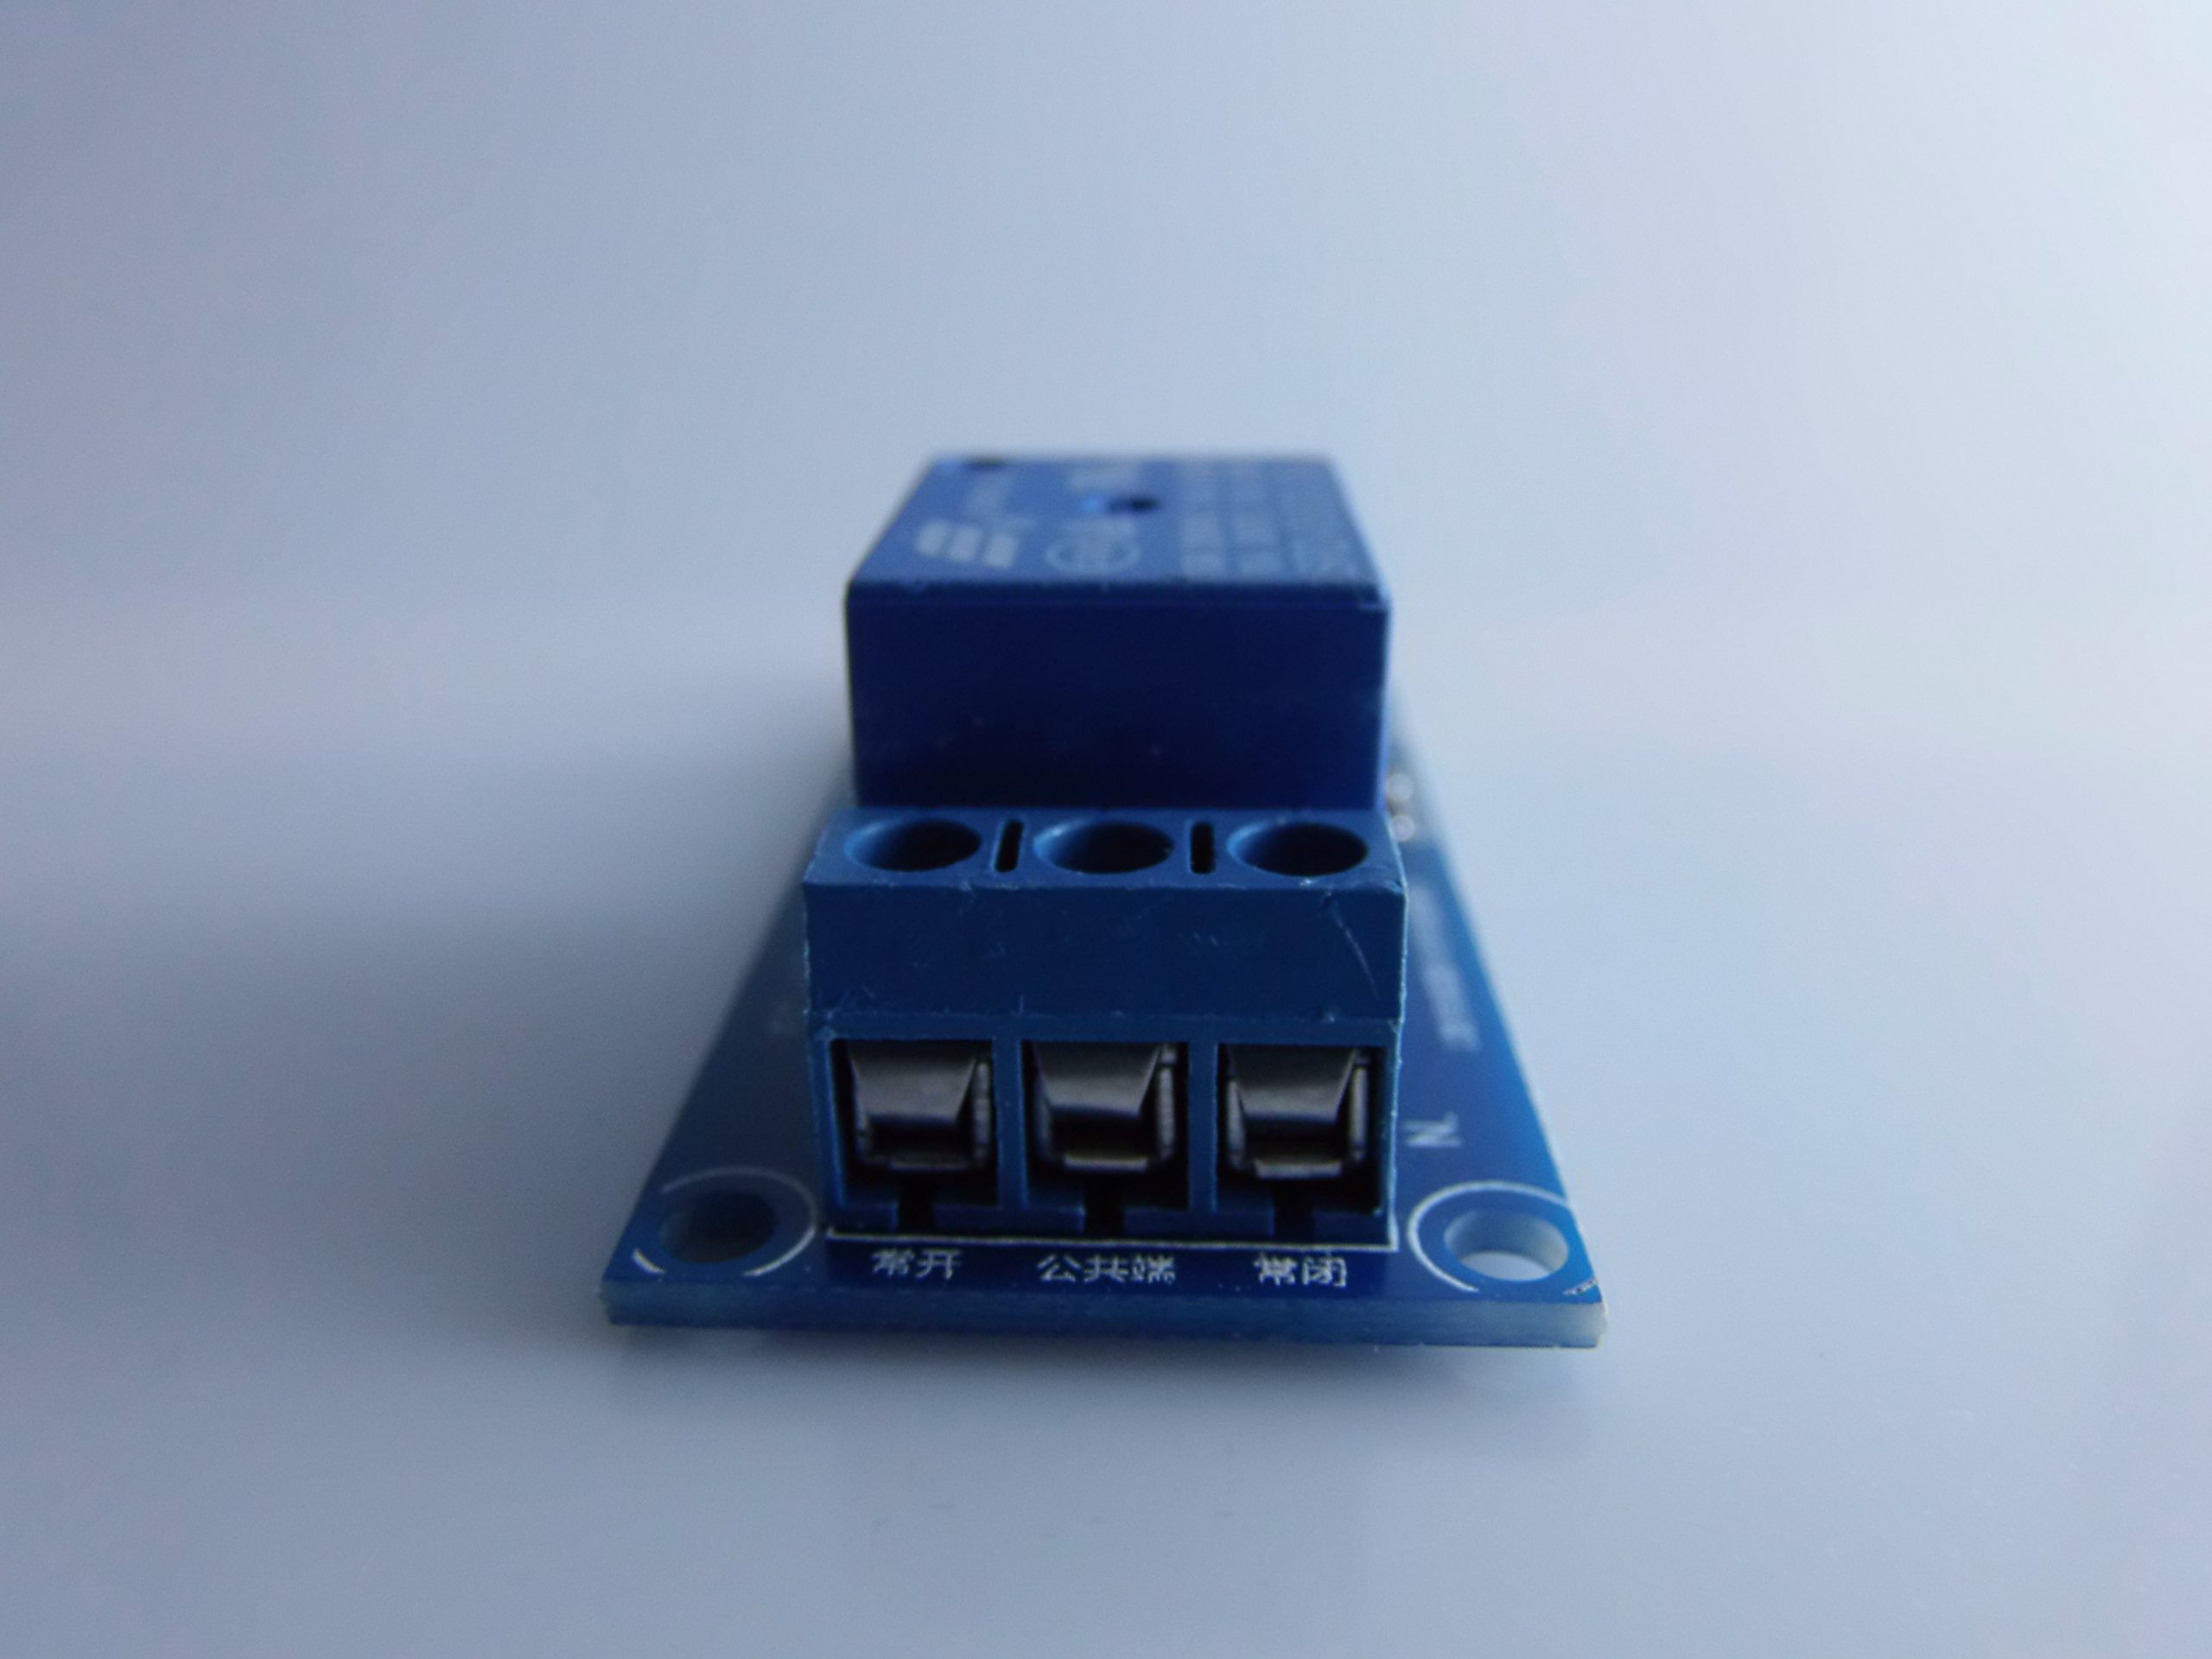
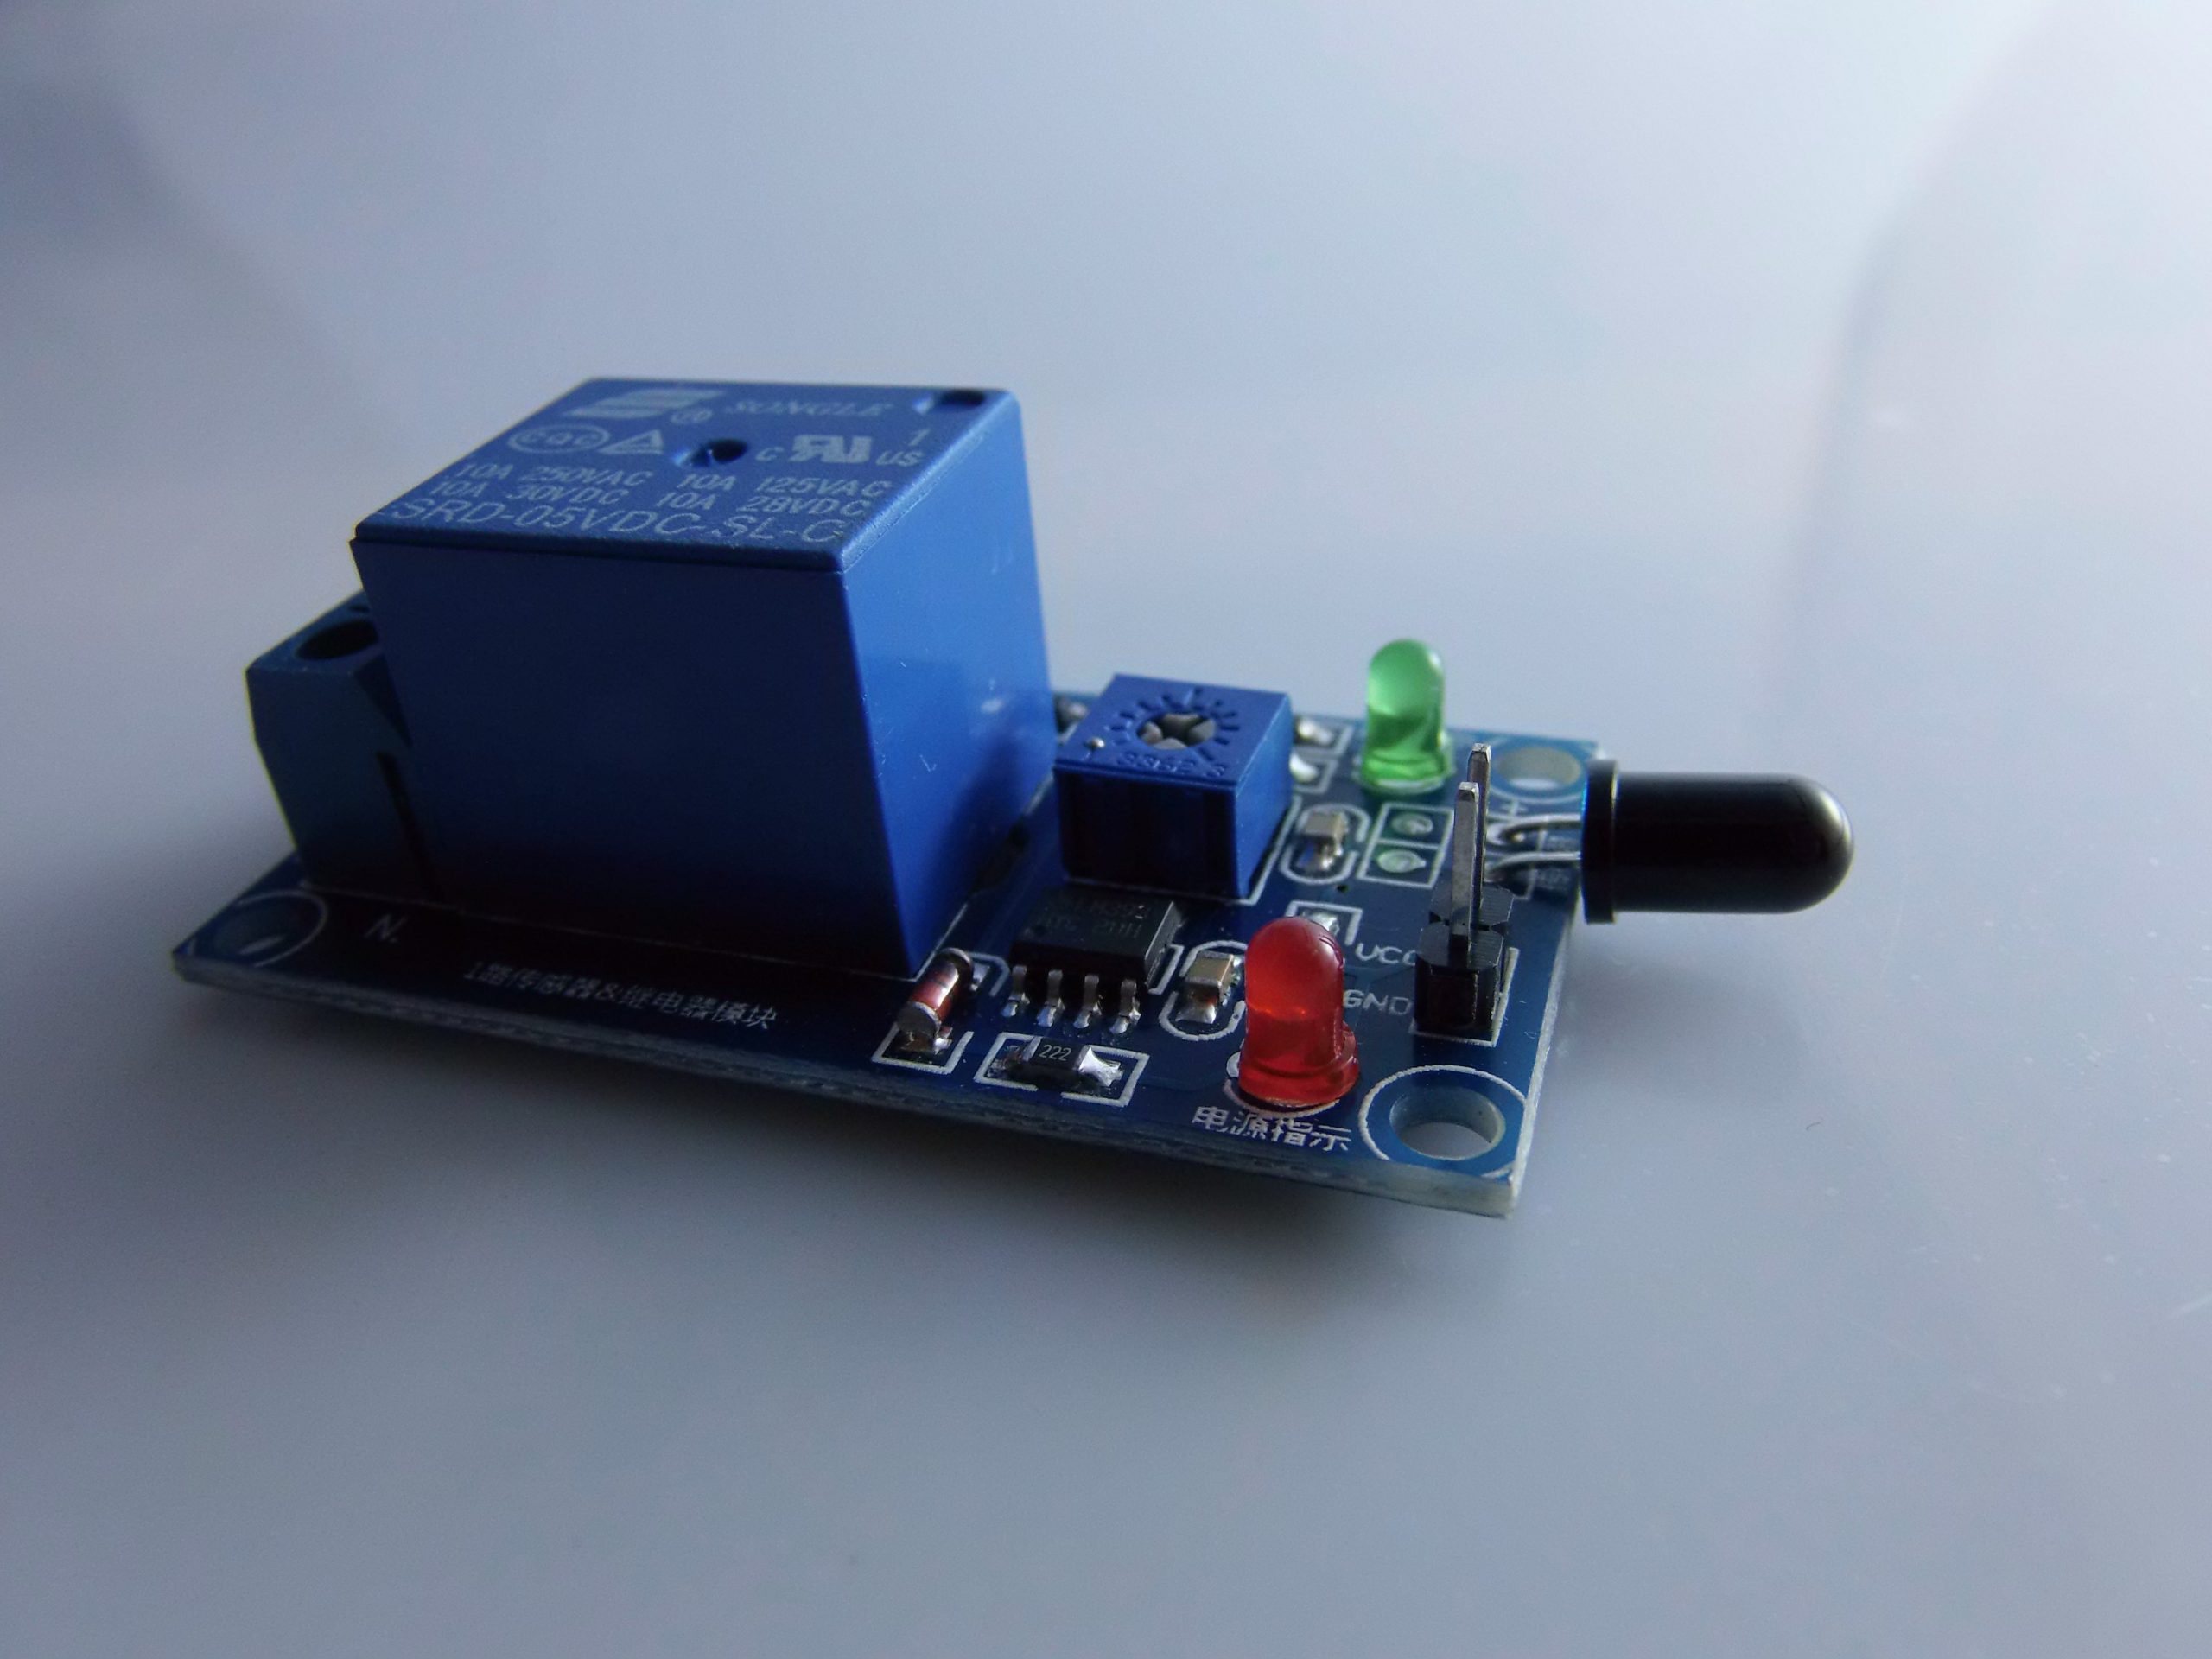
Description
🔥 5V Flame Sensor Relay Module – Complete Description
✅ Main Features
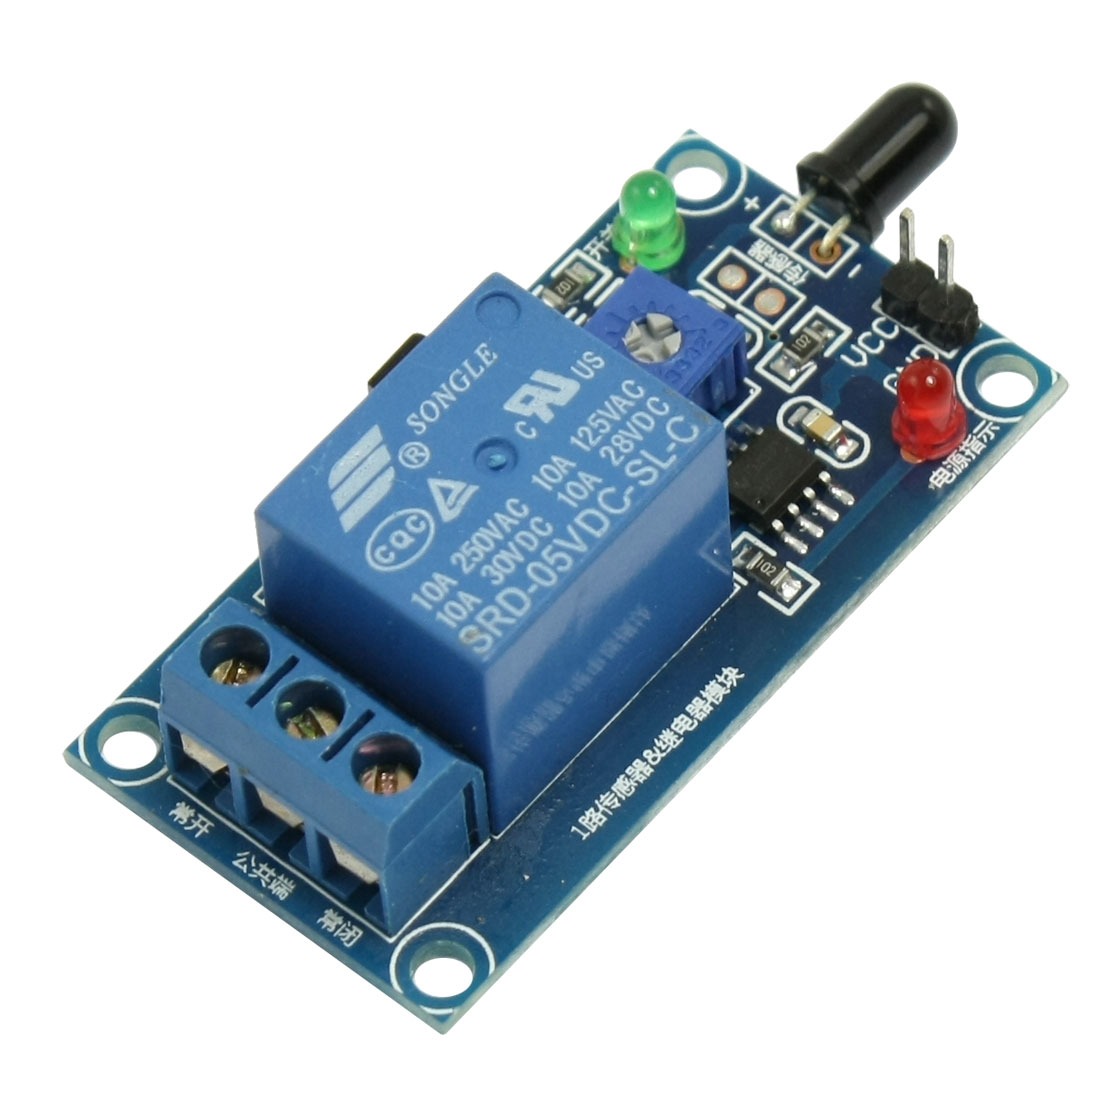
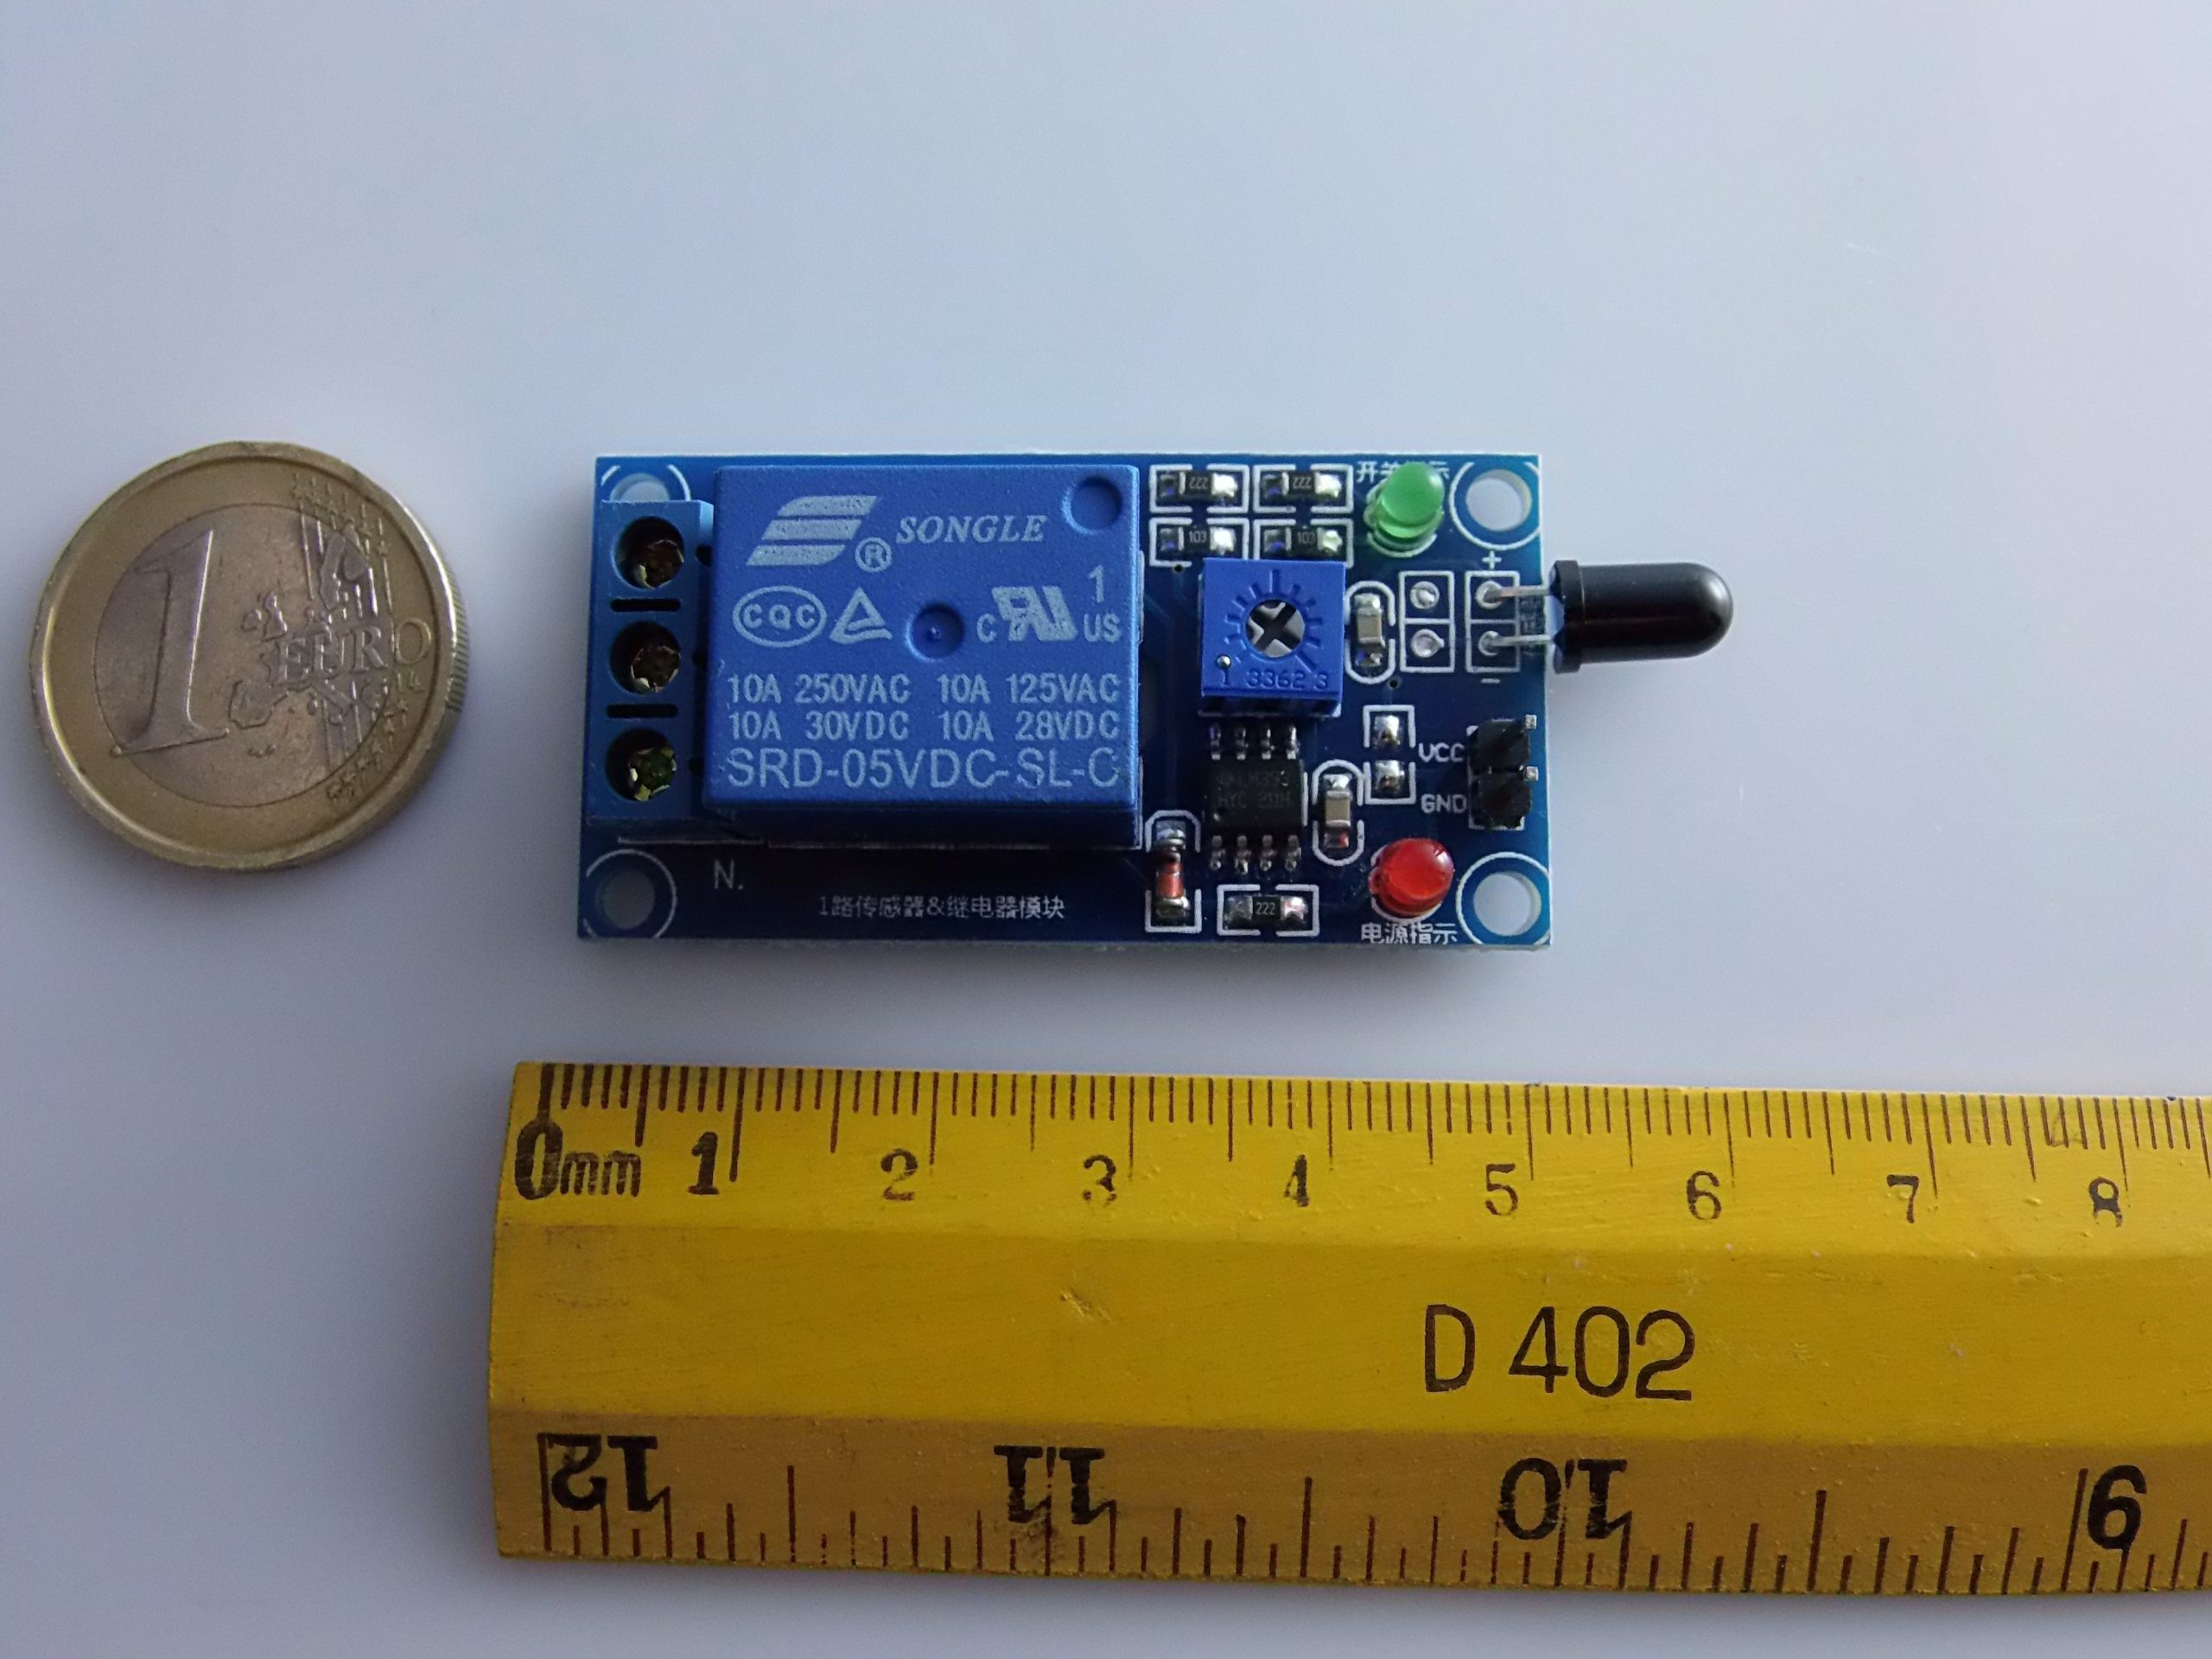
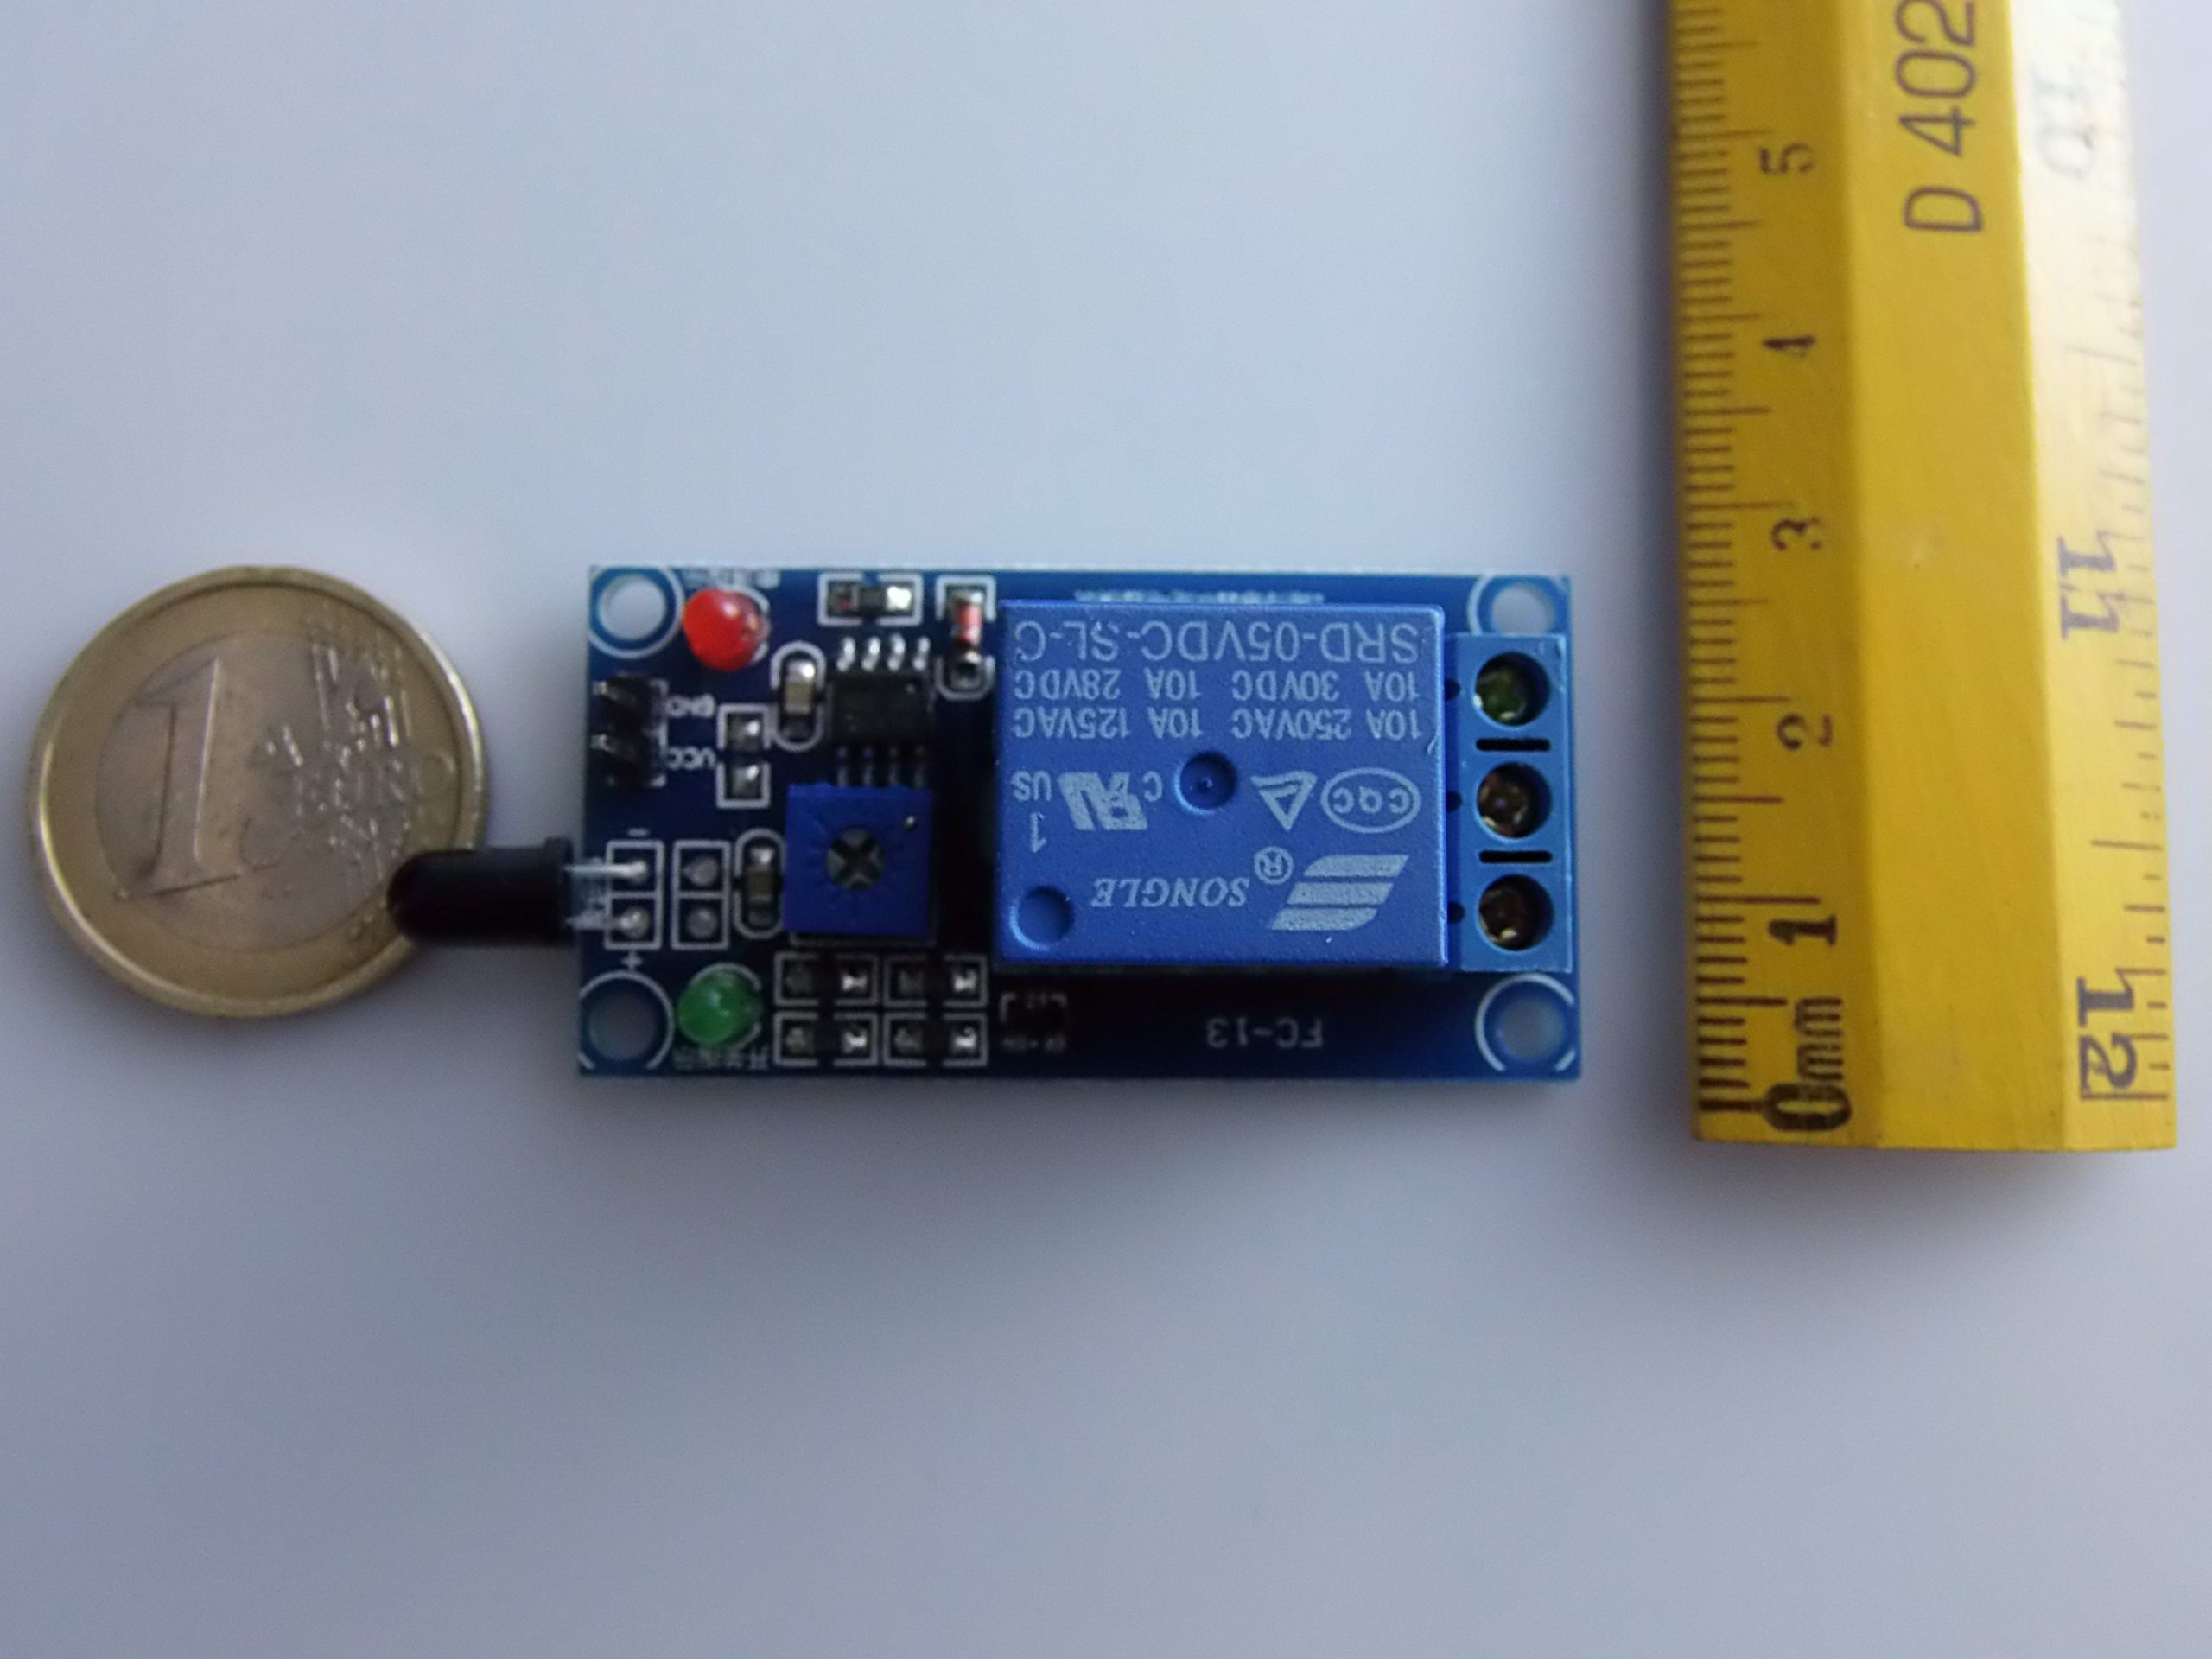
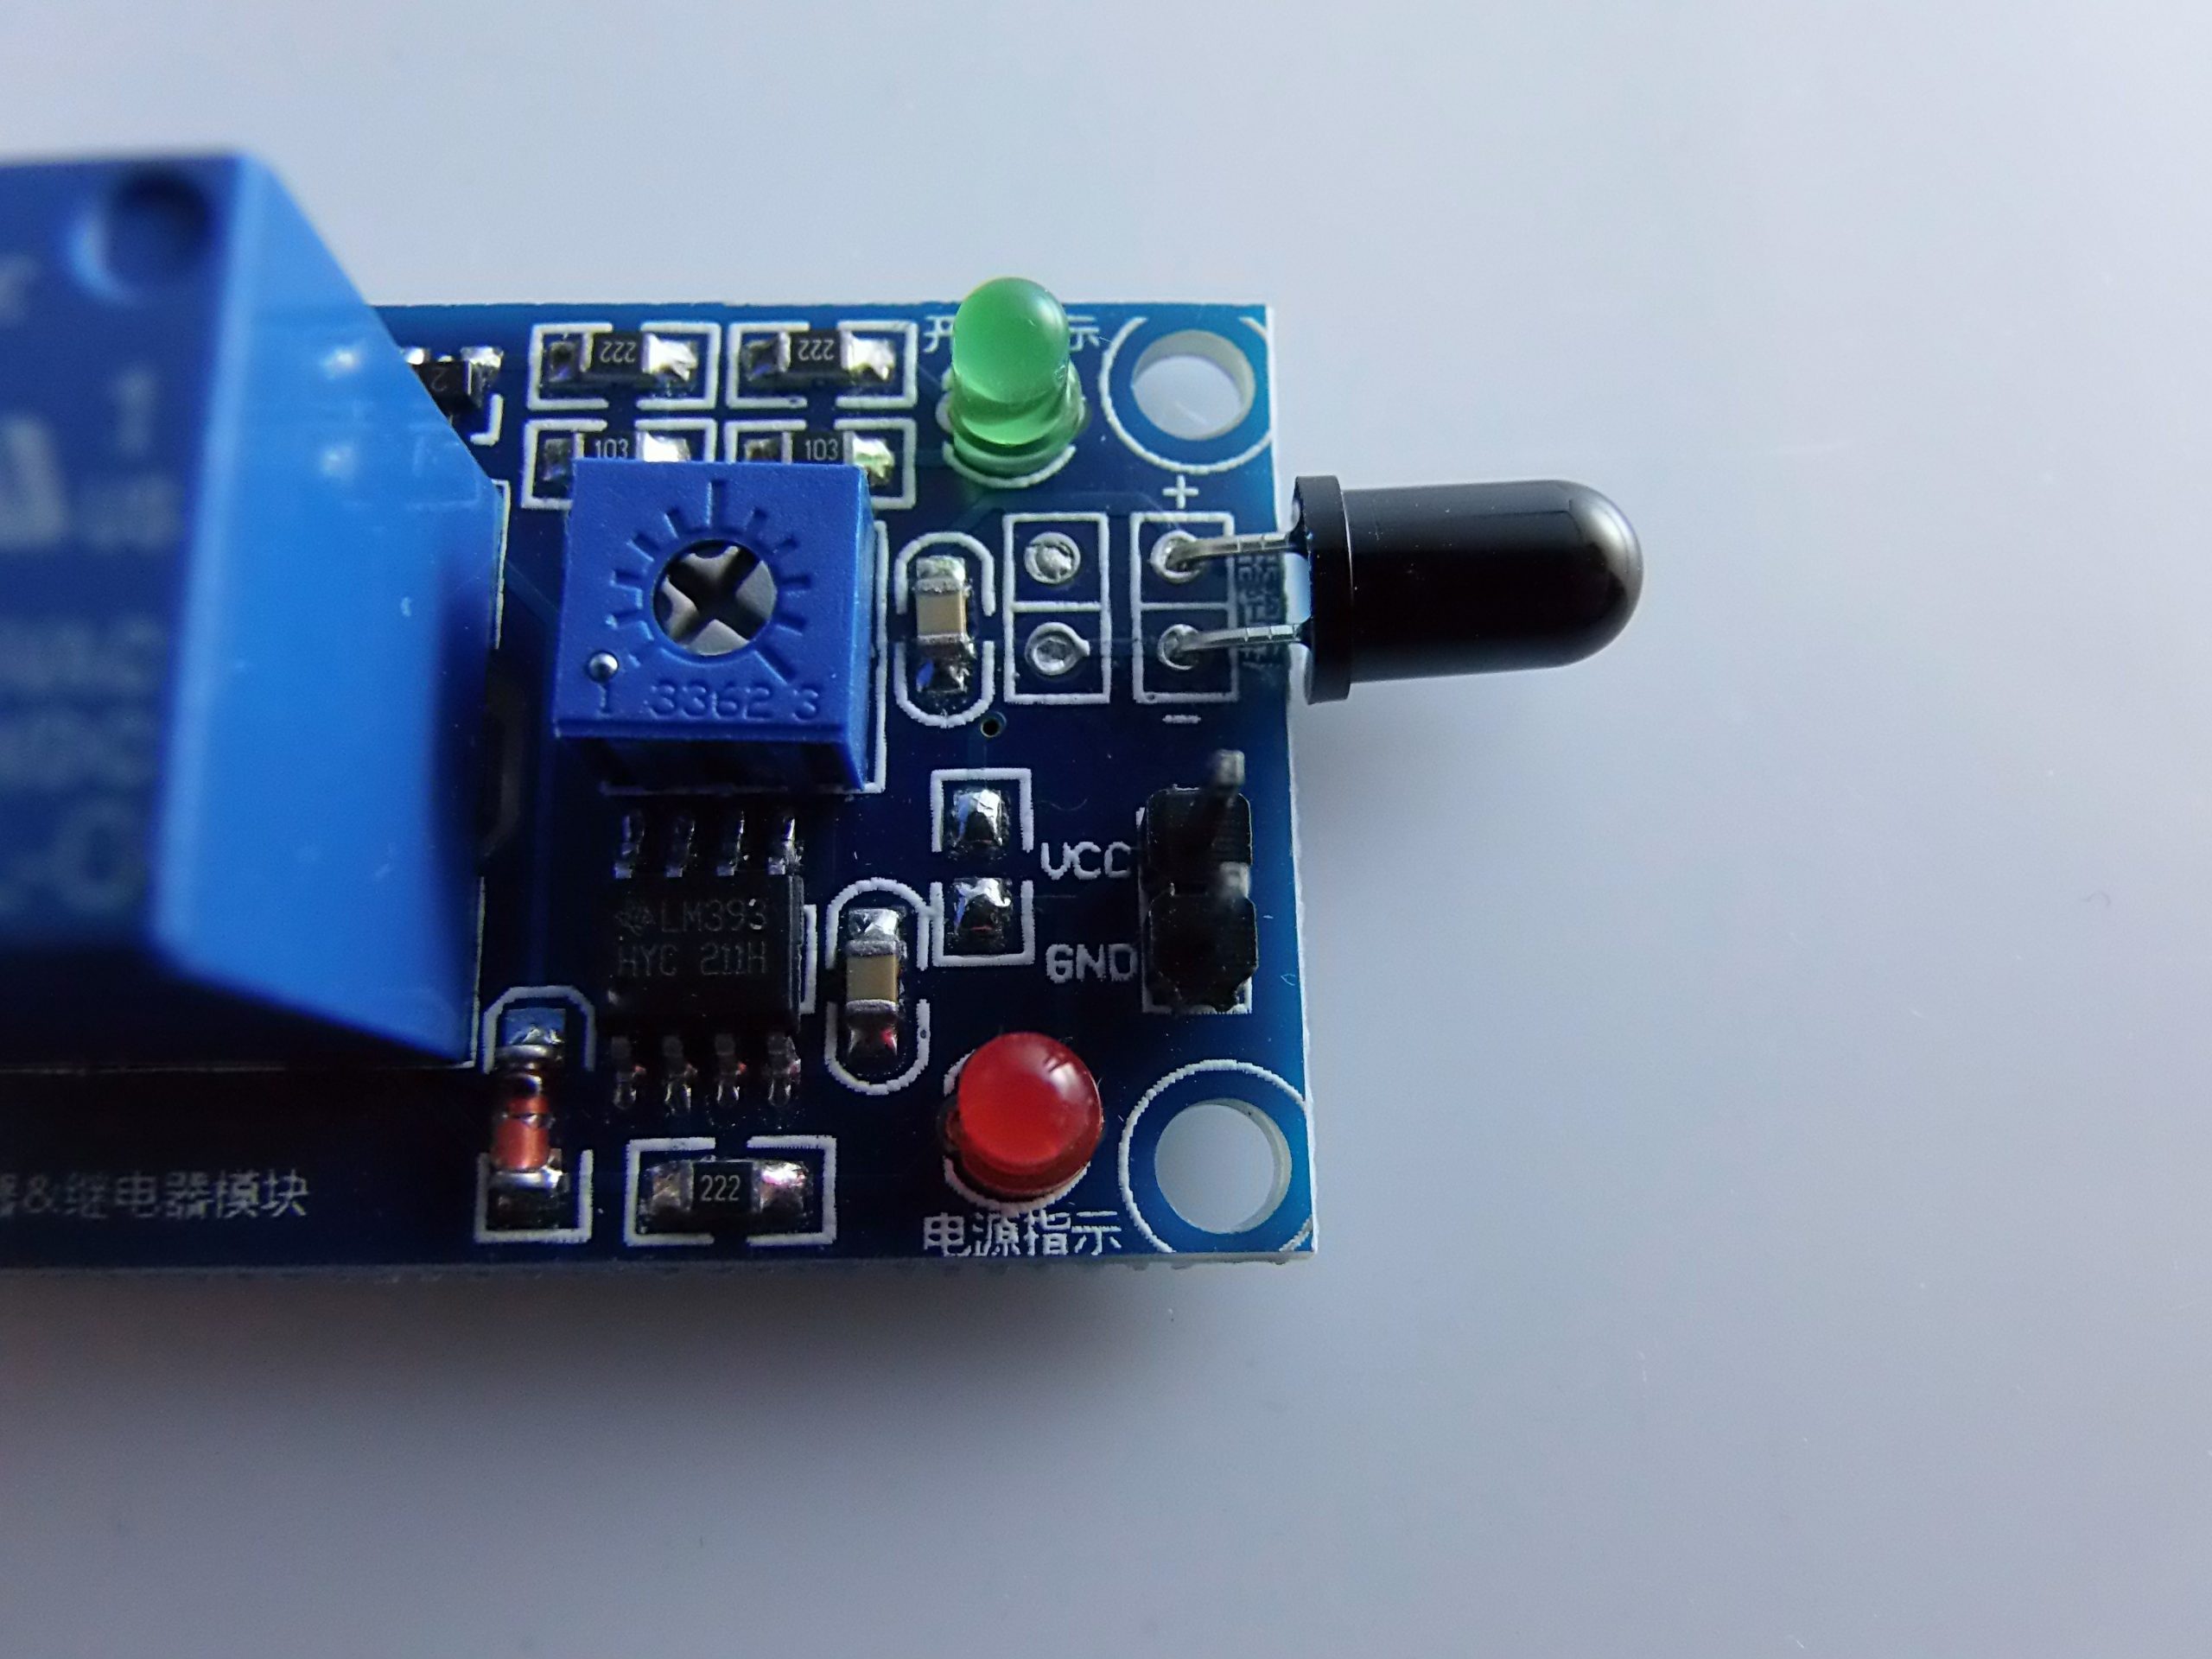
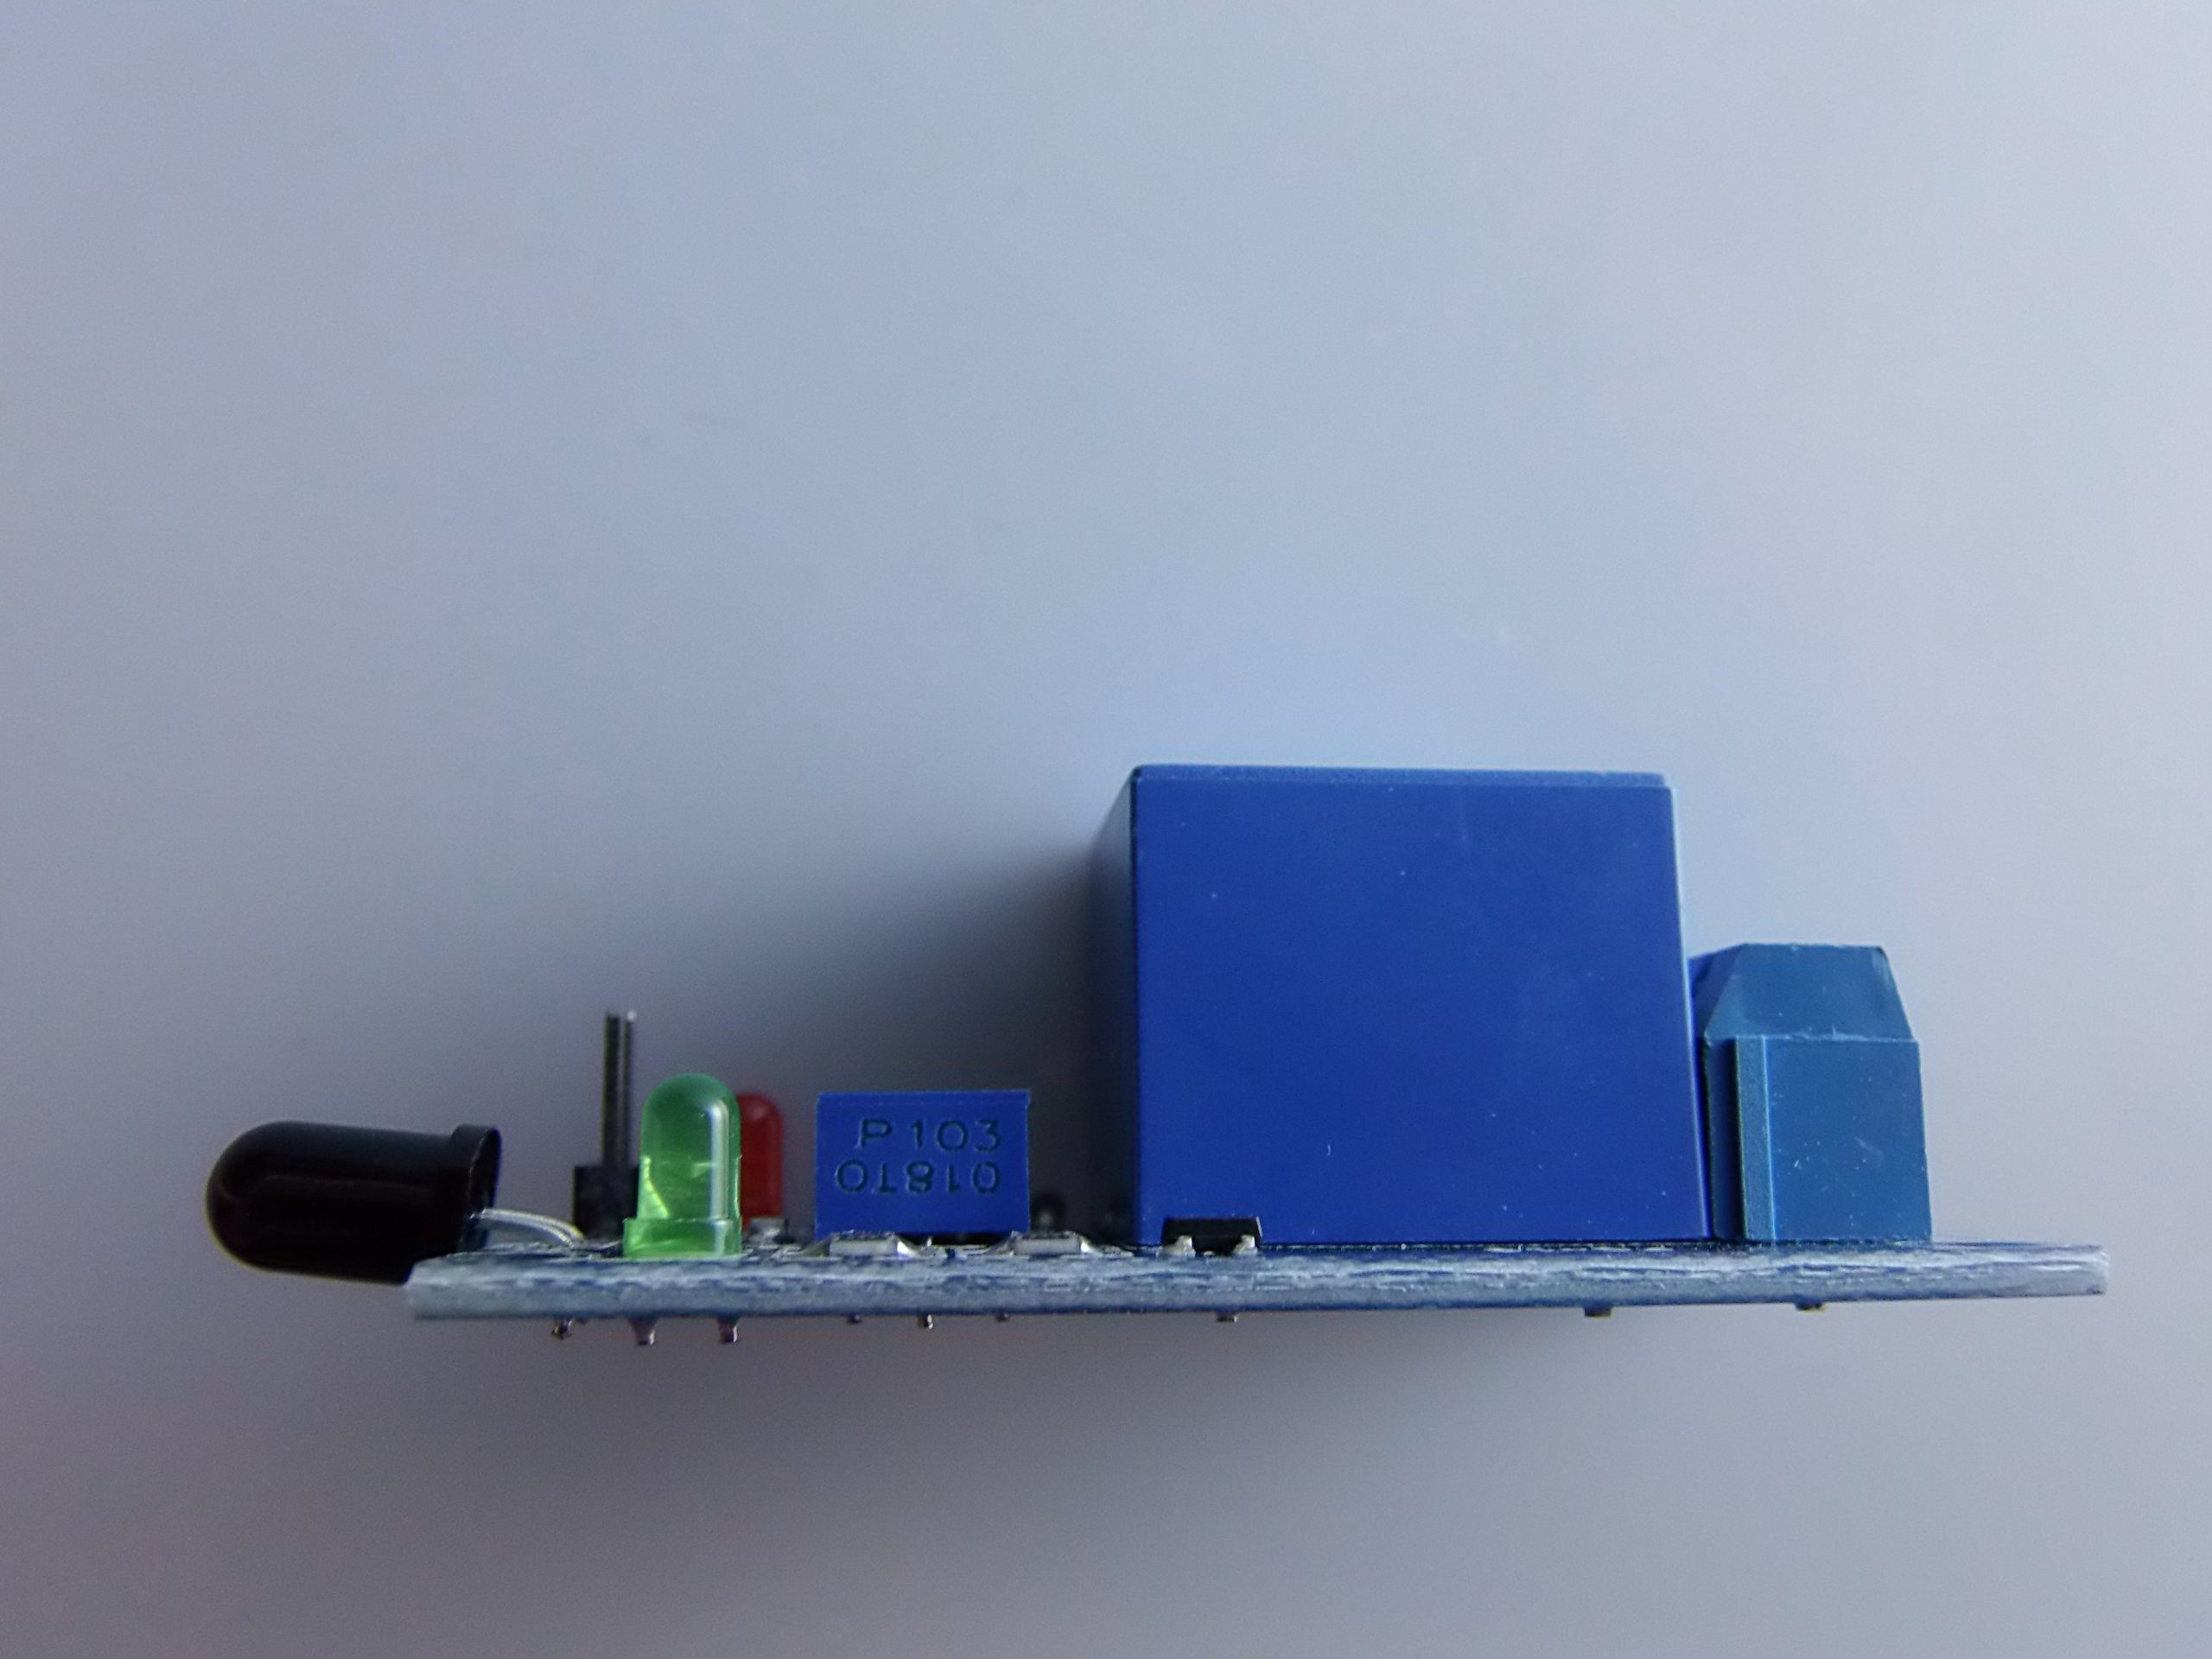
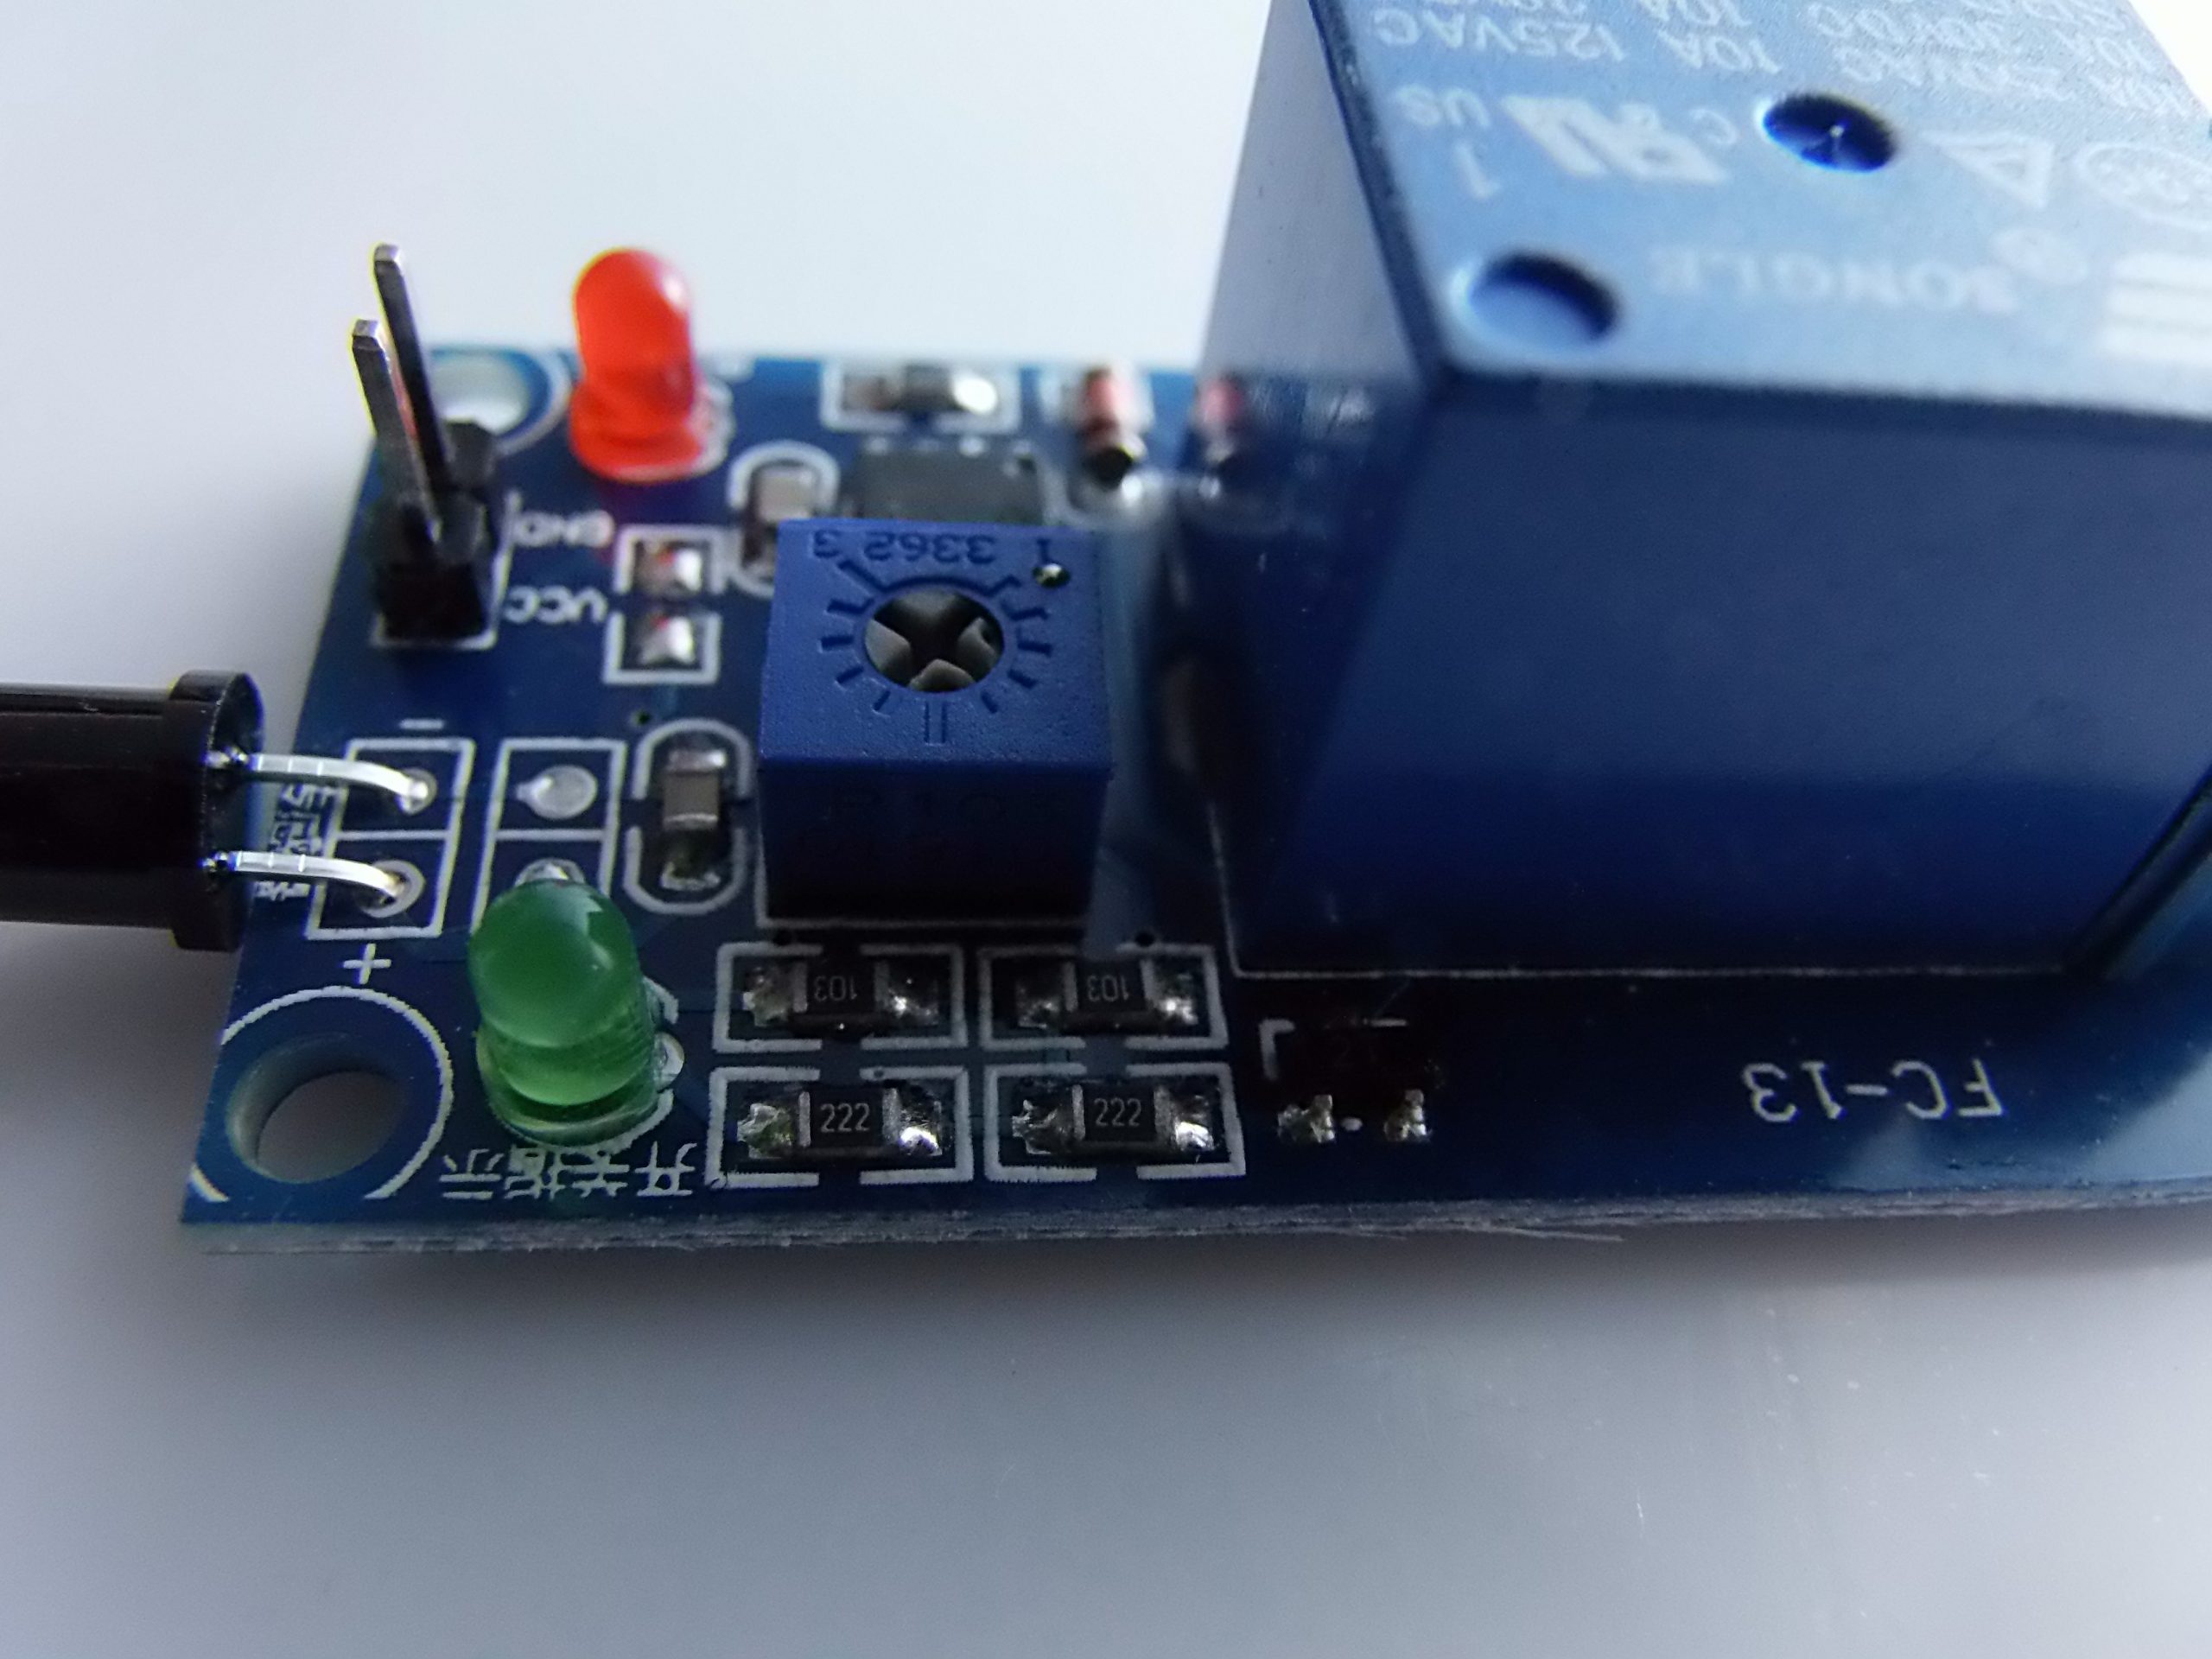
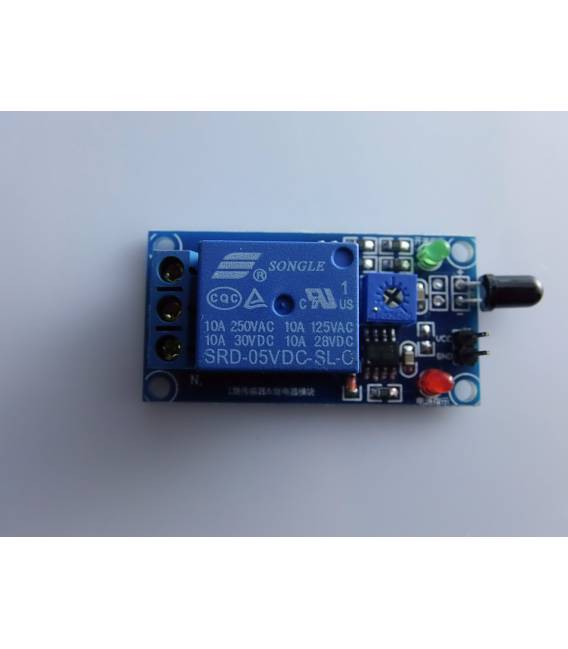
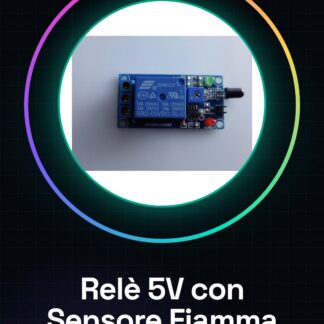
The 5V Flame Sensor Relay Module is a device that combines an optical IR sensor for flame detection with a 5V relay, which can be activated in the presence of fire. This module is useful for fire alarm systems, security projects, robotics or automation projects that react to the presence of a flame.
Module Composition:
- Flame Sensor (IR): Sensitive to wavelengths between 760 nm and 1100 nm (typical of a live flame).
- Integrated Comparators (LM393): For the processing of analog and digital signals.
- 1 Channel 5V Relay: Supports loads up to 10A 250VAC / 10A 30VDC.
- Status LED: Power on and relay activation indicator.
- Sensitivity Trim Pot: To adjust the relay activation threshold.
- Standard 4 or 5 pin interface (VCC, GND, D0, A0, IN).
🔌 Connection with Arduino
🔧 Required Material
- Arduino Uno (or compatible)
- 5V Relay Module with Flame Sensor
- Jumper wires
- Load (e.g., 220V light bulb with safety precautions or LED for testing)
🖇️ Recommended Connections
| Flame Sensor Module | Arduino Connection |
|---|---|
| VCC | 5V |
| GND | GND |
| A0 (analog) | A0 (optional) |
| D0 (digital) | D2 (for example) |
| IN (relay) | D7 (relay control) |
Note: In some modules, the relay is automatically activated by the D0 signal from the detector without the need for the IN pin. If “IN” is separate, it can be controlled directly by Arduino.
👨💻 Basic example code: flame detection and relay activation
🧪 Objective: activate the relay when a flame is detected.
#define FLAME_SENSOR_PIN 2 // collegato a D0 del modulo
#define RELAY_PIN 7 // pin di controllo del relè

void setup() {
 pinMode(FLAME_SENSOR_PIN, INPUT);
 pinMode(RELAY_PIN, OUTPUT);

 Serial.begin(9600);
 digitalWrite(RELAY_PIN, LOW); // relè spento all'avvio
}

void loop() {
 int flameDetected = digitalRead(FLAME_SENSOR_PIN);

 if (flameDetected == LOW) { // in genere LOW indica fiamma presente
 Serial.println("🔥 Fiamma rilevata! Attivazione relè.");
 digitalWrite(RELAY_PIN, HIGH); // accende relè
 } else {
 Serial.println("✅ Nessuna fiamma.");
 digitalWrite(RELAY_PIN, LOW); // spegne relè
 }

 delay(500);
}
Attention: some modules return
LOWwhen detecting a flame, othersHIGH. Check in your case with the serial monitor.
💡 Example application: fire alarm with buzzer and LED
#define FLAME_SENSOR_PIN 2
#define BUZZER_PIN 3
#define RELAY_PIN 7
#define LED_PIN 4

void setup() {
 pinMode(FLAME_SENSOR_PIN, INPUT);
 pinMode(BUZZER_PIN, OUTPUT);
 pinMode(RELAY_PIN, OUTPUT);
 pinMode(LED_PIN, OUTPUT);

 Serial.begin(9600);
}

void loop() {
 int flameDetected = digitalRead(FLAME_SENSOR_PIN);

 if (flameDetected == LOW) {
 Serial.println("⚠️ Incendio rilevato!");
 digitalWrite(BUZZER_PIN, HIGH);
 digitalWrite(RELAY_PIN, HIGH);
 digitalWrite(LED_PIN, HIGH);
 } else {
 digitalWrite(BUZZER_PIN, LOW);
 digitalWrite(RELAY_PIN, LOW);
 digitalWrite(LED_PIN, LOW);
 }

 delay(200);
}
⚙️ Adjustments and suggestions
- 🔧 Sensitivity: Use the potentiometer on the module to increase or decrease the detection range.
- 🌐 Operational Range: up to 80 cm in dark or normal environments.
- 🧪 Testing: You can use a lighter or a candle (with caution!) to check the functionality.
✅ Practical Applications
- Automatic fire suppression systems
- Home automation (e.g., turning off appliances in case of fire)
- Robotics: flame-avoiding robots
- Smart alarms for kitchens or hazardous areas
|
GENERAL |
MODEL |
Fire detection module |
|
MATERIALS |
pcb + components |
|
|
COMPATIBILITY |
ARDUINO |
|
|
ELECTRONIC COMPONENTS |
INPUT VOLTAGE |
5VDC |
|
WEIGHT AND DIMENSIONS |
PRODUCT WEIGHT |
150g |
|
PACKAGE WEIGHT |
0.2 kg |
|
|
PRODUCT DIMENSIONS (L x W x H) |
6 x 2.5 x 2.7 cm |
|
|
PACKAGE DIMENSIONS (L x W x H) |
10 x 5 x 3 cm |
|
|
PACKAGE CONTENT |
PACKAGE CONTENT |
1 x Module |
We have datasheets available for all components, if not present in the product download sheet, send us a message through the contact form and we will publish it as soon as possible on our website.
Tutorial: How to Use Relay Module with Flame Sensor
The relay module with flame sensor allows you to monitor the presence of fire in an environment and activate connected devices via the relay. Ideal for home or industrial security projects.
What you need
- Arduino Uno
- USB cable
- External power supply
- Relay
Steps
- Connect the module to the PC via USB cable and Arduino.
- Check the module’s power supply voltage (5V) with the external power supply.
- Connect the digital pins of the flame sensor to a digital pin of the Arduino.
- Configure the relay in COM or NO mode according to your needs.
- Write and upload the Arduino sketch to read the sensor’s state.
- Test the relay’s reaction when a flame is detected.
- Verify that the devices connected to the relay activate correctly.
- Implement additional features such as sending email notifications.
Example code
void setup() {
 pinMode(2, INPUT);
 digitalWrite(2, HIGH); // Imposta pull-up
}

void loop() {
 if(digitalRead(2) == LOW){
 Serial.println("Fiamma rilevata!");
 }
}
Mini project
Create a home alarm system that activates a siren when fire is detected.
Common mistakes
- Connect the sensor to the relay instead of the Arduino.
- Incorrectly configure the sensor and relay pins.
- Omit adequate power supply for the module.
- Do not test the complete security network before final implementation.
Recommended accessories
- ESP8266 Wi-Fi Module
- Alarm Siren
- Portable USB Battery
- Motion Sensors
Frequently asked questions
Does the sensor detect only flame or also heat?
The sensor primarily detects UV emissions from the flame, but can also react to high temperatures.
Can it be used in outdoor environments?
Check the datasheet for humidity and temperature change resistance.
Reviews
There are no reviews yet.