 EN
 IT Italiano
 ES Español
 FR Français
 DE Deutsch
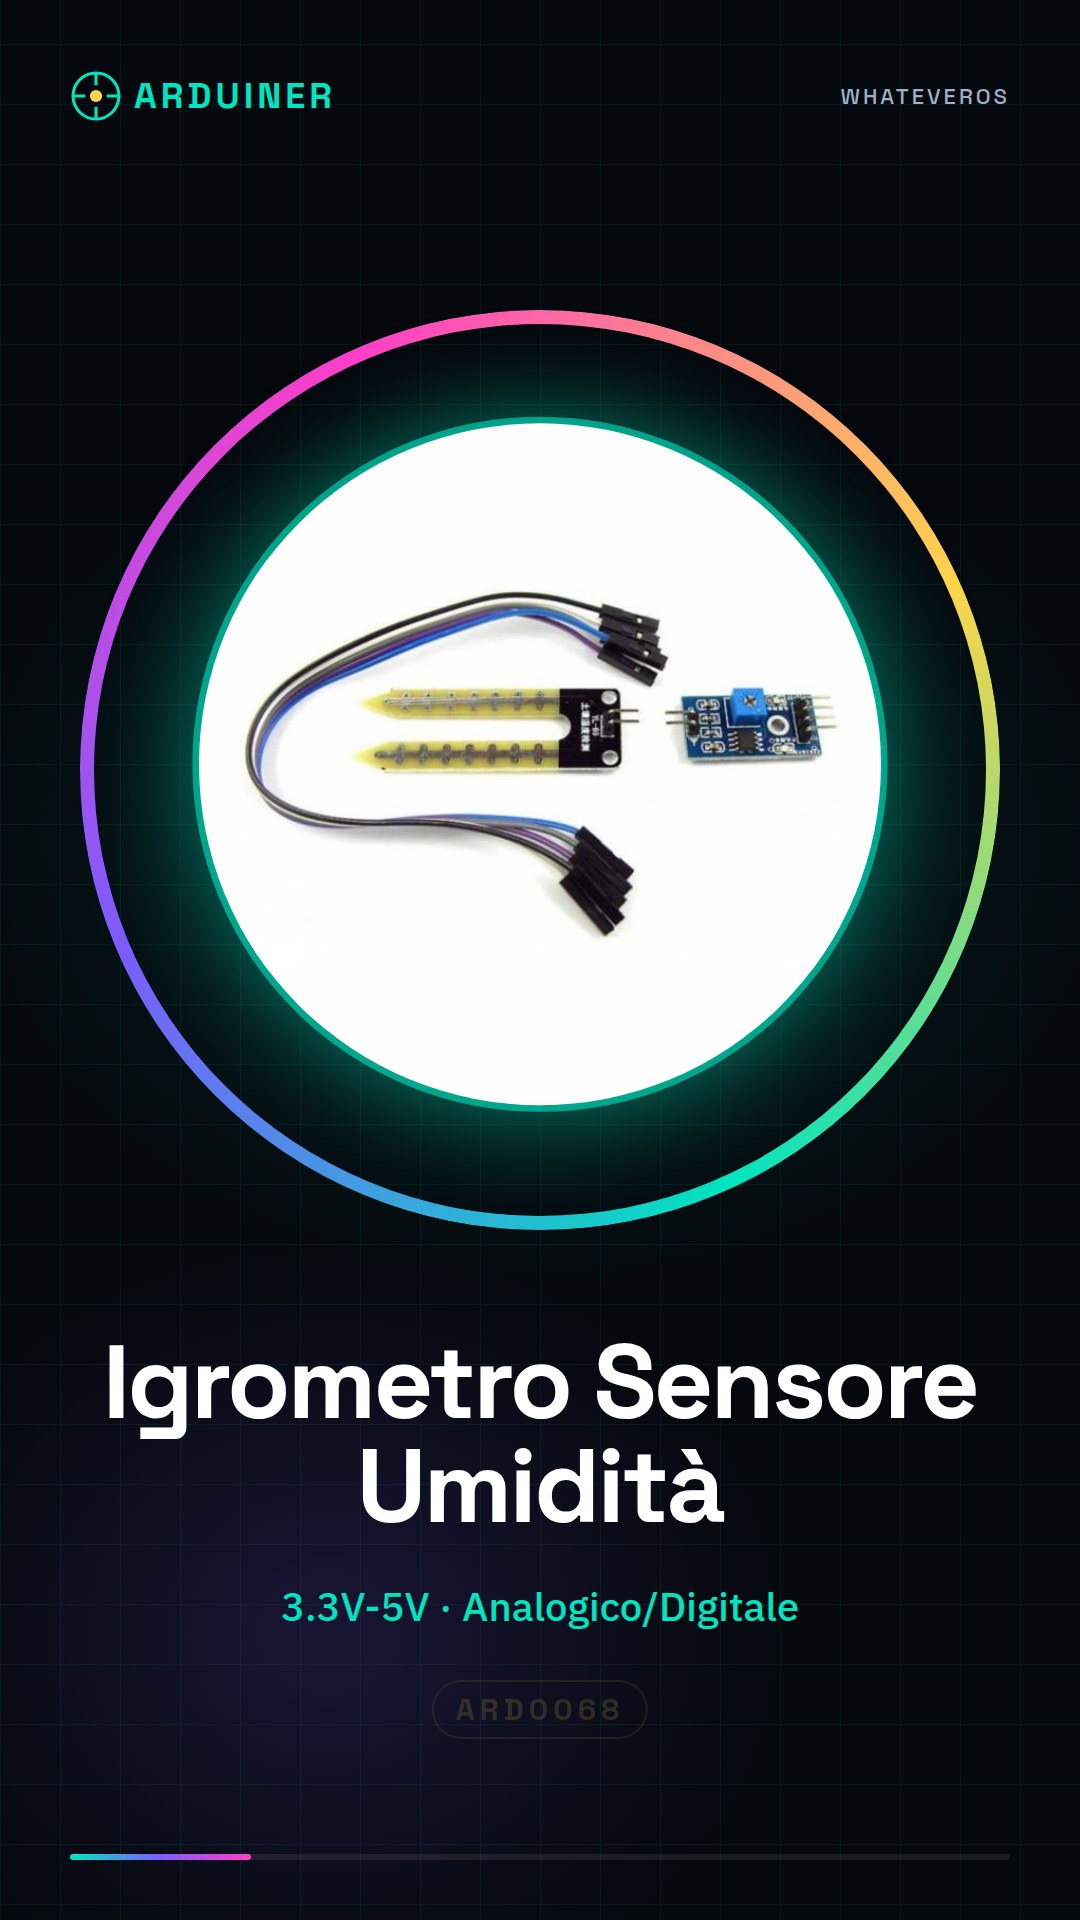
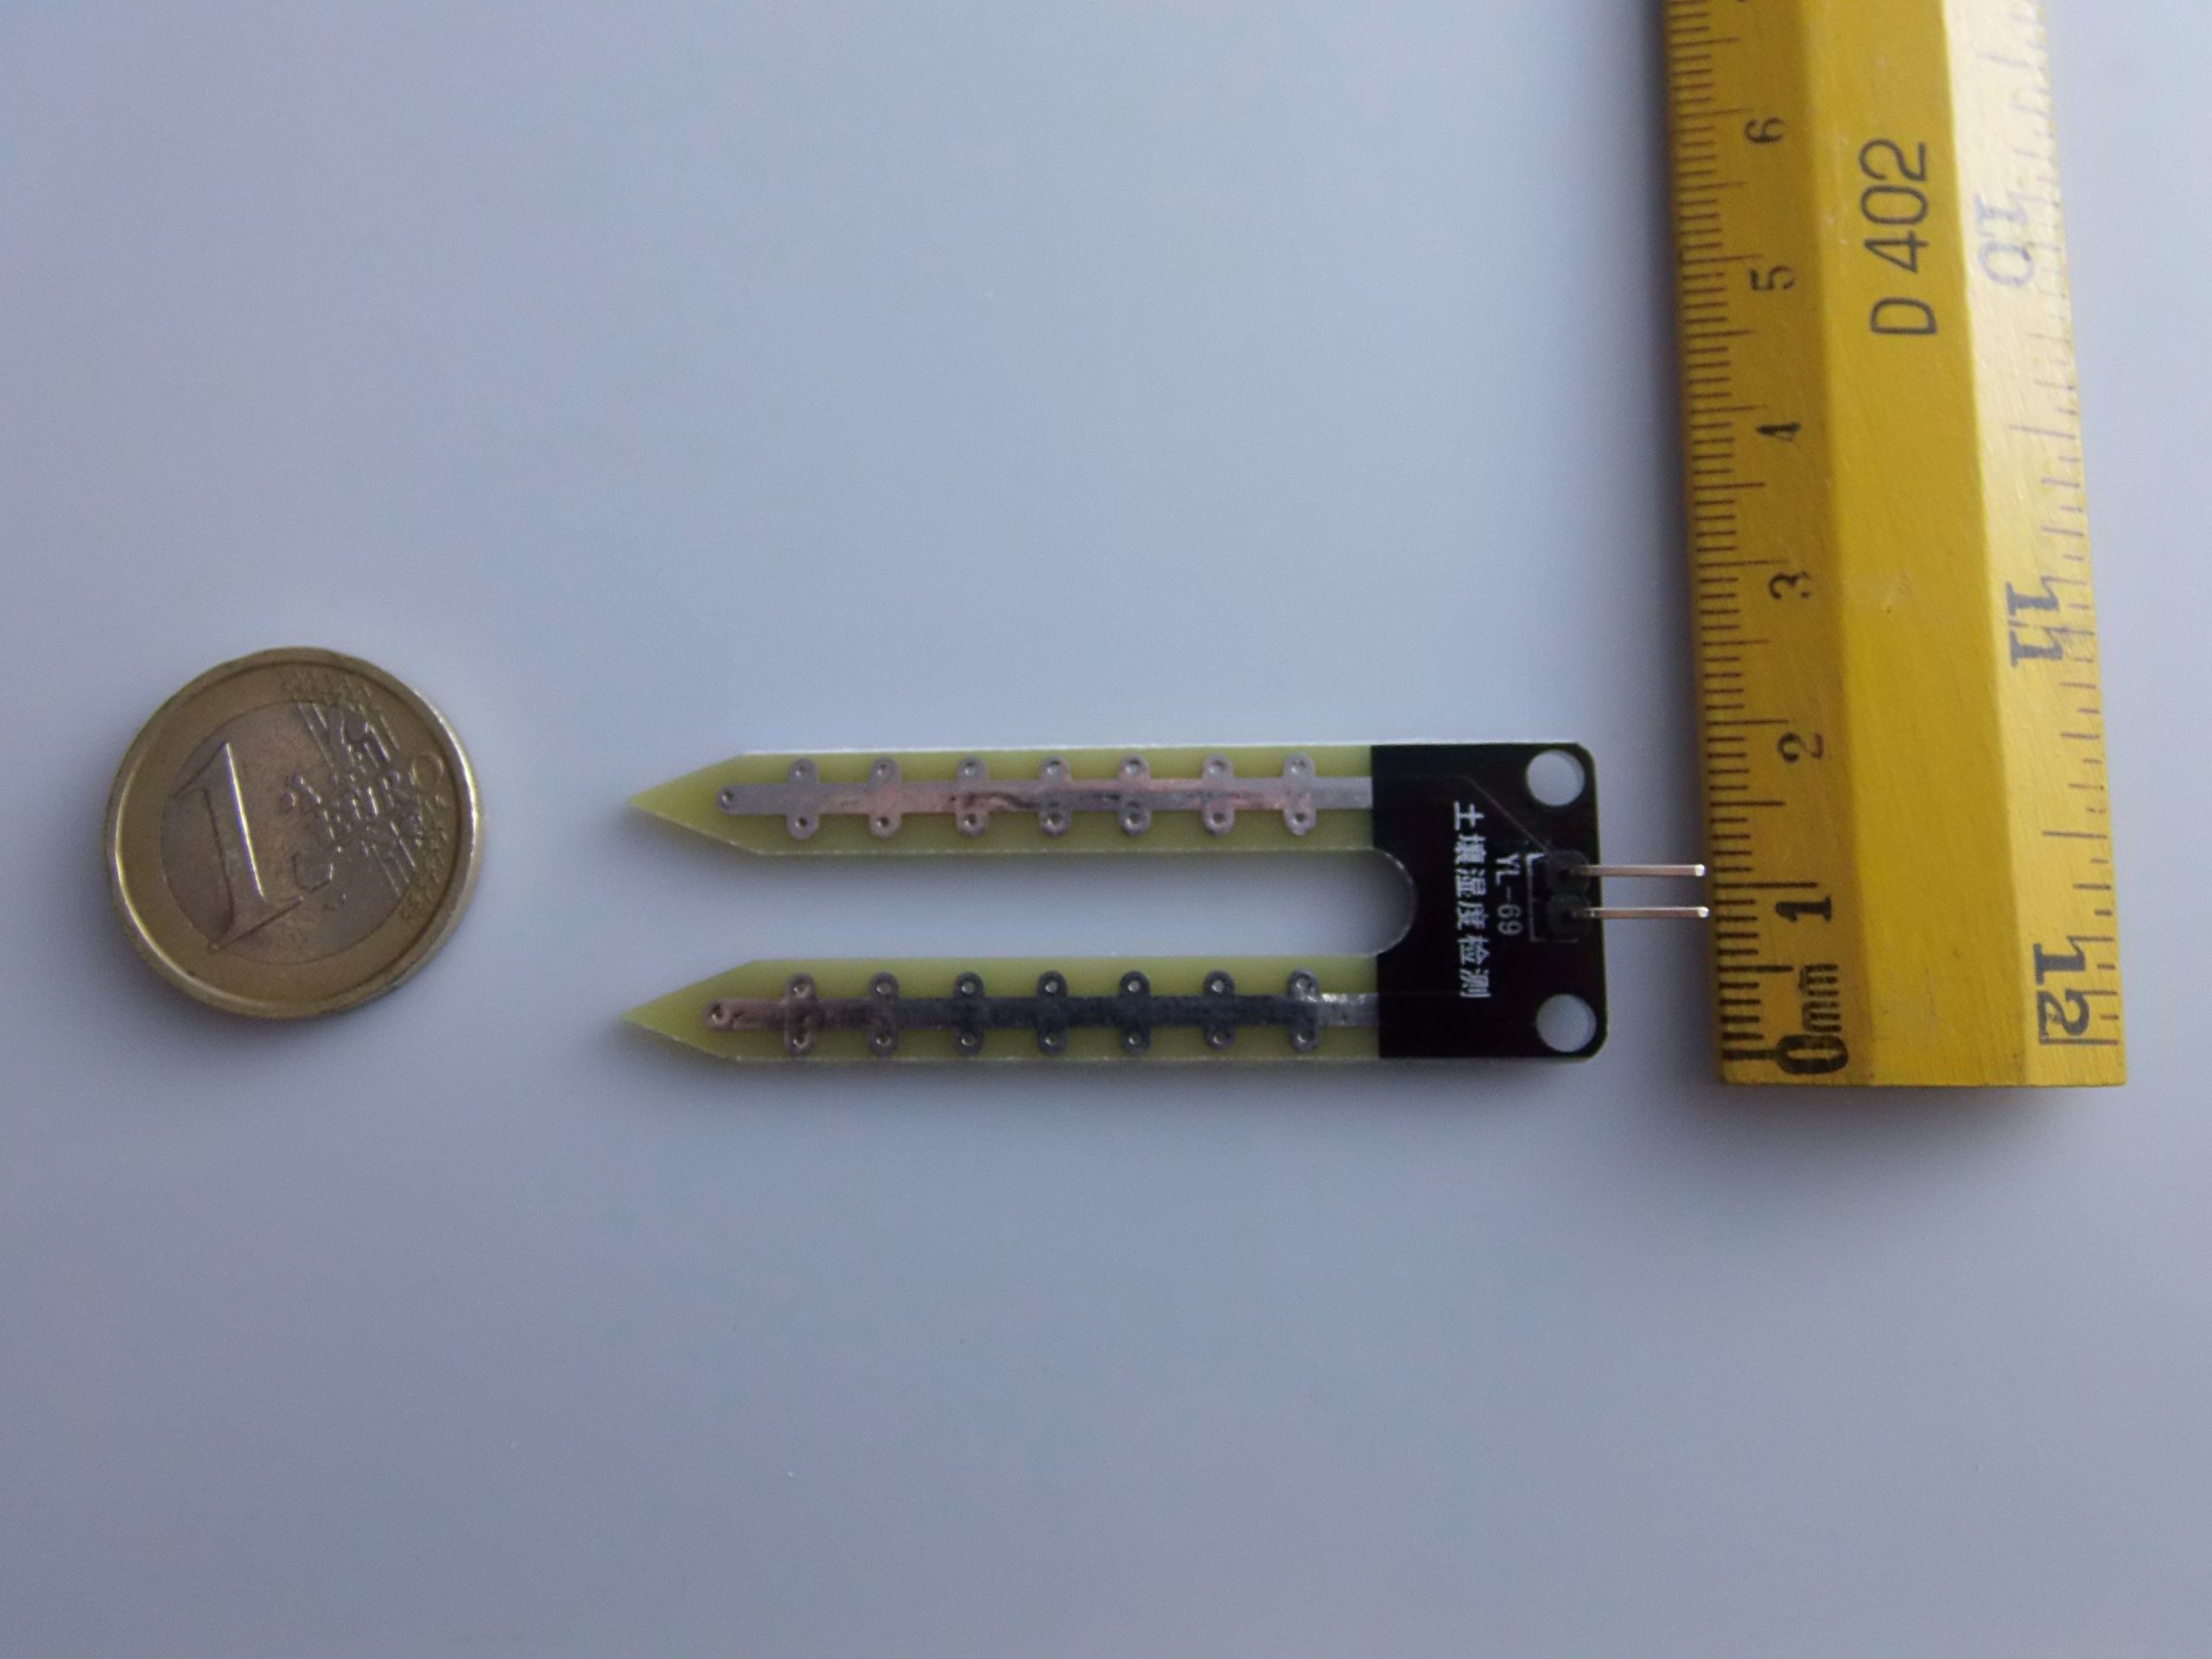
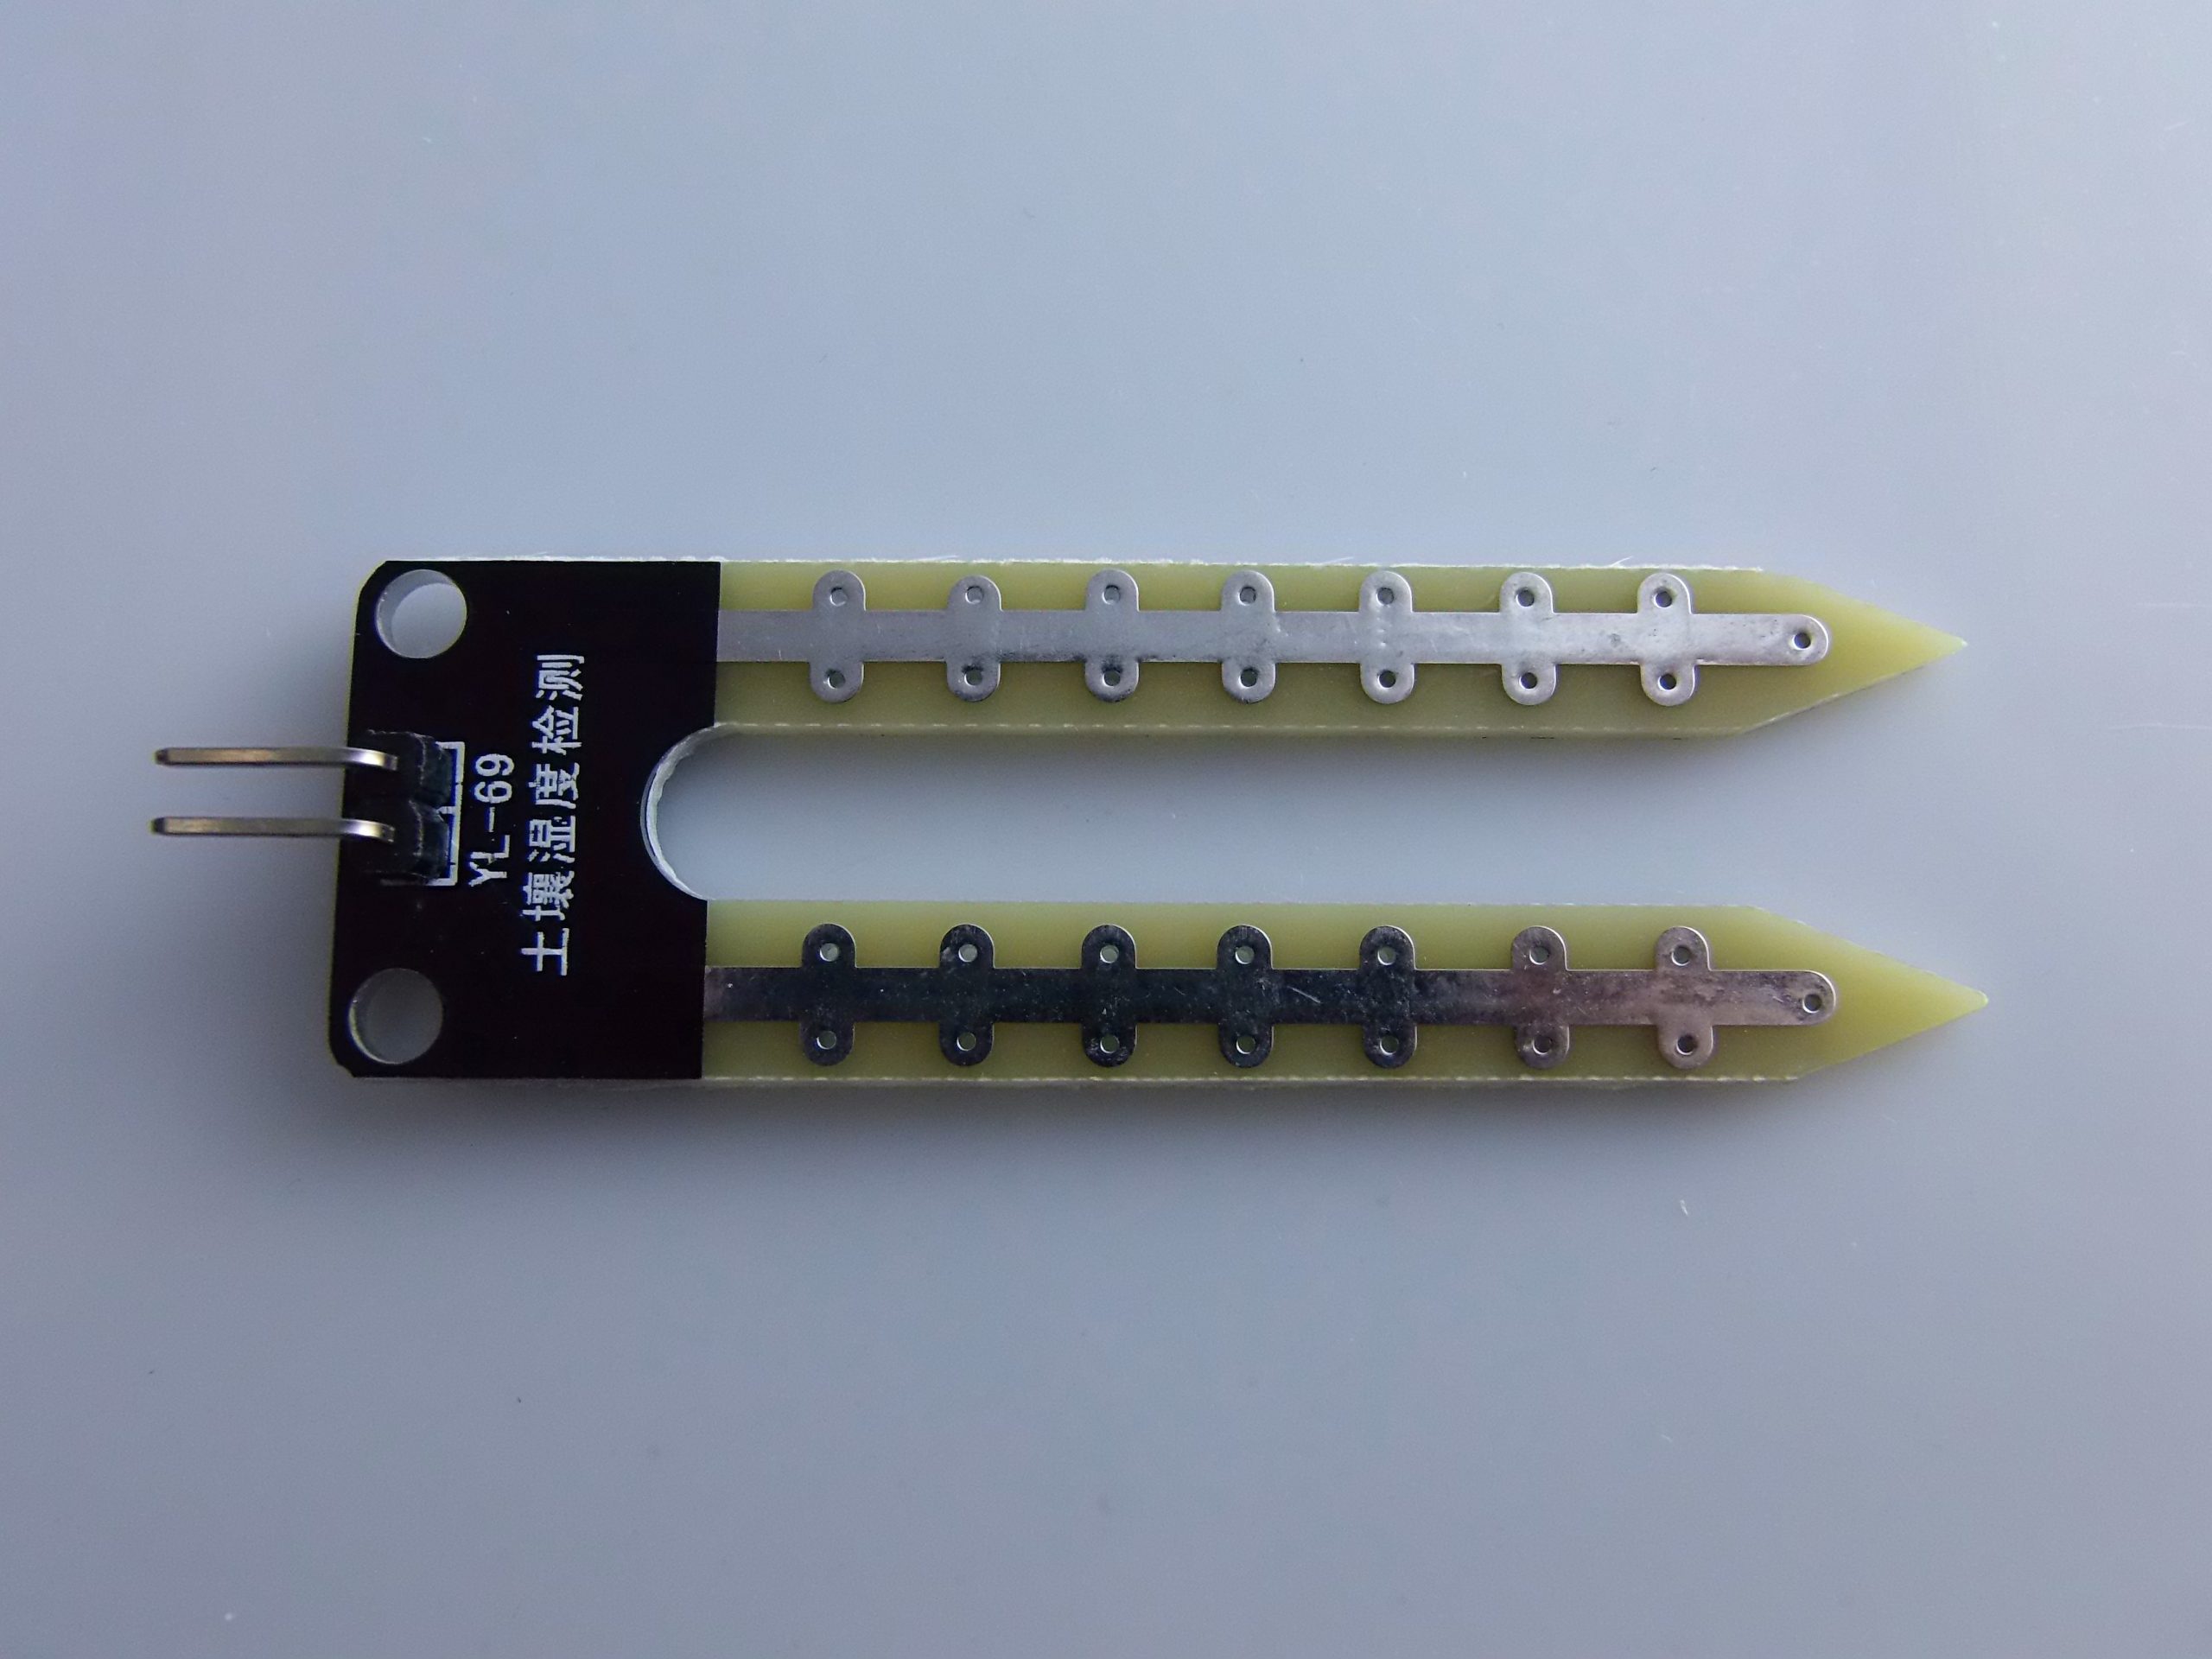
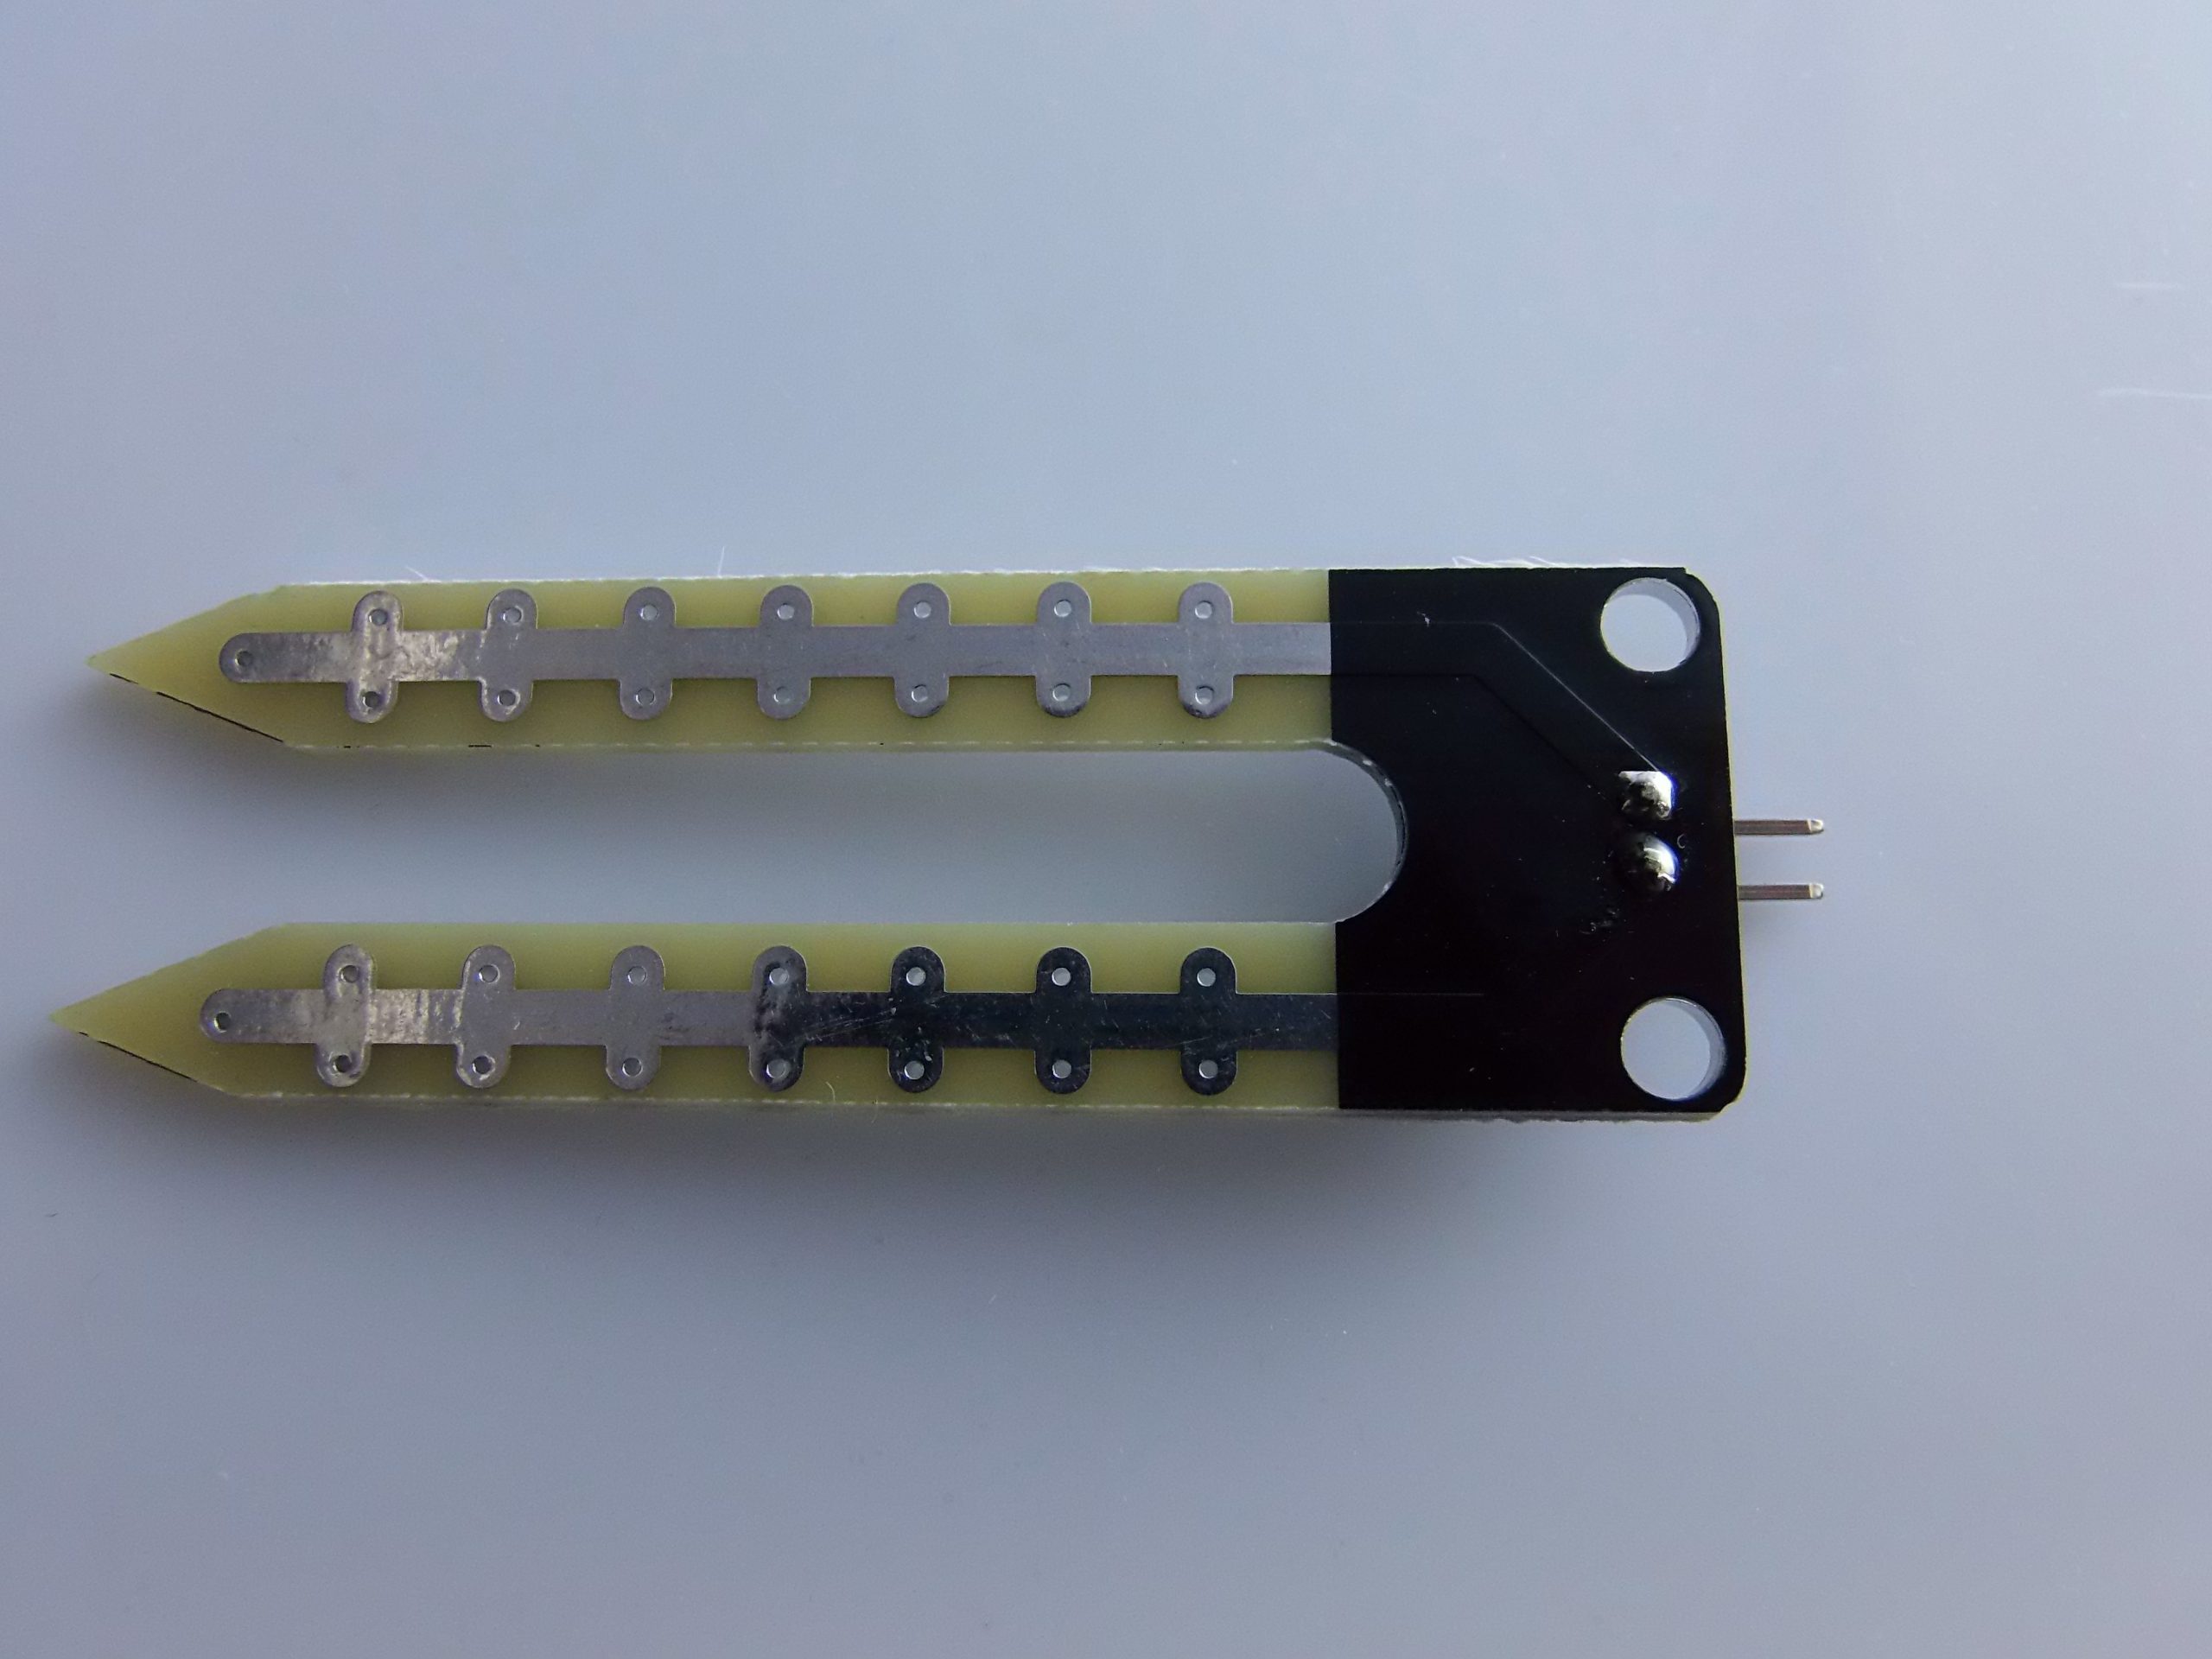
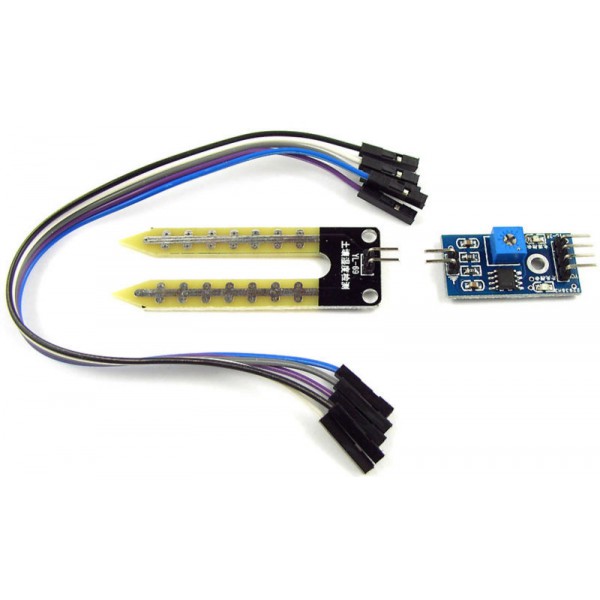
Description
🌱 Soil Moisture Sensor Module
✅ General Description
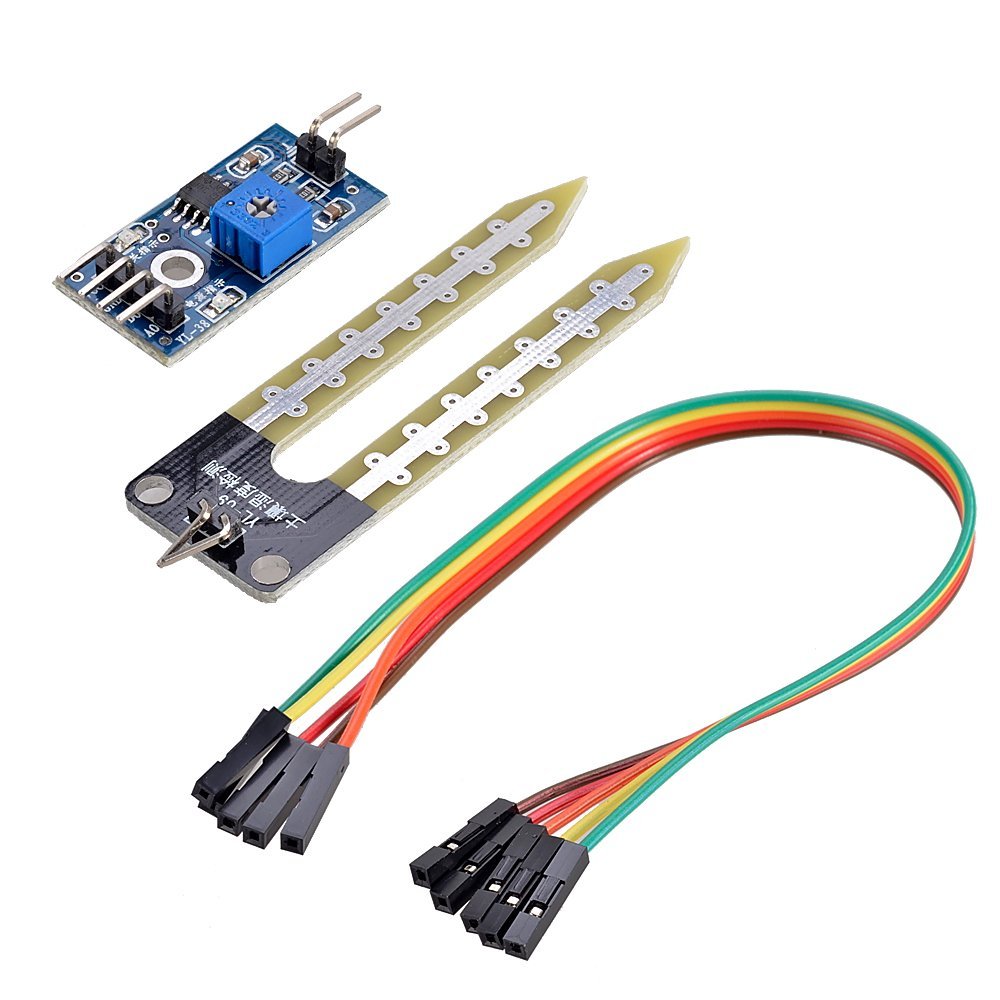
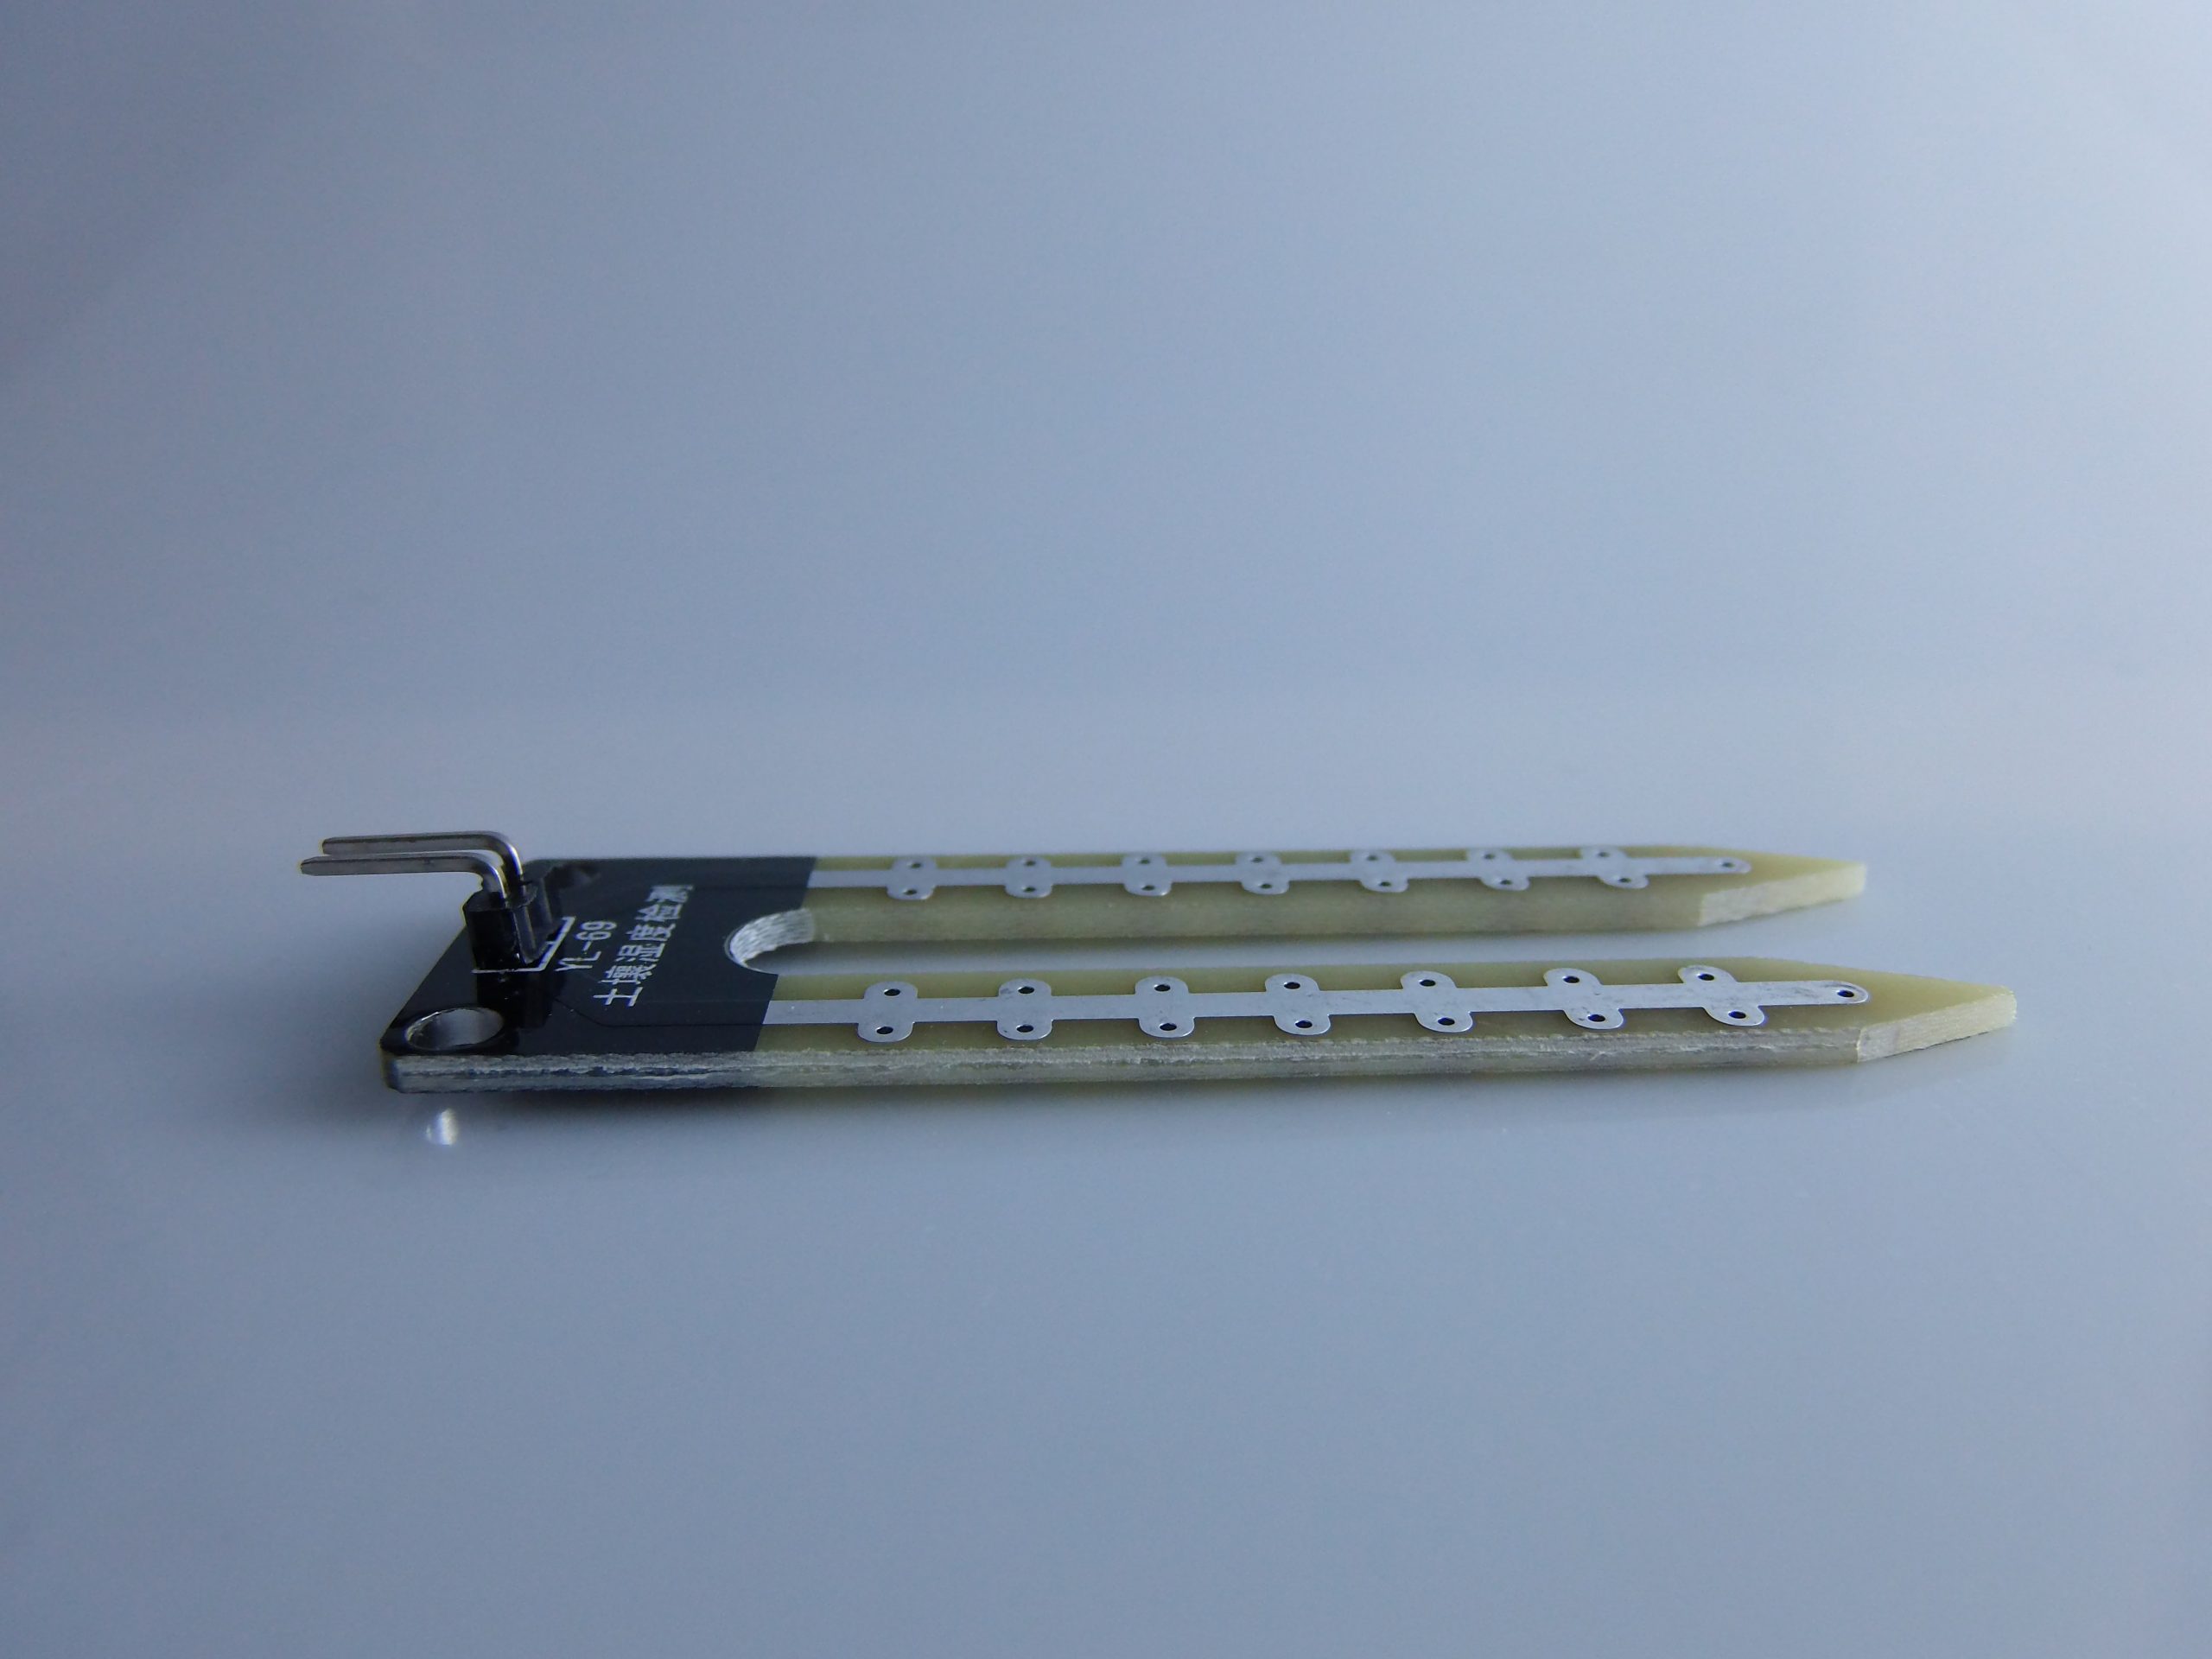
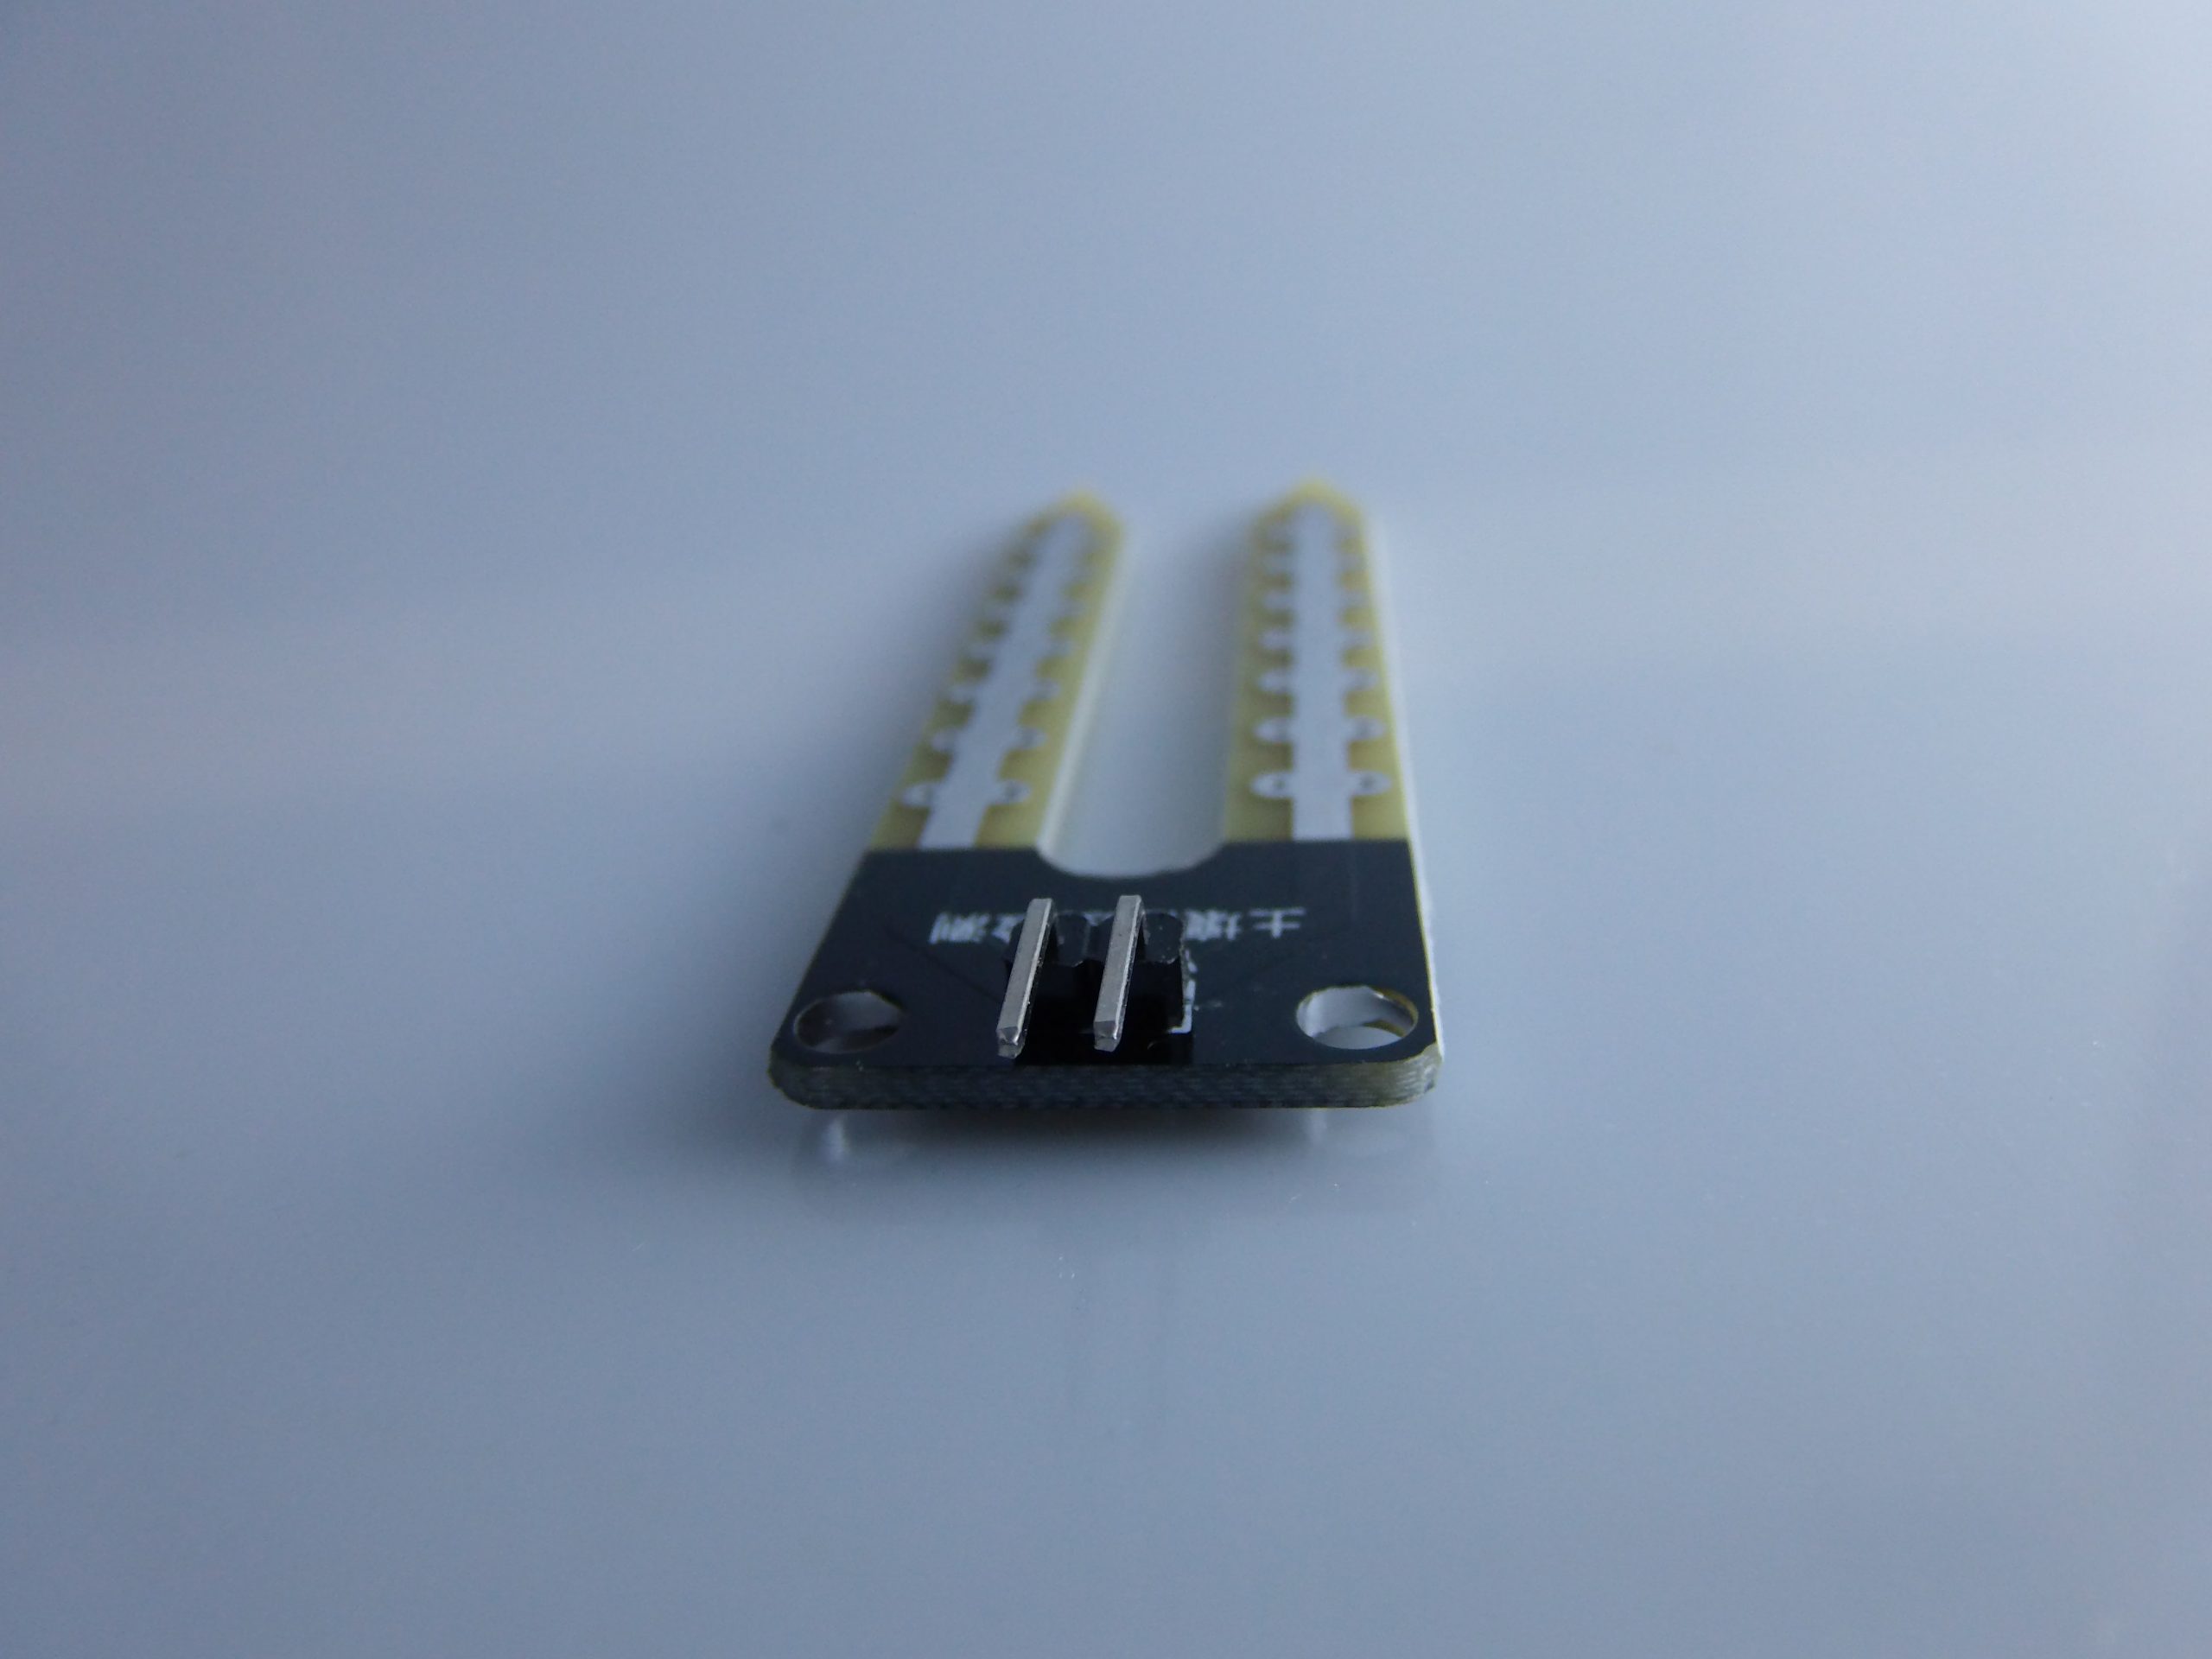
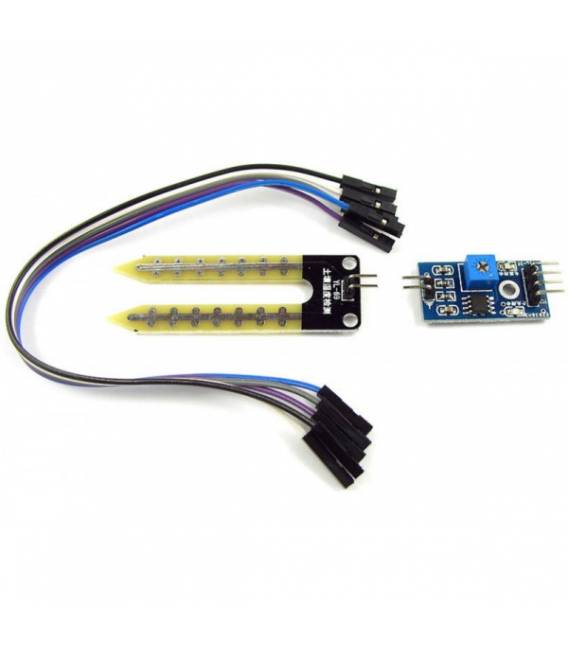
The Soil Moisture Sensor Module is a sensor designed to detect the moisture level in the soil. It is widely used in agricultural automation projects, smart irrigation systems, and educational projects with Arduino, ESP8266, ESP32 and other microcontrollers.
⚙️ Technical Specifications
| Feature | Specification |
|---|---|
| Supply Voltage | 3.3V – 5V |
| Output Type | Analog and Digital |
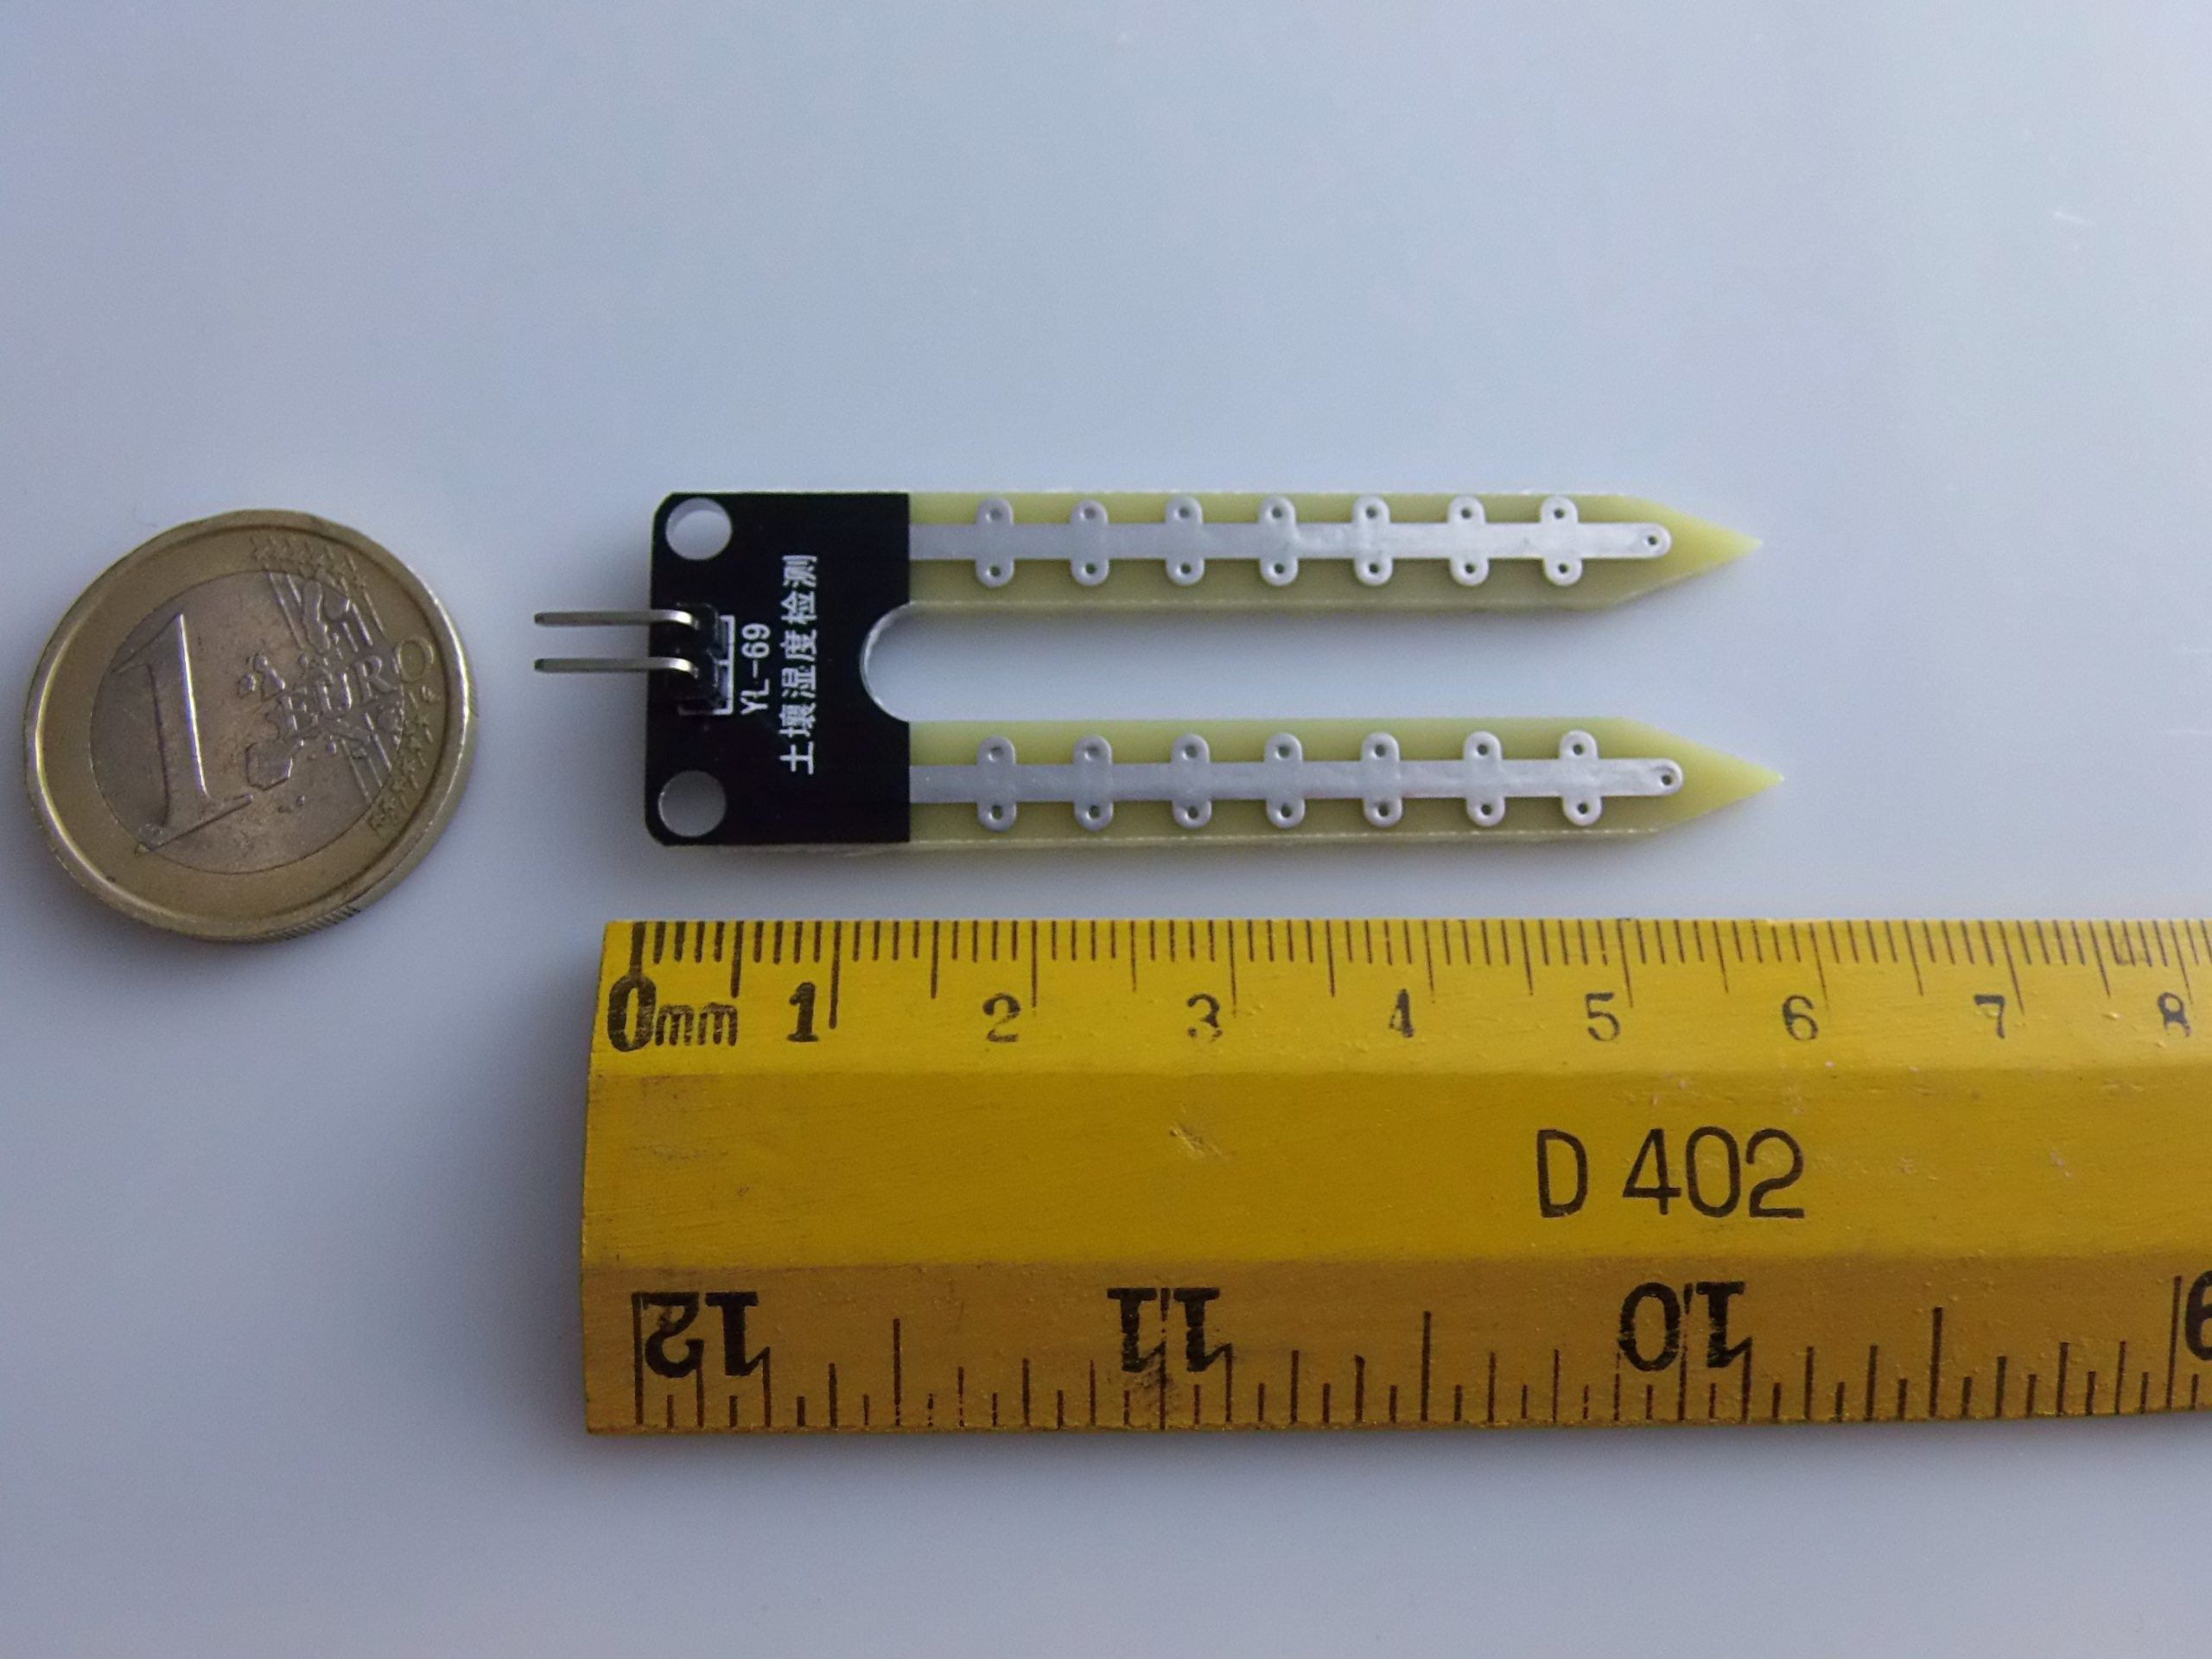
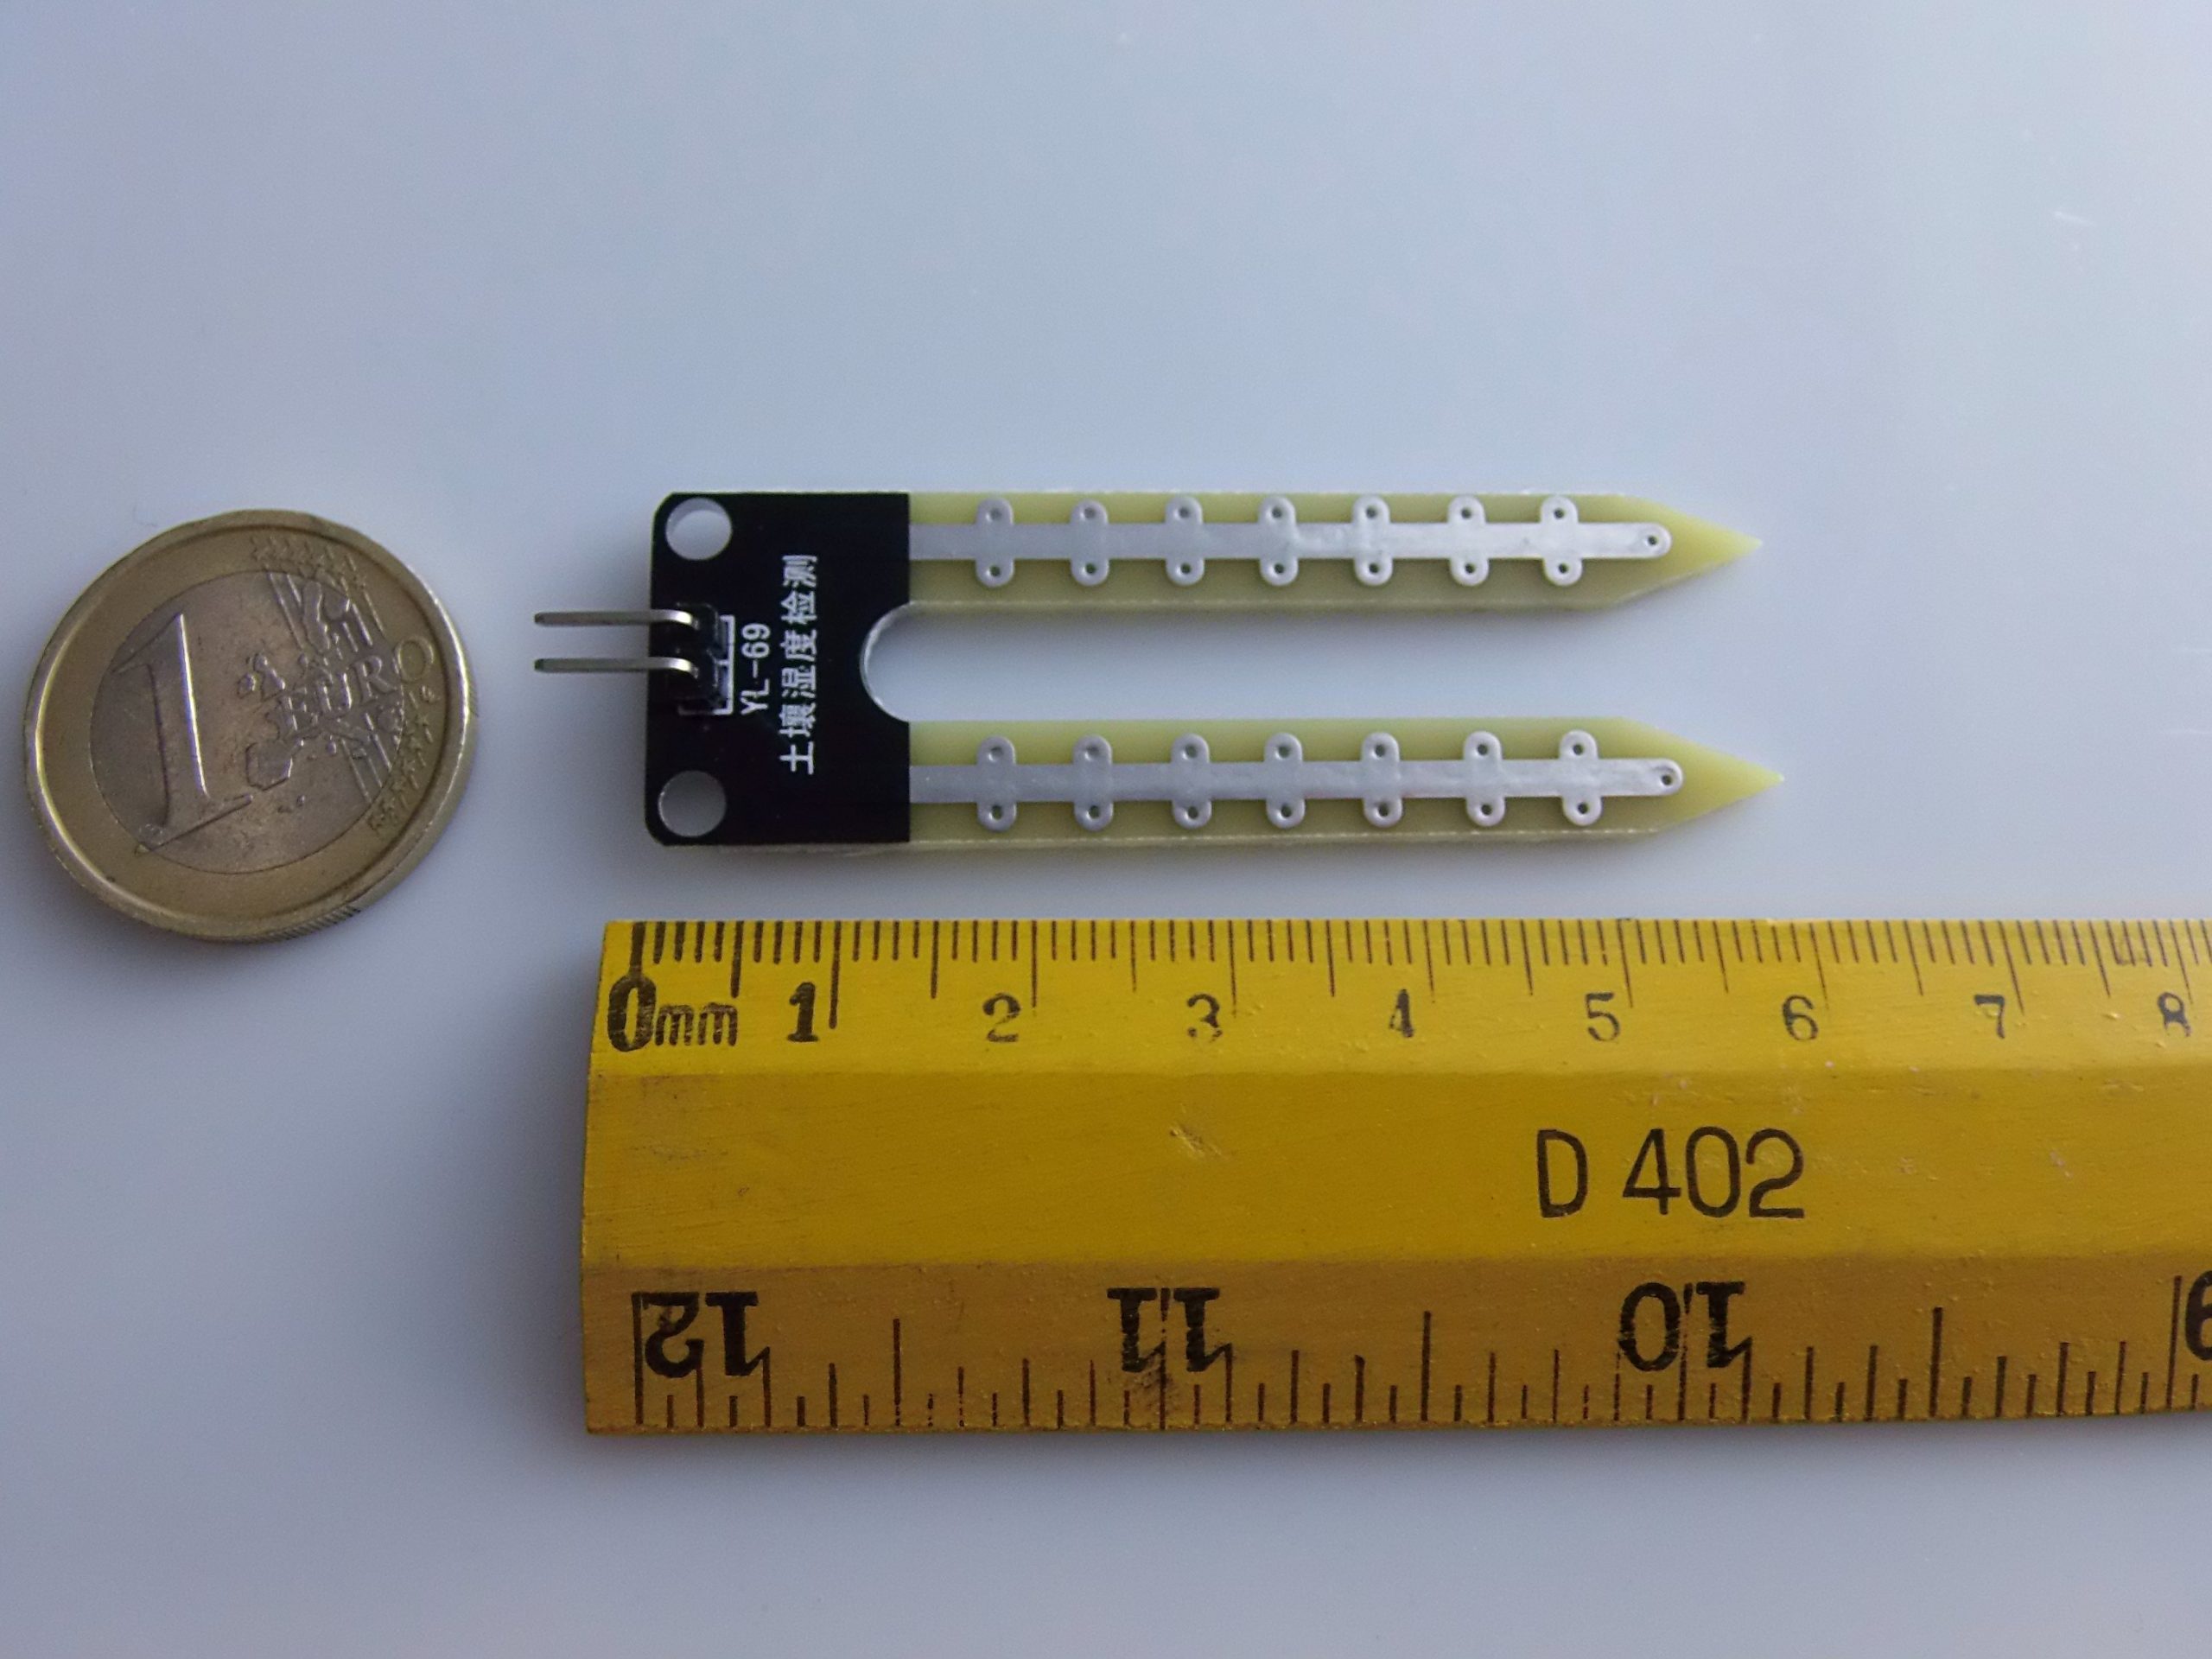
| Main Sensor | Fork-shaped probe with two electrodes |
| Detection Type | Soil Electrical Conductivity |
| Threshold Adjustment | Integrated Potentiometer |
| LED Indicators | Power LED and Digital Output LED |
| Compatibility | Arduino, ESP8266, ESP32, Raspberry Pi |
📦 Module Components
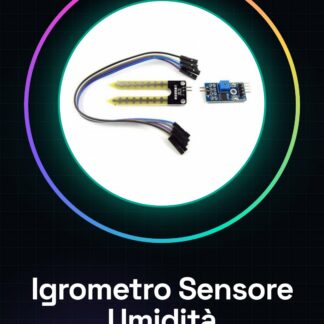
- Two-Electrode Probe (to be inserted into the ground)
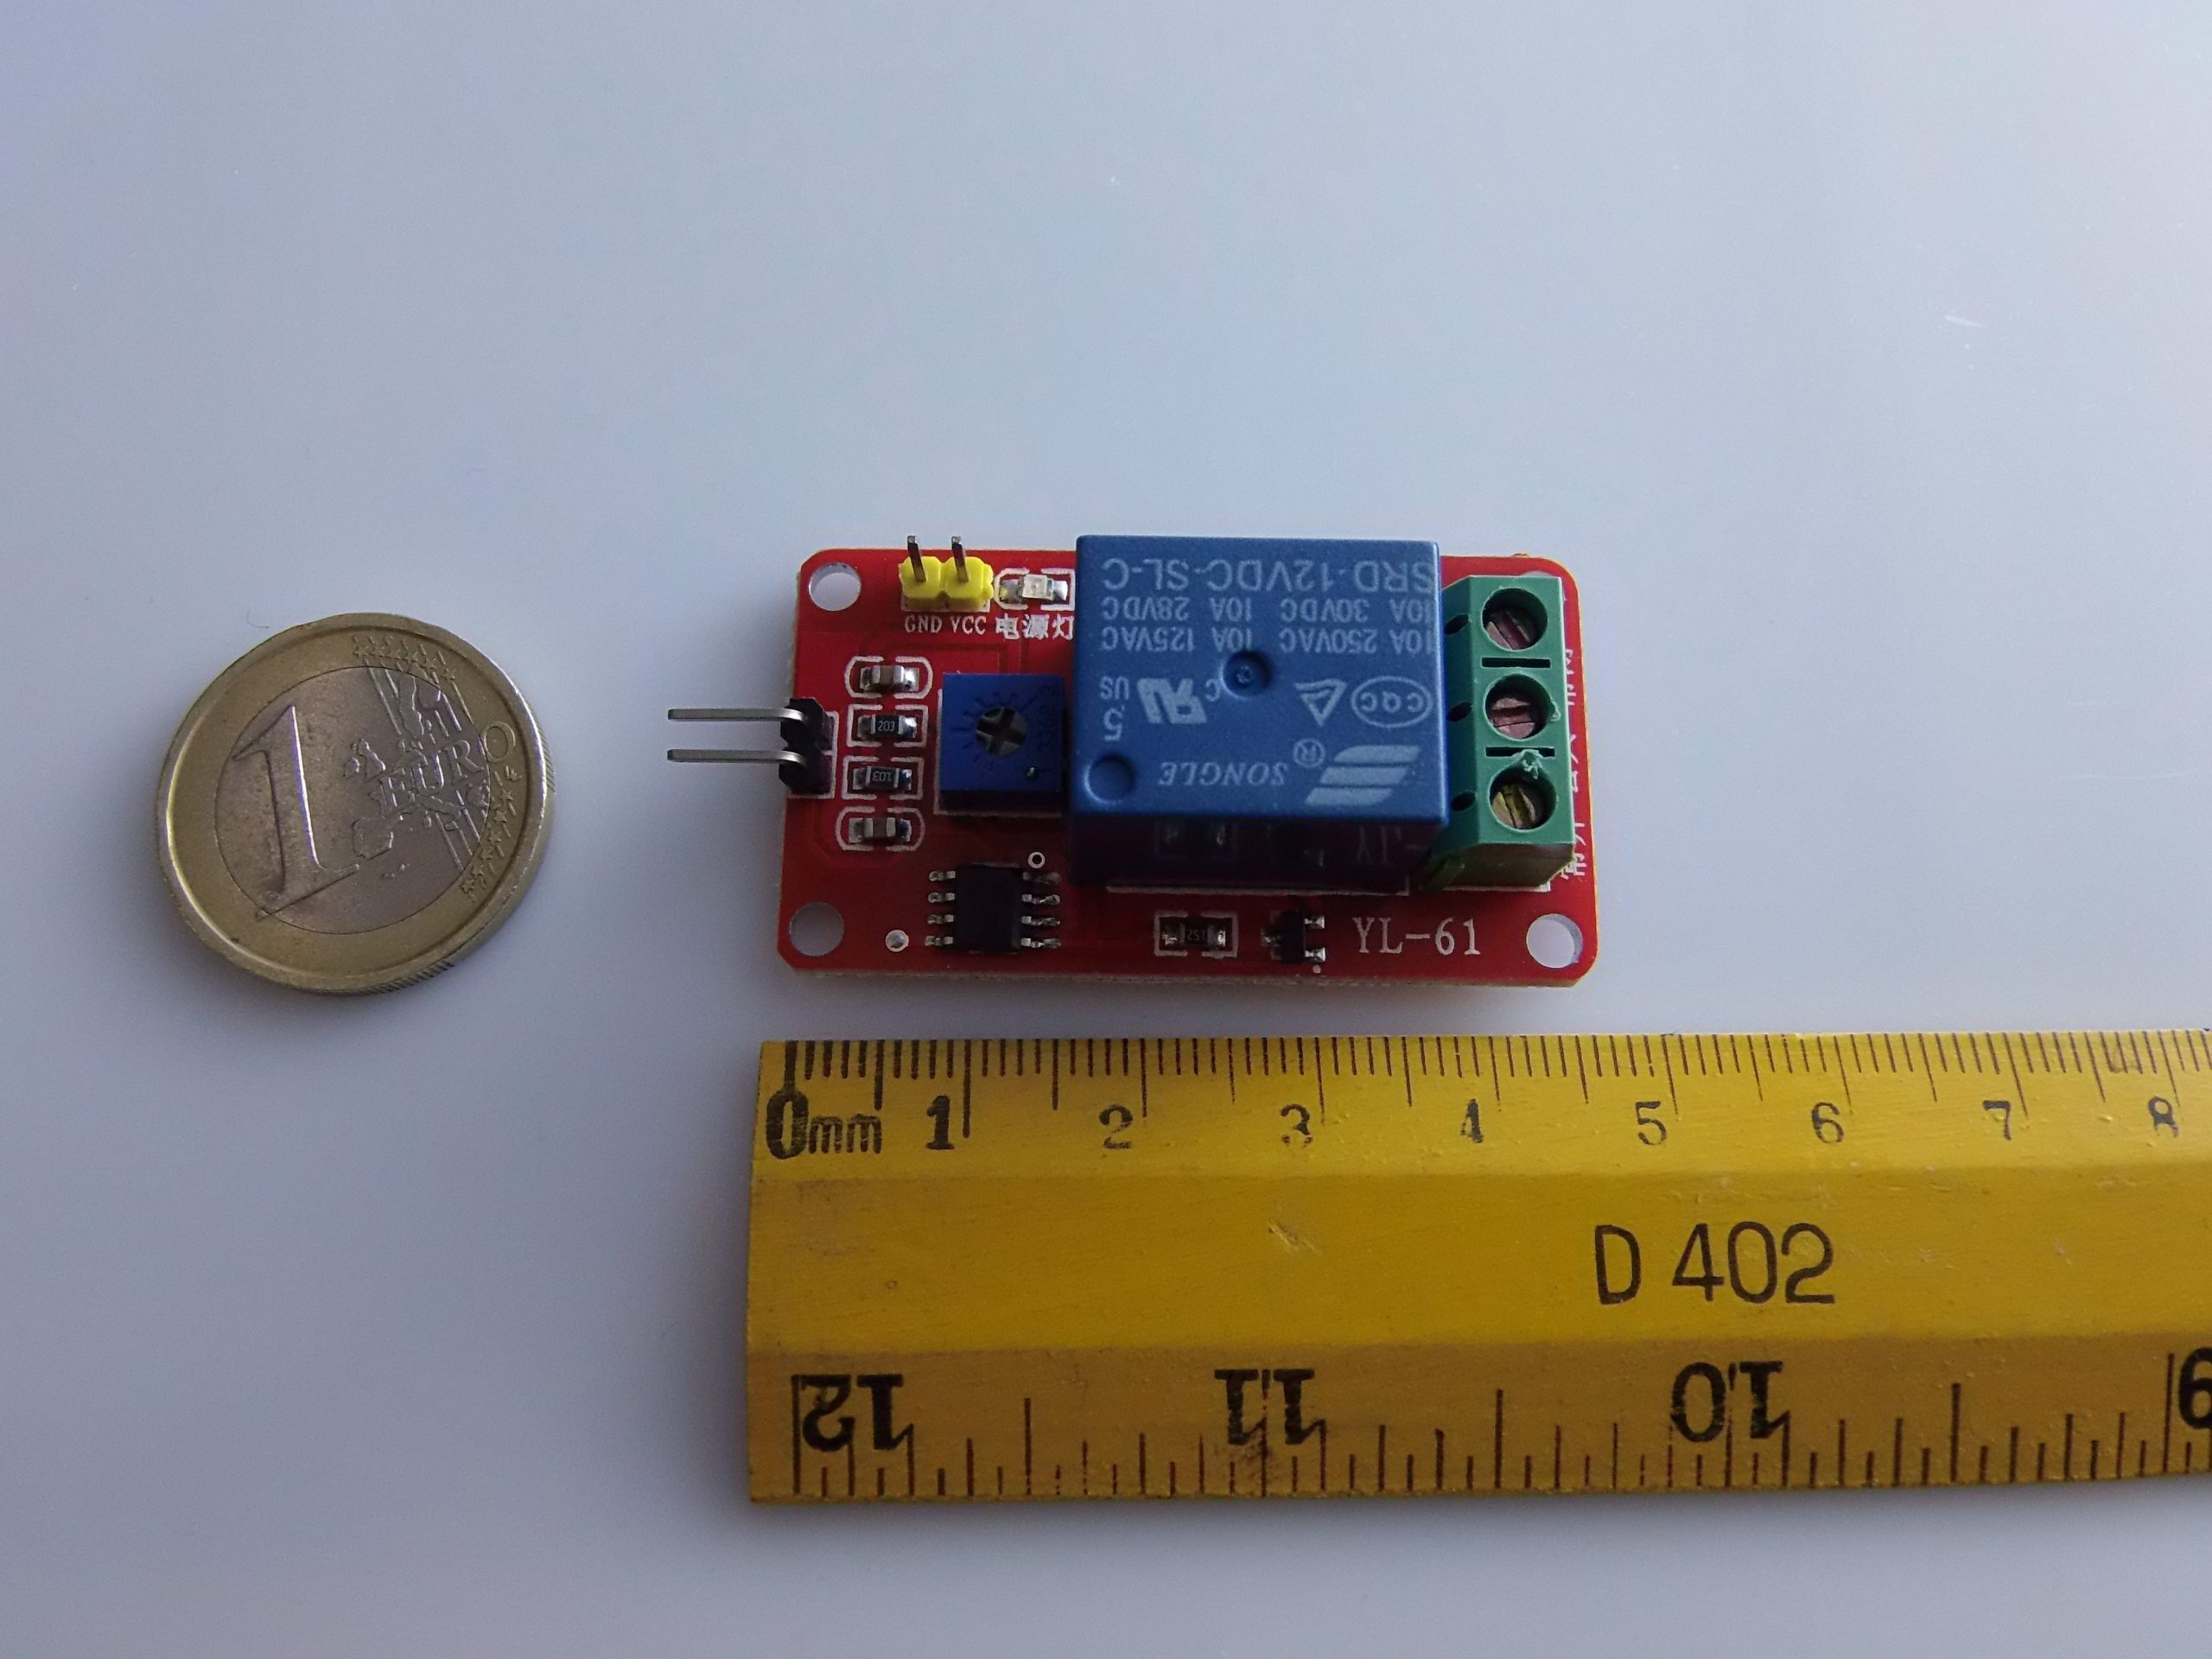
- Control Board with:
- Comparator LM393
- Potentiometer for adjusting the digital signal threshold
- Outputs: AO (Analog Out) e DO (Digital Out)
- Status LED
🧪 Usage Guide with Arduino
🔧 Electrical Connections
| Sensor Pins | Arduino Connection |
|---|---|
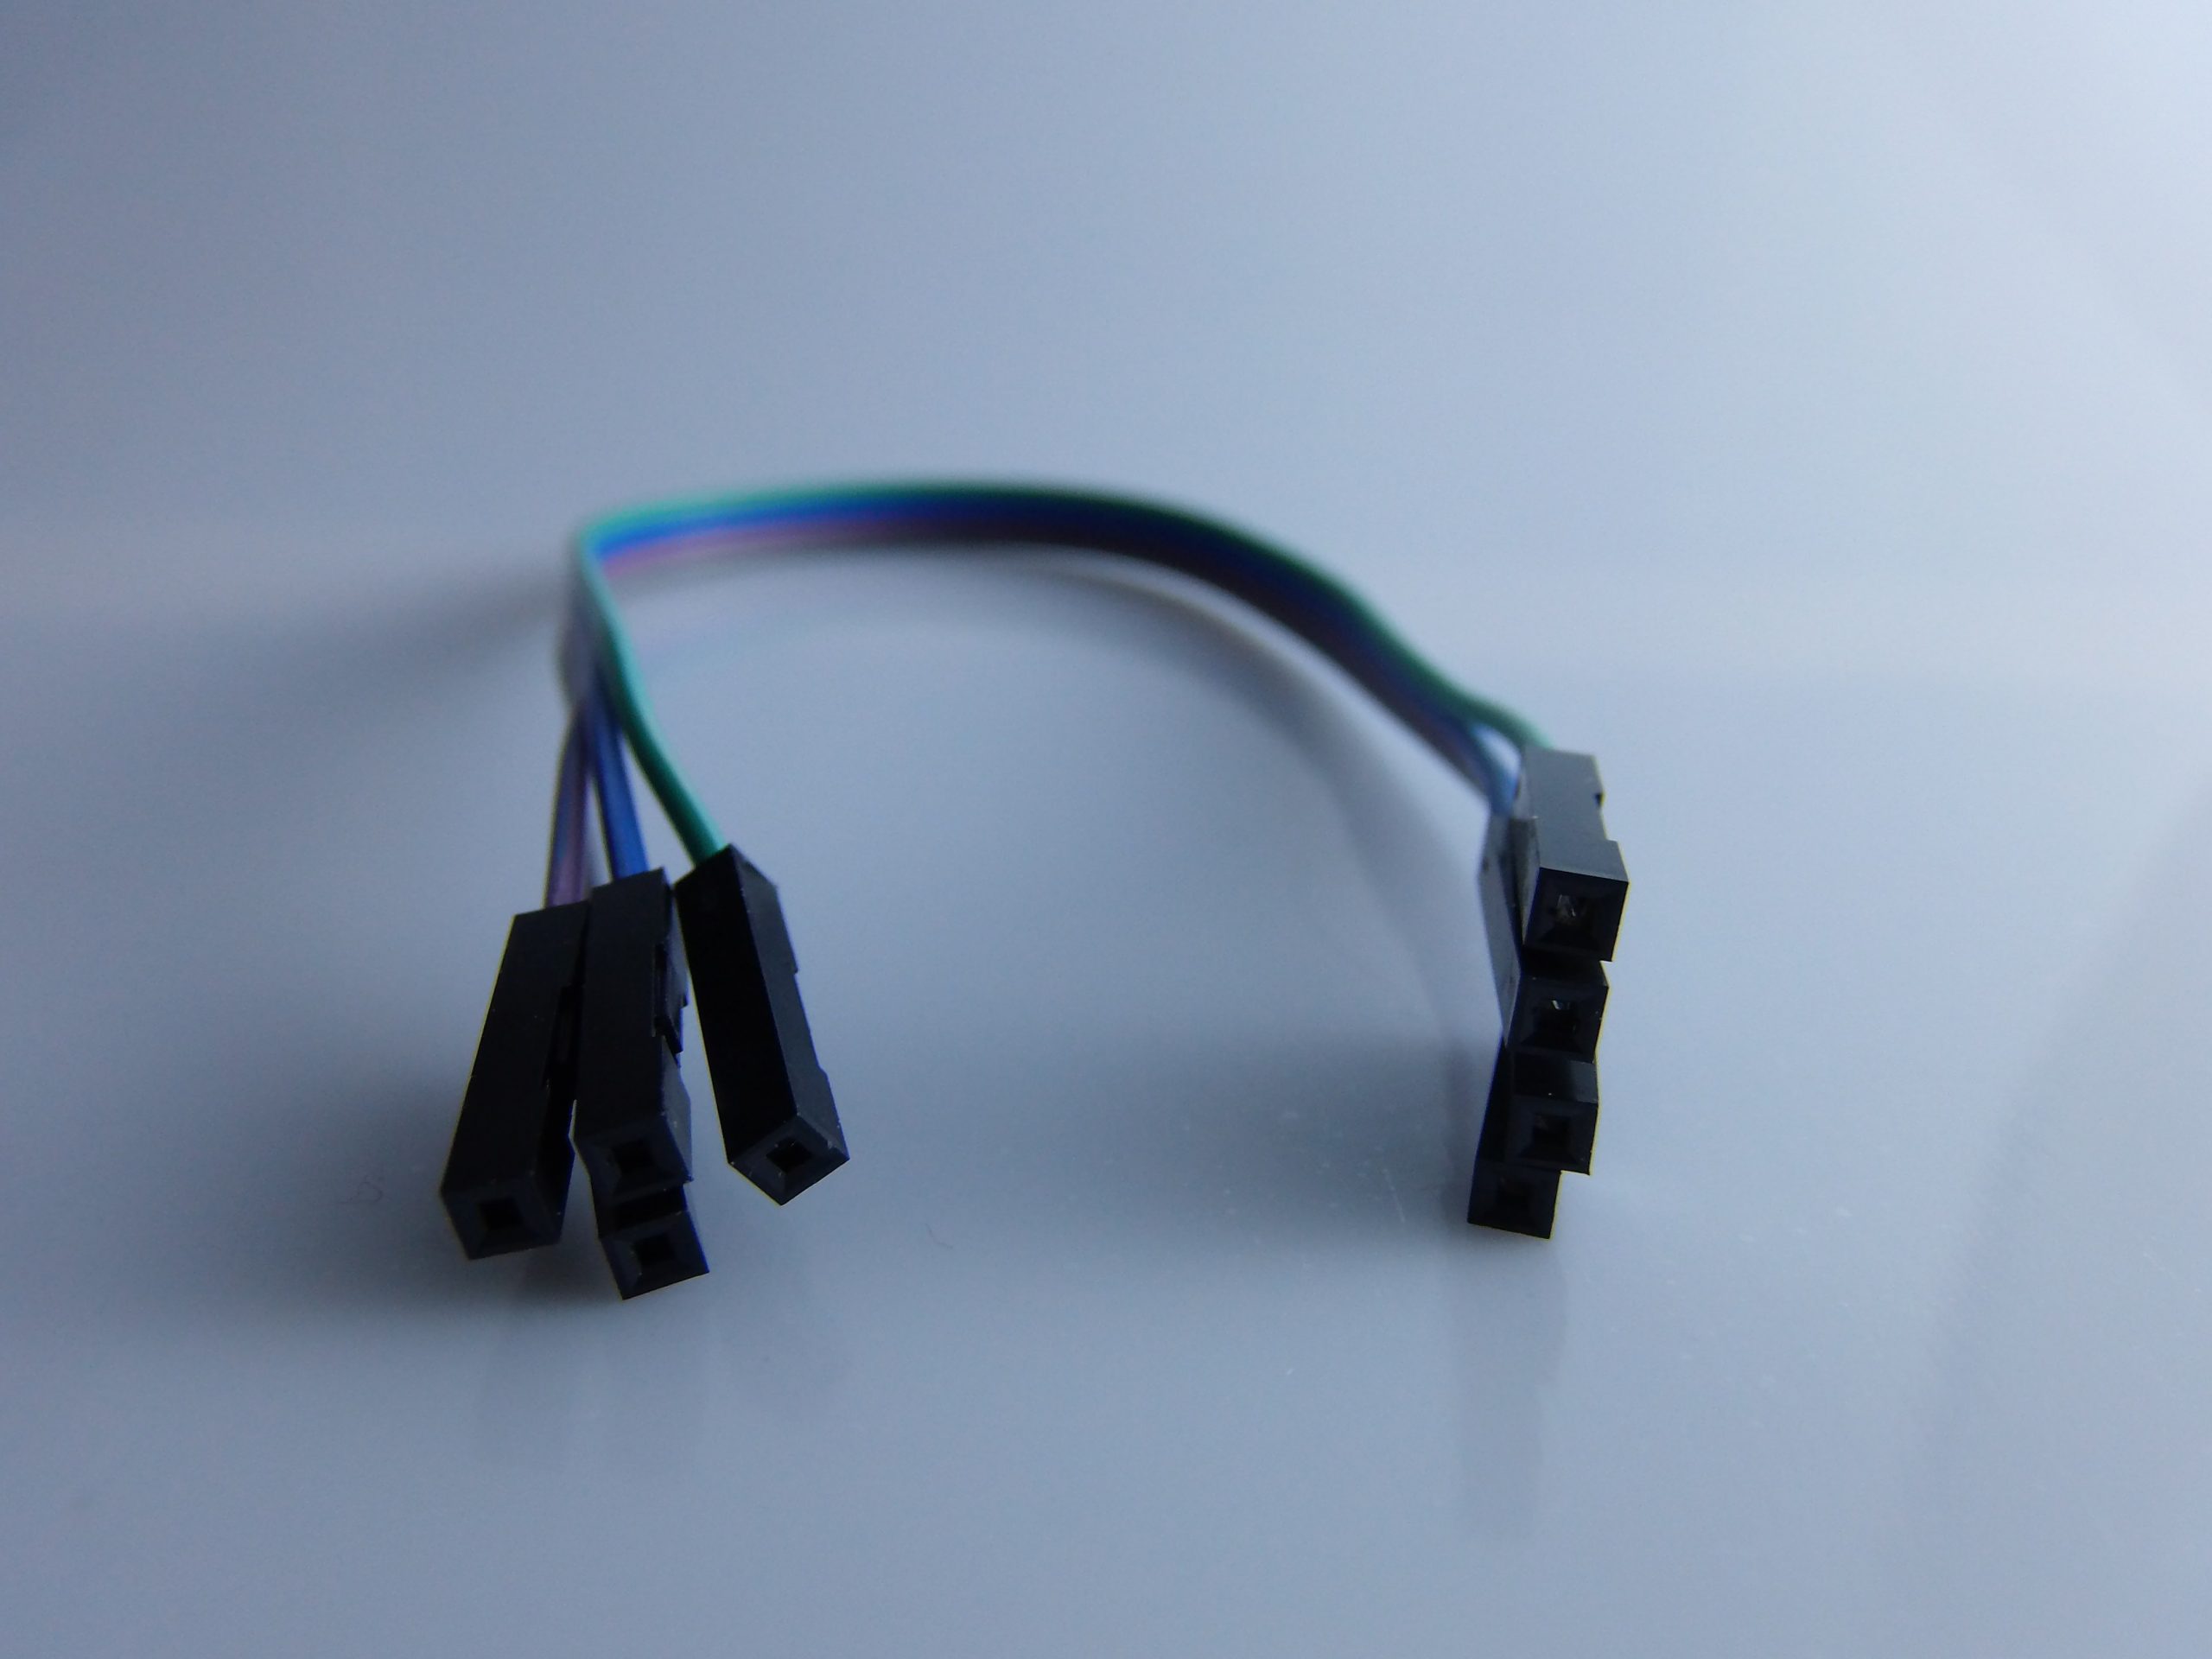
| VCC | 5V o 3.3V |
| GND | GND |
| AO | A0 (analog input) |
| DO | D2 (digital input, optional) |
🛠️ Note: You can use only AO for continuous analog reading, or DO if you want to detect an on/off event (dry/wet) with adjustable threshold.
💻 Example 1: Continuous Analog Reading of Soil Moisture
🔌 Connection Diagram
- VCC → 5V
- GND → GND
- AO → A0
📜 Arduino Code
int pinUmidita = A0;

void setup() {
 Serial.begin(9600);
}

void loop() {
 int valore = analogRead(pinUmidita);
 int percentuale = map(valore, 1023, 0, 0, 100); // secco=1023, bagnato=0
 Serial.print("Umidità del suolo: ");
 Serial.print(percentuale);
 Serial.println(" %");
 delay(1000);
}
ℹ️ Raw values from
analogRead()range from 0 (wet soil) to 1023 (dry soil). The functionmap()converts this to a percentage.
💻 Example 2: Activate a pump if the soil is too dry
🔌 Additional Connections
- DO → pin D2 (Arduino)
- Pump → connected via relay or NPN transistor (with separate power supply)
📜 Arduino Code
int pinUmido = 2; // DO del sensore
int pinPompa = 8; // Relè o transistor per pompa

void setup() {
 pinMode(pinUmido, INPUT);
 pinMode(pinPompa, OUTPUT);
 Serial.begin(9600);
}

void loop() {
 int stato = digitalRead(pinUmido);

 if (stato == LOW) { // terreno bagnato (dipende dalla regolazione del potenziometro)
 digitalWrite(pinPompa, LOW); // spegni pompa
 Serial.println("Terreno umido - Pompa OFF");
 } else {
 digitalWrite(pinPompa, HIGH); // accendi pompa
 Serial.println("Terreno secco - Pompa ON");
 }

 delay(1000);
}
🛑 WARNING: Do not connect a pump directly to an Arduino pin! Always use a relay module, a transistor or a power driver for external devices.
🧠 Useful Tips
- 💧 Calibration: Insert the probe into completely dry soil and then into completely wet soil to read the minimum and maximum values.
- ⚠️ Corrosion: Economical modules corrode over time due to electrolysis. For long-term projects, consider capacitive or o waterproof.
- 🧪 Protection: If using the probe for extended periods, disconnect VCC when not using the sensor, or use a more durable probe.
📚 Common Applications
- 🌾 Automatic irrigation systems
- 🪴 Smart indoor plant pots
- 🌍 Home weather stations
- 🧪 STEM experiments with students
🔚 Conclusion
The Soil Moisture Sensor Module is one of the most useful and simple components to integrate into an environmental monitoring project with Arduino. It is economical, easy to use, and highly educational, perfect for hobbyists and students.

Here are three examples of Fritzing schematics useful for connecting your Soil Moisture Sensor Module with Arduino:
- Connect sensor only with Arduino for analog and digital reading (forums.adafruit.com)
- Diagram with LCD display integrated and relay pump for irrigation (Instructables)
- Usage with Arduino Nano / ESP plus Wi-Fi modules or monitoring app
🧩 1. Basic Fritzing Diagram – Moisture Reading
- Sensor probe in the ground
- Connections on breadboard:
- VCC → 5 V (Arduino)
- GND → GND
- A0
- D2 (for digital threshold)
- Optional LED indicators on the breadboard (diyengineers.com, Arduino Project Hub, Instructables)
2. Complete Project with LCD Display and Pump
Connection:
- Sensor as above
- 16×2 LCD with I2C interface connected to A4(A) and A5(SCL)
- Pump relay connected to digital pin D8 (optional modification)
- Separate power supply for sensor and Arduino if needed
This setup allows real-time humidity monitoring, automatic pump activation for irrigation, and message display on the LCD (fritzing.org, Instructables, forums.adafruit.com).
3. Project with Wi-Fi and Smartphone App (ESP8266/Nano ESP32)
Schematic:
- ESP32/ESP8266 A0 Connected Sensor Module
- 3.3 V / 5 V Power and GND
- Wi-Fi Connectivity to Send Data to Smartphone/App (e.g., Blynk or Custom REST API)
- Relay Logic for Pump Control or Phone Alerts (Instructables, Arduino Forum)
📋 Schematic Summary
| Features | Fritzing Diagram | Key Components |
|---|---|---|
| Simple Analog Read | Image 1 | Arduino + Sensor |
| LCD Display + Irrigation | Image 2 | Arduino + LCD I2C + Relay/Pump |
| Wi-Fi / Smartphone App Integration | Image 3 | ESP8266/Nano ESP32 + relay |
💻 Example Codes
A) Analog Read and Serial Print
int sensorPin = A0;
void setup(){
 Serial.begin(9600);
}
void loop(){
 int val = analogRead(sensorPin);
 float moisture = map(val, 1023, 0, 0, 100);
 Serial.print("Umidità suolo: ");
 Serial.print(moisture);
 Serial.println(" %");
 delay(1000);
}
B) I2C LCD Display and Pump Control
#include <Wire.h>
#include <LiquidCrystal_I2C.h>
LiquidCrystal_I2C lcd(0x27,16,2);
int sensorPin = A0, relayPin = 8;
int dryVal=800, wetVal=400;

void setup(){
 lcd.init(); lcd.backlight();
 pinMode(relayPin, OUTPUT);
 Serial.begin(9600);
}

void loop(){
 int v = analogRead(sensorPin);
 int pct = map(v, dryVal, wetVal, 0, 100);
 pct = constrain(pct,0,100);
 lcd.clear();
 lcd.print("Umidita': "); lcd.print(pct); lcd.print("%");
 Serial.println(pct);
 if(pct <30){
 digitalWrite(relayPin,HIGH);
 lcd.setCursor(0,1); lcd.print("Pompa: ON ");
 } else {
 digitalWrite(relayPin,LOW);
 lcd.setCursor(0,1); lcd.print("Pompa: OFF");
 }
 delay(2000);
}
Adapted from projects on Instructables and Arduino Project Hub (Arduino Forum, Instructables, fritzing forum, Tutorials for Newbies, Arduino Project Hub, Random Nerd Tutorials).
C) Wi-Fi Data Transmission (ESP8266 + Blynk)
#define BLYNK_PRINT Serial
#include <ESP8266WiFi.h>
#include <BlynkSimpleEsp8266.h>

char auth[] = "YourAuthToken";
char ssid[] = "SSID";
char pass[] = "PASSWORD";

#define sensorPin A0

void setup(){
 Serial.begin(115200);
 Blynk.begin(auth, ssid, pass);
}

void loop(){
 int val = analogRead(sensorPin);
 int pct = map(val, 1023, 0, 0, 100);
 Blynk.virtualWrite(V5, val);
 Blynk.virtualWrite(V6, pct);
 delay(1000);
}
This structure is widely used in IoT projects with moisture sensors and mobile apps (Blynk Community).
🛠 Customizations & Tips
- Calibration: measure values on dry and fully wet ground to set dry/wet thresholds.
- Capacitive Probe: preferable for long-term projects, it will corrode less (Arduino Project Hub).
- Isolation and Filtering: add capacitors or filter if using pump to reduce interference with readings.
✅ Conclusion
You now have access to:
- Fritzing schematics for various levels of complexity
- Functional Arduino/ESP codes from analog reading to LCD display or remote control via app
- Useful tips on calibration, corrosion, and long-term stability
|
GENERAL |
MODEL |
Hygrometer Detection Module Soil Moisture Sensor |
|
MATERIALS |
pcb + components |
|
|
COMPATIBILITY |
ARDUINO |
|
|
ELECTRICAL COMPONENTS |
INPUT VOLTAGE |
3,3 – 5 V |
|
WEIGHT AND DIMENSIONS |
PRODUCT WEIGHT |
10g |
|
PACKAGE WEIGHT |
0.125 kg |
|
|
PRODUCT DIMENSIONS (L x W x H) |
5 x 2,6 x 3,2 + 6,5 x 2 x 0,4 |
|
|
PACKAGE DIMENSIONS (L x W x H) |
15 x 10 x 4 cm |
|
|
PACKAGE CONTENTS |
We have datasheets available for all components, if not included in the product download sheet, please send us a message through the contact us form and we will publish it as soon as possible on our website.
Tutorial: How to Use Soil Moisture Sensor Module
To monitor soil moisture in the garden or agriculture. For beginners and makers.
What you need
- Arduino Uno
- USB Cable
- Soil Moisture Sensor Module
- Soil Moisture Sensor
Steps
- Connect the module to the Arduino analog pin A0.
- Download the Adafruit_HID library (check the datasheet).
- Insert the sensor into the soil.
- Open Arduino IDE and create a new sketch.
- Add #include
to the top of the code. - Install the library from the Arduino library manager.
- Upload the sketch to the Arduino.
- View the humidity data on the serial monitor.
Example code
void setup() { Serial.begin(9600); } void loop() { int val = analogRead(A0); Serial.println(val); delay(1000); }Mini project
Create an automatic irrigation alarm system.
Common mistakes
- Incorrect sensor connection.
- Library not installed correctly.
- Pin used is not compatible with the module.
Recommended accessories
- Arduino Nano
- Temperature and Humidity Sensor DHT11
- Relay to control irrigation
Frequently asked questions
What is the precision of the sensor?
Check the product datasheet.
How can I connect it to an LCD display?
Use the I2C LCD module and add the data and clock pins to the circuit.
Reviews
There are no reviews yet.