 EN
 IT Italiano
 ES Español
 FR Français
 DE Deutsch
Description
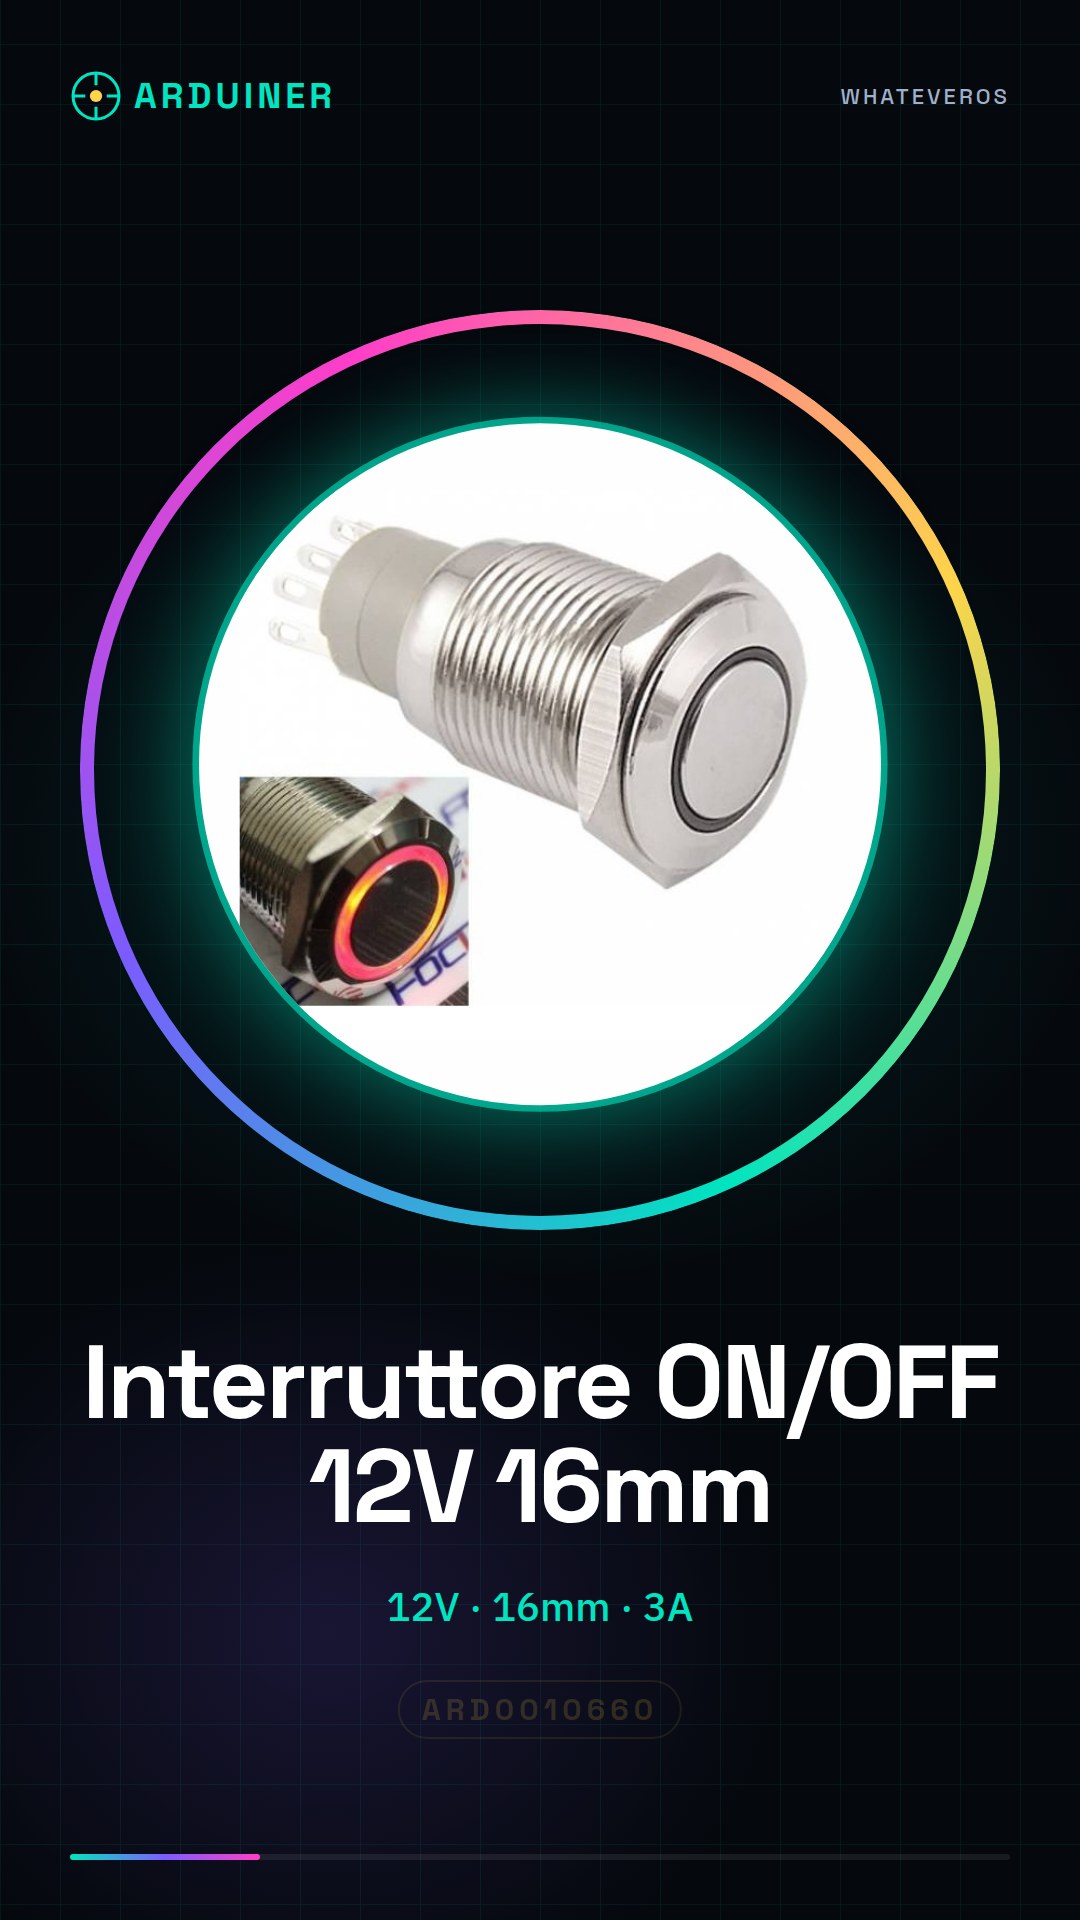
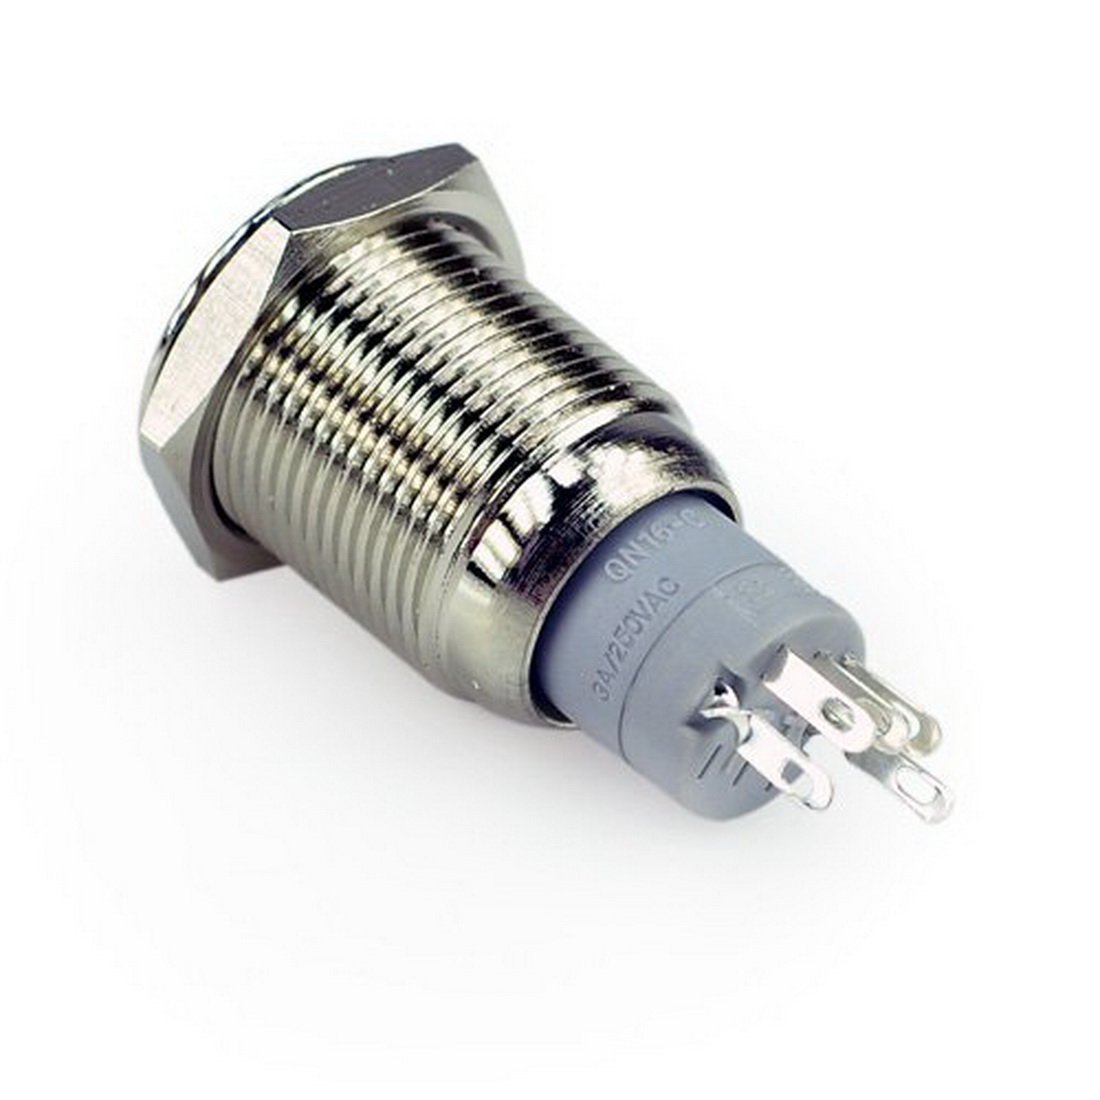
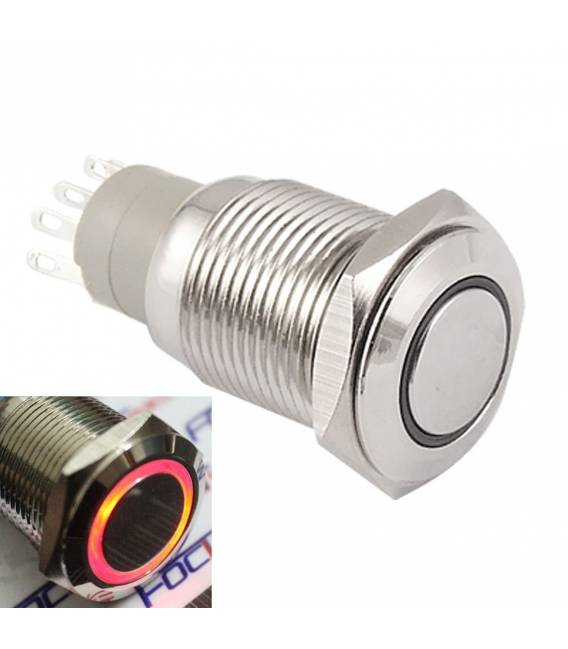
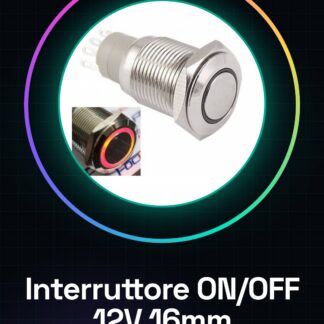
Self-locking Push Button with Orange LED 16mm 12V Metal Button
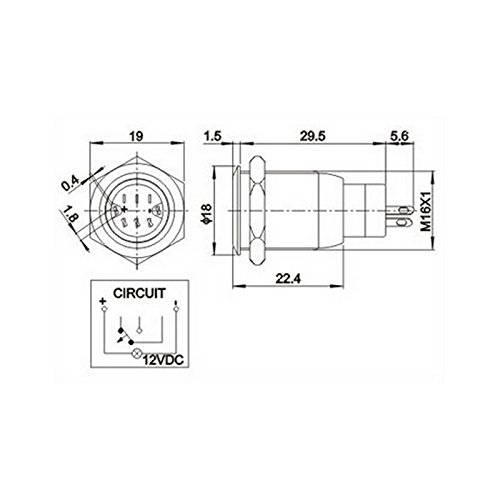
Hole Size: 16MM
Control Mode: self-locking push button normally open, can control a load of 3A
Ring Light Voltage: 12V
Specification:
Tail Configuration: connection terminal (1,8 X 0,4)
Rated Power: 3 A / 250 V AC.
Contact Resistance: 50m
Insulation Resistance: 1000m
Dielectric Withstand Voltage: 2000VAC
Operating Temperature: -20 ~ + 55
Mechanical Life: 500,000 cycles
Electrical Life: 50,000 cycles
Panel Mounting Thickness: 1 – 15 mm
Torque: 5 – 14 Nm
Operating Force: approximately 3 – 5N
Operational Stroke: approximately 2,8 mm
Protection Level: IP67, IK10
Mounting hole cutout: 16 mm
Head diameter: 19 mm
Operation type: self-locking
Switch contact: 1NO1NC
Head shape: flat
LED type: illuminated ring
LED color: orange
Contact material: silver alloy
Button material: stainless steel
Base: PBT
Color: silver / chrome
Quantity: 1 x push button switch
Introduction:
This switch can be used for everything: window switches, motor start, headlights, fog lights, flame thrower kits, windshield kits – anything
Tutorial: How to use Self-locking Push Button ON/OFF Switch with Orange LED 12V 16MM Metal Panel
This self-locking push button ON/OFF switch with orange LED is ideal for projects requiring manual and visible control. Useful for beginners and intermediates.
What you need
- Self-locking Push Button ON/OFF Switch with Orange LED 12V 16MM Metal Panel
- Arduino or microcontroller
- 1kΩ resistor
- 12V power cable
Steps
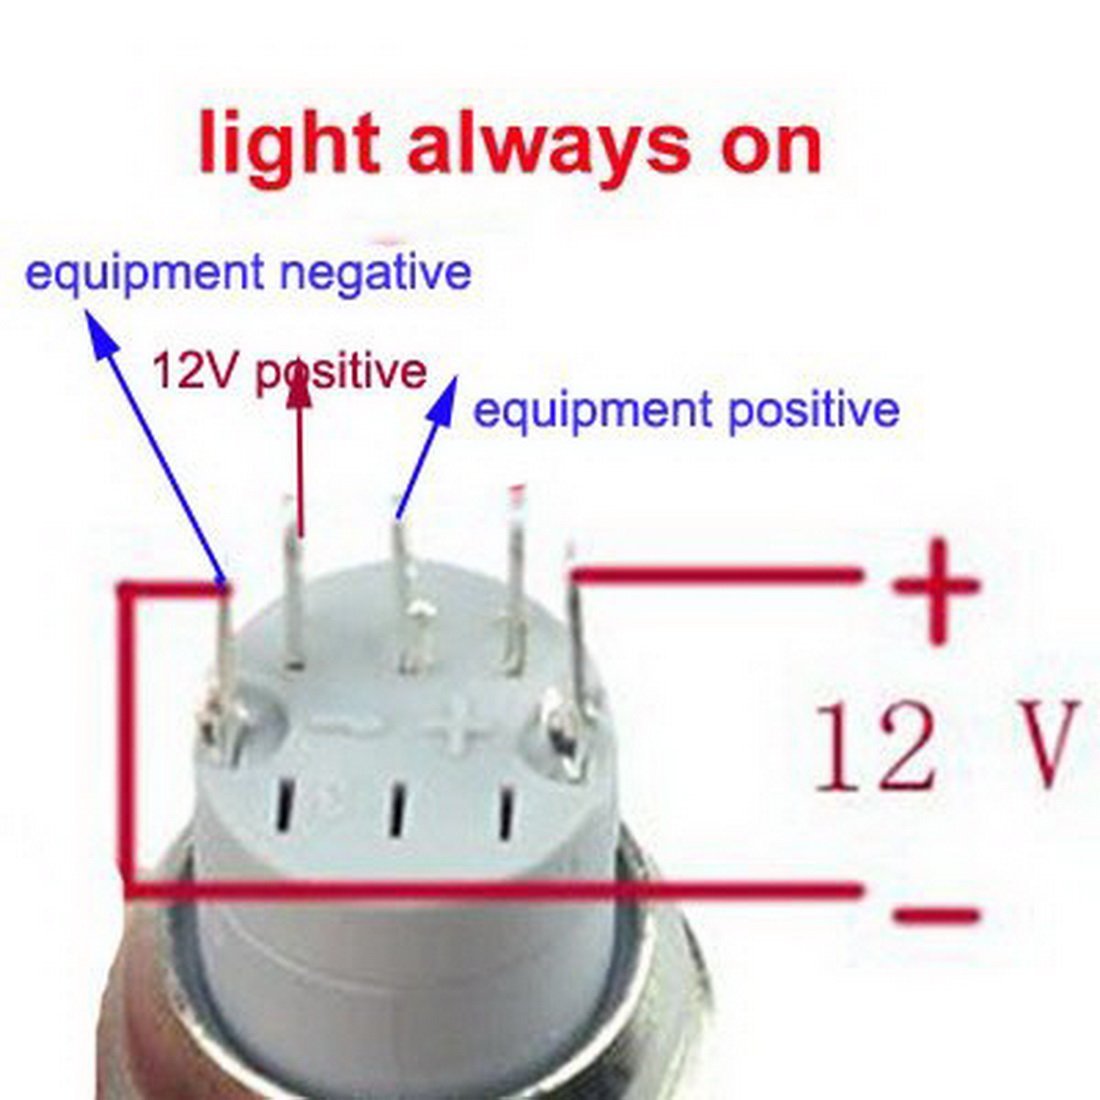
- 1. Ensure the power supply is 12V.
- 2. Connect the 12V power cable to the panel.
- 3. Connect the resistor (1kΩ) between the GND of the microcontroller and the GND pin of the switch.
- 4. Connect the VCC pin of the switch to the 5V of the microcontroller.
- 5. Connect the OUT pin of the switch to a digital pin of the microcontroller.
- 6. Connect the orange LED to the VCC and GND of the microcontroller.
- 7. Load the Arduino code.
- 8. Test the functionality.
Example code
void setup() {}
void loop() {
  if (digitalRead(interruptorPin) == HIGH) {
    digitalWrite(ledPin, HIGH);
  } else {
    digitalWrite(ledPin, LOW);
  }
}
Mini project
Create a simple switch to turn on/off an LED light. Time: 30 minutes.
Common mistakes
- Incorrect power supply: make sure to use 12V.
- Incorrect connections: check the power and GND pins.
- Missing protection resistor: add a resistor between GND and the GND pin.
- LED does not light up: check the correct polarity and connections.
Recommended accessories
- Arduino Uno
- 5V LED
- 1kΩ resistor
- 12V power cable
Frequently asked questions
How can I test the functionality?
Press the button and check if the LED turns on/off.
Can I use this switch with a different power supply than 12V?
Check the datasheet for power supply requirements.
Is the LED a 12V LED?
The LED is orange and works with 12V, check the datasheet.
Reviews
There are no reviews yet.