 EN
 IT Italiano
 ES Español
 FR Français
 DE Deutsch
Description
Tutorial: How to Use 2N5551 Transistor TO-92
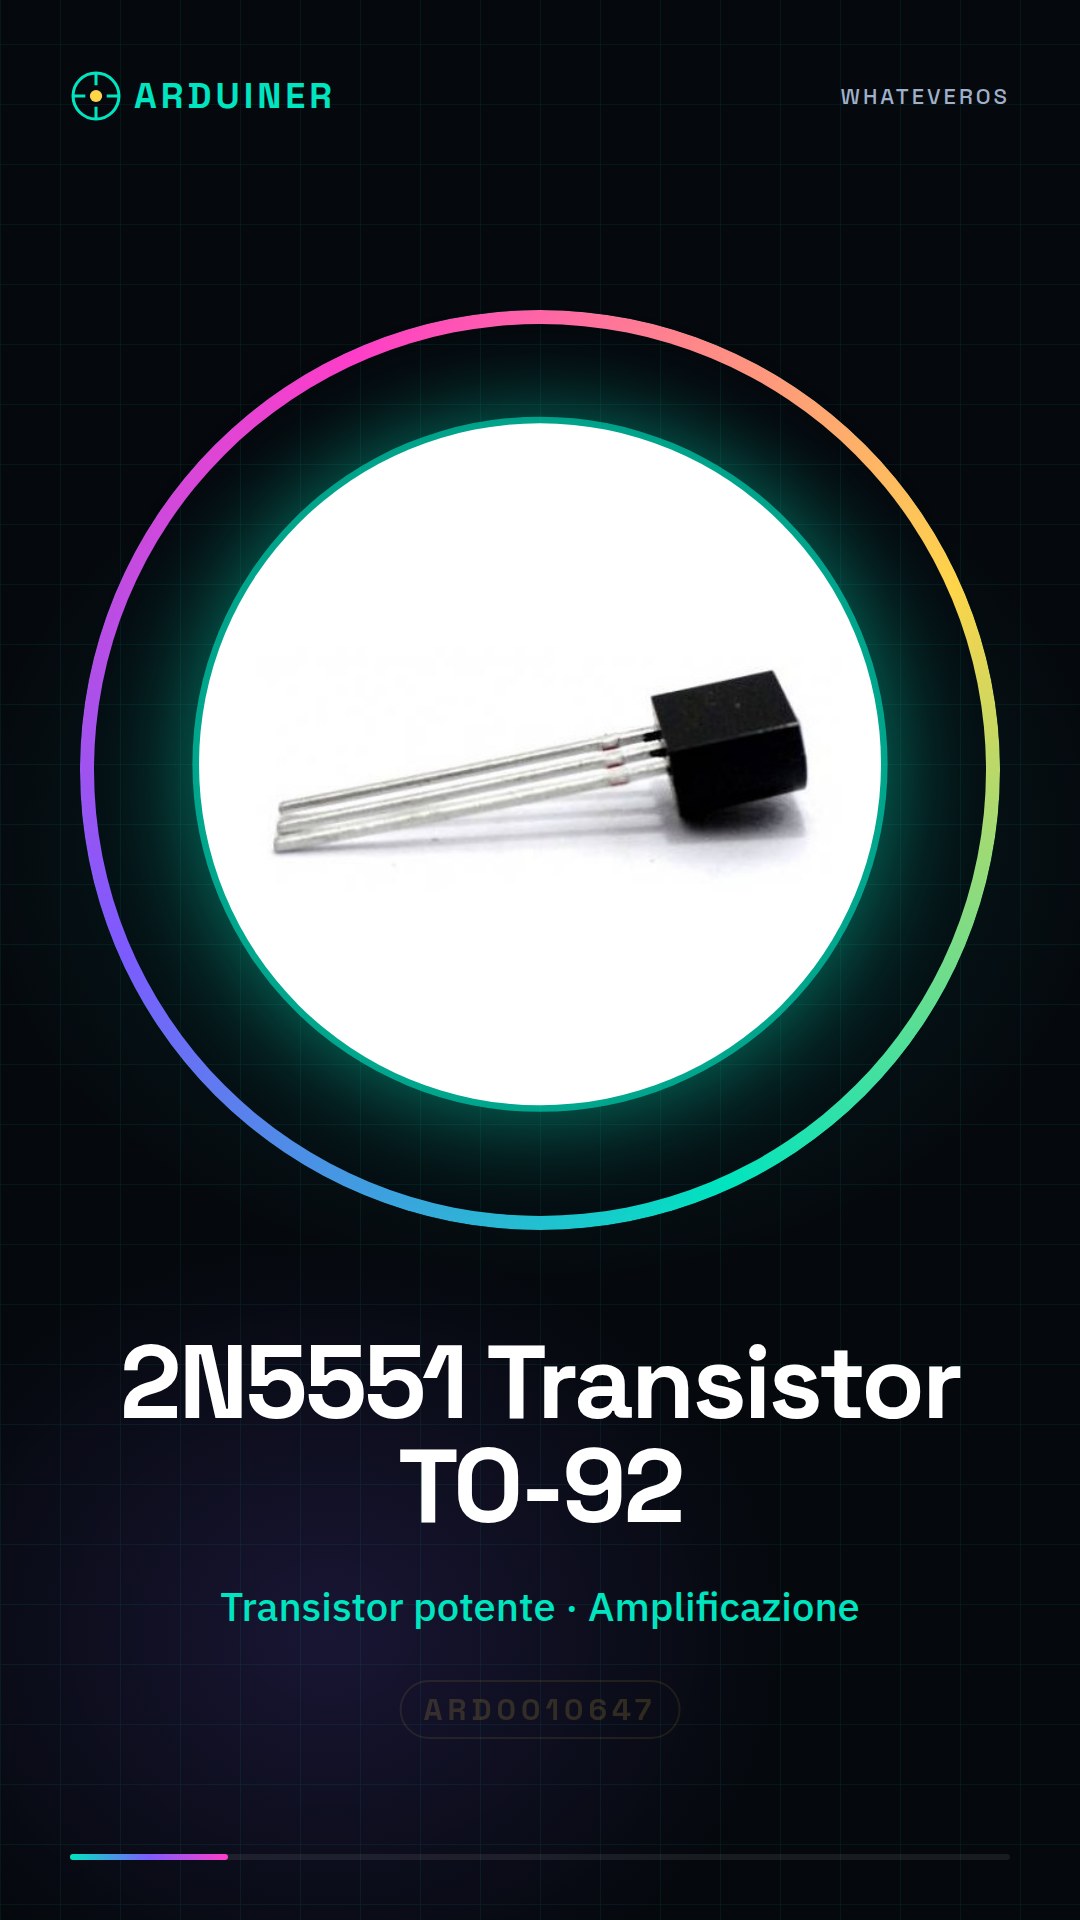
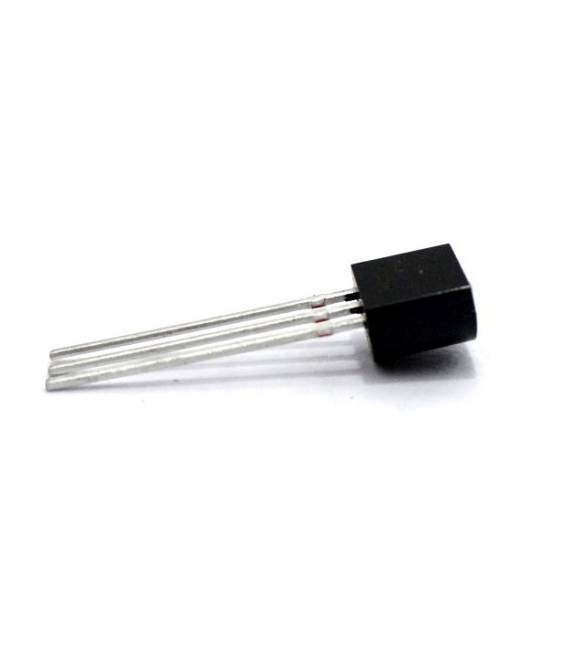
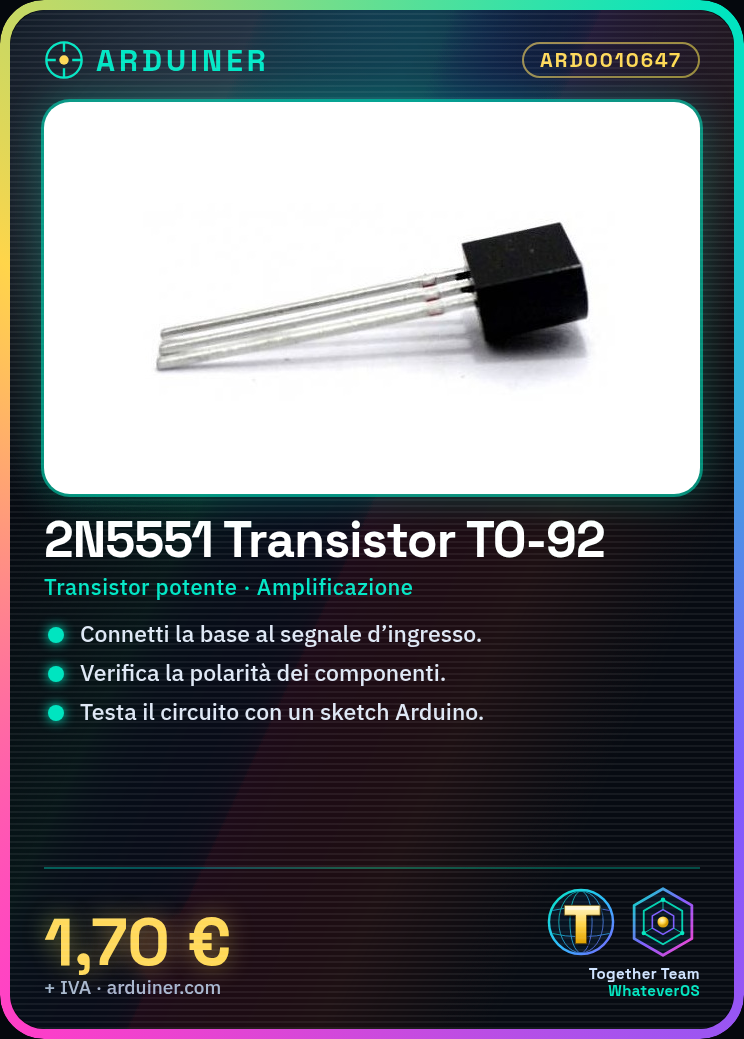
The 2N5551 is a powerful transistor ideal for electronic amplification applications. Useful for beginner and intermediate makers.
What you need
- 2N5551 Transistor
- Resistor
- Power Supply
- Test Circuit
Steps
- 1. Check the transistor specifications in the datasheet.
- 2. Prepare the test circuit.
- 3. Connect a resistor between the base and the power supply.
- 4. Connect the base to the microcontroller or input signal.
- 5. Connect the emitter to the microcontroller or output signal.
- 6. Connect ground to the circuit.
- 7. Verify the polarity of the components.
- 8. Test the circuit with an Arduino sketch.
Mini project
Create a simple audio amplification circuit with a microcontroller.
Common mistakes
- Omit checking the specifications in the datasheet.
- Incorrectly connect the transistor pins.
- Fail to include a protection resistor.
- Do not test the circuit before connecting it to a real power source.
Recommended accessories
- Arduino Uno
- Microcontroller ATmega328P
- 1kΩ Resistor
- Microphone
Frequently asked questions
How to correctly connect the pins of the 2N5551?
Base -> signal, Emitter -> ground, Collector -> power.
Which specifications to check on the datasheet?
Saturation voltage, saturation current, power dissipation.
Why is it important to check the polarity?
The transistor can burn out if connected incorrectly.
What are the steps to test the circuit?
Check the pin connectivity, then run a test sketch.


Reviews
There are no reviews yet.