 EN
 IT Italiano
 ES Español
 FR Français
 DE Deutsch
Description
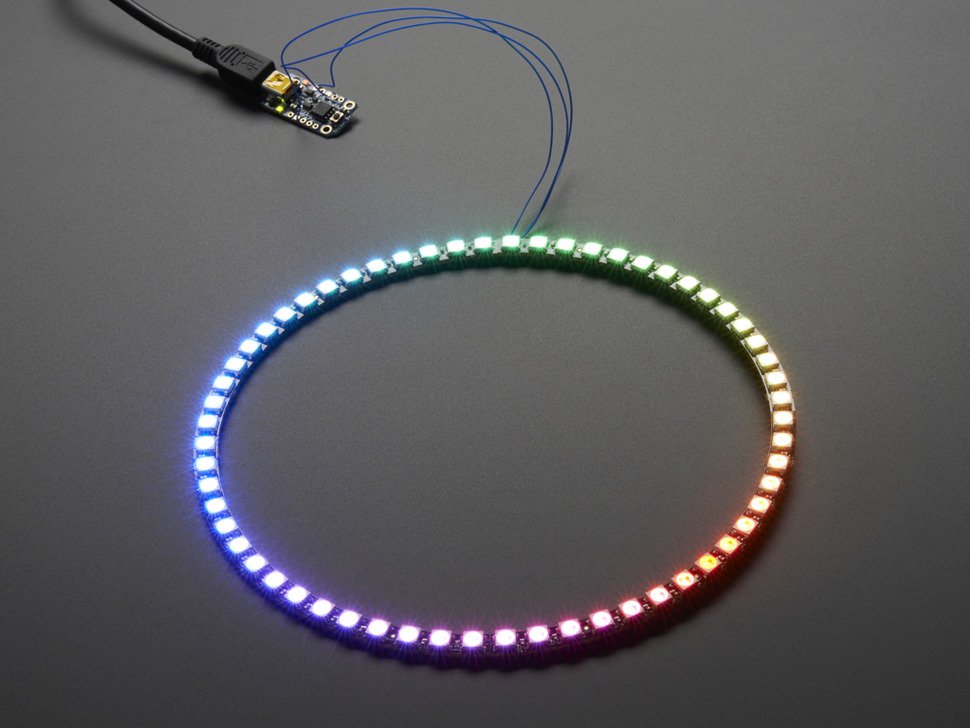
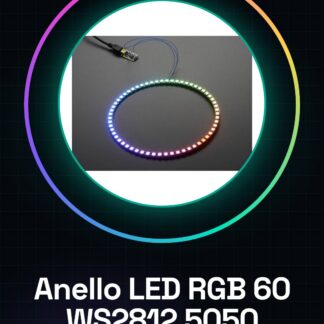
Tutorial: How to use the RGB WS2812 5050 LED Ring 60 The RGB WS2812 5050 LED Ring 60 is perfect for lighting and colour display projects. Useful for beginners and intermediate makers. What you need RGB WS2812 5050 LED Ring 60 Arduino Resistor 1 kΩ USB cable Steps 1. Connect the LED ring to pin D12 of the Arduino with a wire. 2. Connect the resistor (1 kΩ) between VCC and GND of the LED ring. 3. Connect VCC of the LED ring to the 5V VCC of the Arduino. 4. Connect GND of the LED ring to the GND of the Arduino. 5. Upload the following code to the Arduino. 6. Check that the LED ring lights up in various colours. 7. Modify the code to create custom effects. 8. Refer to the datasheet for further specifications. Example Code “`cpp #include #define PIN 12 #define NUMPIXELS 60 Adafruit_NeoPixel pixels = Adafruit_NeoPixel(NUMPIXELS, PIN, NEO_GRB + NEO_KHZ800); void setup() { pixels.begin(); } void loop() { pixels.setPixelColor(0, pixels.Color(255, 0, 0)); pixels.show(); } “` Mini-project Create a colour cycle through the LED ring using the provided code. Common mistakes Incorrectly connecting VCC and GND. Using a resistor other than 1 kΩ. Failing to check the code before uploading it. Forgetting to update the number of pixels in the code. Recommended accessories Arduino UNO Resistor 1 kΩ Maker desk USB cable Frequently Asked Questions How can I change the colours of the LED ring? Modify the `setPixelColor` function in the Arduino code with your desired RGB values. Does the LED ring consume a lot of power? No, the 5050 LED ring consumes very little power. Can I connect multiple WS2812 LED rings together? Yes, but ensure that the total current does not exceed the limits of your Arduino. What colours can the LED ring display? The RGB LED ring can display any colour through RGB values.
Reviews
There are no reviews yet.