 EN
 IT Italiano
 ES Español
 FR Français
 DE Deutsch
Description
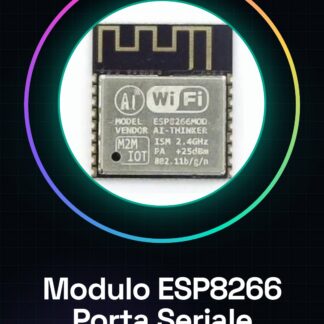
Tutorial: How to Use ESP8266 Wireless Remote Serial Port Module
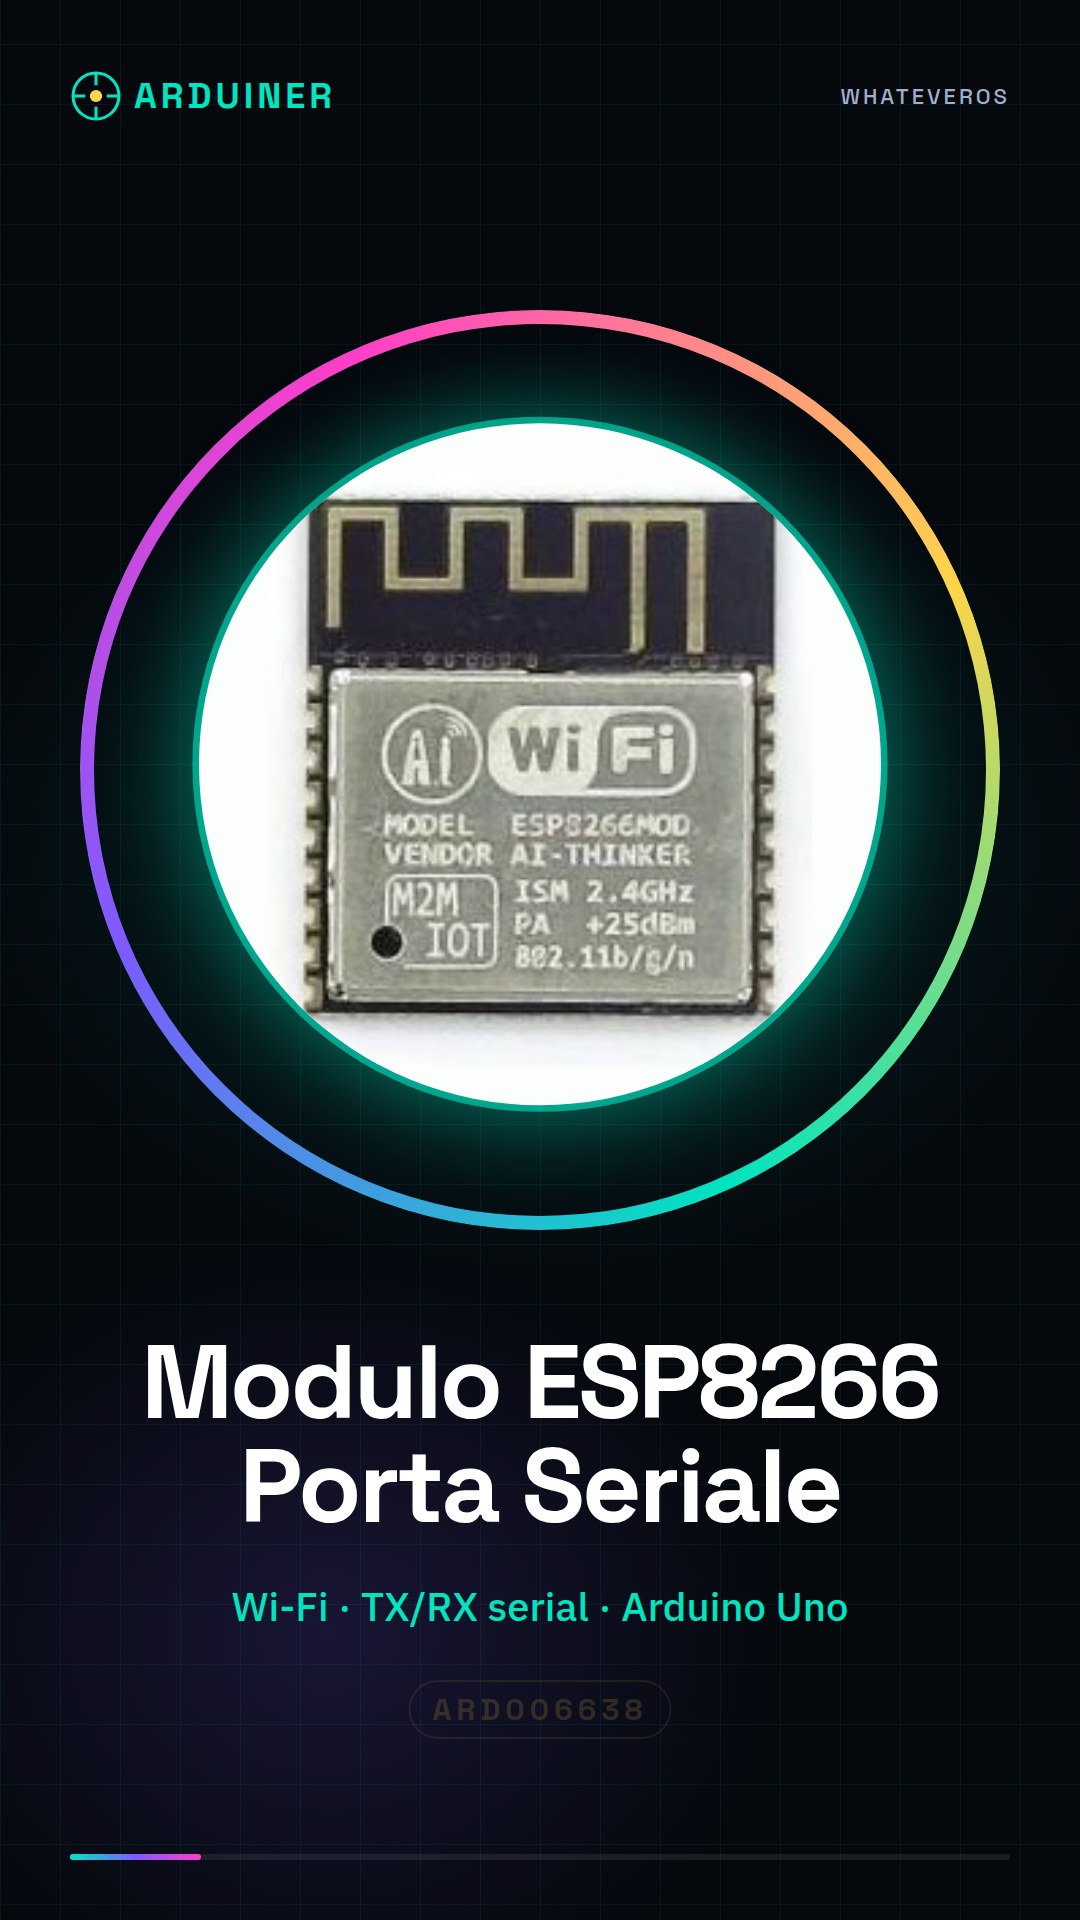
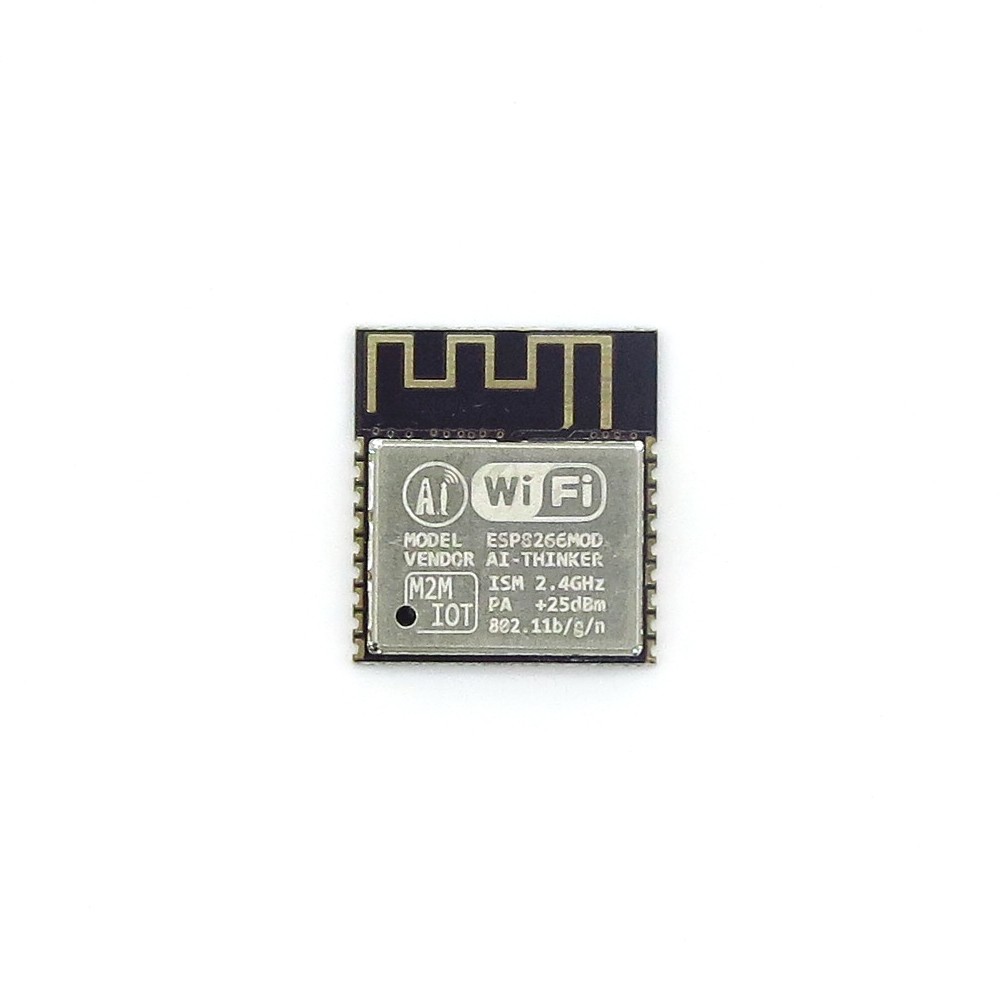
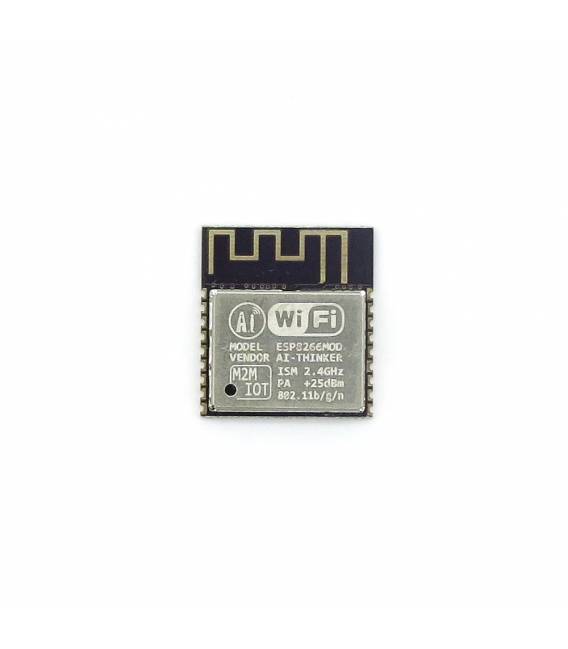
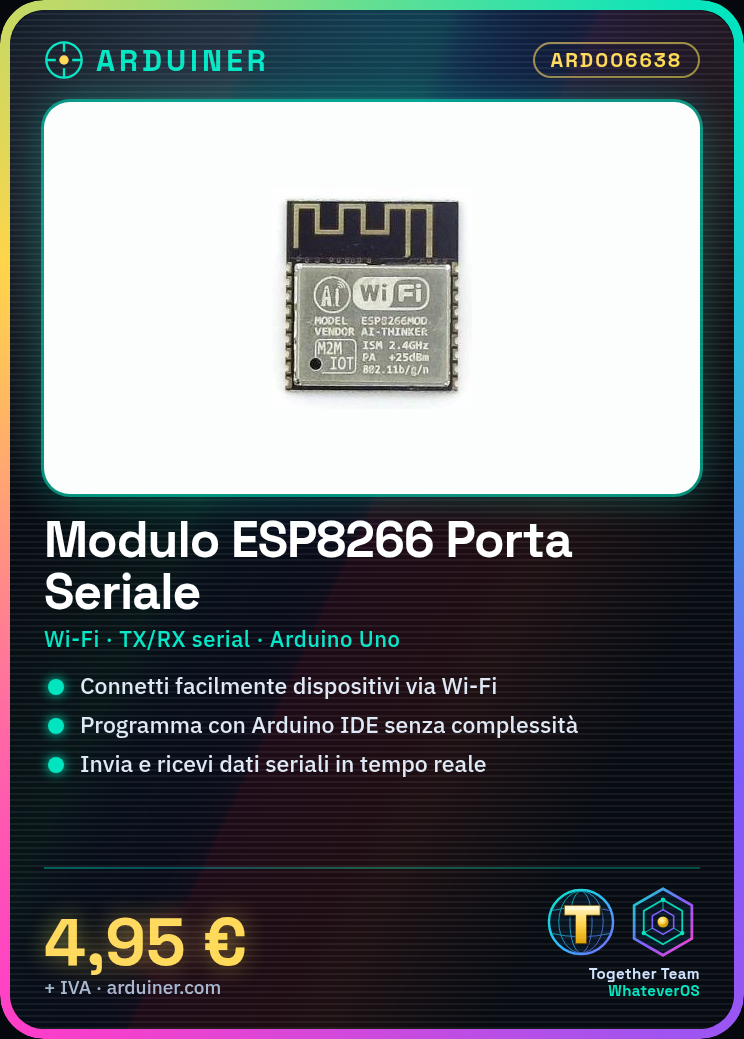
The ESP8266 module is a small wireless device that allows electronic devices to connect to a Wi-Fi network. It is ideal for beginners who want to start working on IoT prototypes without technical complications.
What you need
- Arduino Uno or compatible
- USB Type B cable
- Arduino IDE software
Steps
- 1. Connect the ESP8266 module to the Arduino serial interface using the TX and RX connectors.
- 2. Download the latest version of the Arduino IDE software from arduino.cc.
- 3. Install the ESP8266WiFi library from the Arduino IDE library manager.
- 4. Check the datasheet for the GPIO pin used for serial communication and configure it in the code.
- 5. Upload the sketch to the Arduino connected to the ESP8266 module.
- 6. Open the serial monitor in the Arduino IDE.
- 7. Verify that the data is being sent correctly from the ESP8266 module to the Arduino and vice versa.
- 8. Try modifying the sketch to send different commands through the serial port.
Example code
void setup() {
  Serial.begin(9600);
}

void loop() {
  if (Serial.available()) {
    String data = Serial.readString();
    Serial.print("Ricevuto: ");
    Serial.println(data);
  }
}
Mini project
Create a home security system that sends a notification via Wi-Fi every time it is triggered.
Common mistakes
- Incorrect serial port configuration
- TX and RX connectors reversed
- Power supply issues with the ESP8266 module.
- The ESP8266WiFi library is missing in the Arduino IDE software.
Recommended accessories
- USB Type B cable
- Arduino Uno R3
- ESP8266 Thing Dev Board
- LiPo 18650 battery
Frequently asked questions
How can I connect the module to a Wi-Fi network?
Enter your network credentials in the sketch code and upload the updated version to the ESP8266 module.
Which libraries do I need to install to use this module?
Install the ESP8266WiFi library from the Arduino IDE library manager.
Reviews
There are no reviews yet.