 EN
 IT Italiano
 ES Español
 FR Français
 DE Deutsch
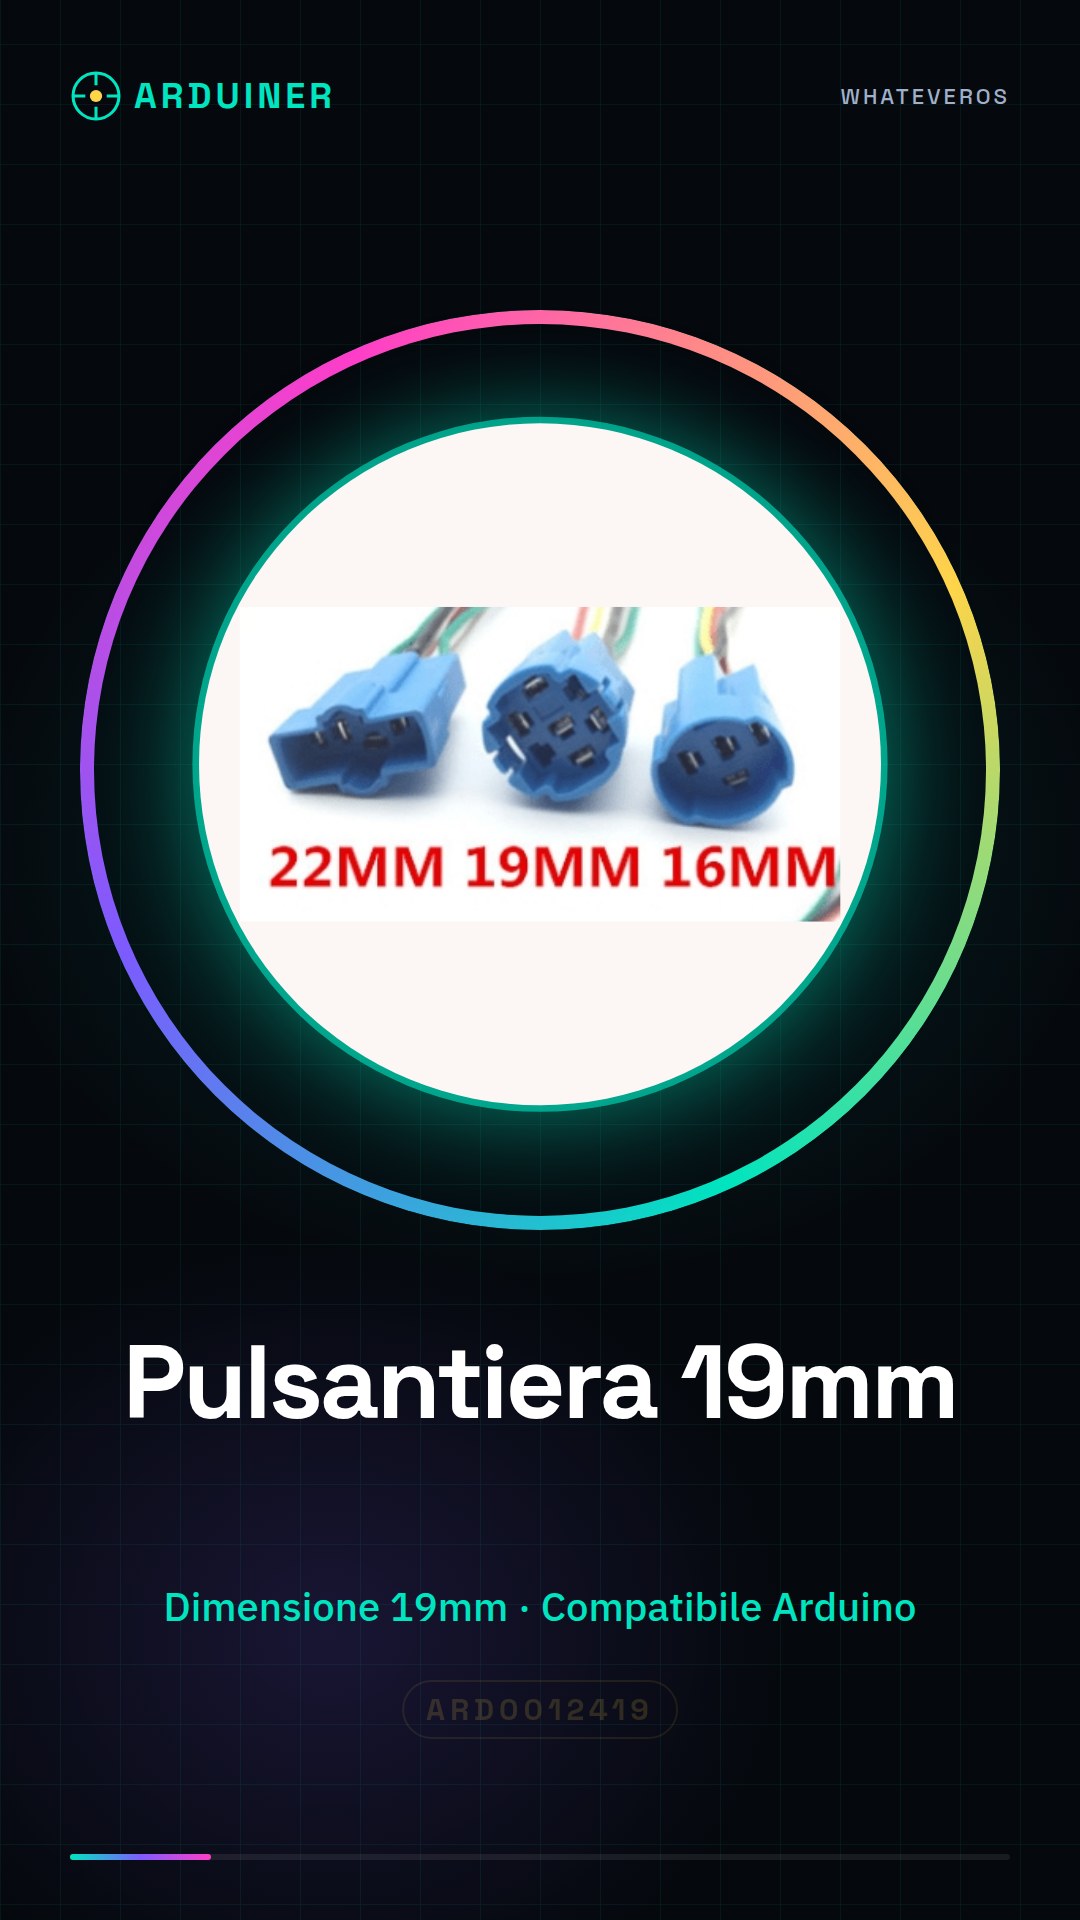
Description
What it is
The 19mm push button is a fundamental component for electronic and Arduino projects. This device allows for simple and reliable management of user inputs, making it a crucial element for anyone wishing to create intuitive user interfaces.
Features
- Size: 19mm
- Compatible with Arduino and other microcontrollers
- Ideally used for managing user inputs
What it is for
The 19mm push button is ideal for beginners and makers who want to add input functionality to their devices. It can be used to create simple counters or for other projects that require user interaction. For example, pressing the button can increment a count that is displayed on the Arduino serial monitor.
Tutorial: How to use 19mm Push Button
The 19mm push button is a fundamental component for anyone who wants to create simple and intuitive user interfaces for their projects. Ideal for beginners and makers who want to add input functionality to their devices.
What you need
- Arduino
- 19mm Button
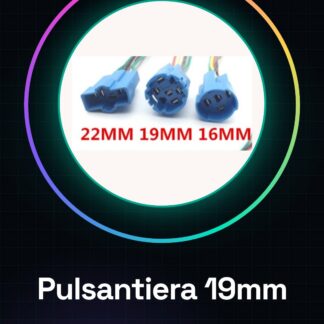
- Header Connection
Steps
- Connect the button to the Arduino digital pin via header connection.
- Write an Arduino sketch to read the state of the button.
- Verify that the button works correctly by pressing it and observing the Arduino’s response.
- If necessary, add pull-up or pull-down resistors to improve the stability of the input.
Example code
const int pulsantePin = 2;
int statoPulsante = 0;
void setup() {
  pinMode(pulsantePin, INPUT);
  Serial.begin(9600);
}
void loop() {
  statoPulsante = digitalRead(pulsantePin);
  Serial.println(statoPulsante);
}
Mini project
Create a simple counter that increments by one every time you press the button. Display the count on the Arduino’s serial monitor.
Common mistakes
- Connect the button to the output port instead of the input port.
- Do not check the pull-up or pull-down resistor.
- Ignore the button polarity.
- Do not test the button before integrating it into the complete project.
Recommended accessories
- Pull-up resistors
- Header connections
- Arduino Uno
- LED
Frequently asked questions
How can I connect the button to an output?
Buttons must be connected to input pins, not output pins.
Which resistors should I use?
Check the button datasheet for the required pull-up or pull-down resistors.
How can I integrate multiple buttons?
Use a multiplexer or an array of input pins to manage multiple buttons.

Reviews
There are no reviews yet.