 EN
 IT Italiano
 ES Español
 FR Français
 DE Deutsch
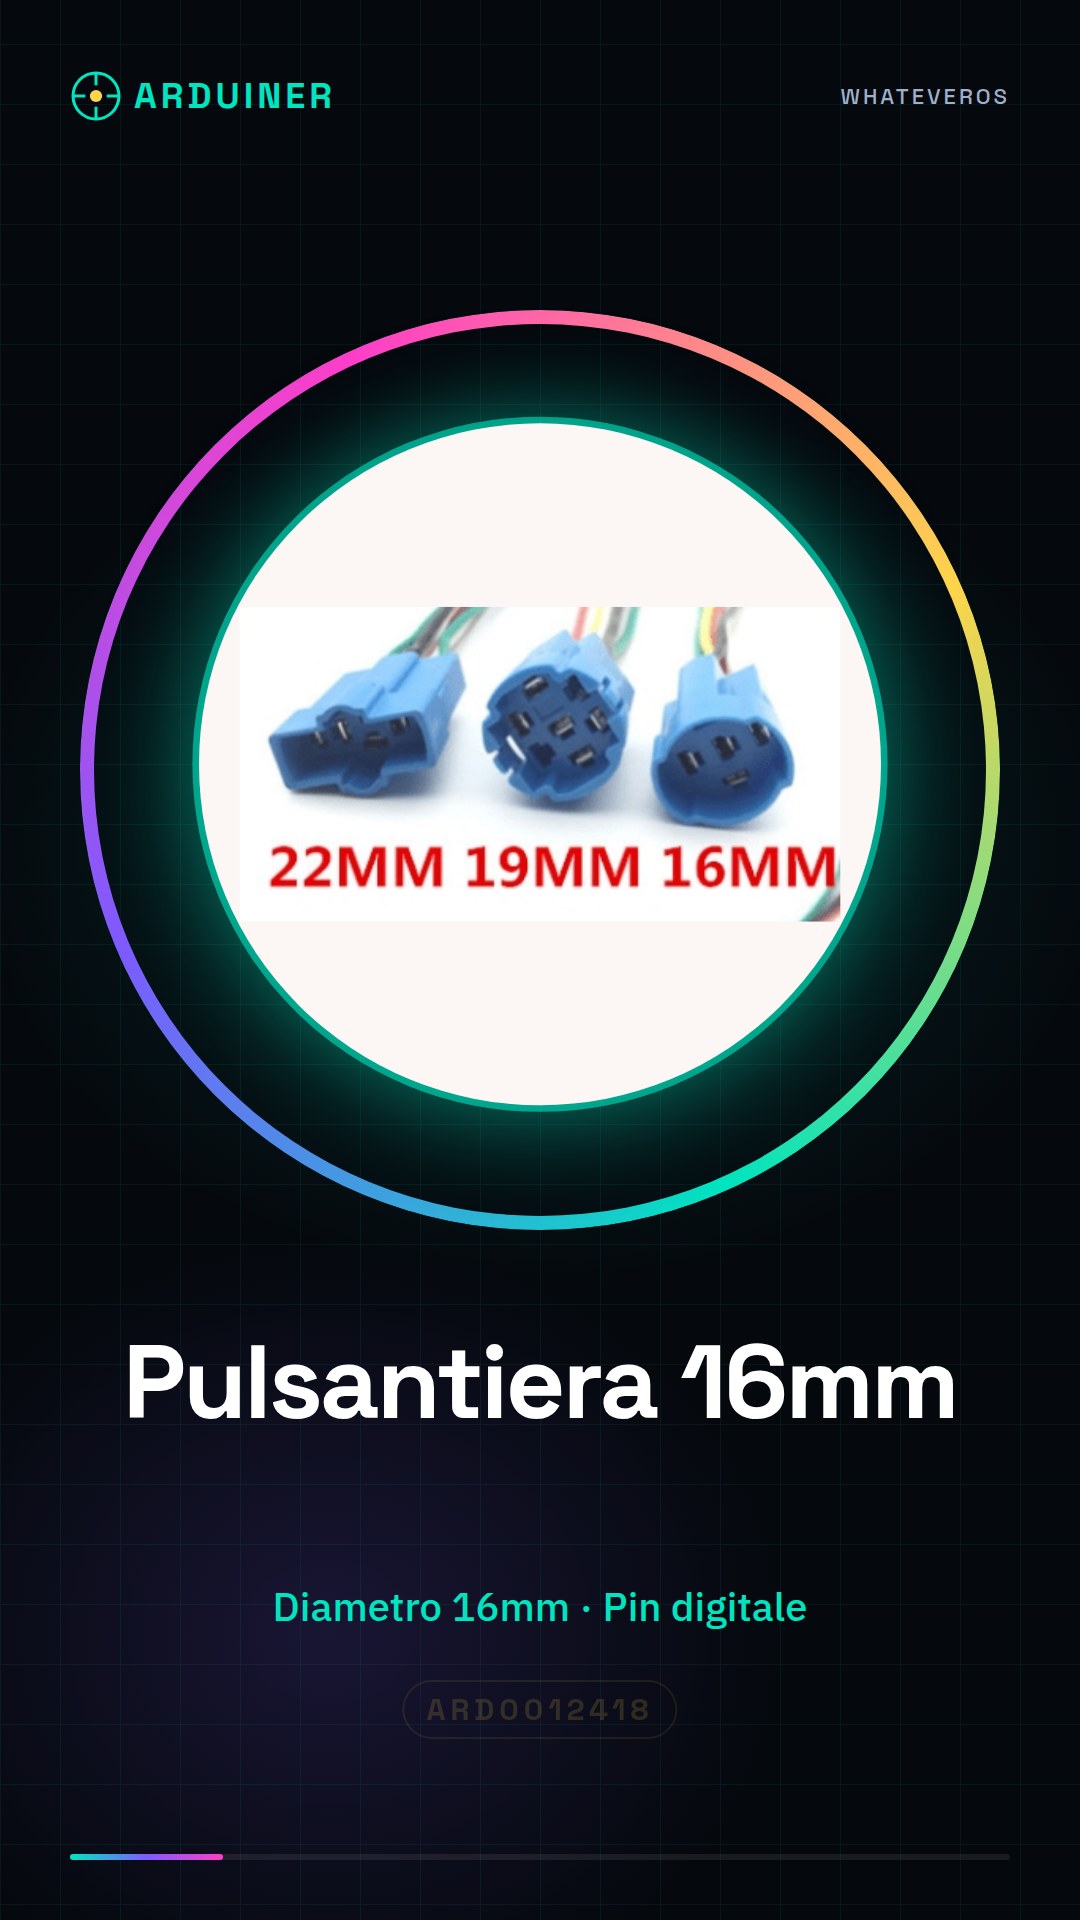
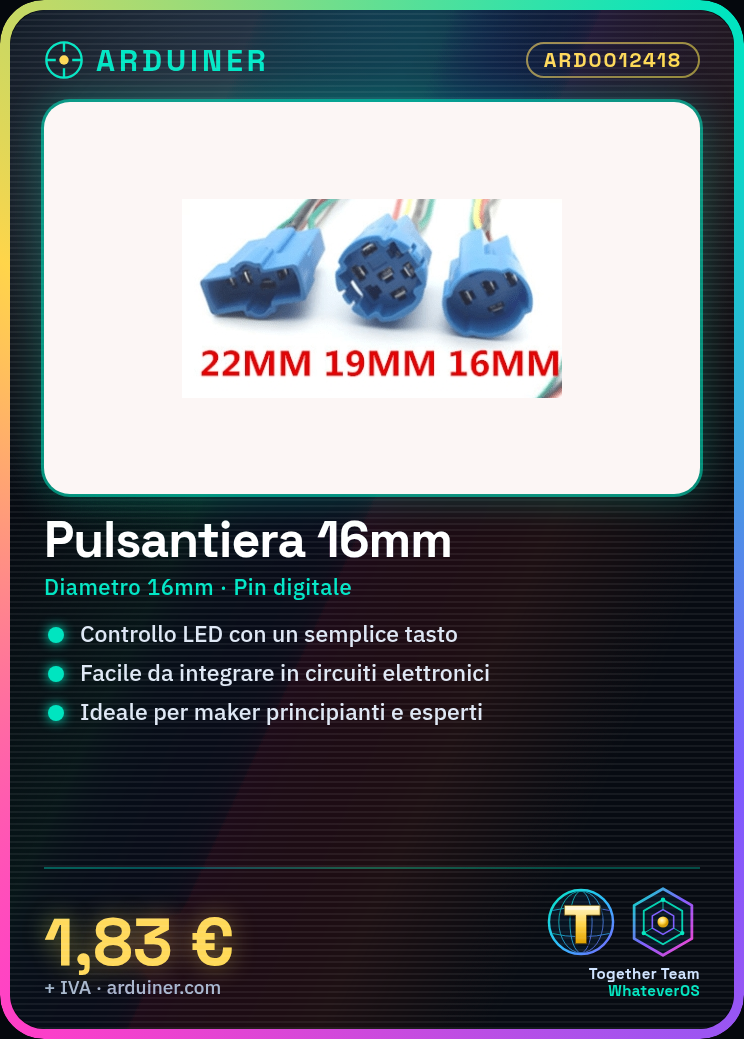
Description
What it is
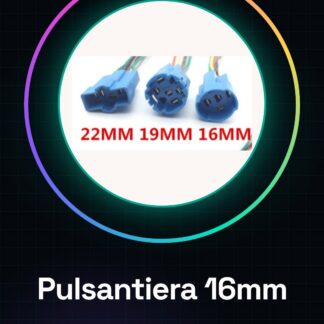
The 16mm switch panel is a fundamental component for electronic projects, used to create simple and functional user interfaces. This component allows direct interaction with the electronic project, enabling control of specific functions.
Features
- Diameter: 16mm
- Check the datasheet for further technical details
What it is for
The 16mm switch panel is ideal for both beginner and expert makers. It can be used to control the on/off state of LEDs, start specific functions on Arduino or ESP32, or for any other purpose that requires a simple binary input. It is compatible with a wide range of electronic projects and can be easily integrated into electronic circuits.
Tutorial: How to use 16mm Switch Panel
The 16mm push button is an essential component for anyone who wants to interact with their electronic project in a simple and direct manner. Ideal for beginner makers, this push button is perfect for controlling the on/off state of LEDs, initiating specific functions on an Arduino, or for any other purpose that requires a simple binary input.
What you need
- Arduino or compatible microcontroller
- Connection leads
- Arduino development software
Steps
- Connect the push button to the Arduino digital pin using a connection lead.
- Check the datasheet of the pin being used for correct configuration.
- Write an Arduino sketch to read the state of the push button.
- Save and upload the sketch to the microcontroller.
- Start the serial monitor to see the changes in the state of the push button.
- Check the datasheet for any additional configurations.
- Test the button board by pressing the button and observing the response in the serial monitor.
- Repeat the steps if necessary for correct configuration.
Example code
const int pulsantieraPin = 2; // Verifica sul datasheet
int statoPulsantiera = 0;

void setup() {
  pinMode(pulsantieraPin, INPUT);
  Serial.begin(9600);
}

void loop() {
  statoPulsantiera = digitalRead(pulsantieraPin);
  Serial.println(statoPulsantiera);
}
Mini project
Create a night light projector: connect the button board to an RGB LED circuit and program it so that the color changes every time you press the button.
Common mistakes
- Connect the button board to the wrong pin.
- Do not verify the pin configuration in the datasheet.
- Do not upload the correct sketch.
- Do not adequately test the button board after configuration.
Recommended accessories
- Arduino Uno
- Connection wires
- RGB LED
- Variable resistors
Frequently asked questions
How can I connect the button board to an LED?
Connect the button board to a digital pin on the Arduino and the LED to a transistor or MOSFET to control the current flow.
What is the difference between a button board and a joystick?
A button board provides a binary input (ON/OFF), while a joystick provides analog inputs (position).

Reviews
There are no reviews yet.