 EN
 IT Italiano
 ES Español
 FR Français
 DE Deutsch
Description
What it is
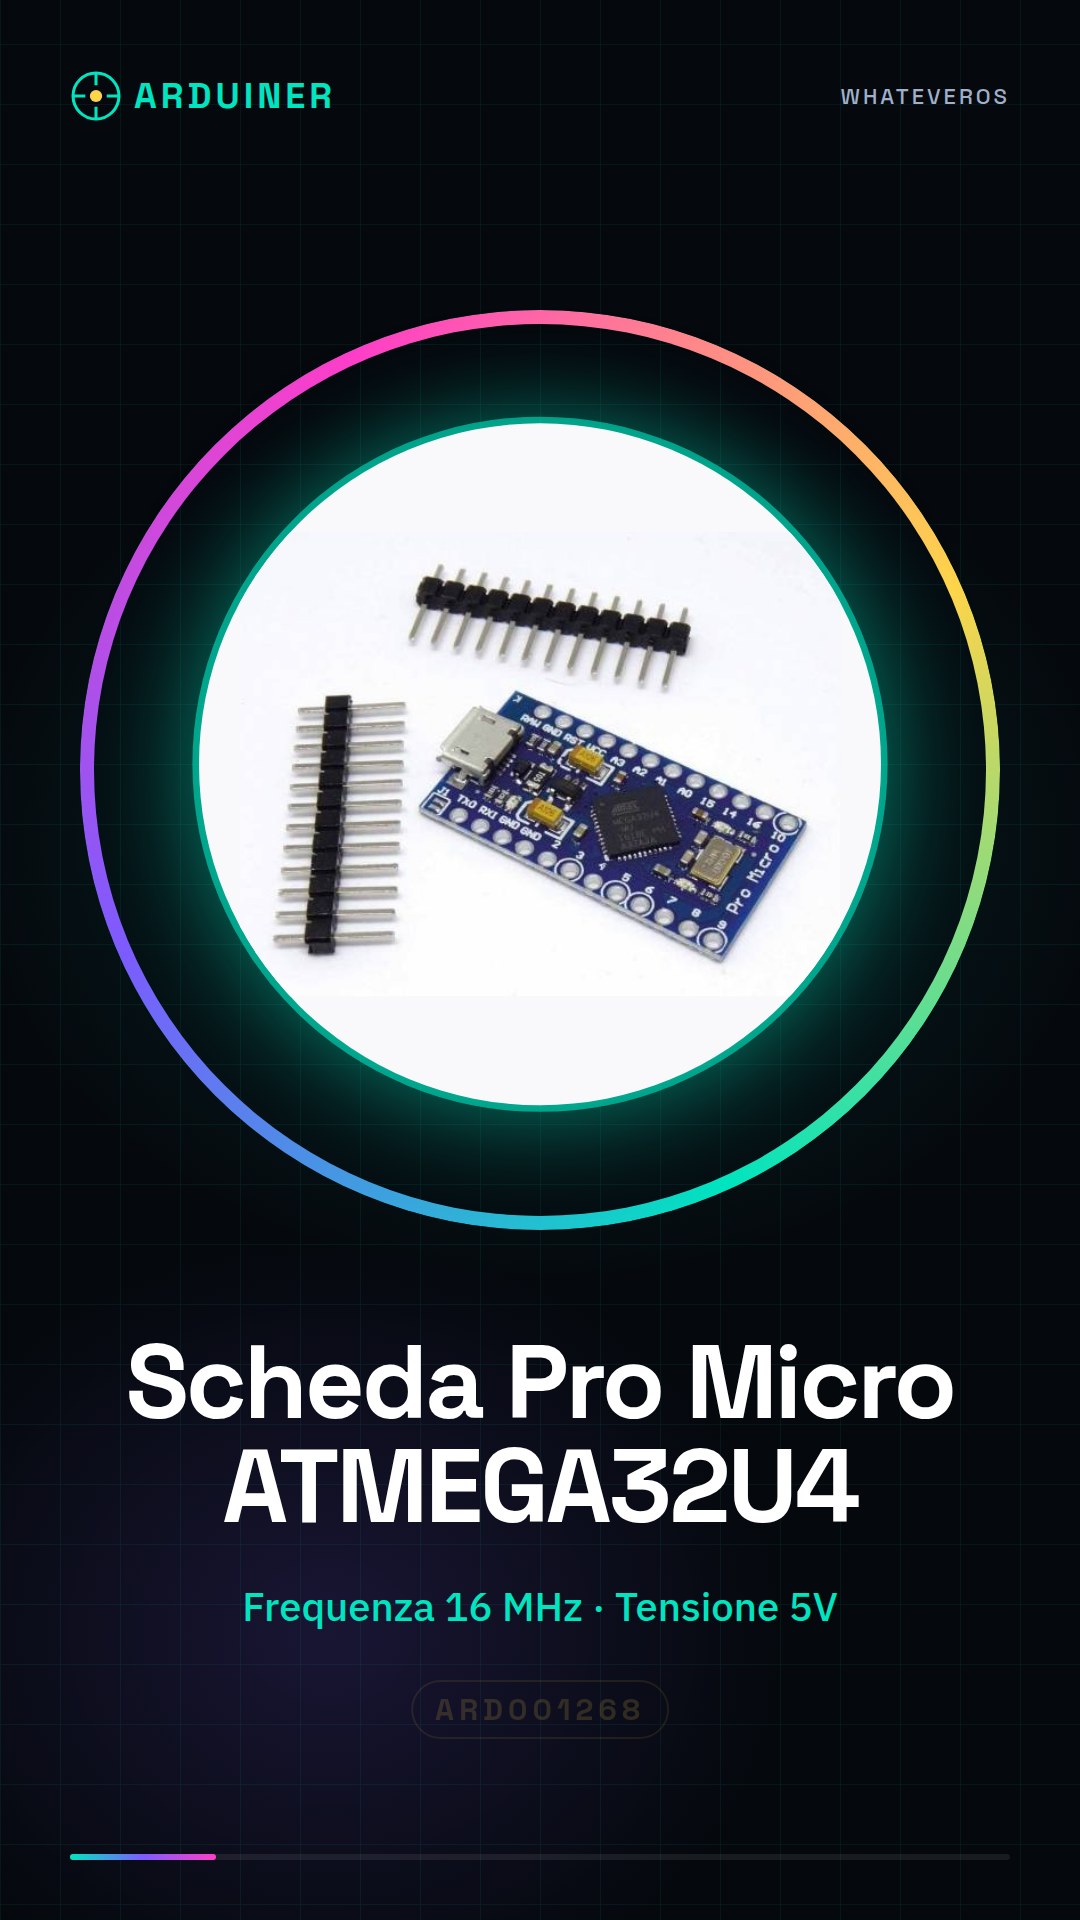
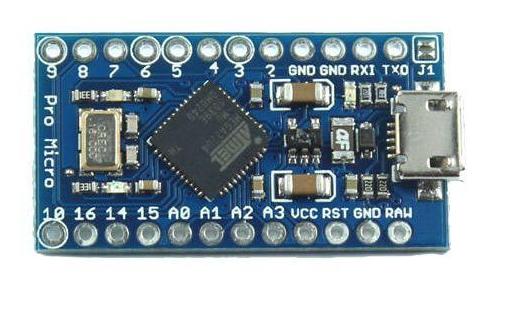
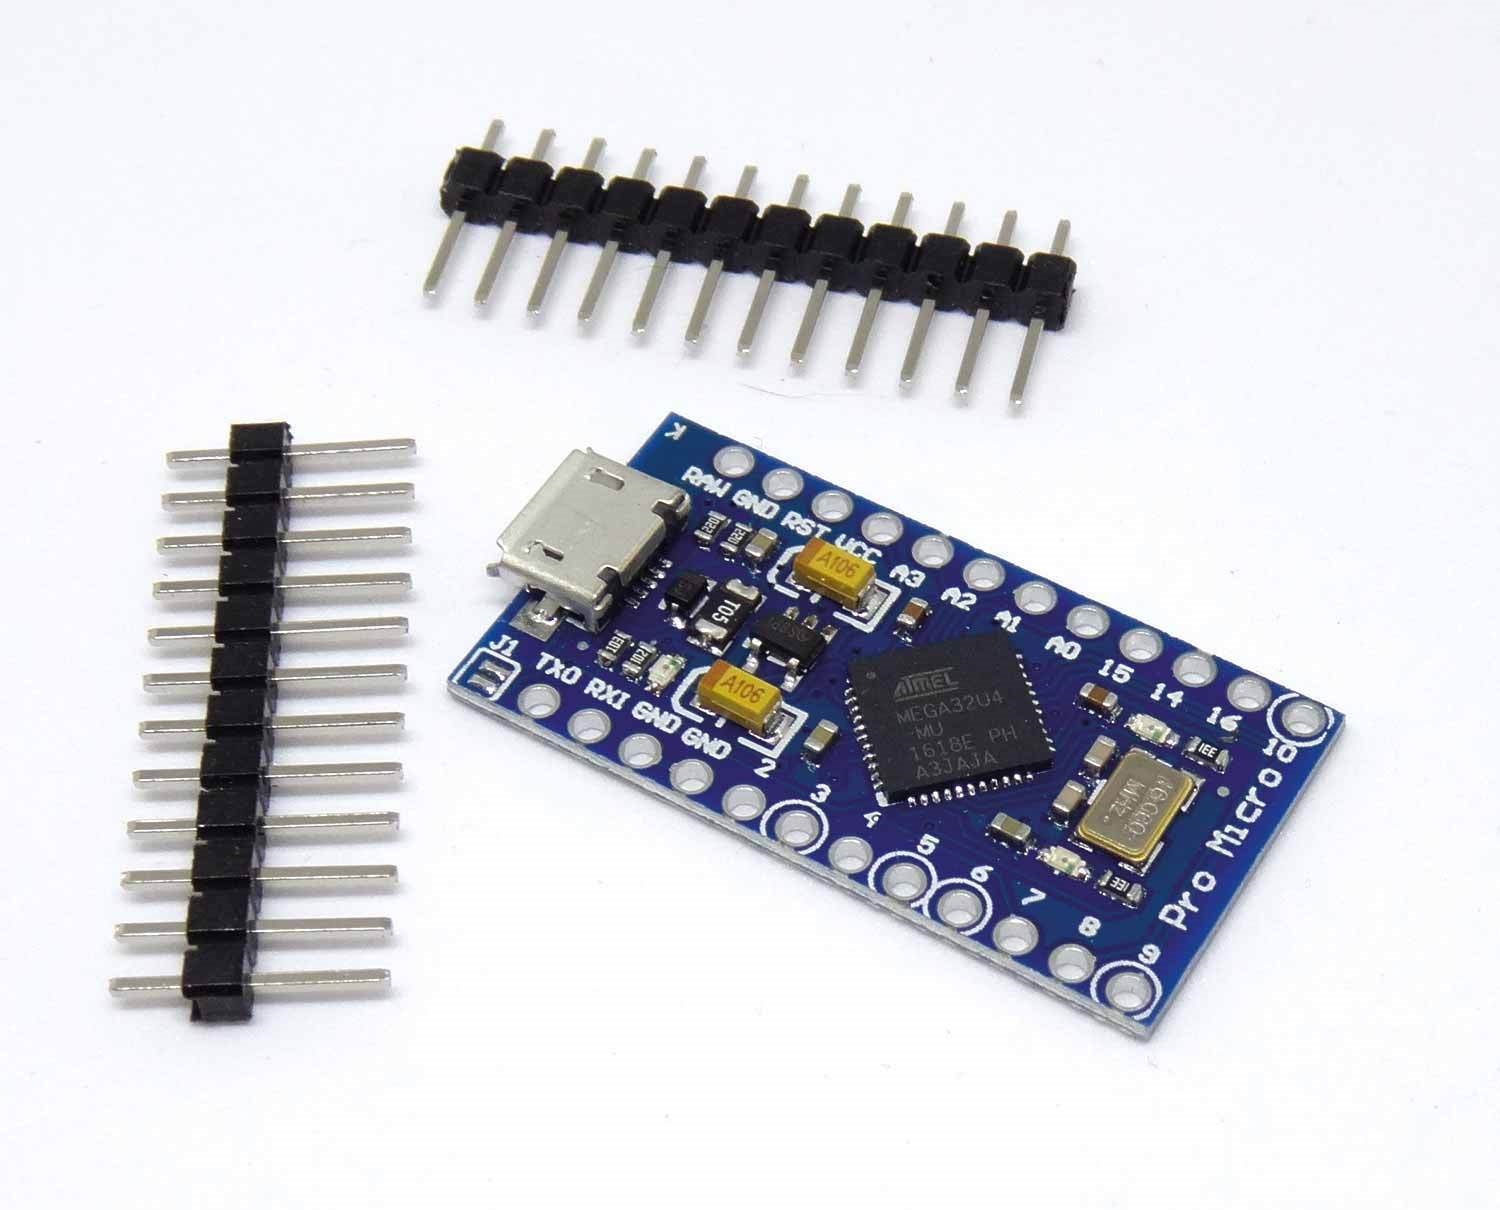
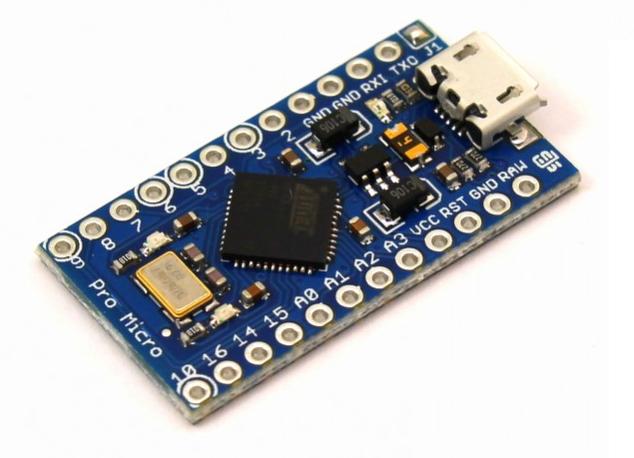
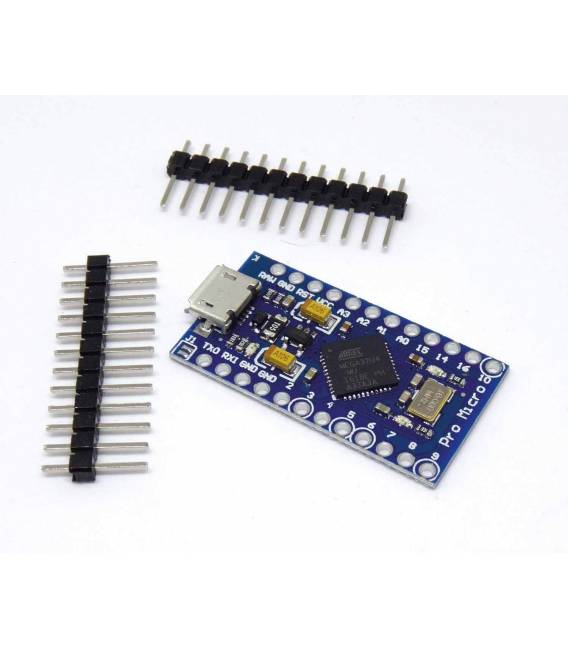
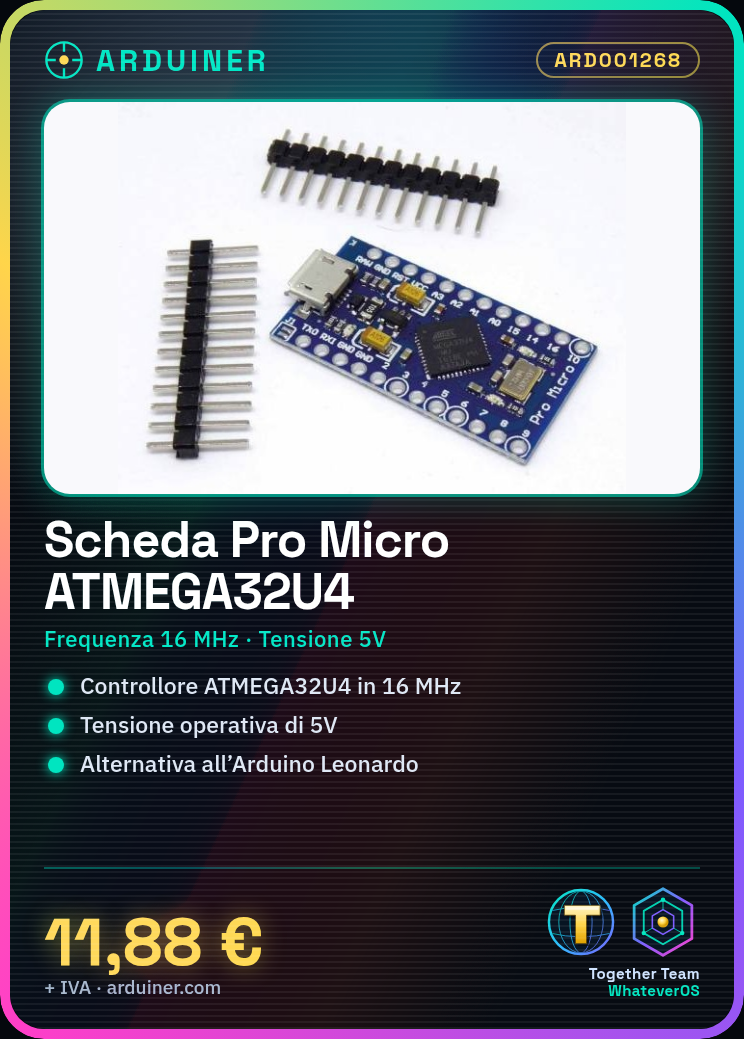
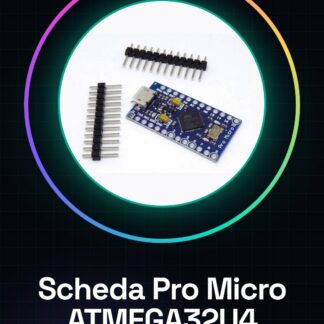
The Pro Micro ATMEGA32U4 board is a small and powerful alternative to the Arduino Leonardo. This device is ideal for projects that require a compact controller with all the necessary features.
Features
- Microcontroller ATMEGA32U4
- Clock Frequency: 16MHz
- Operating Voltage: 5V
What it is for
Ideal for projects such as 3d printers, controllers, and portable devices. It can be used by beginner and intermediate makers who want to create small remote control devices or integrate programming in limited spaces.
Tutorial: How to Use Pro Micro ATMEGA32U4 Board
The Pro Micro board is a small and powerful alternative to the Arduino Leonardo, ideal for projects that require a compact device with all the necessary features. It is suitable for beginner and intermediate makers who want to create portable devices or integrate programming in limited spaces.
What you need
- ATMEGA32U4 Pro Micro Board
- Micro-B USB Cable
- Computer with Arduino software installed
Steps
- Connect the micro-B USB cable from the board to the computer. Ensure it is recognized correctly.
- Open the Arduino IDE and select ‘Arduino Leonardo’ as the programming device in the board list.
- Check the connection with ‘Tools > Serial Port’.
- Load a simple sketch to test functionality, for example a blink cycle of an LED connected to a digital pin.
- Once the sketch is loaded, observe the output on the Arduino IDE console.
- If necessary, modify the time zone and language settings in the ‘Tools’ menu.
- Try accessing memory registers via the EEPROM library to save persistent data.
- Verify the correct use of serial ports with the Arduino IDE serial monitor.
Example code
// Esempio di sketch: Fai lampeggiare un LED collegato alla porta 13
void setup() {
  pinMode(13, OUTPUT);
}

void loop() {
  digitalWrite(13, HIGH);   // Accendi il LED
  delay(1000);              // Attende per 1 secondo
  digitalWrite(13, LOW);    // Spegni il LED
  delay(1000);               // Attende per 1 secondo
}
Mini project
Create a small remote control device with the Pro Micro board and a couple of sensors. Connect a light sensor and a contact sensor, program it to send data to a computer or other devices.
Common mistakes
- Not recognized as a USB device
- Serial connection problems during sketch upload
- Error in EEPROM address while writing data
- USB interface does not work properly
Recommended accessories
- Micro-B USB cable
- LiPo batteries and battery charger
- Socket to connect sensors and actuators
- Small protective case
Frequently asked questions
What is the difference between Pro Micro and Arduino Leonardo?
The Pro Micro board is smaller, consumes less power, and is designed to be integrated into portable devices.
How can I upload sketches to a Pro Micro board without USB?
You can use a pre-installed bootloader or download the sketch via the serial port with a programming adapter like the FTDI Friend.
Reviews
There are no reviews yet.