 EN
 IT Italiano
 ES Español
 FR Français
 DE Deutsch
Description
What it is
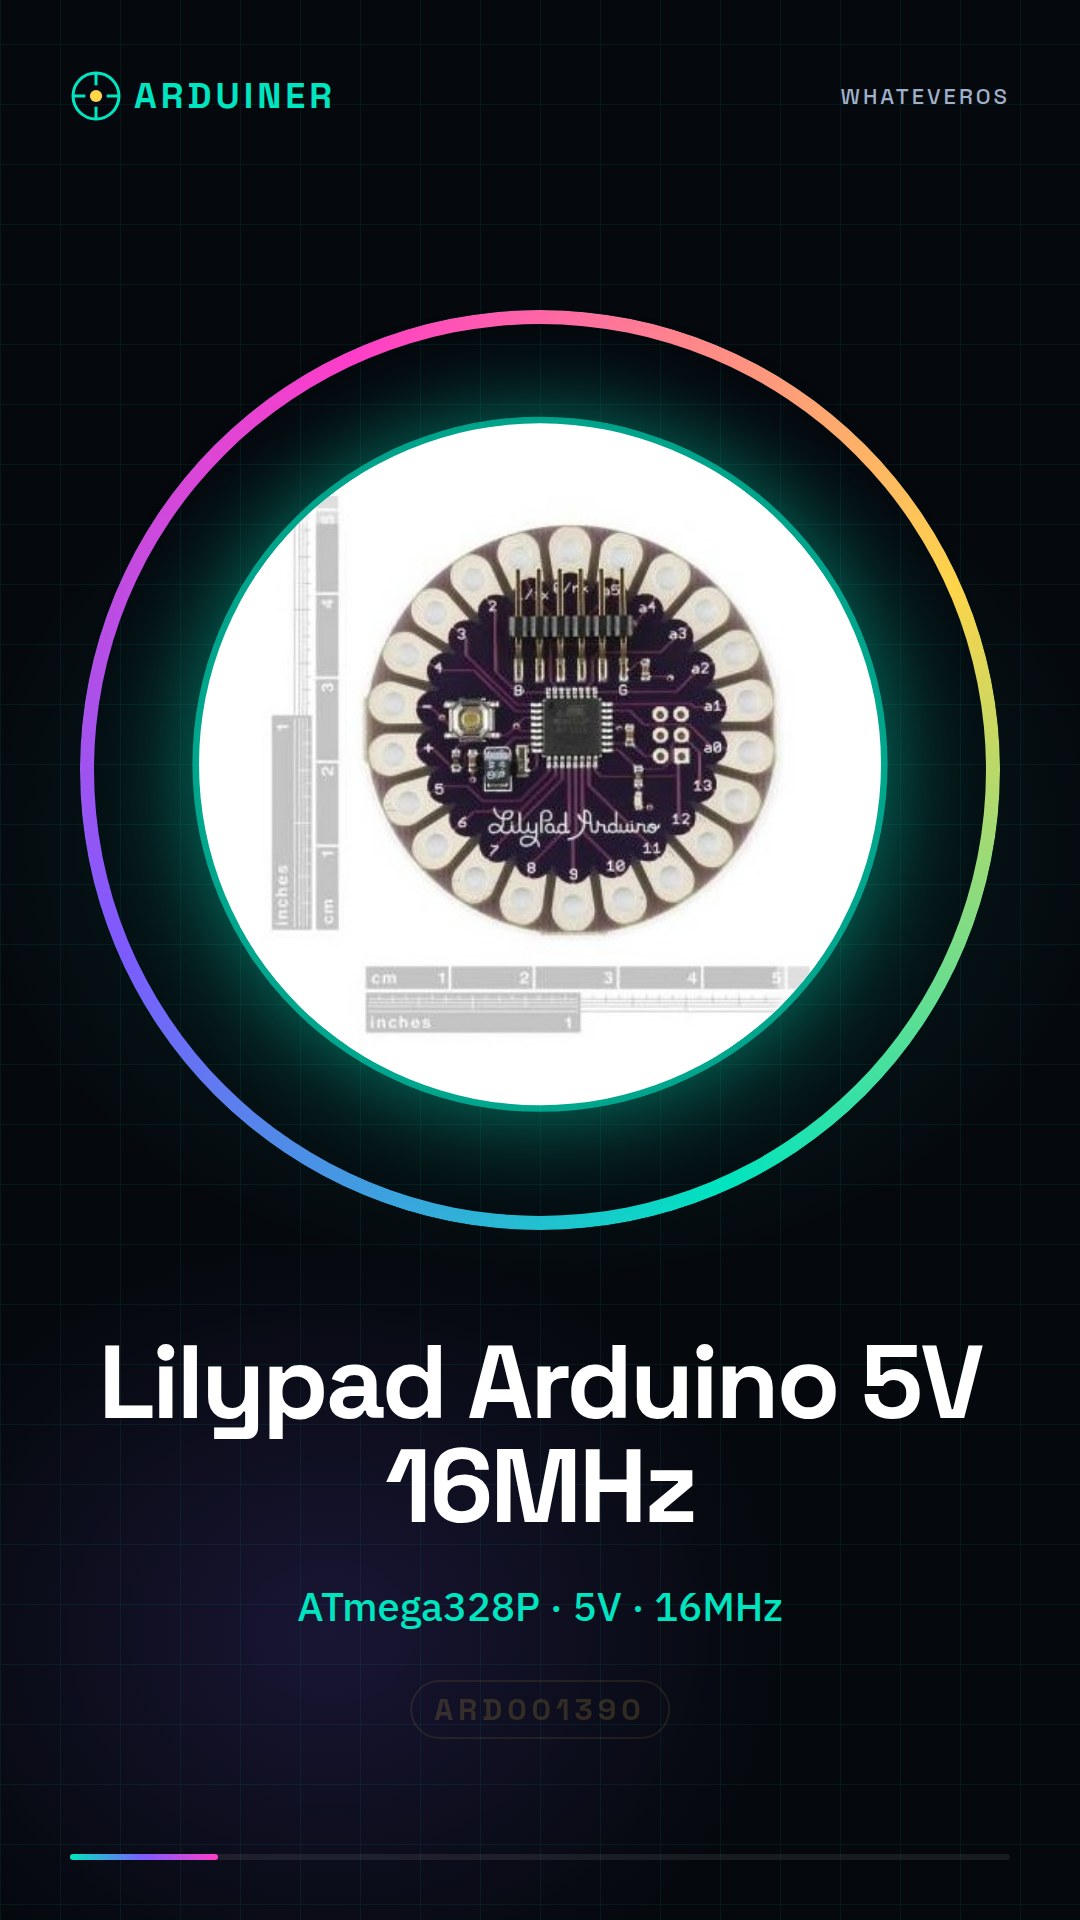
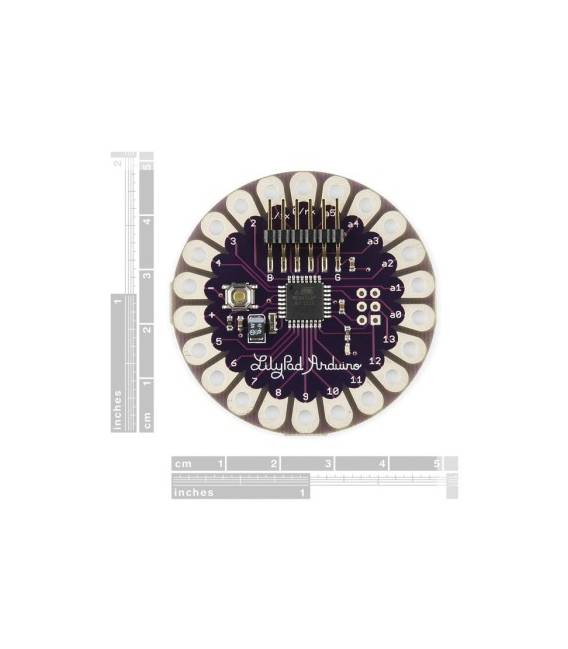
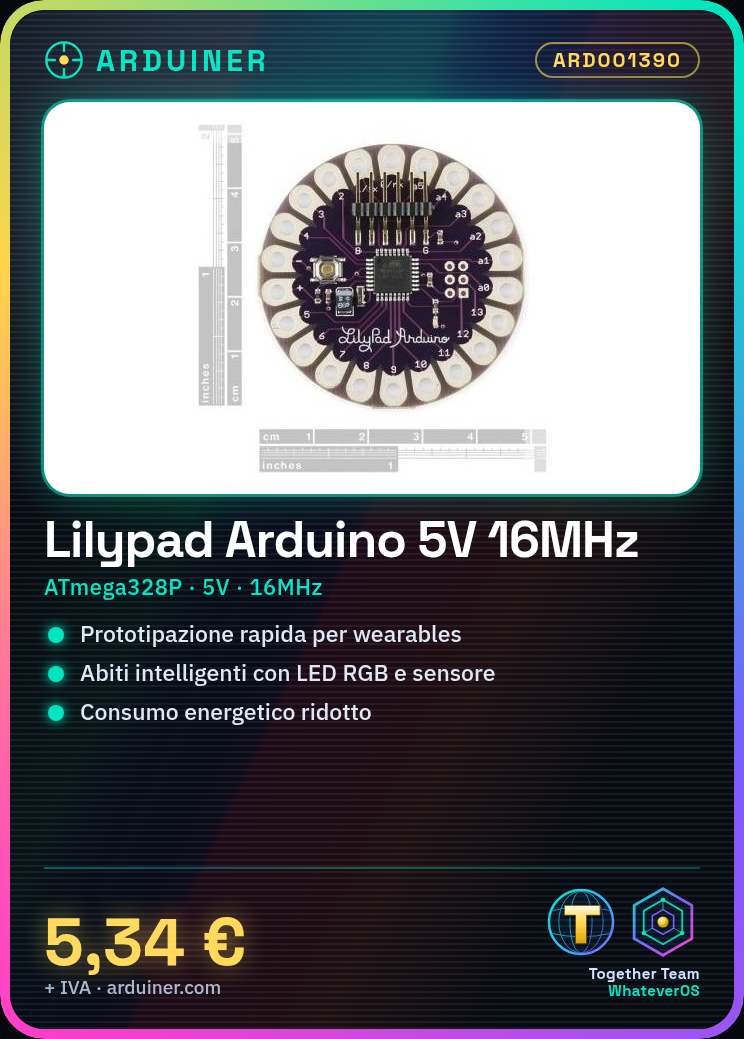
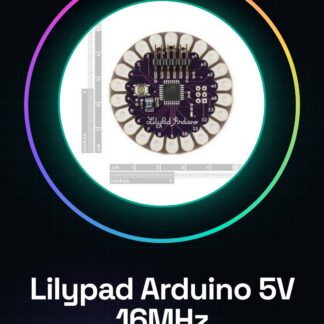
The Lilypad Arduino compatible with ATmega328p microcontroller is a main board ideal for electronic projects, particularly for interactive fashion and smart textile applications. This board is perfect for quickly prototyping portable and wearable devices.
Features
- ATmega328P Microcontroller
- 5V Supply
- 16MHz Clock
What it is for
The Lilypad Arduino is ideal for interactive fashion and smart textile projects. You can use it to create smart clothes that change color based on body temperature, integrating RGB LEDs and temperature sensors.
Tutorial: How to Use Arduino Lilypad Compatible
The Arduino Lilypad compatible with ATmega328p microcontroller is ideal for interactive fashion and textile projects. With reduced power consumption, it is perfect for beginners who want to start working on smart clothes or other portable projects.
What you need
- Arduino Lilypad compatible
- micro-B USB cable
- resistor pack
- sensor (e.g., temperature)
- 5V power supply
Steps
- Connect the Arduino Lilypad to the computer via USB cable.
- Install the necessary library for the device in Arduino IDE, checking the datasheet for a specific library.
- Load an example sketch from File > Examples > [nome della libreria].
- Verify that the integrated LED turns on and off according to the loaded code.
- Connect an appropriate sensor (e.g., thermistor) to the Lilypad pins, checking the datasheet for specific pins.
- Modify the example sketch to read data from the sensor and display it on Serial Monitor.
- Test the connection between the sensor and the Lilypad ensuring that values are correctly transmitted.
Example code
void setup() {
  Serial.begin(9600);
}

void loop() {
  int value = analogRead(A0); // Legge dal pin A0
  Serial.println(value);
}
Mini project
Create an intelligent garment that changes color based on body temperature. Use RGB LEDs and a temperature sensor connected to the Lilypad.
Common mistakes
- Do not upload the sketch correctly
- Connect the sensor with reversed polarity
- Use a voltage higher than what the device supports
- Ignore the verification on the datasheet for specific pins
Recommended accessories
- 10k ohm variable resistors
- RGB LEDs
- DHT11 temperature sensor
- 5V rechargeable portable battery
Frequently asked questions
What is the power supply voltage for the Lilypad?
The power supply voltage can vary, but generally a 3.7V battery or a 5V adapter is used.
How can I upload a sketch to Arduino Lilypad?
Connect the Lilypad to the computer via USB and upload a sketch from the menu File > Examples in Arduino IDE.
Which programming language should I use for this device?
Use C/C++ with the Arduino library, available in the Arduino IDE software.
Reviews
There are no reviews yet.