 EN
 IT Italiano
 ES Español
 FR Français
 DE Deutsch
Description
What it is
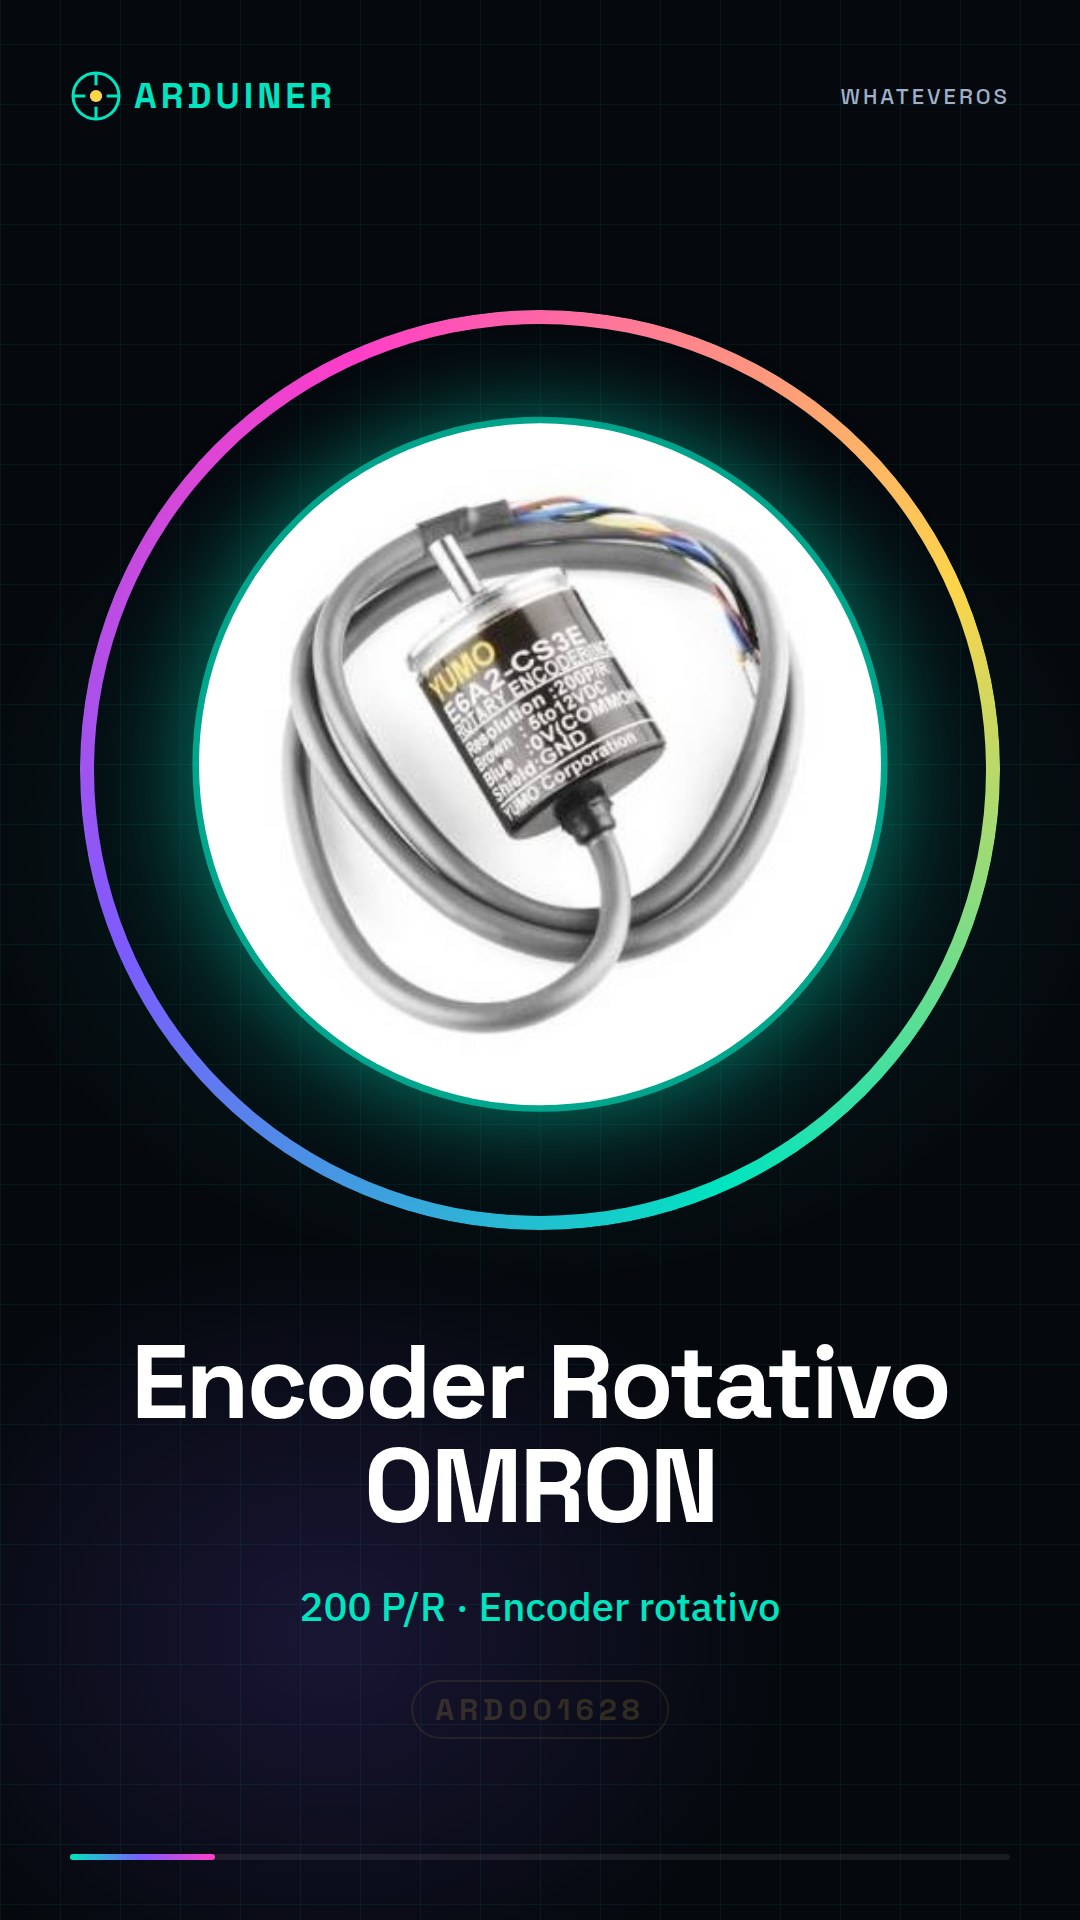
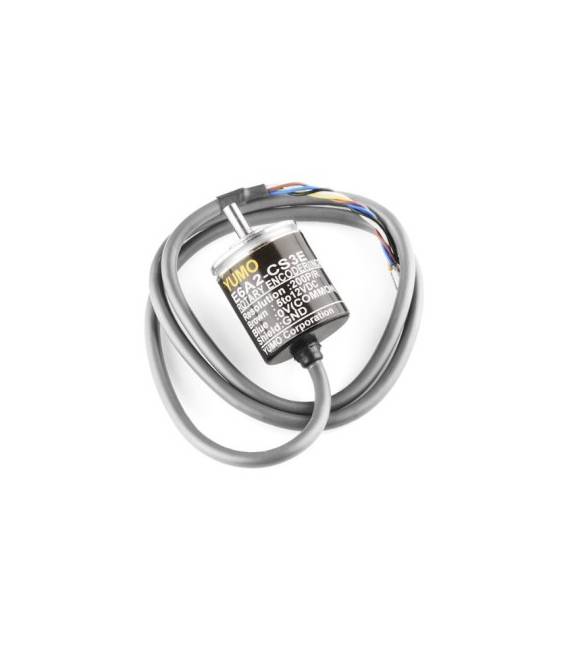
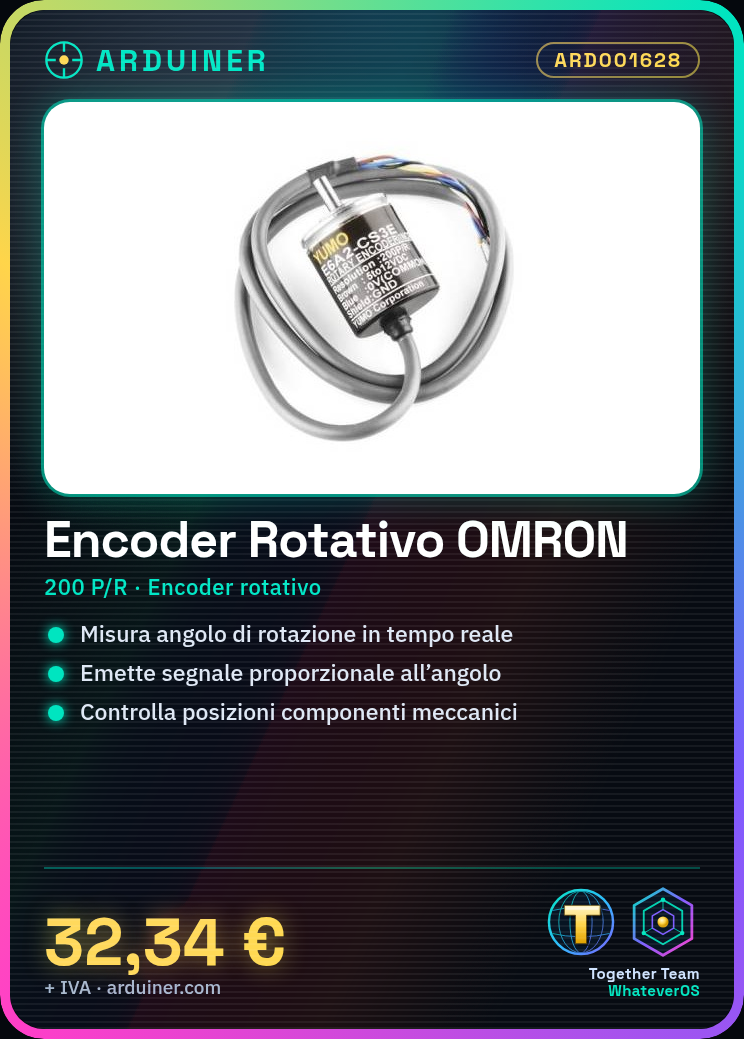
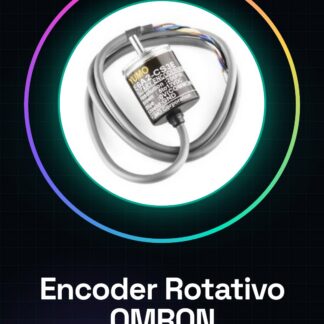
The OMRON E6A2-CS3E 200 P/R rotary encoder is a position sensor that measures the angular movement of an axis. It emits an electrical signal proportional to the angle of rotation, allowing the precise position of a mechanical component to be known.
Features
- Brand: OMRON
- Model: E6A2-CS3E
- Resolution: 200 P/R (pulses per revolution)
- Type: Rotary Encoder
What it is for
The OMRON E6A2-CS3E rotary encoder is ideal for position control applications in robotics, 3D printers, and other mechanical devices. It allows for precise measurement of the angle of rotation of an axis, enabling the control of motor movement, component position, or system orientation. Compatibility with Arduino and ESP32 allows for easy integration into electronic projects.
Tutorial: How to Use OMRON E6A2-CS3E Rotary Encoder
The OMRON E6A2-CS3E rotary encoder is a rotation-sensitive device ideal for controlling position, movement, or angle in electronic projects. It is particularly useful for makers creating interactive mechanical devices.
What you need
- Arduino Uno
- USB Connections
- Power Supply / Power Adapter / Adapter
Steps
- Connect the OMRON E6A2-CS3E encoder to the power supply to ensure proper power (check the datasheet for the operating voltage).
- Connect the encoder’s pin A0 and A1 to the Arduino microcontroller’s digital pins 2 and 3.
- Download the provided source code to read information from the encoder.
- Compile and run the sketch on the Arduino microcontroller.
- Verify that the encoder data is displayed correctly on the Arduino serial monitor.
Example code
// Includi la libreria per l'encoder
#include <Encoder.h>
// Definisci le pin utilizzate dall'encoder
const int encoderPin1 = 2;
const int encoderPin2 = 3;
// Crea un oggetto Encoder
Encoder myEnc(encoderPin1, encoderPin2);
void setup() {
  Serial.begin(9600);
}
void loop() {
  long pos = myEnc.read();
  Serial.println(pos);
}
Mini project
Create a small control interface for a stepper motor that moves based on the rotation of the encoder. The project takes about 30 minutes.
Common mistakes
- Ensure the power supply provides the correct voltage (check the datasheet).
- Check the connections between the encoder and Arduino to avoid short circuits.
- Use a library compatible with the type of encoder being used.
Recommended accessories
- Arduino Uno
- Variable connector kit
- Stepper Motors
- Stepper motor driver
Frequently asked questions
How can I calibrate the encoder for a more precise resolution?
Use the encoder’s datasheet to find the default configuration and modify the read values in the Arduino code.
Can I use this encoder with other microcontrollers besides Arduino?
Yes, the encoder is compatible with any microcontroller that can handle digital inputs.
Reviews
There are no reviews yet.