 EN
 IT Italiano
 ES Español
 FR Français
 DE Deutsch
Description
What it is
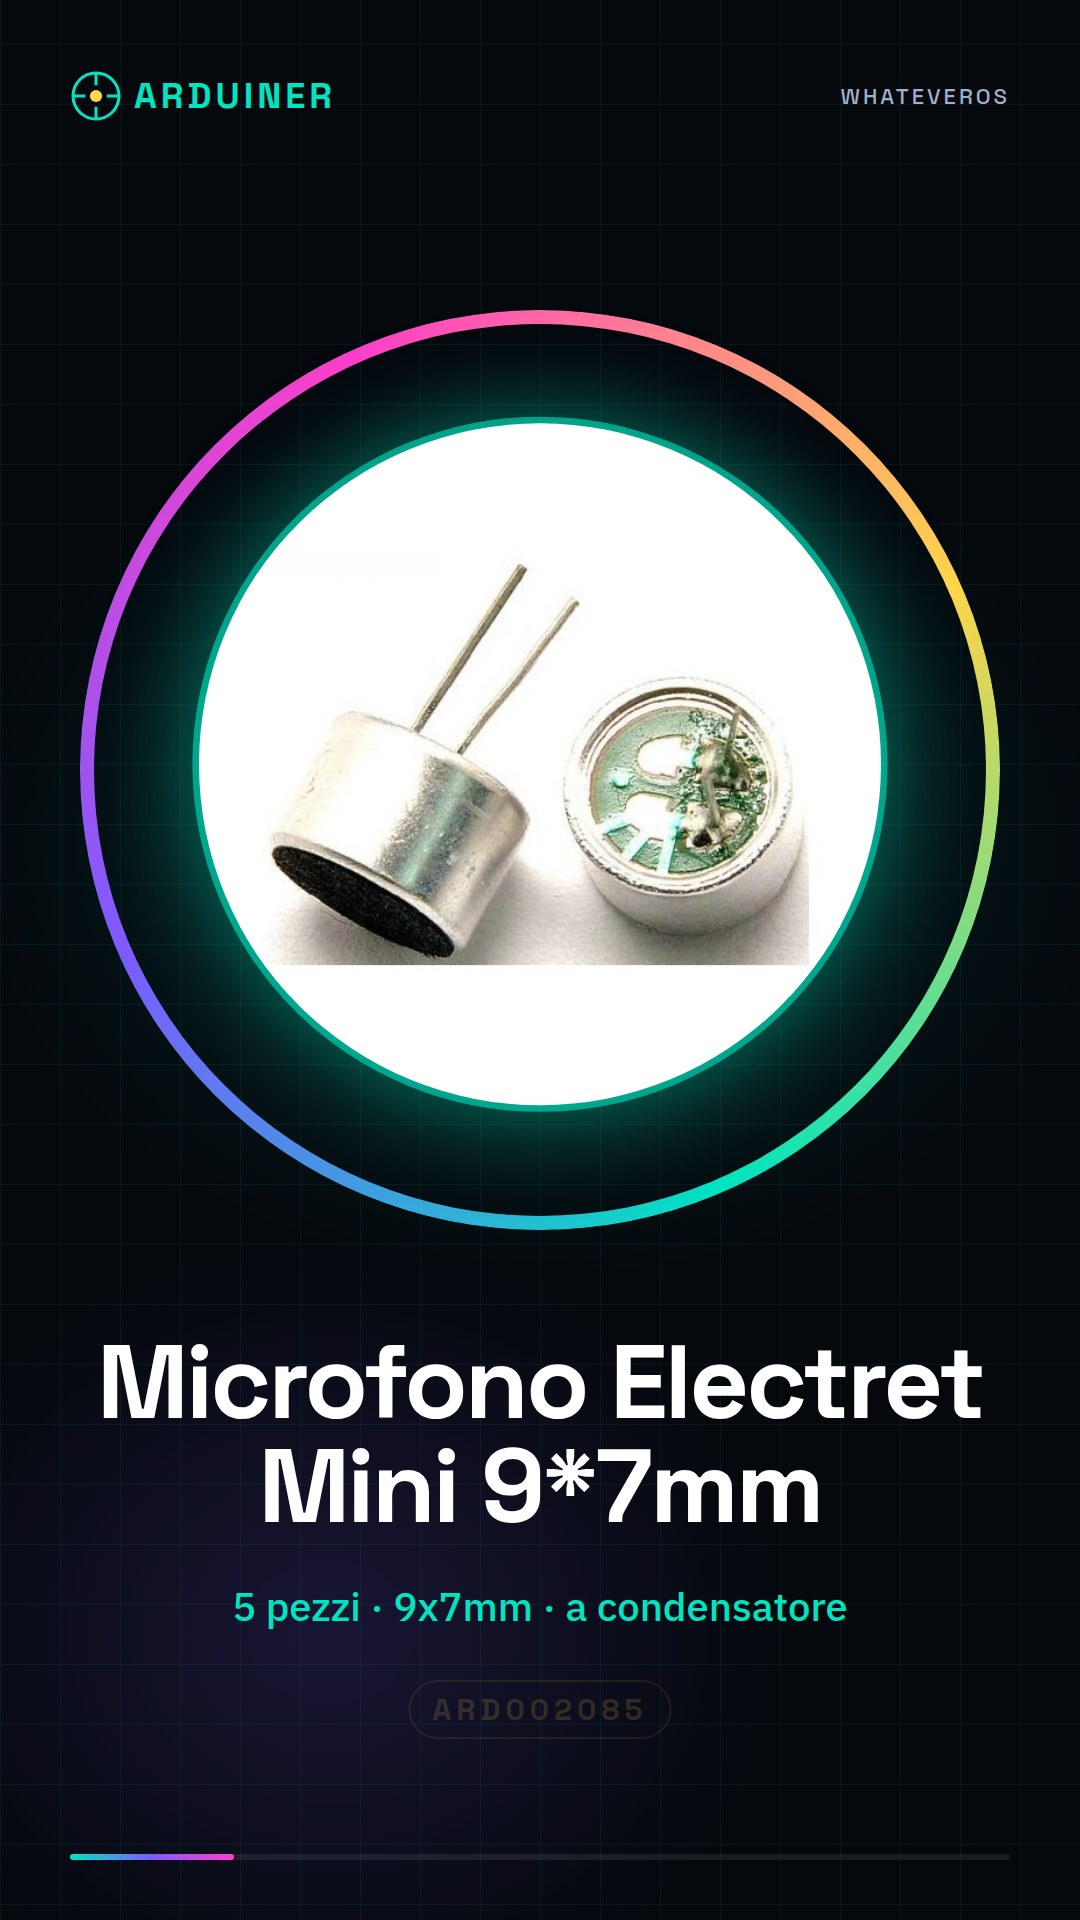
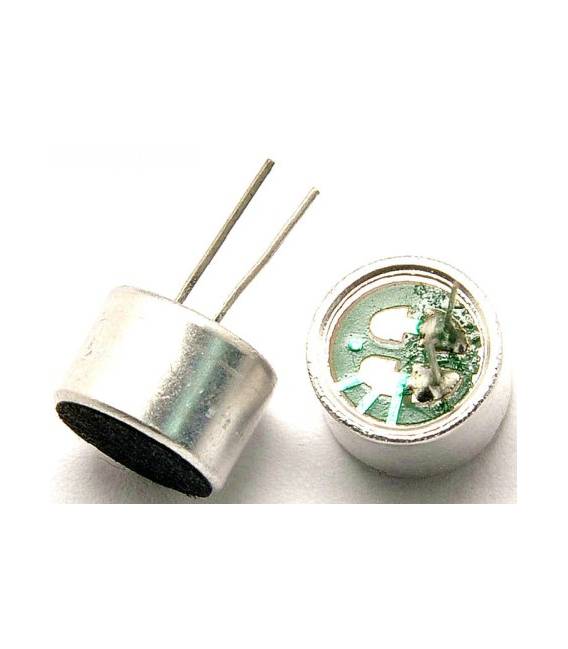
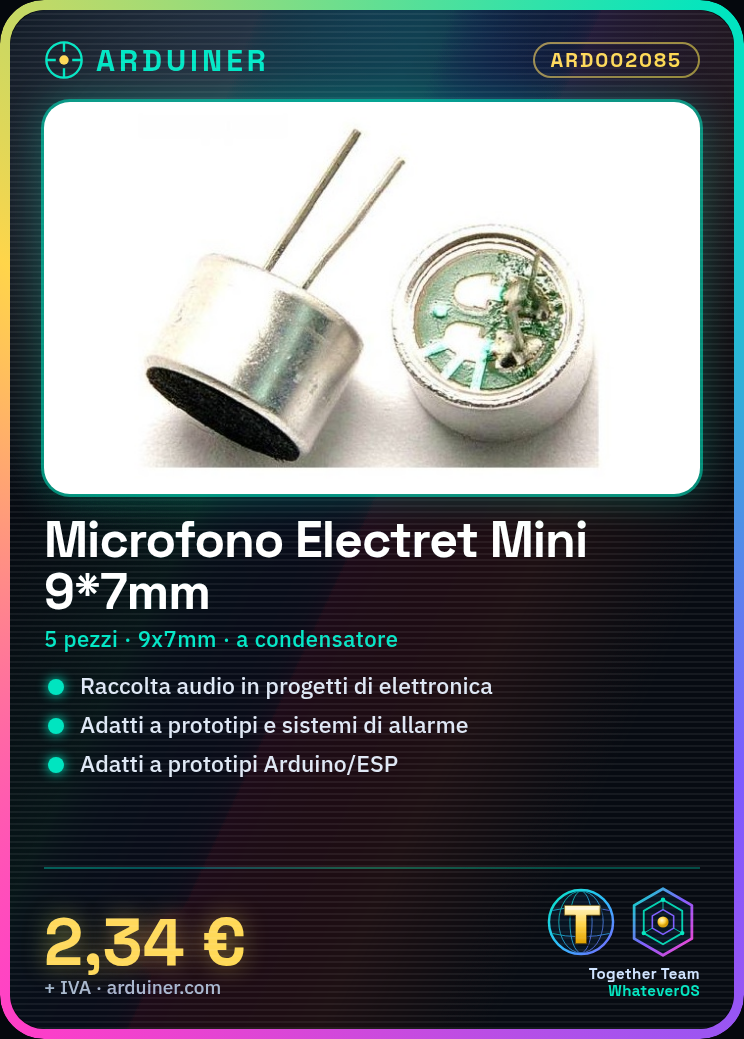
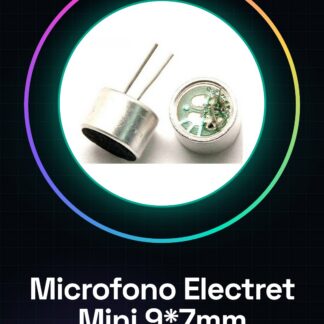
Mini electret condenser microphones, dimensions 9x7mm, are essential components for audio collection in electronic projects. These small devices are ideal for prototypes and applications requiring high acoustic sensitivity.
Features
- Type: Electret condenser microphone
- Dimensions: 9x7mm
What it is for
Mini electret microphones are used for voice recordings, interactive audio projects such as smart speakers or alarm systems. Their small size makes these components suitable for various devices and Arduino/ESP prototypes.
Tutorial: How to use Mini Electret Microphone
The mini electret microphone is a crucial component for projects requiring sound data collection. Ideal for beginners and intermediate makers, this microphone can be used in various devices such as smart speakers or alarm systems.
What you need
- Arduino Uno
- Jumper wire
- USB battery
Steps
- Connect the VCC pin of the microphone to 5V of the Arduino.
- Connect the GND pin of the microphone to the ground of the Arduino.
- Connect the AUDIO pin of the microphone to the analog pin A0 of the Arduino (check the datasheet for the correct configuration).
- Write the Arduino sketch that reads data from pin A0 and converts it into sound values.
- Test the microphone by creating a simple prototype such as a sound alarm.
- Verify that the microphone works correctly by recording audio through an audio recording library.
Example code
// Esempio di codice Arduino per leggere i dati dal microfono
int micPin = A0;
void setup() {
pinMode(micPin, INPUT);
Serial.begin(9600);
}
void loop() {
analogRead(micPin);
}
Mini project
Create a sound alarm that detects noise and activates an LED lamp when it exceeds a specific volume level.
Common mistakes
- Do not connect the VCC and GND pins correctly.
- Ignore the pull-up resistor needed between AUDIO and Arduino (check the datasheet).
- Use a microphone not suitable for analog projects on Arduino.
- Insert the microphone into a circuit configuration that damages internal components.
Recommended accessories
- 10kΩ pull-up resistor
- Audio amplifier module
- 3D print to protect the microphone
Frequently asked questions
How can I verify if my microphone is working correctly?
You can connect it to an oscilloscope or simply use Arduino to read the analog values and display them on Serial Monitor.
Do I need a pull-up resistor? Why?
Yes, it is needed to prevent the microphone’s AUDIO pin from remaining in an undefined state when no voltage is applied.
Reviews
There are no reviews yet.