 EN
 IT Italiano
 ES Español
 FR Français
 DE Deutsch
Description
What it is
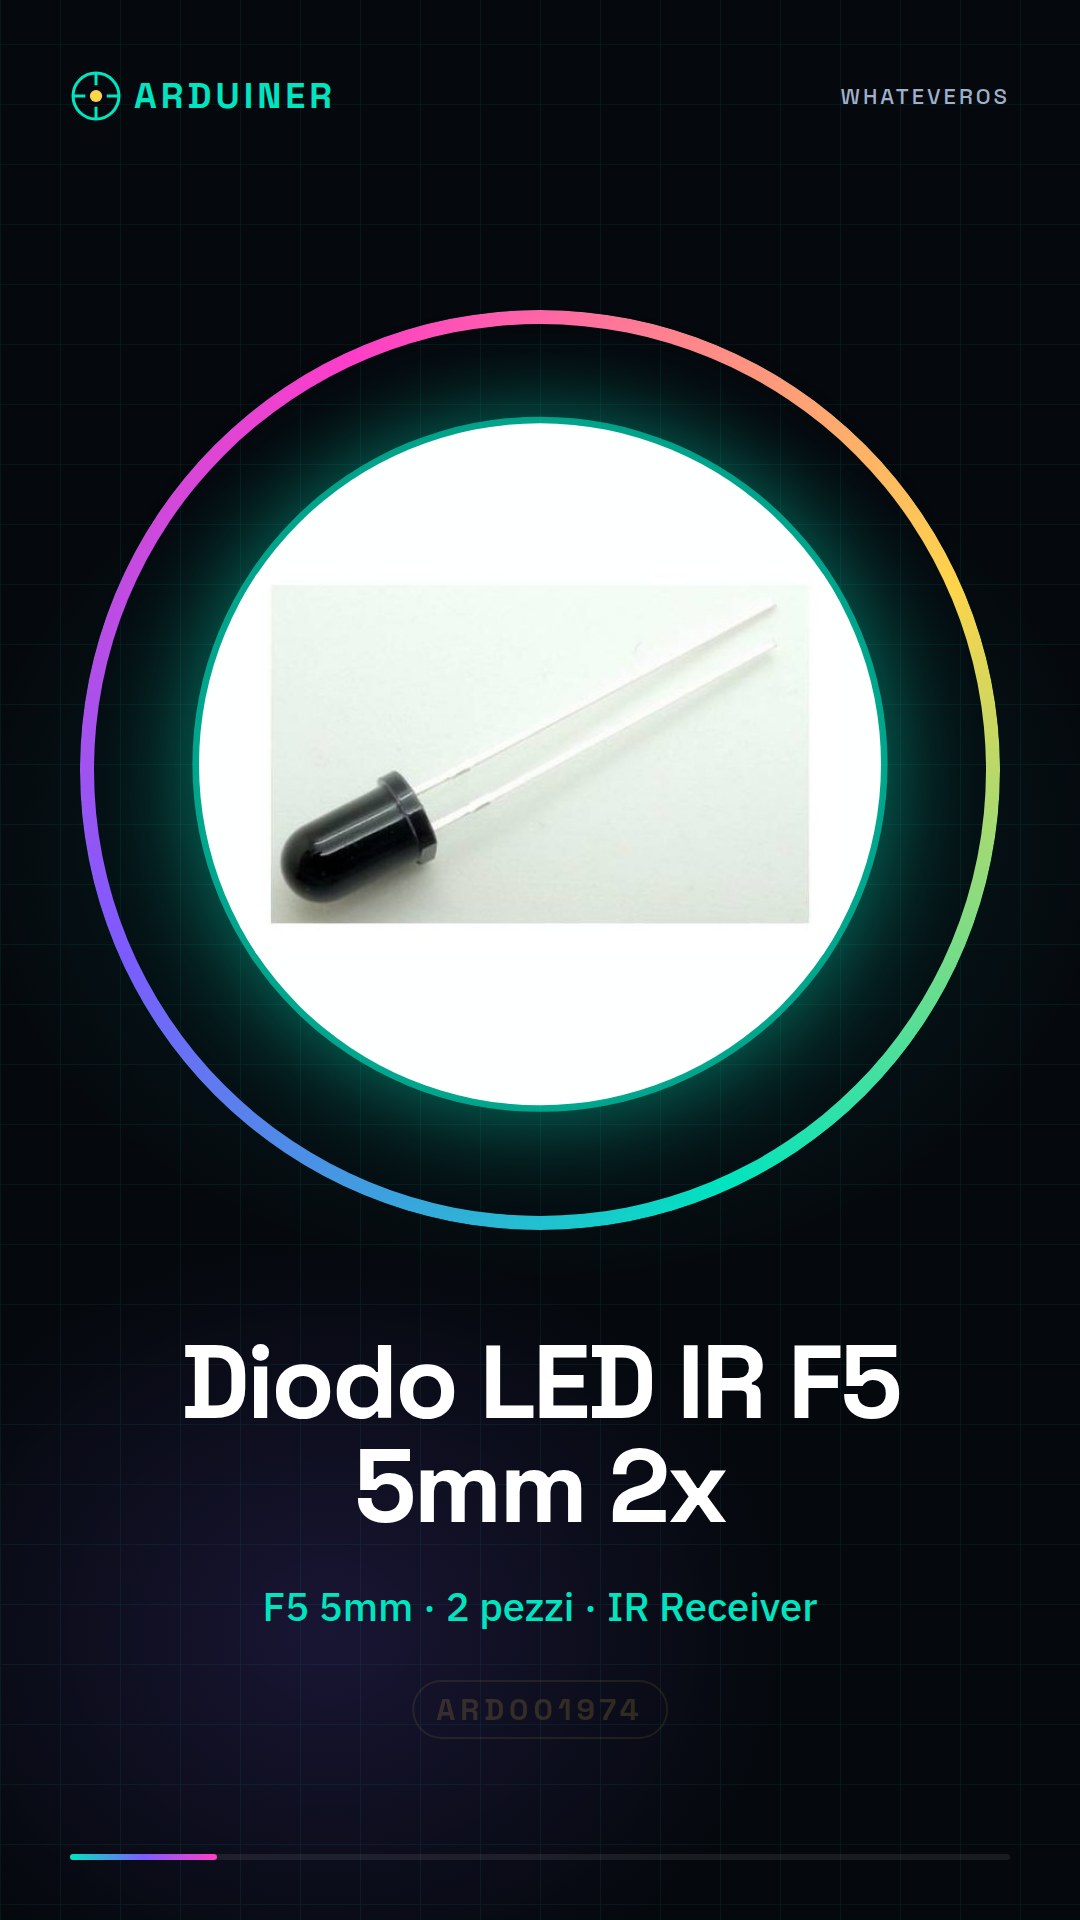
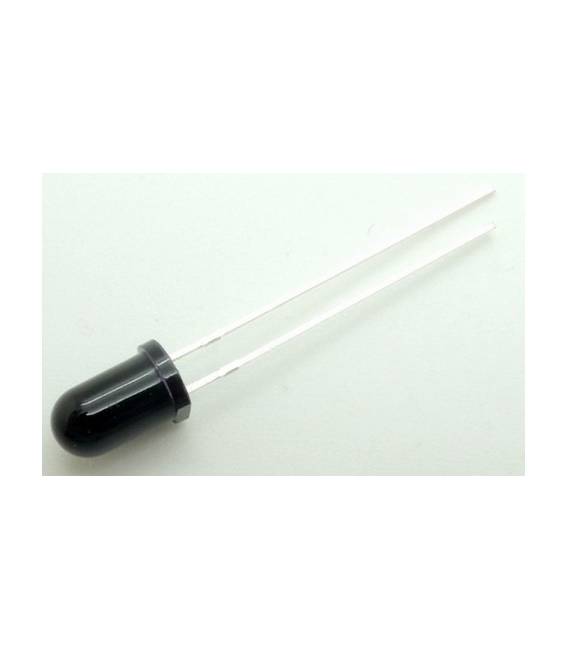
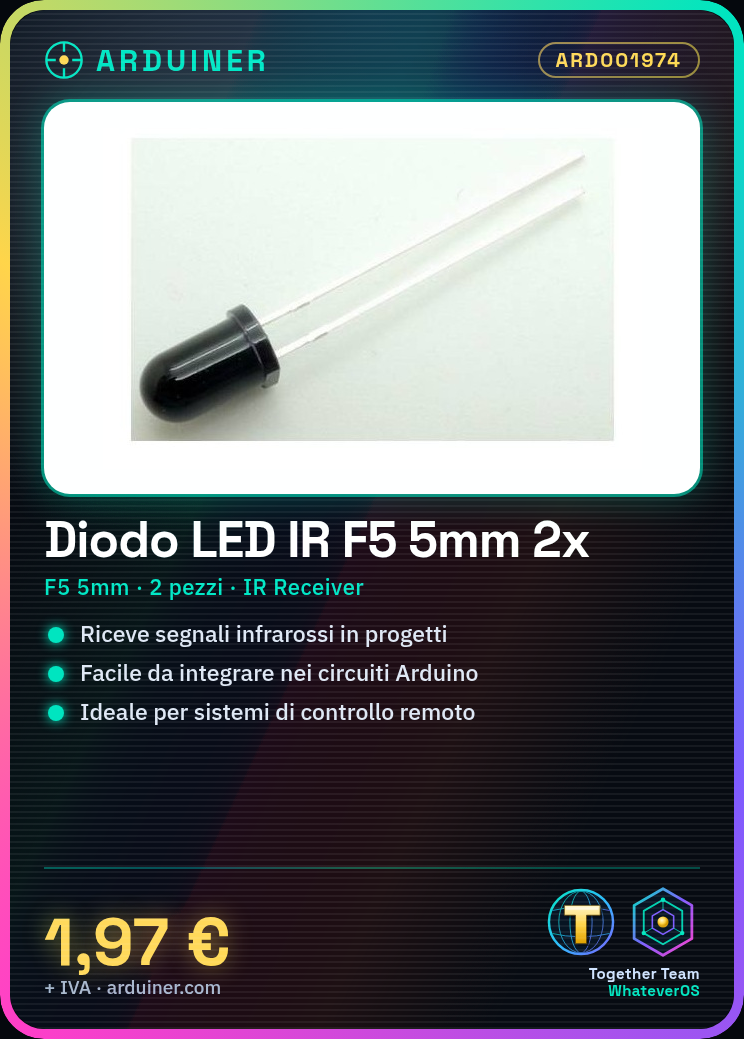
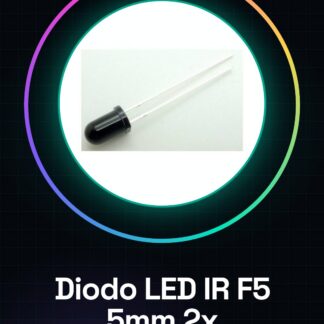
The two pieces of F5 5mm LED Infrared Receiver IR Receiver are components used to receive infrared signals in electronic projects, such as those based on Arduino. These devices are essential for implementing low-frequency wireless communication.
Features
- Type: LED Infrared Receiver IR Receiver F5 5mm
- Quantity: 2 pieces
What it is for
Infrared receivers are used to create remote control systems, for example to control electronic devices such as TVs or stereos. They are compatible with Arduino projects and can be integrated into distance sensors. You can connect it to your circuit and write a sketch to decode commands sent from the remote control.
Tutorial: How to use LED Infrared Receiver F5 5mm
This infrared receiver is ideal for low-frequency wireless communication projects, such as controlling electronic devices or creating remote sensors. It is particularly useful for beginners due to its ease of use.
What you need
- Arduino Uno
- USB Type B cable
- 9V battery (optional)
- Infrared emitting LED diode
Steps
- Connect the infrared receiver to the Arduino’s digital pin, checking the datasheet for voltage and current values.
- Install the IRremote library to manage infrared communications (see official website).
- Write a simple sketch that reads data from the receiver and sends it to the Arduino’s serial.
- Test the receiver by connecting an infrared emitting LED diode and starting signal transmission.
- Verify that the receiver’s output is correct by comparing it to the datasheet specifications.
- Design a prototype box to protect the circuit (optional).
- Integrate the receiver into a more complex project, such as a security system or a remote control.
- Get feedback from the device and improve the receiver configuration.
Example code
// Includi la libreria IRremote
#include <IRremote.h>
// Definisci il pin collegato al ricevitore
const int RECV_PIN = 11;
void setup() {
  Serial.begin(9600);
}
void loop() {
  decode_results decodedCode;
  if (irrecv.decode(&decodedCode)) {
    irrecv.resume();
    Serial.println(decodedCode.value, HEX);
  }
}
Mini project
Infrared Remote Control: Create an infrared remote control that can control devices such as TV or stereo. Connect the receiver to your project and write a sketch to decode the commands sent.
Common mistakes
- Incorrect voltage setting
- Incorrectly connected Arduino pin
- IRremote library not installed or incorrectly configured
- Infrared LED emitter not functioning
Recommended accessories
- Arduino Uno
- USB Type B cable
- 9V battery
- Infrared LED emitter
Frequently asked questions
How can I control a device with this receiver?
Use a sketch that decodes the signals sent by the remote control and sends them to the target device.
What is the maximum operating distance of the infrared receiver?
Check the datasheet to obtain this specific information.
Reviews
There are no reviews yet.