 EN
 IT Italiano
 ES Español
 FR Français
 DE Deutsch
Description
What it is
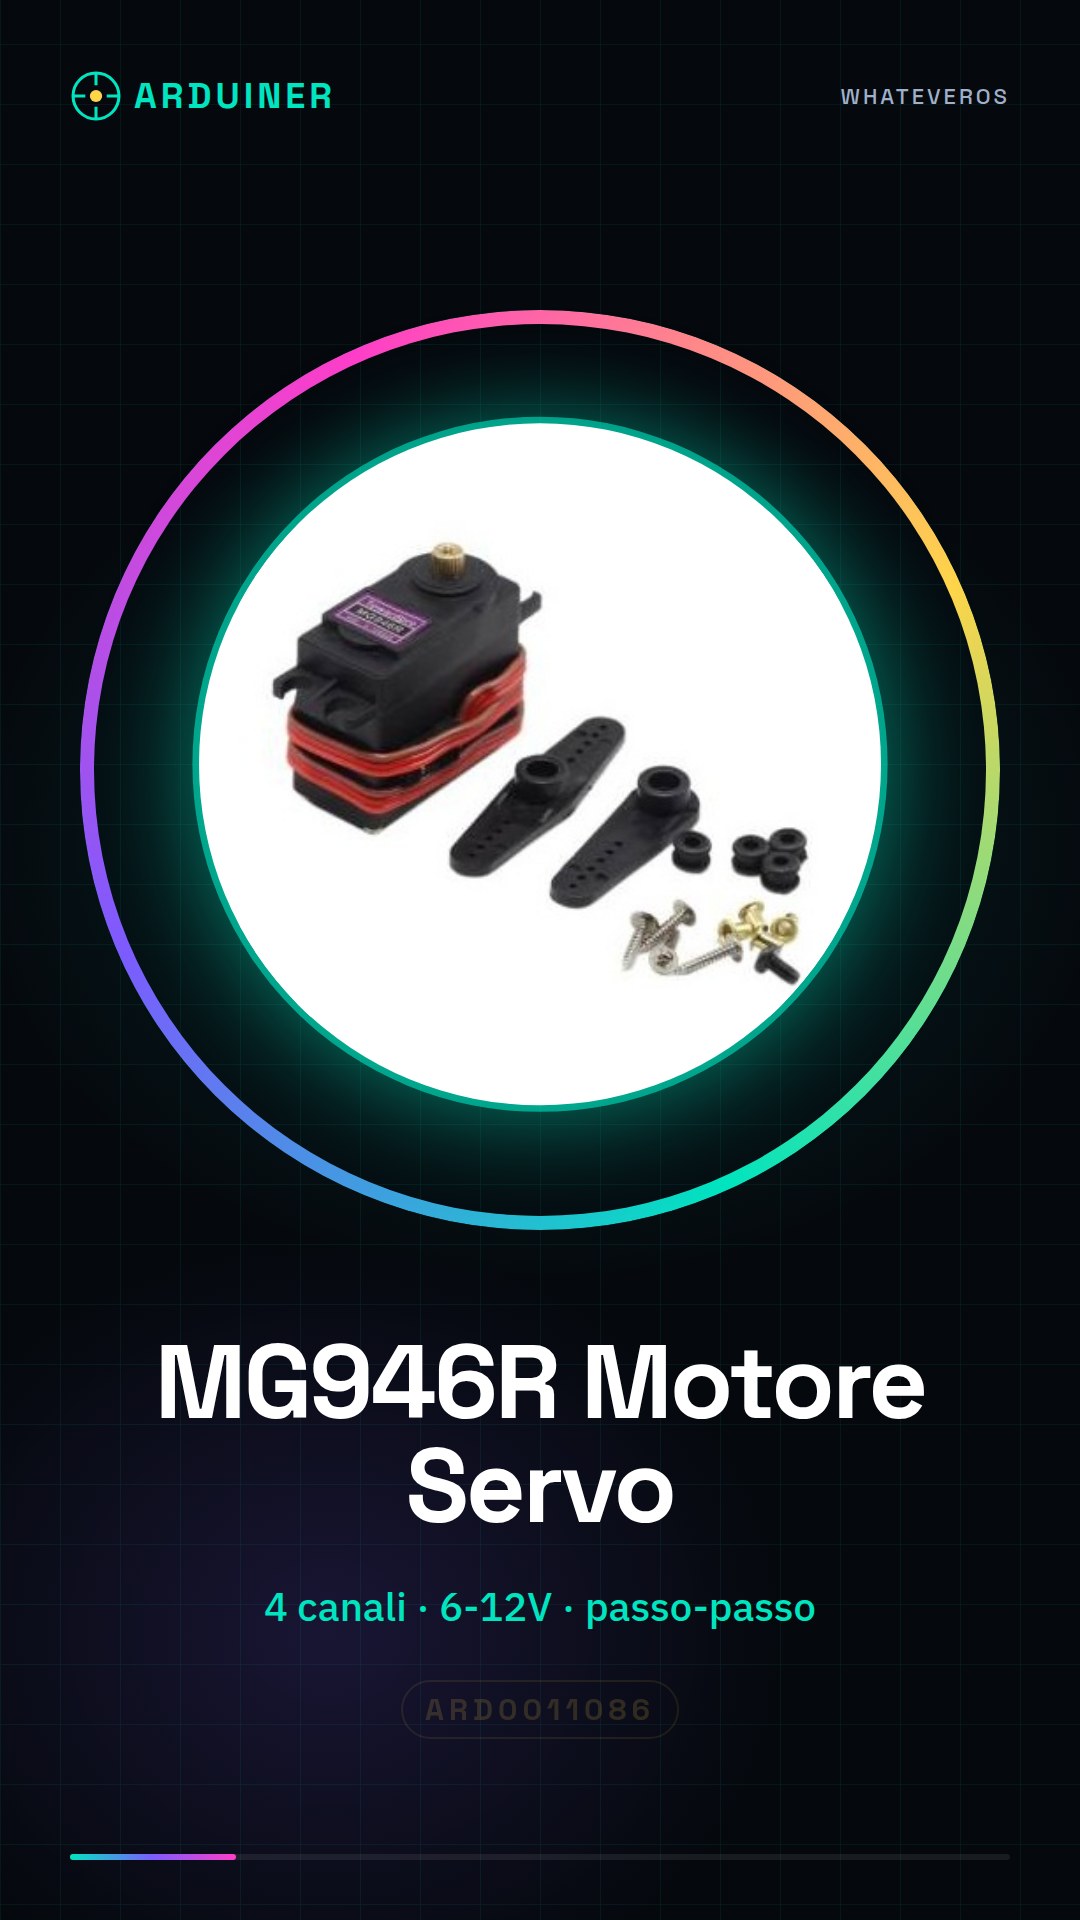
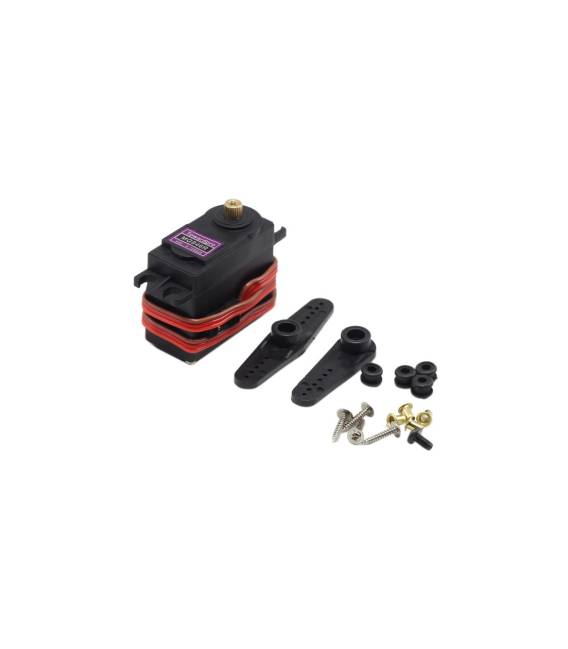
The MG946R is a step-by-step servo motor, an updated version compared to previous models like the MG995 and MG945. This device is designed to be used in various types of applications that require precise and controlled movements.
Features
- 4 channel step-by-step motor
- Variable input voltage: 6V, 7.2V, 12V
What it is for
The MG946R is ideal for robotics and mechatronics projects that require precise movements. You can use it to create a simple robotic arm with two or three servomotors, connecting each motor to its own PWM channel on Arduino and writing a sketch that allows the arm to move in different ways.
Tutorial: How to use the MG946R servo motor
The MG946R servo motor is ideal for robotics and mechatronics projects that require precise movements. This tutorial will guide you through the installation and configuration of the motor, showing how to integrate it with Arduino.
What you need
- Arduino Uno or compatible
- USB cable to connect Arduino to the computer
- MG946R servo motor
- 6V-12V battery
Steps
- Connect the servo motor to the Arduino PWM port using the GND, VCC and Signal pins.
- Install the Servo library for Arduino from the library manager or from GitHub.
- Write a simple sketch that rotates the motor to 90 degrees.
- Upload the sketch to Arduino via USB.
- Check the datasheet of the motor to establish the correct voltage limits.
- Check the rotation of the motor according to the sketch instructions.
- Adjust the range of movement of the servo motor if necessary.
- Test additional functions such as stopping or continuous movement of the servo motor.
Example code
Servo myServo;

void setup() {
  myServo.attach(9);
}

void loop() {
  myServo.write(90); // Ruota a 90 gradi
}
Mini project
Create a simple robotic arm with two or three MG946R servo motors. Connect each motor to its own PWM channel on the Arduino and write a sketch that allows the arm to move in various ways.
Common mistakes
- Connect the motor voltage to a level above 12V.
- Do not check the datasheet for the movement limits of the servo motor.
- Use a digital pin instead of PWM for the servo motor signal.
Recommended accessories
- 3D Printer Prototype Kit
- 3D Printer compatible with PLA or PETG filament
- Position sensors to improve the precision of the servo motor
- Arduino Starter Kit
Frequently asked questions
How can I control multiple servomotors with a single Arduino?
Use a library like ‘Servo’ and assign each motor to a different PWM pin.
What is the difference between MG946R and MG995?
MG946R offers greater precision and power compared to MG995, but check the datasheet for specific details.

Reviews
There are no reviews yet.