 EN
 IT Italiano
 ES Español
 FR Français
 DE Deutsch
Description
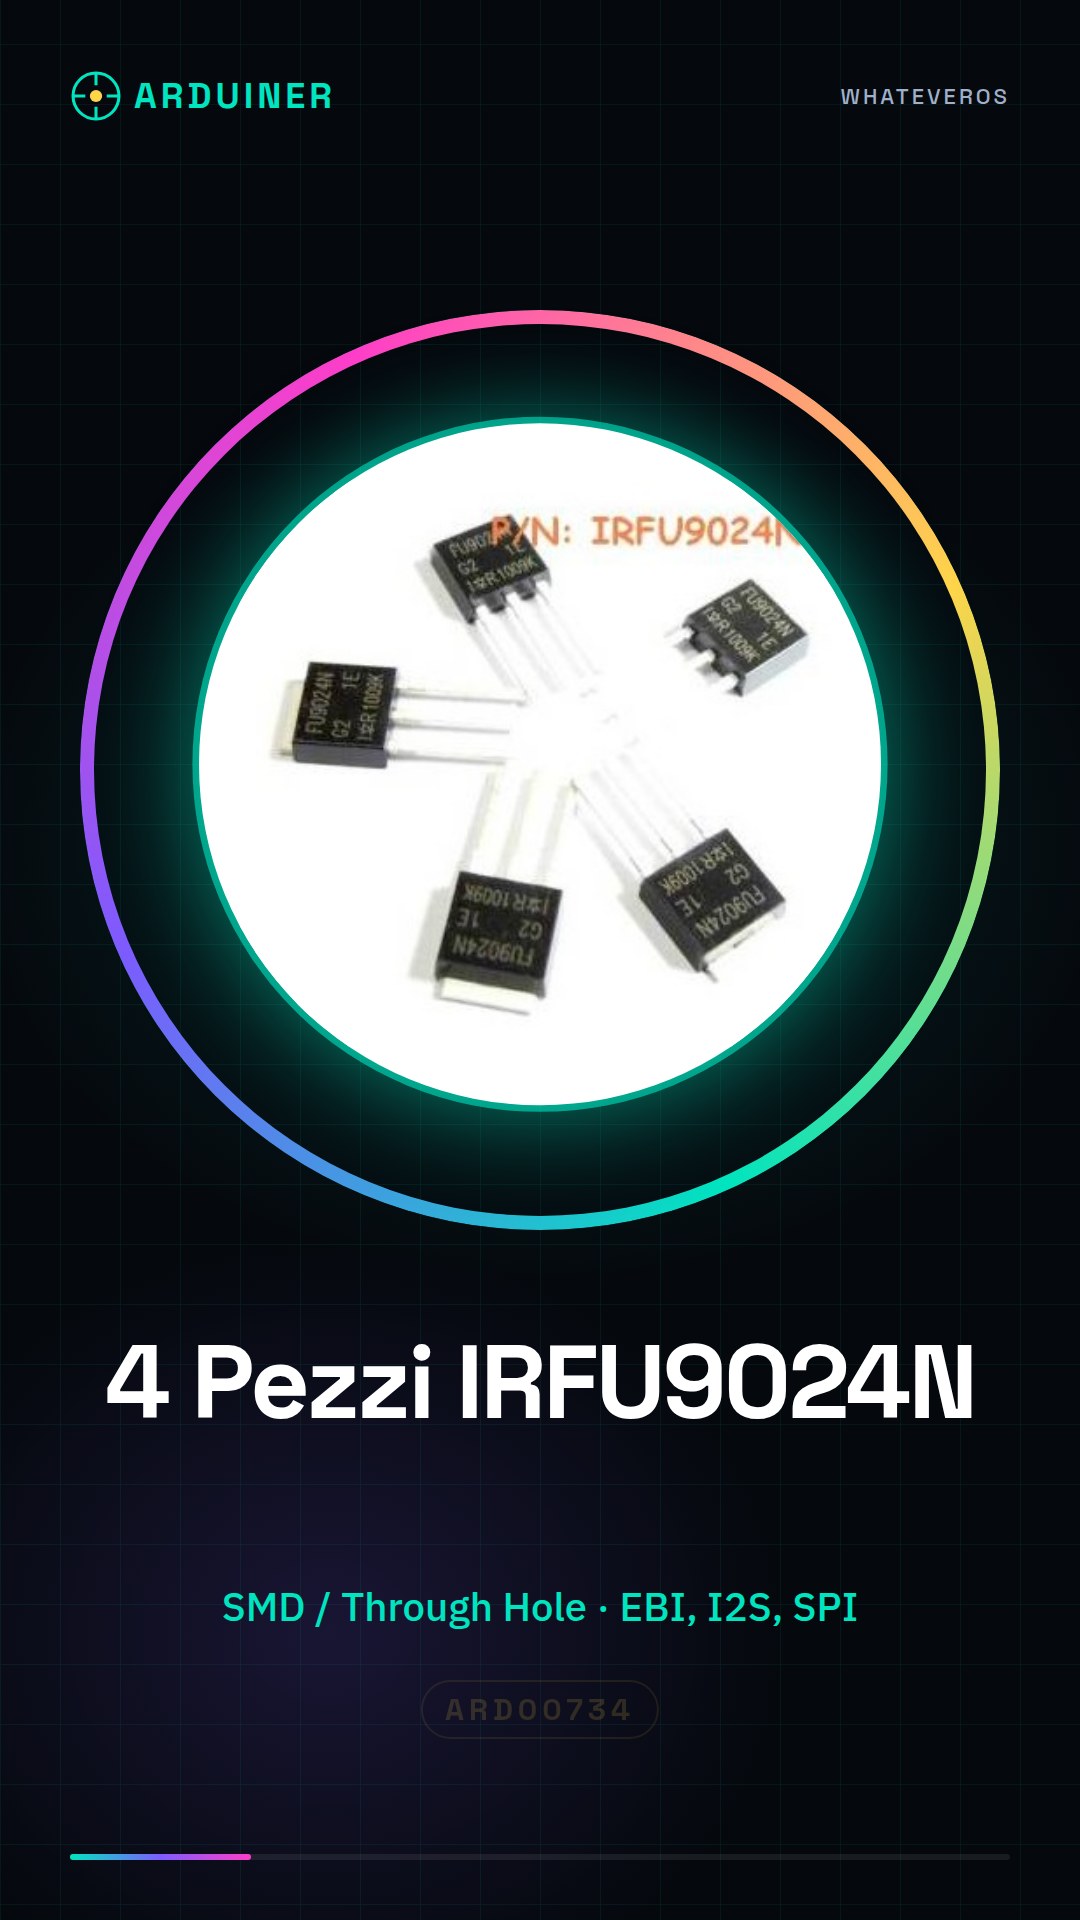
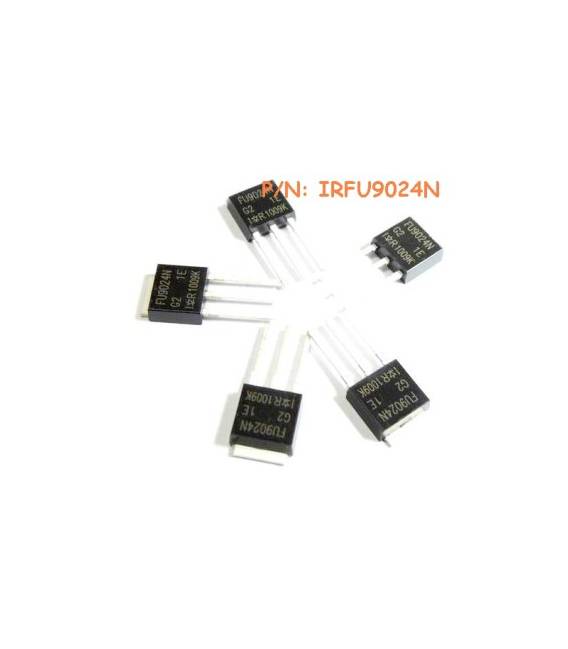
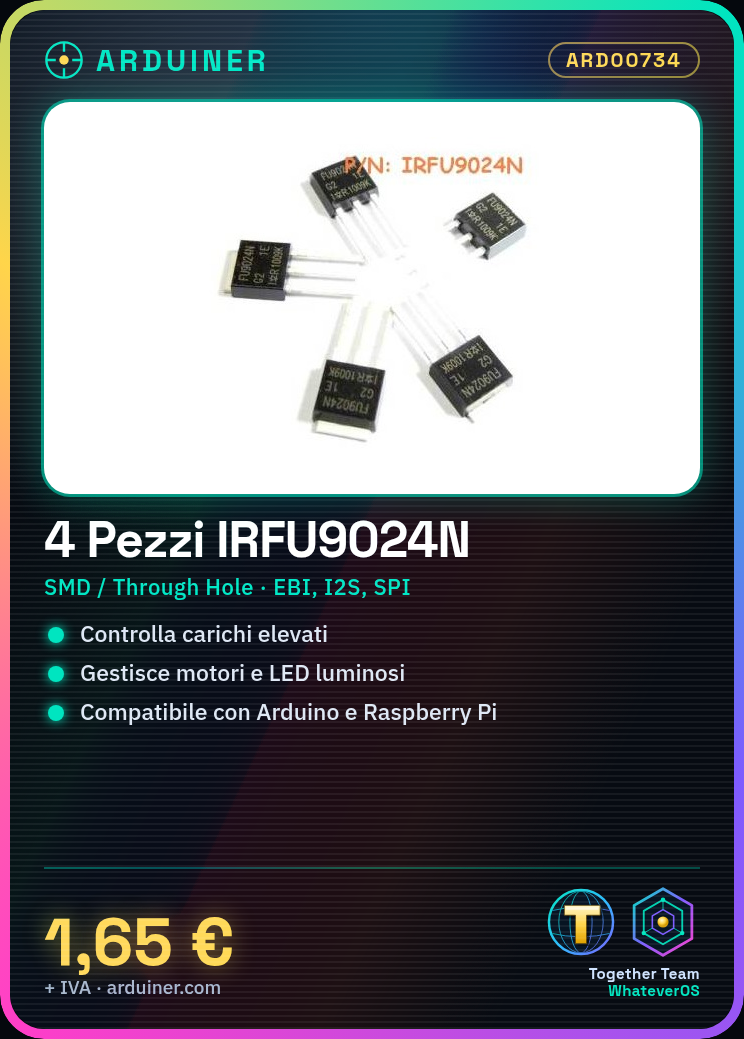
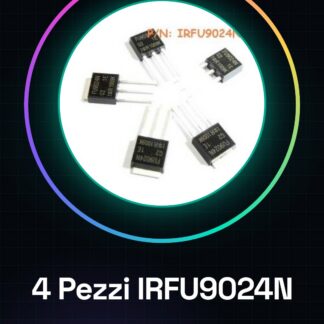
4 Pieces IRFU9024N Mosfet Transistor IC Integrated Circuits
| Datasheet | IRFU9024N |
| Category | Integrated Circuits (IC) |
| Mounting Style: | SMD / SMT / Through Hole |
| Interface Type: | EBI, I2S, SPI, TWI, USART, USB, MSSP, PSP, USART, I2C |
| Family | Interface – Driver, Receivers, Transceivers |
| Protocol | RS232 / RS422 / RS485 |
| RoHS: | Yes |
We have the technical sheet of all components available, if it is not present in the product download card, send us a message from the contact us form and we will publish it as soon as possible on our website.
Tutorial: How to use IRFU9024N Mosfet
The IRFU9024N is a high-speed N-Channel MOSFET used to control high current loads. It is ideal for Arduino and Raspberry Pi projects where motors or very bright LEDs need to be managed.
What you need
- Arduino Uno
- 12V LED
- Resistor / Resistance
Steps
- Connect the MOSFET’s GATE pin to a control pin of the Arduino.
- The DRAIN pin is connected to the positive terminal of the external power supply and the other end to the resistor.
- The negative terminal of the power supply goes to the MOSFET’s SOURCE pin.
- Connect the positive terminal of the LED through the resistor to the positive terminal of the power supply.
- The negative terminal of the LED is connected to the DRAIN of the MOSFET.
- Write a simple Arduino sketch to control the state of the MOSFET.
Example code
void setup() {
  pinMode(9, OUTPUT);
}

void loop() {
  digitalWrite(9, HIGH); // Accende il led
  delay(1000);
  digitalWrite(9, LOW); // Spegne il led
  delay(1000);
}
Mini project
Create a controllable lighting system using Arduino that can turn on and off a 12V LED lamp.
Common mistakes
- Do not check the power supply voltage of the MOSFET before installation.
- Connect the MOSFET to the circuit without testing it on a breadboard first.
- Use a resistor that is too small or too large to protect the Arduino’s GPIO pin.
Recommended accessories
- Variable resistors
- Breadboard
- Connection wires
- Multimeter
Frequently asked questions
What is the control voltage of the MOSFET?
Check the datasheet.
Can I use this MOSFET to control a motor?
Yes, but make sure the motor does not exceed the maximum specifications of the MOSFET.
Reviews
There are no reviews yet.