 EN
 IT Italiano
 ES Español
 FR Français
 DE Deutsch
Description
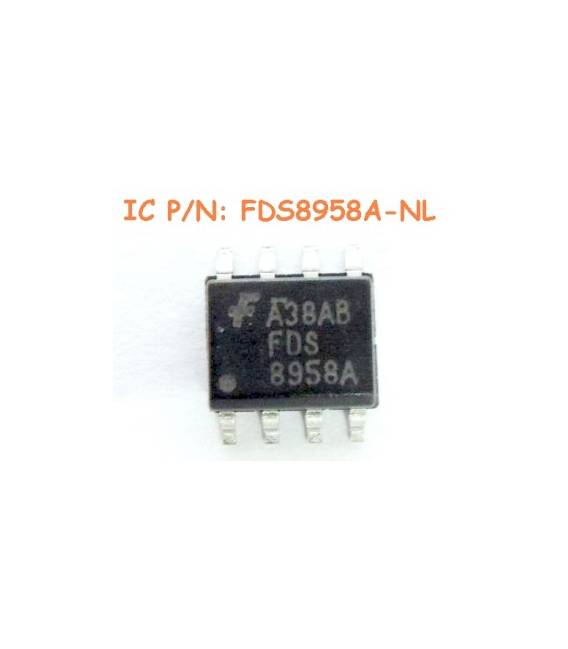
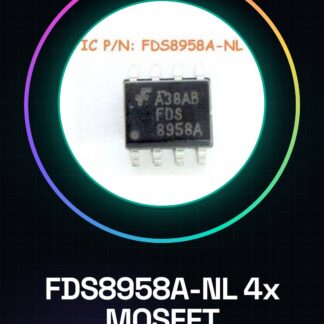
FDS8958A-NL Dual Mosfet Transistor
Tutorial: How to Use Dual Mosfet Transistor FDS8958A-NL
The Dual Mosfet Transistor FDS8958A-NL is ideal for anyone wanting to control high currents with Arduino or other microcontrollers. It is perfect for home automation, robotics, and control systems projects.
What you need
- Arduino Uno
- Breadboard
- Jumper wires
- Pull-up resistors
Steps
- Check the operating voltage of the FDS8958A-NL on the datasheet and ensure it is compatible with your project.
- Connect the Arduino to the breadboard using jumper wires.
- Identify the control pins (GATE) for each MOSFET in the FDS8958A-NL integrated circuit.
- Connect a pull-up resistor between the GATE pin and the high logic level of the microcontroller.
- Connect the Arduino’s digital output to each GATE pin to control the open/closed state of the MOSFETs.
- Connect loads (such as motors or relays) to the drain and source terminals of the FDS8958A-NL.
- Check with a multimeter for any short circuits in the circuit before powering it on.
- Write Arduino code to control the MOSFETs via digital outputs.
Example code
void setup() {
  pinMode(2, OUTPUT);
  pinMode(3, OUTPUT);
}

void loop() {
  digitalWrite(2, HIGH); // Attiva il primo MOSFET
  delay(1000);
  digitalWrite(2, LOW); // Disattiva il primo MOSFET
  delay(1000);
}
Mini project
Create a control system for a 12V lamp using the FDS8958A-NL. Connect the lamp to the MOSFET terminals and use the Arduino to turn the lamp on or off.
Common mistakes
- Do not check the operating voltage on the datasheet
- Omit the 10kΩ pull-up resistors
- Connect the load directly to the microcontroller without protection
Recommended accessories
- Arduino Uno R3
- Breadboard 400 tie points
- Jumper wire set of various colors
- 10kΩ pull-up resistors
Frequently asked questions
What is the maximum voltage for the FDS8958A-NL?
Check the datasheet.
Can I connect a motor directly to the MOSFET?
Use a relay or power protection, do not connect motors directly to MOSFETs.
Reviews
There are no reviews yet.