 EN
 IT Italiano
 ES Español
 FR Français
 DE Deutsch
Description
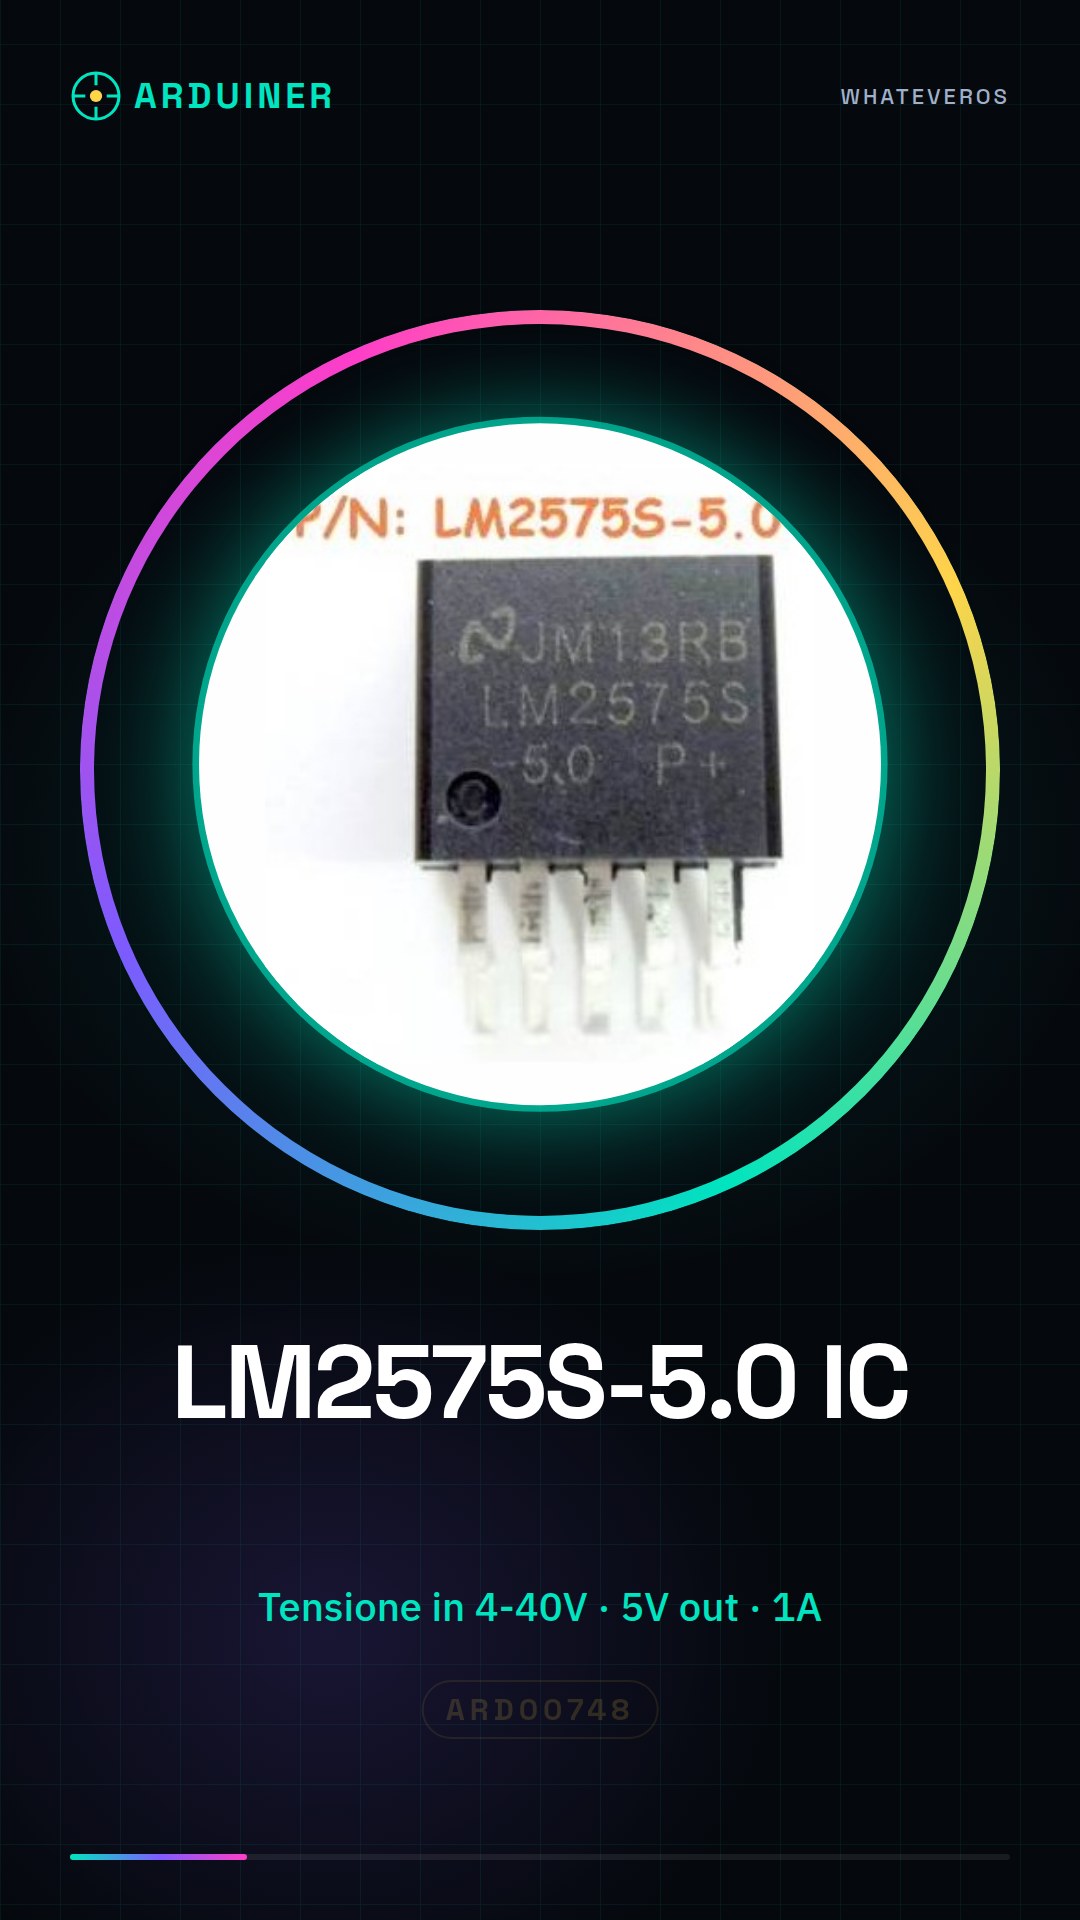
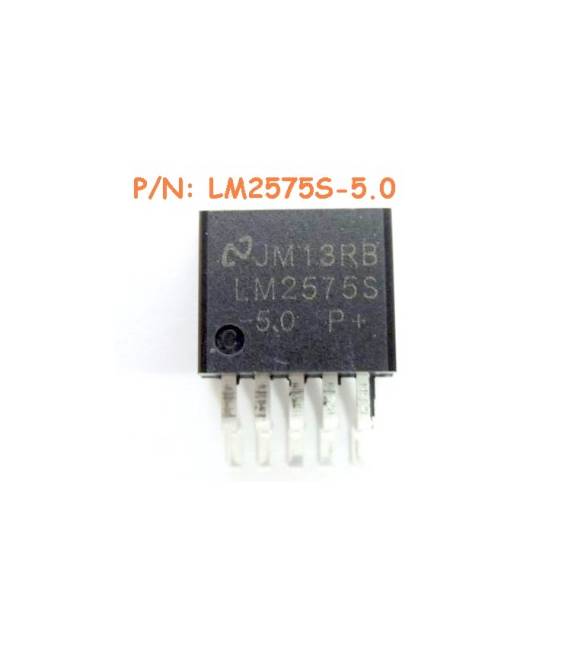
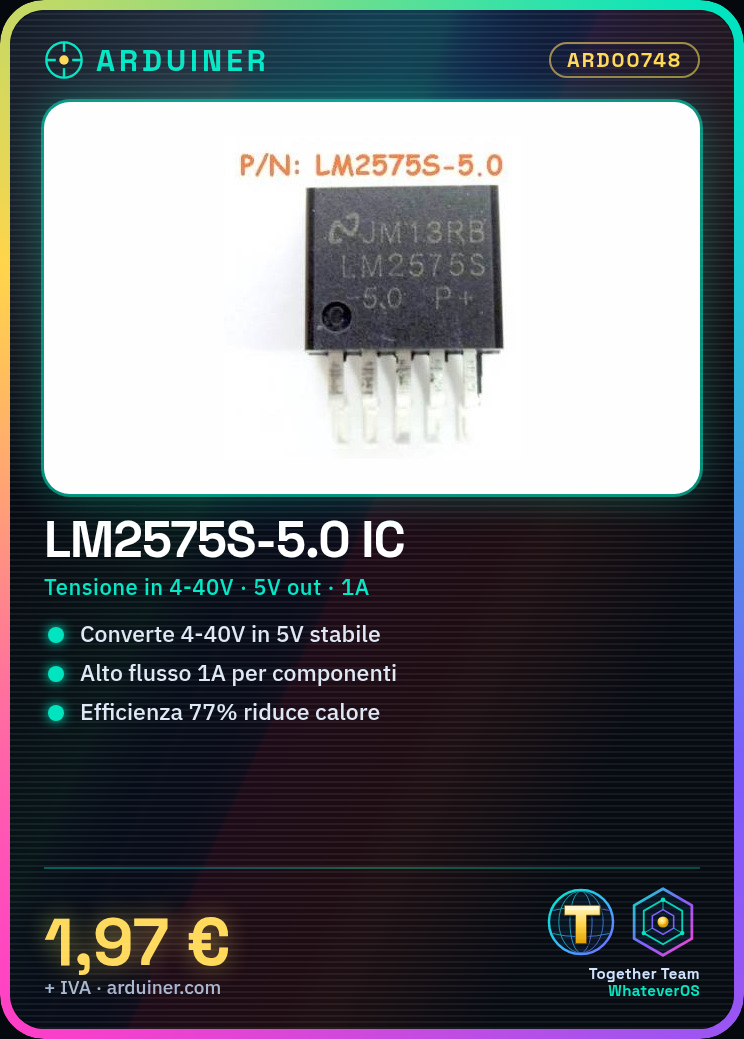
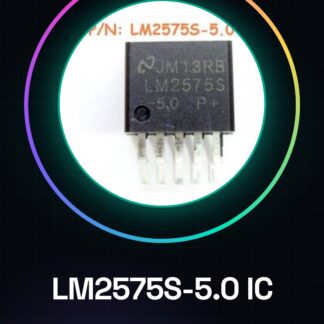
4PCS LM2575S-5.0 IC Integrated Circuits
Part Specifications:
– Step Down DC-DC Converter Type
– 1 Output
– Pin Count: 5 + Tab
– Input Voltage: 40V
– Output Voltage: 5V
– Frequency: 58KHz
– Output Current: 1A
– Efficiency: 77%
– Package Type: TO-263
– Output Type: Regulated Switching
– Surface Mount: Yes
– Input Voltage (min): 4V
– Operating Temperature Classification: Automotive
Technical Data Sheets: Available upon request. Please contact us via the contact form if not included in the product download.
Tutorial: How to Use IC LM2575S-5.0
– Ideal for Arduino and beginner makers needing stable 5V power supply.
– Simple to use and essential for protecting your circuits.
Required Components:
– Arduino Uno
– LM2575S Voltage Regulator
– Jumper Wires
– Battery or Power Adapter
Steps:
1. Connect the power adapter or battery to the VIN pin of the LM2575S.
2. Connect the adapter/battery GND to the circuit GND.
3. Connect the ENABLE pin (pin 3) to pin 12 of the Arduino to control power.
4. Connect VOUT of the LM2575S to the 5V pin of the Arduino or components requiring 5V.
5. Check the output voltage with a multimeter.
6. Optionally, add an electrolytic capacitor between VOUT and GND to filter current spikes.
Mini-Project: Create a controllable LED lamp powered by LM2575S-5.0.
Common Errors:
– Not checking the output voltage
– Omitting the electrolytic capacitor between VOUT and GND
– Directly powering components without going through LM2575S
– Using an unsuitable power supply
Recommended Accessories:
– Electrolytic Capacitors
– Jumper Wires
– Multimeter
– Battery or Power Adapter
Frequently Asked Questions:
– How can I control the power supply?
– By connecting the ENABLE pin to the microcontroller to activate/deactivate the output voltage.
– What is the difference between LM2575 and LM2575S?
– LM2575S offers a smaller (SOIC) version compared to the DIP of LM2575, but they have the same characteristics.
Reviews
There are no reviews yet.