 EN
 IT Italiano
 ES Español
 FR Français
 DE Deutsch
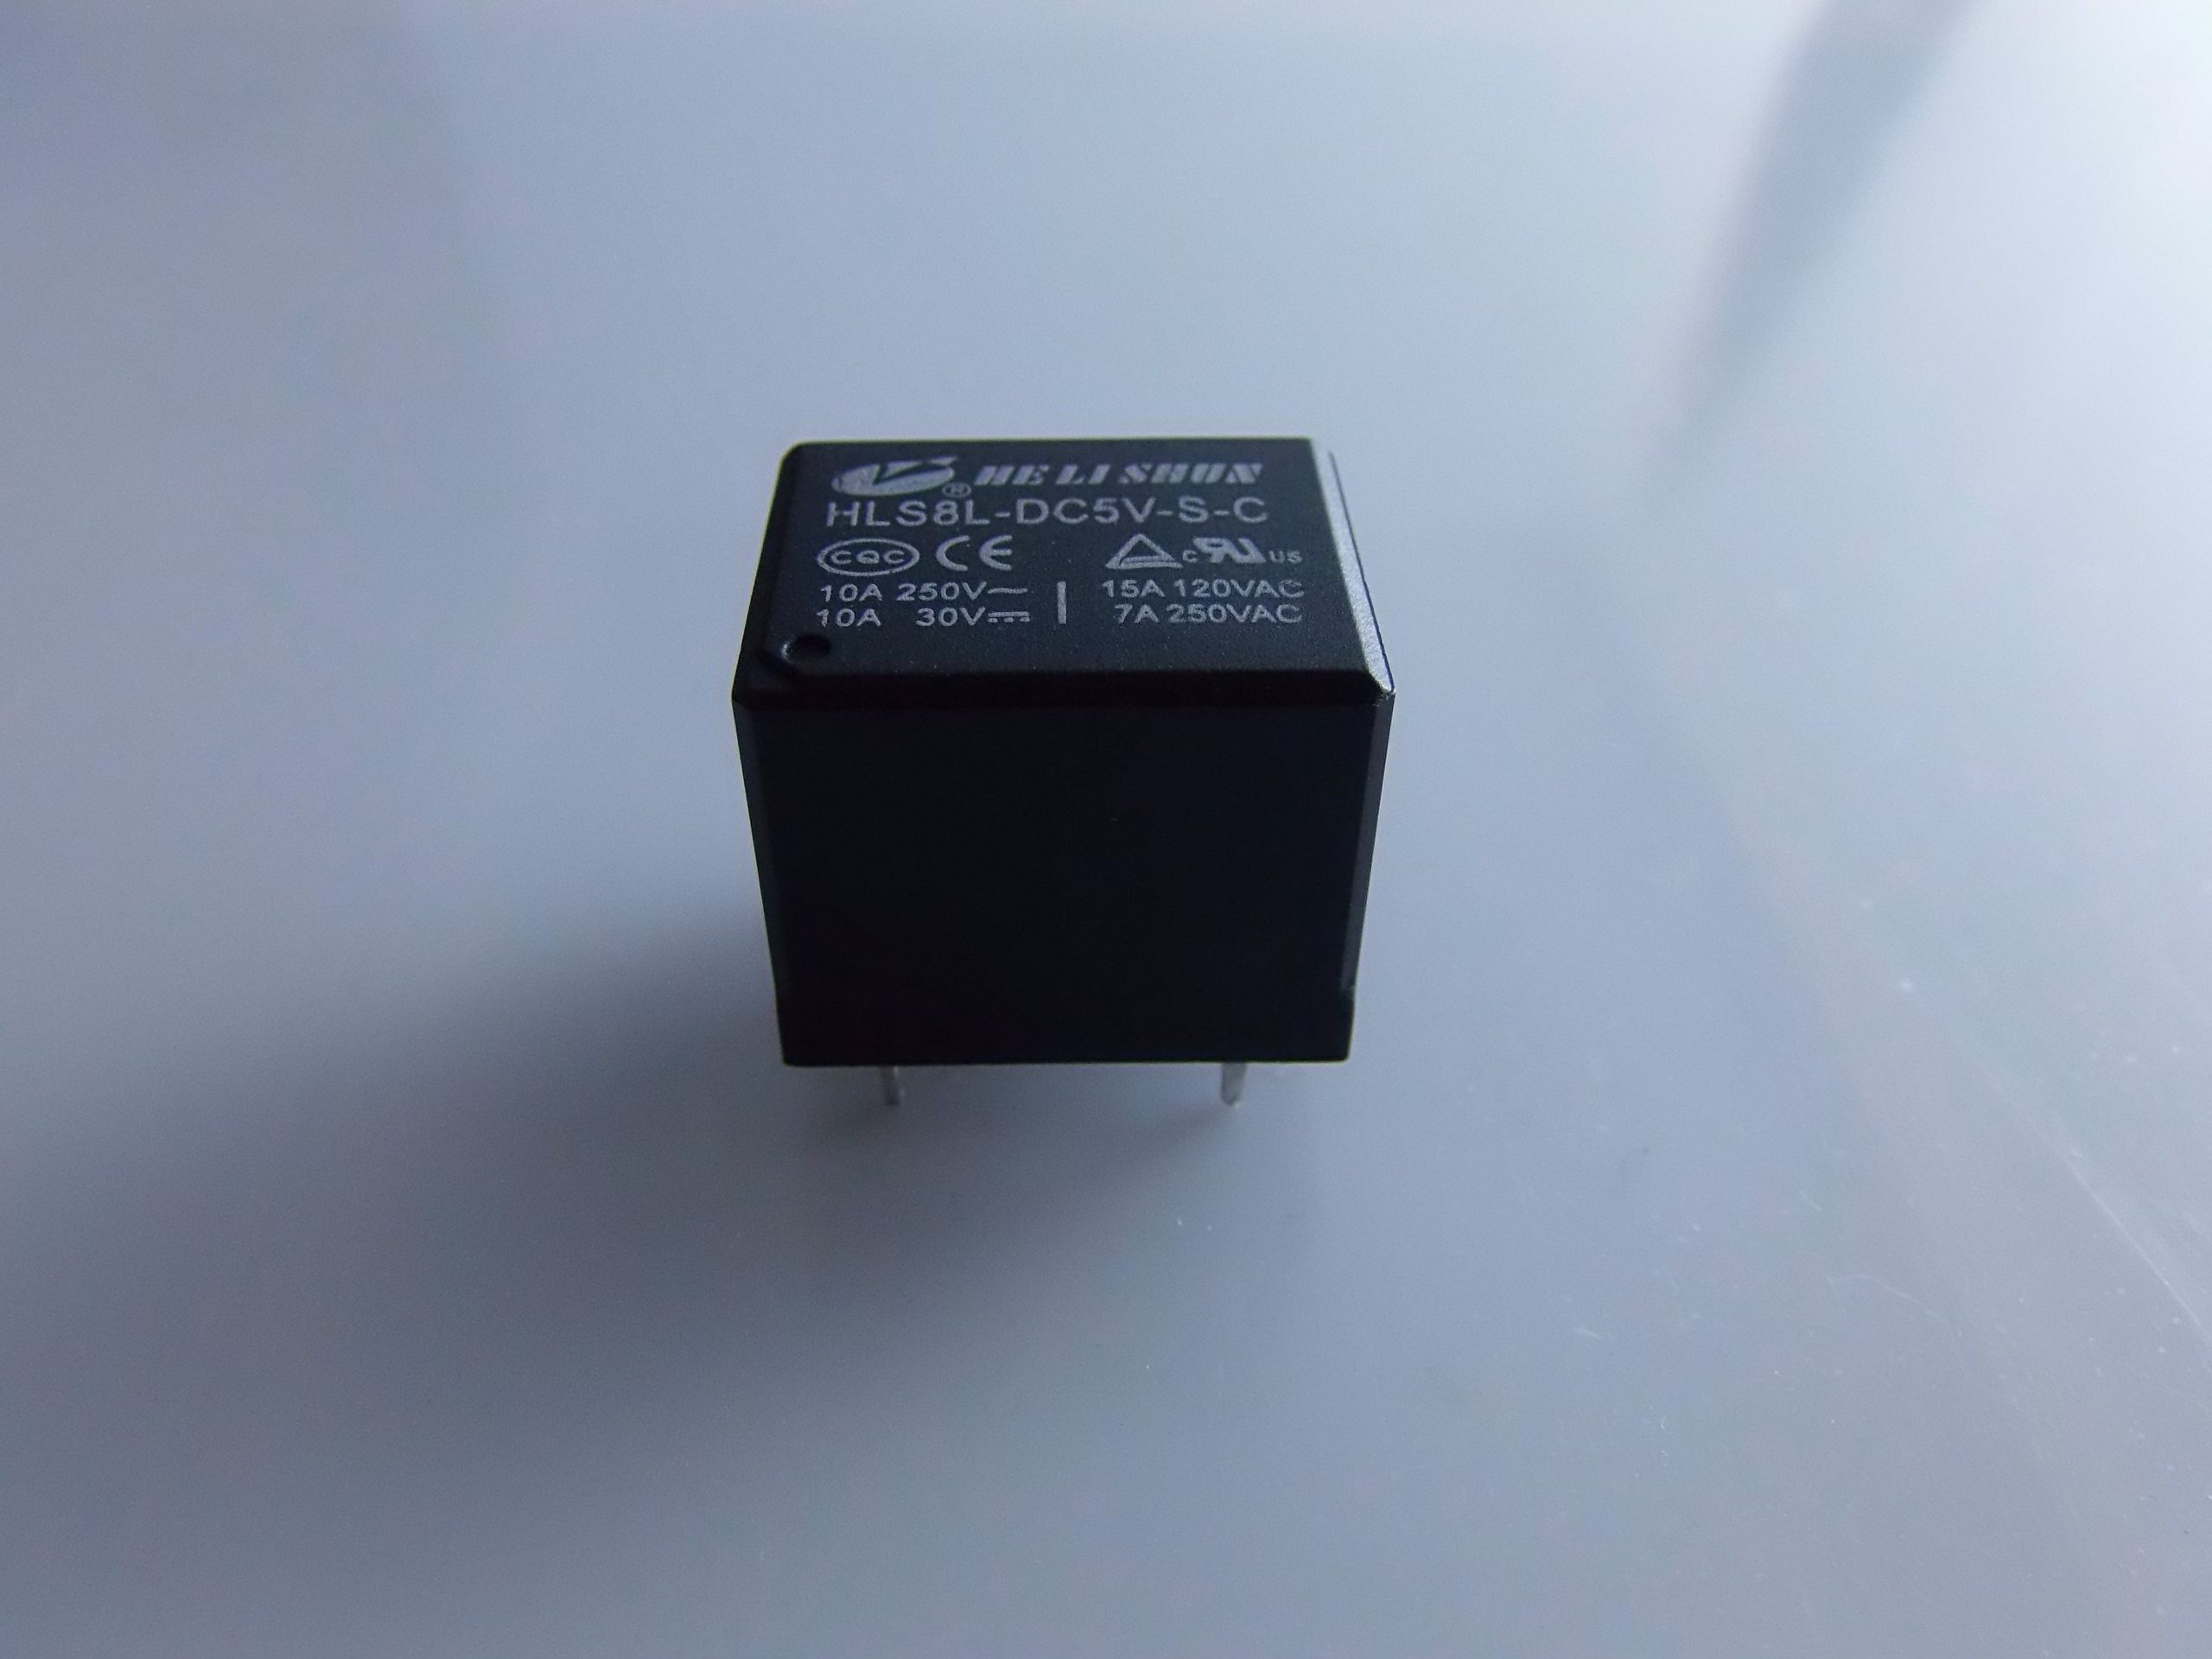
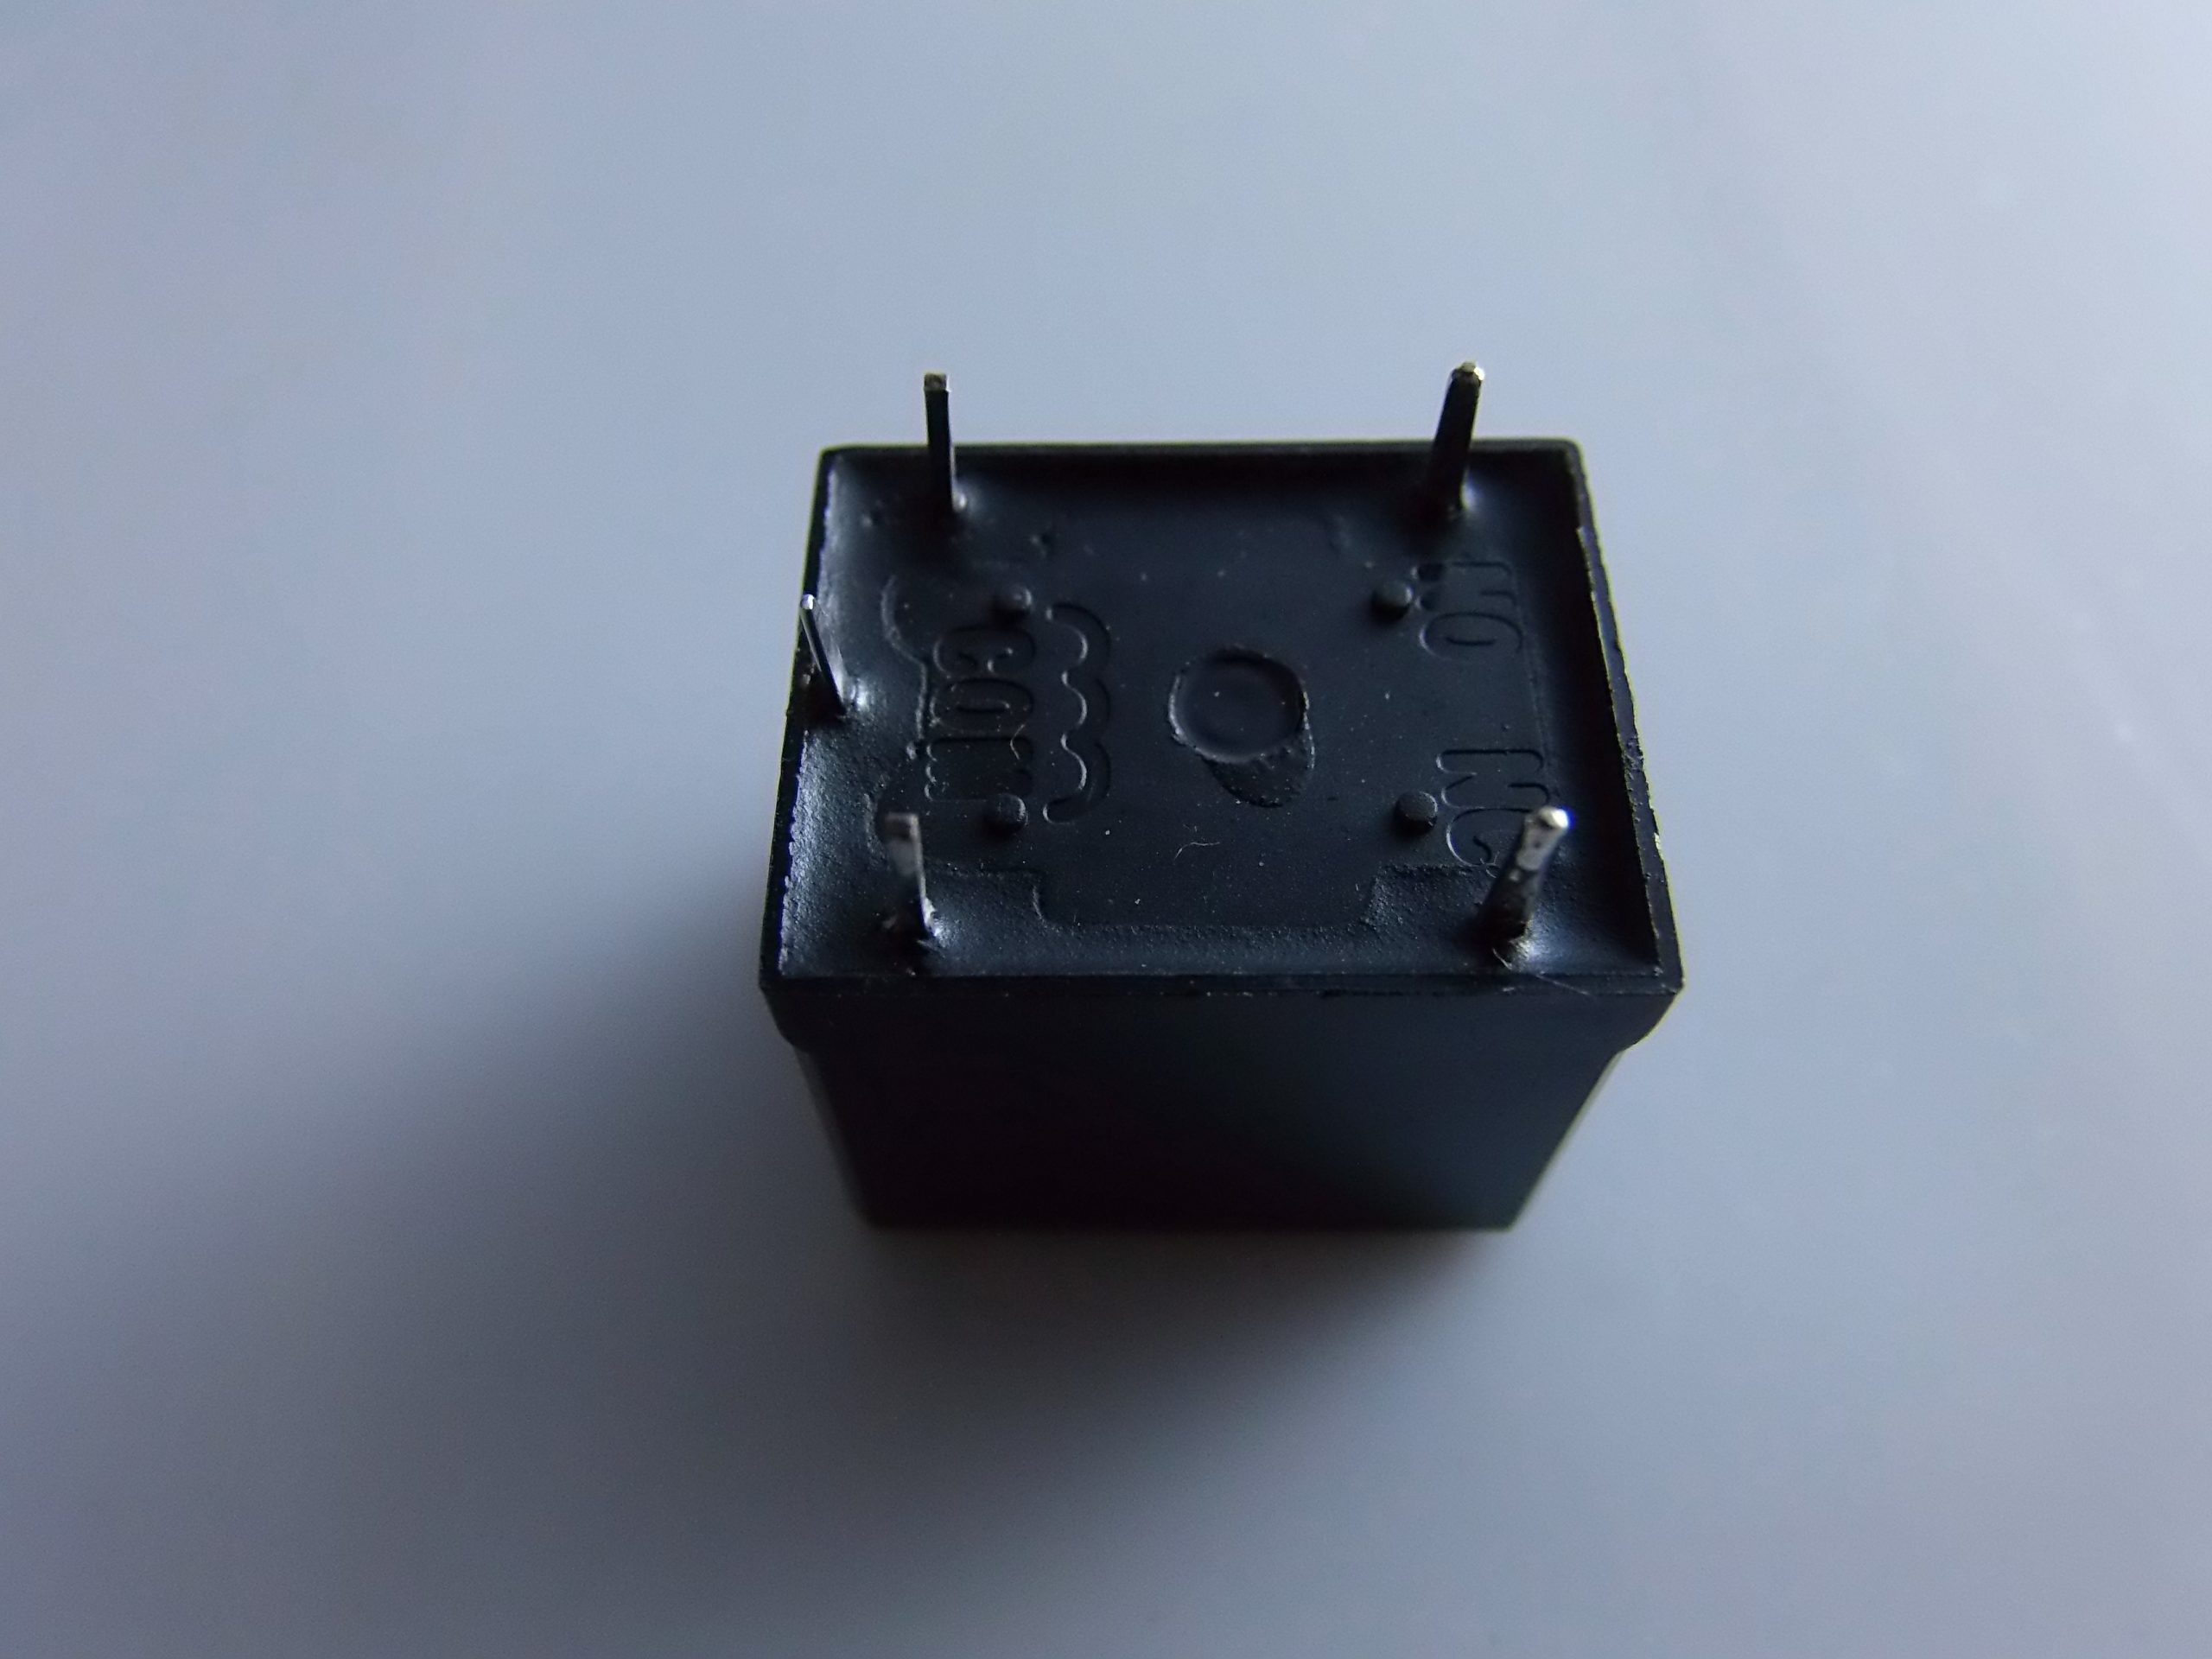
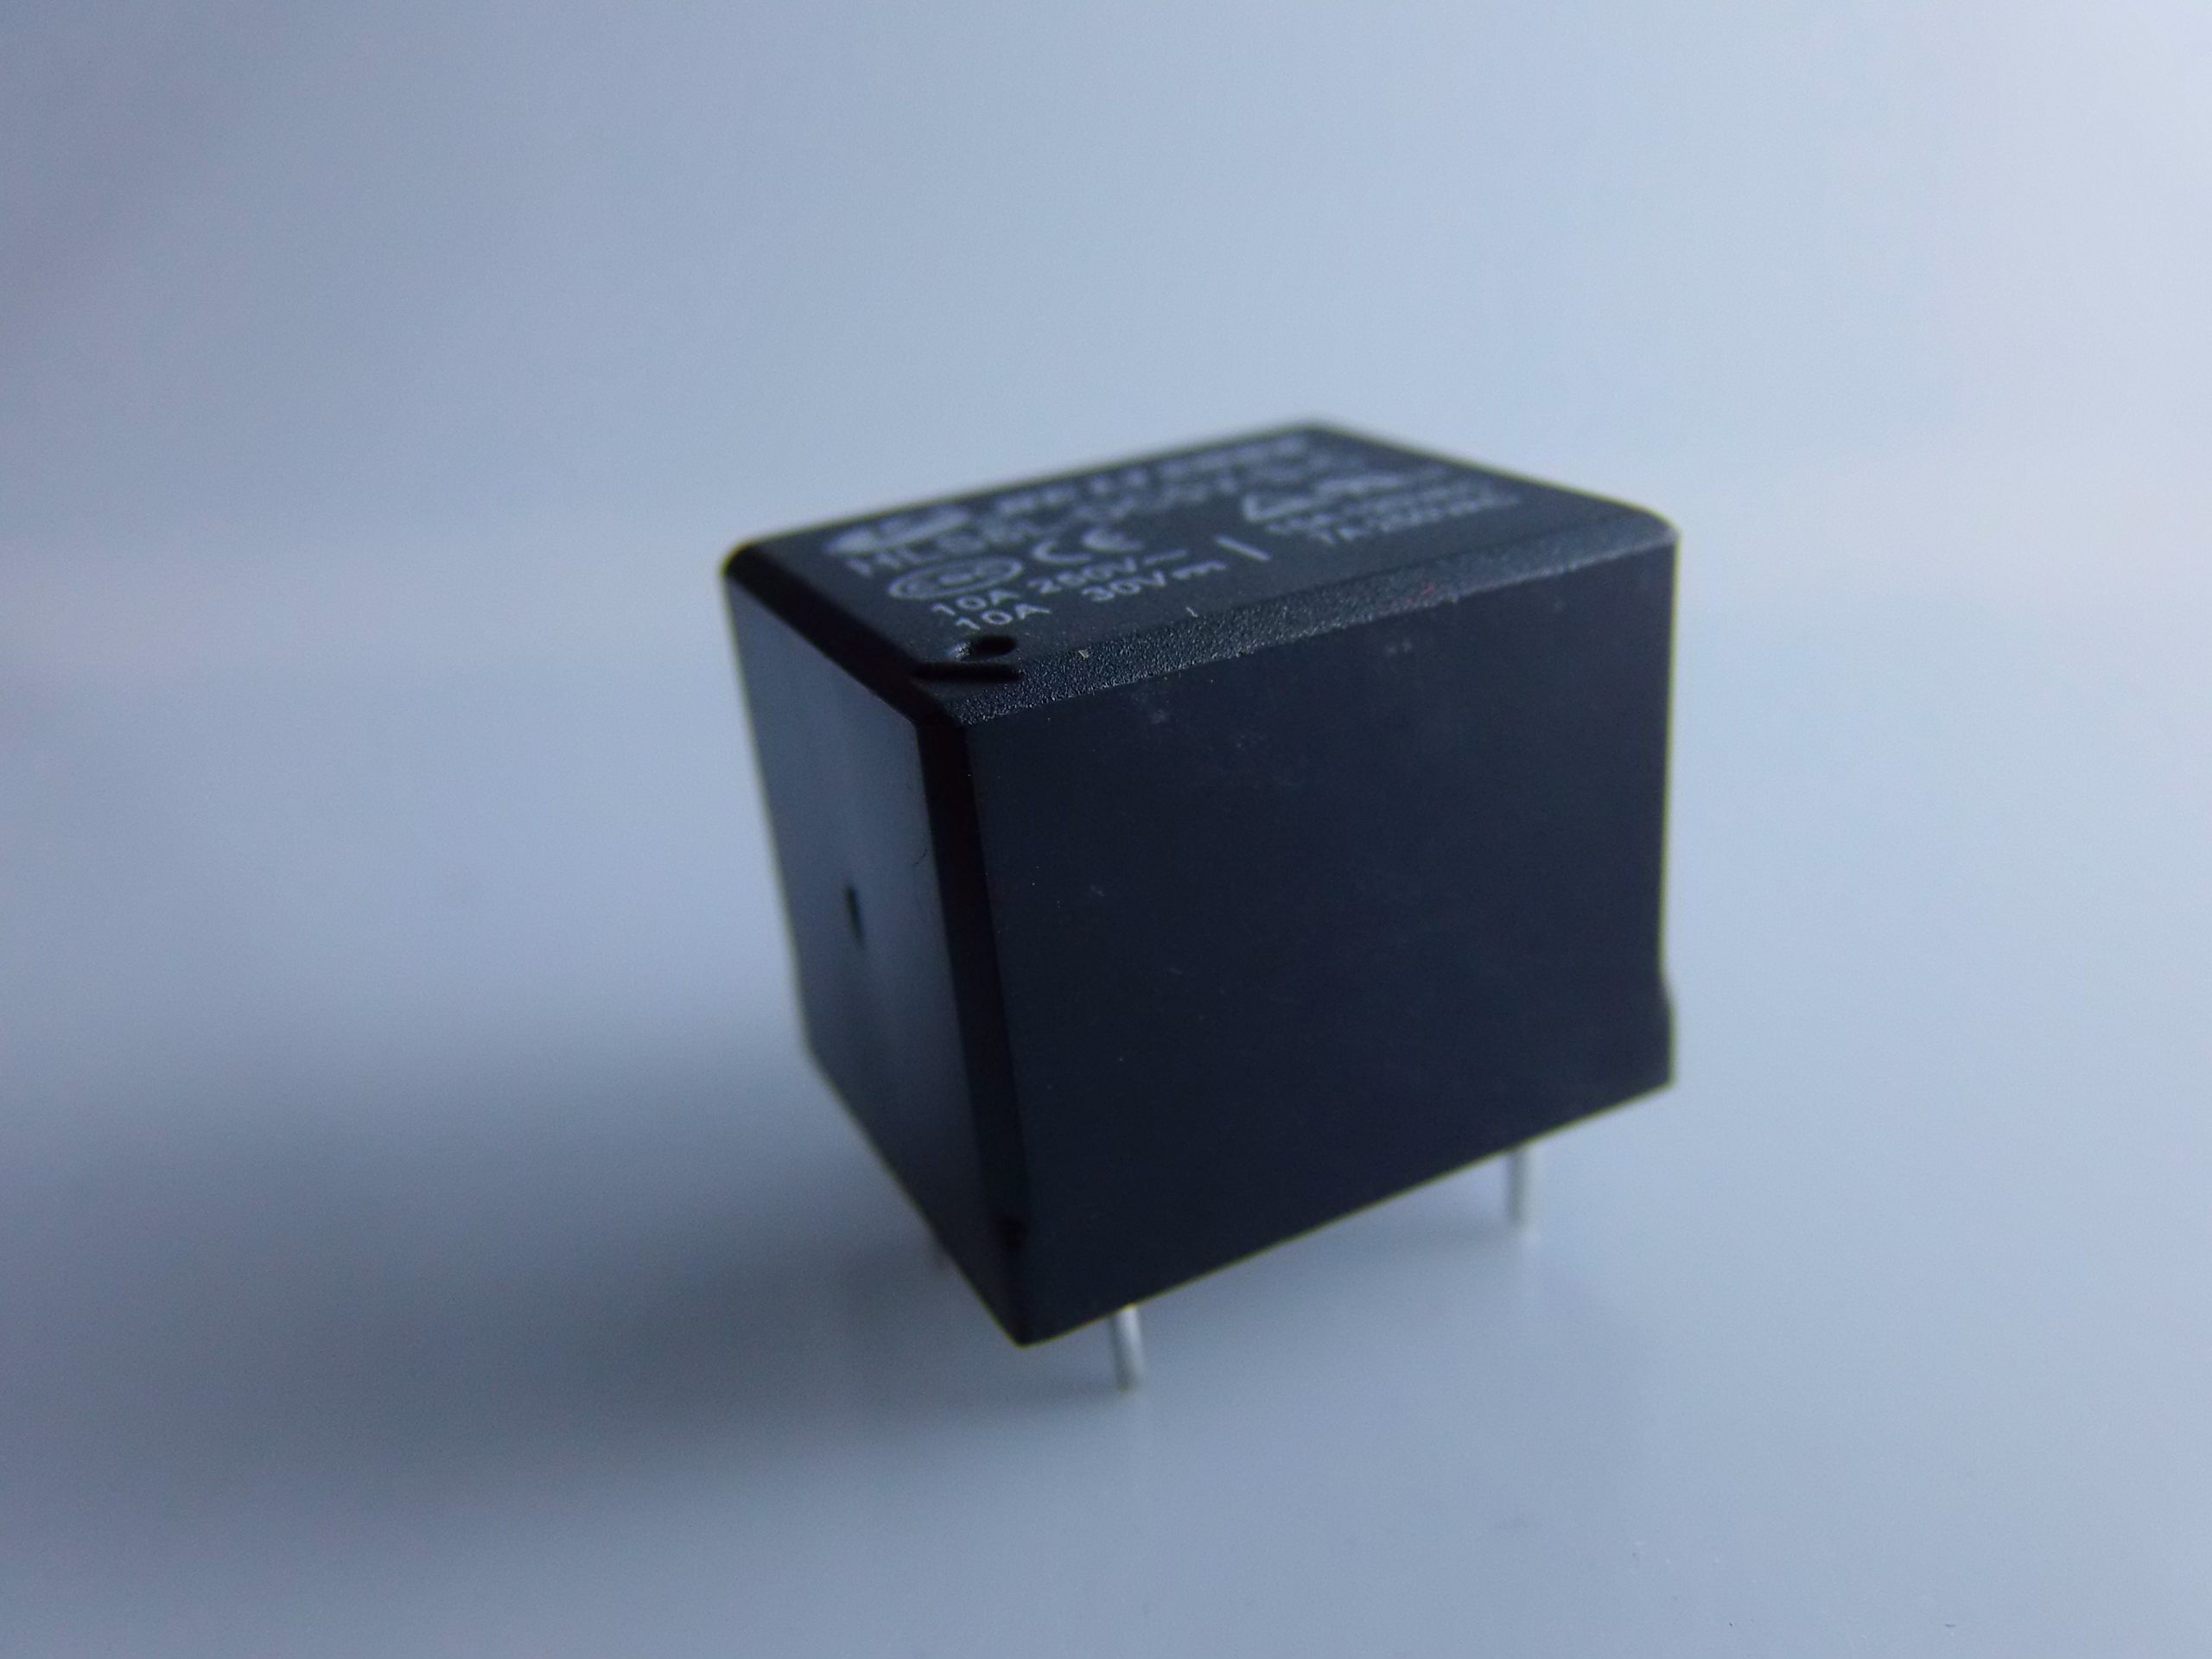
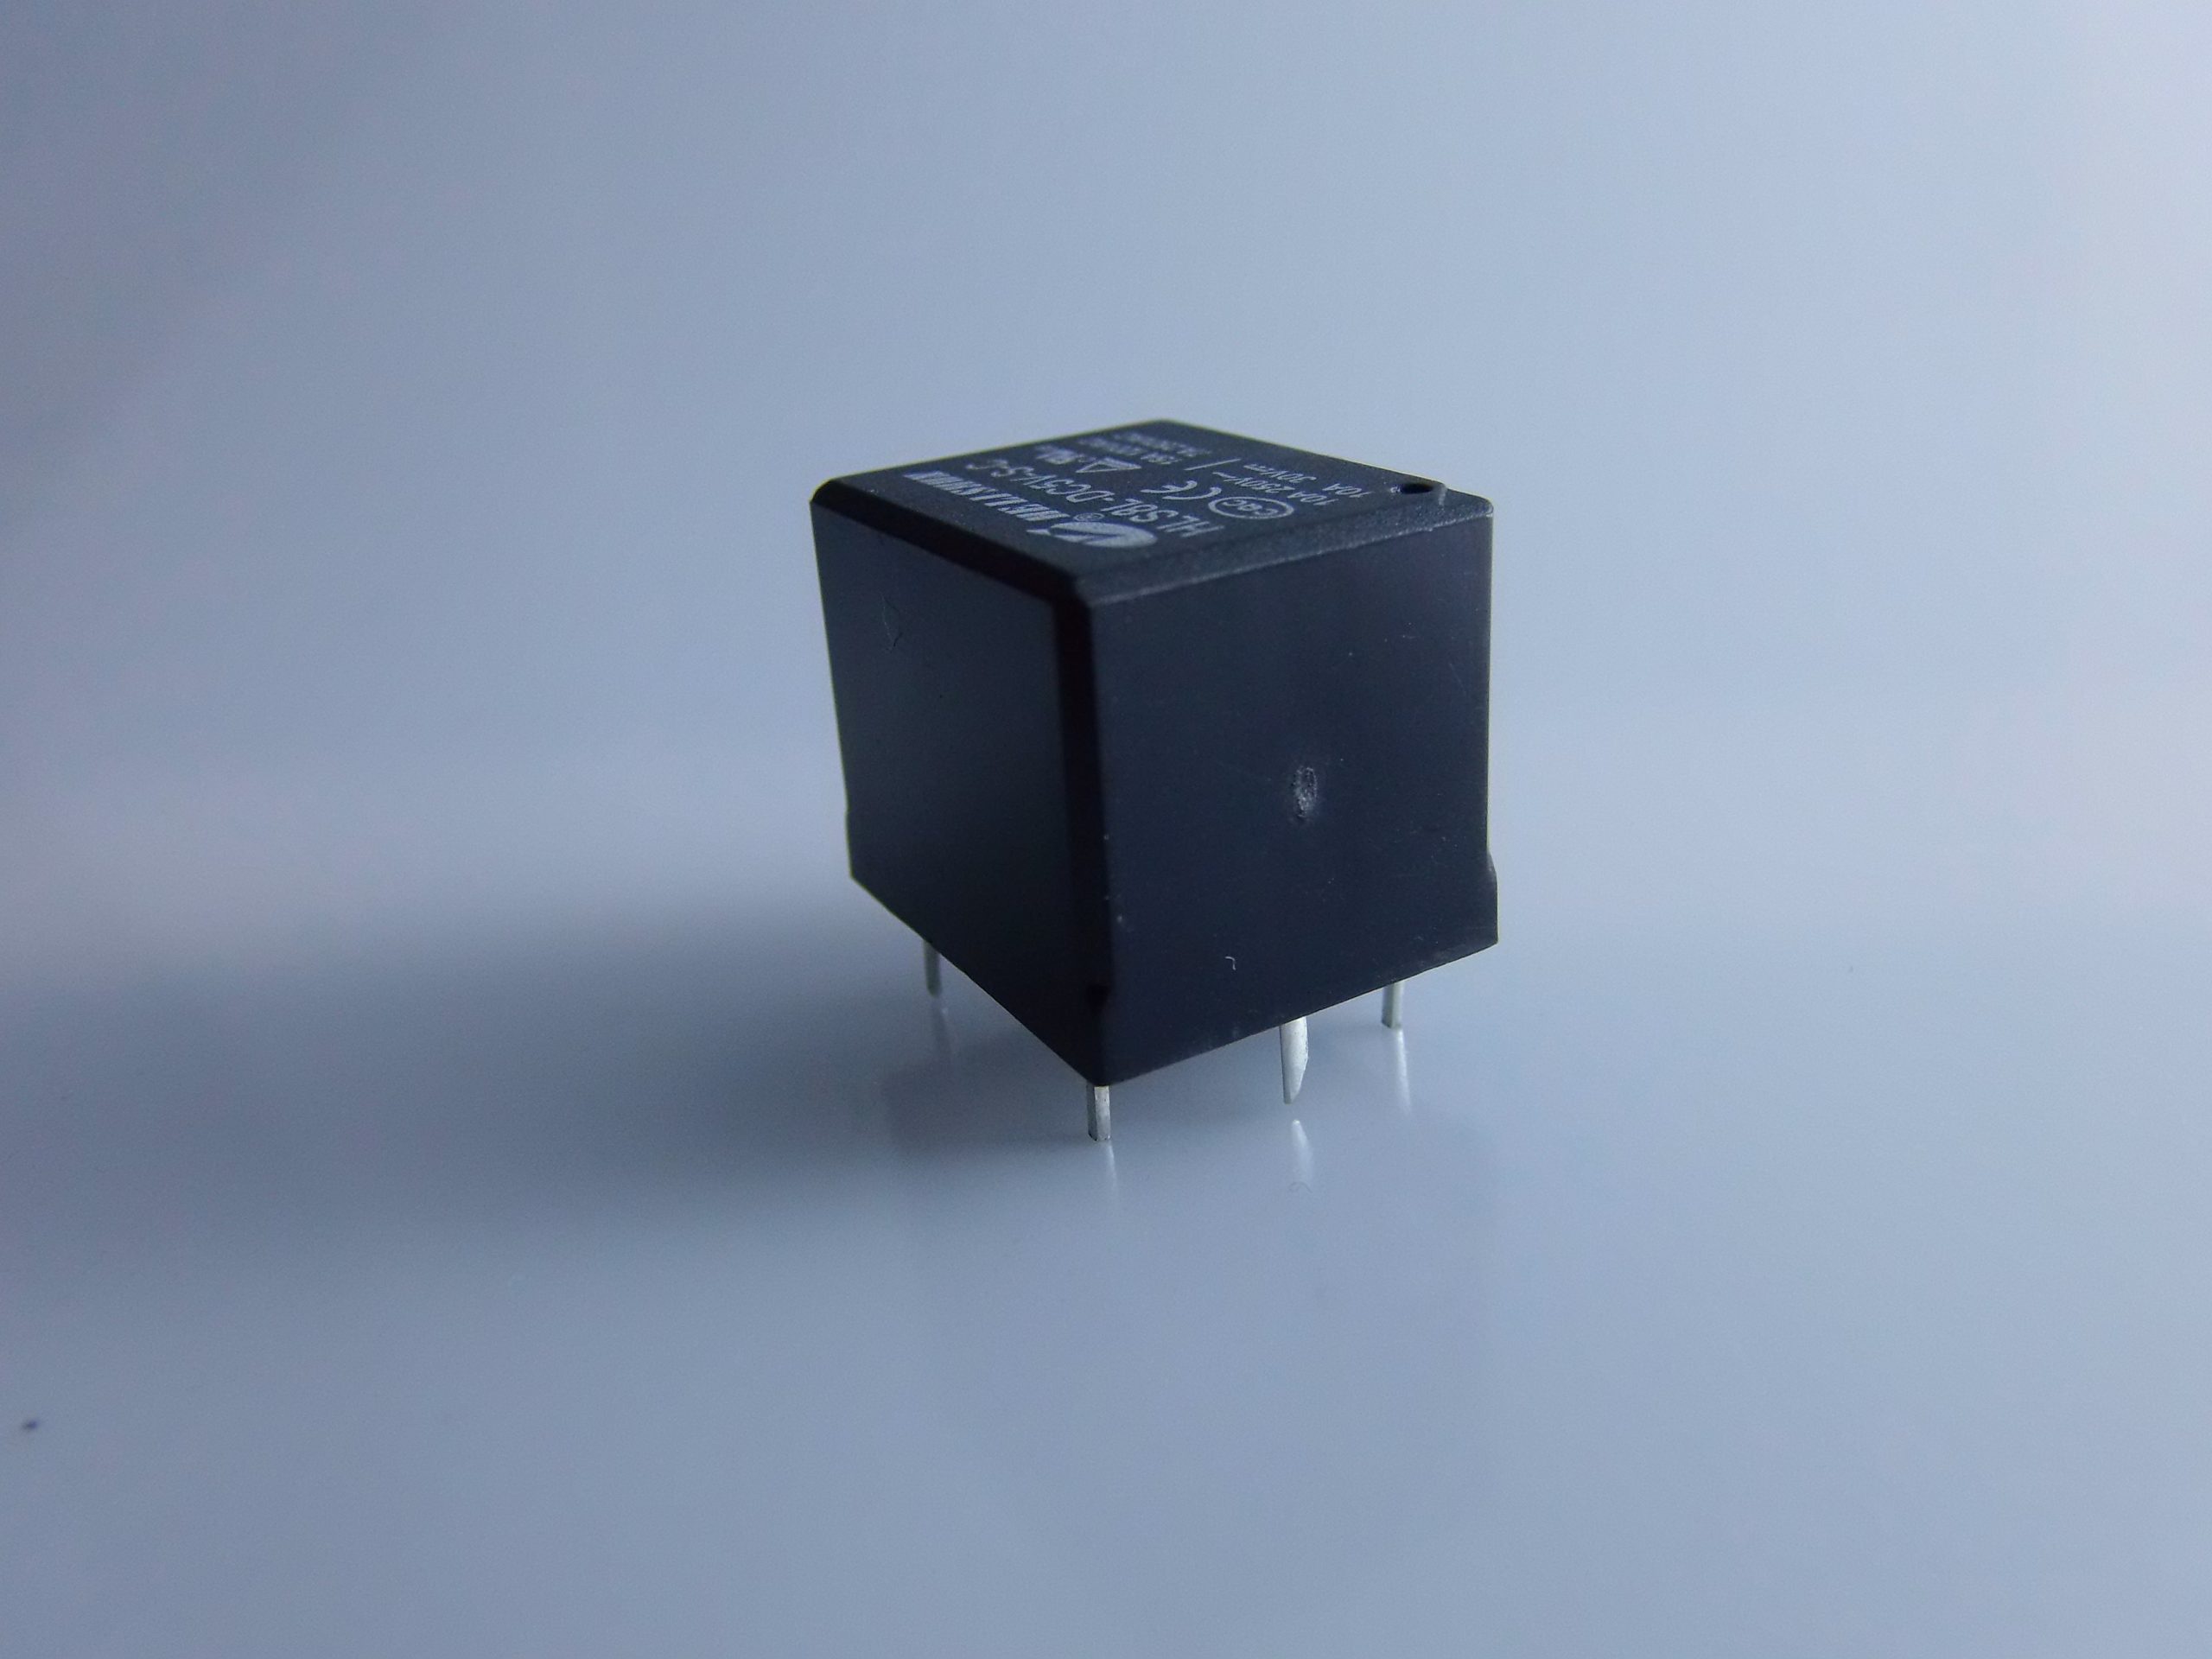
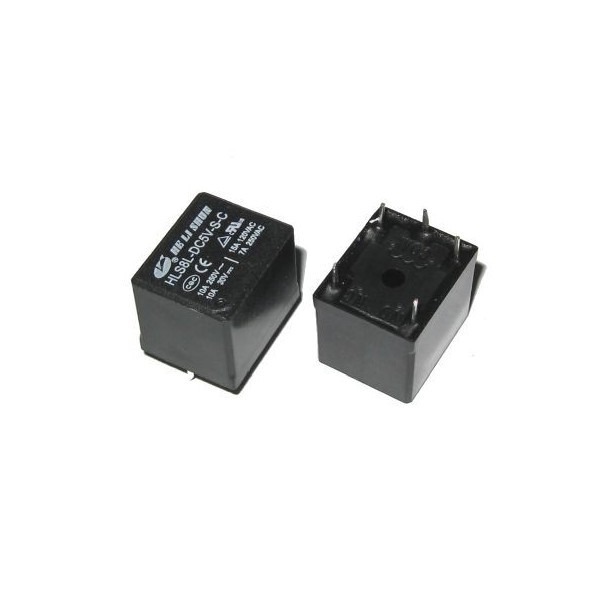
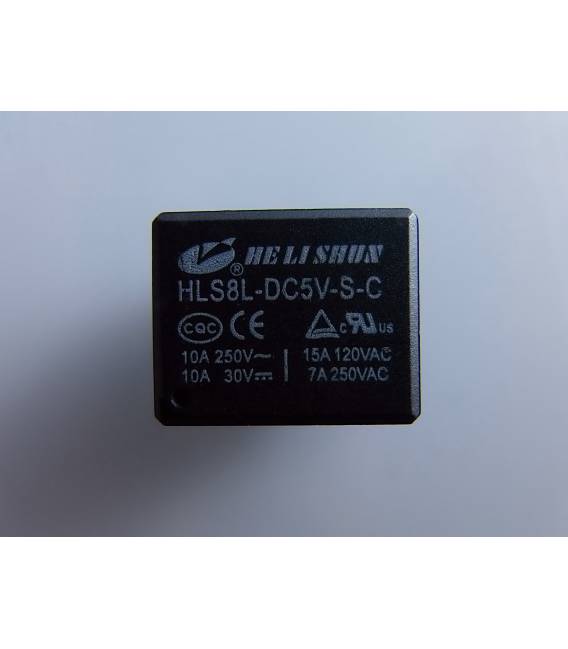
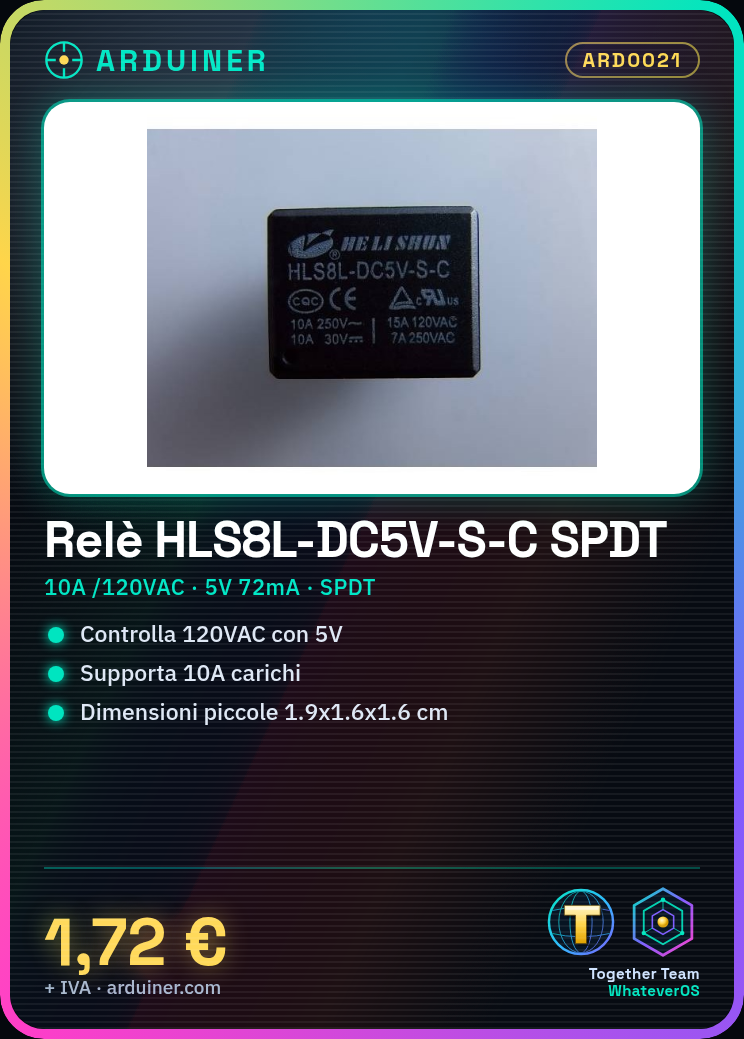
Description
MAIN CHARACTERISTICS:
RoHS
Operating Temperature -40 ~ 70 C
SPDT circuit
Rated Current 10A / 120VAC
Coil Voltage 5V
Coil Current 72mA
Drive On 3.75V
Driver Off 0.5V
Coil Resistance 70
|
GENERAL |
MODEL |
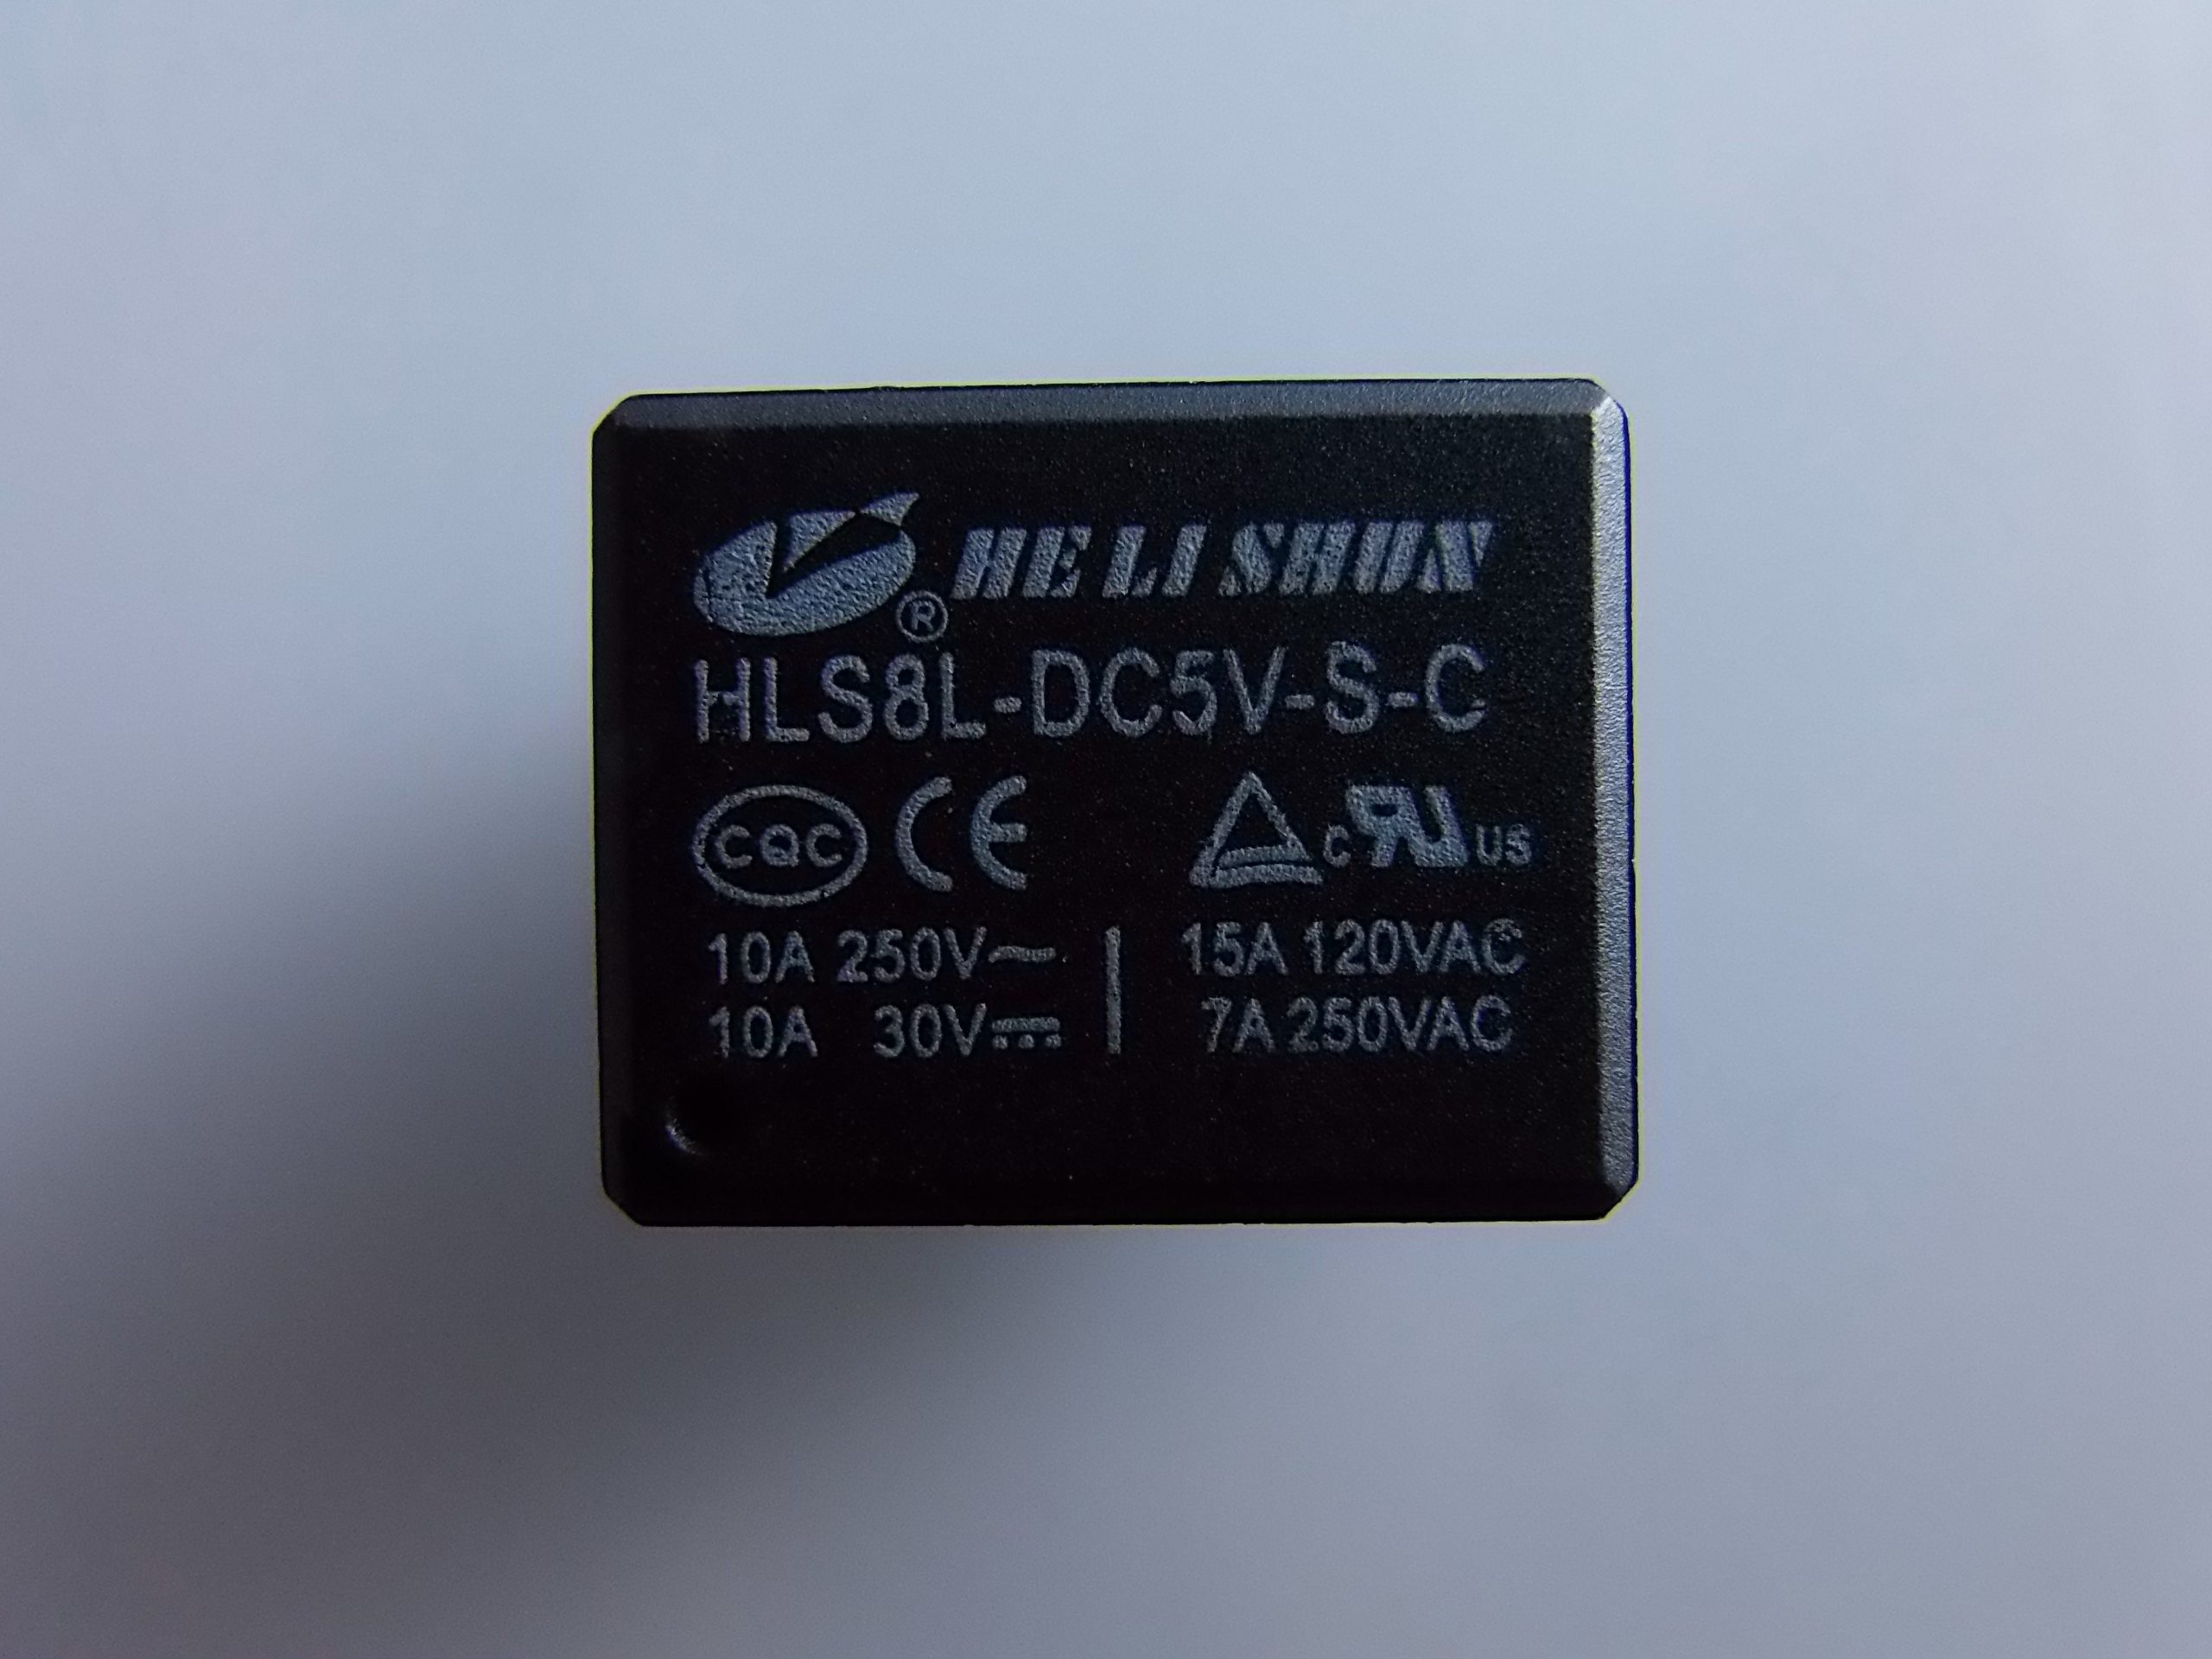
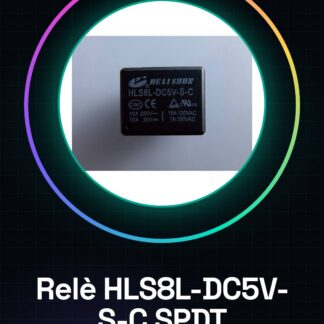
HLS8L-DC5V-SC |
|
MATERIALS |
copper + components |
|
|
COMPATIBILITY |
ARDUINO |
|
|
WEIGHT AND DIMENSIONS |
PRODUCT WEIGHT |
50 g |
|
PACKAGE WEIGHT |
1 kg |
|
|
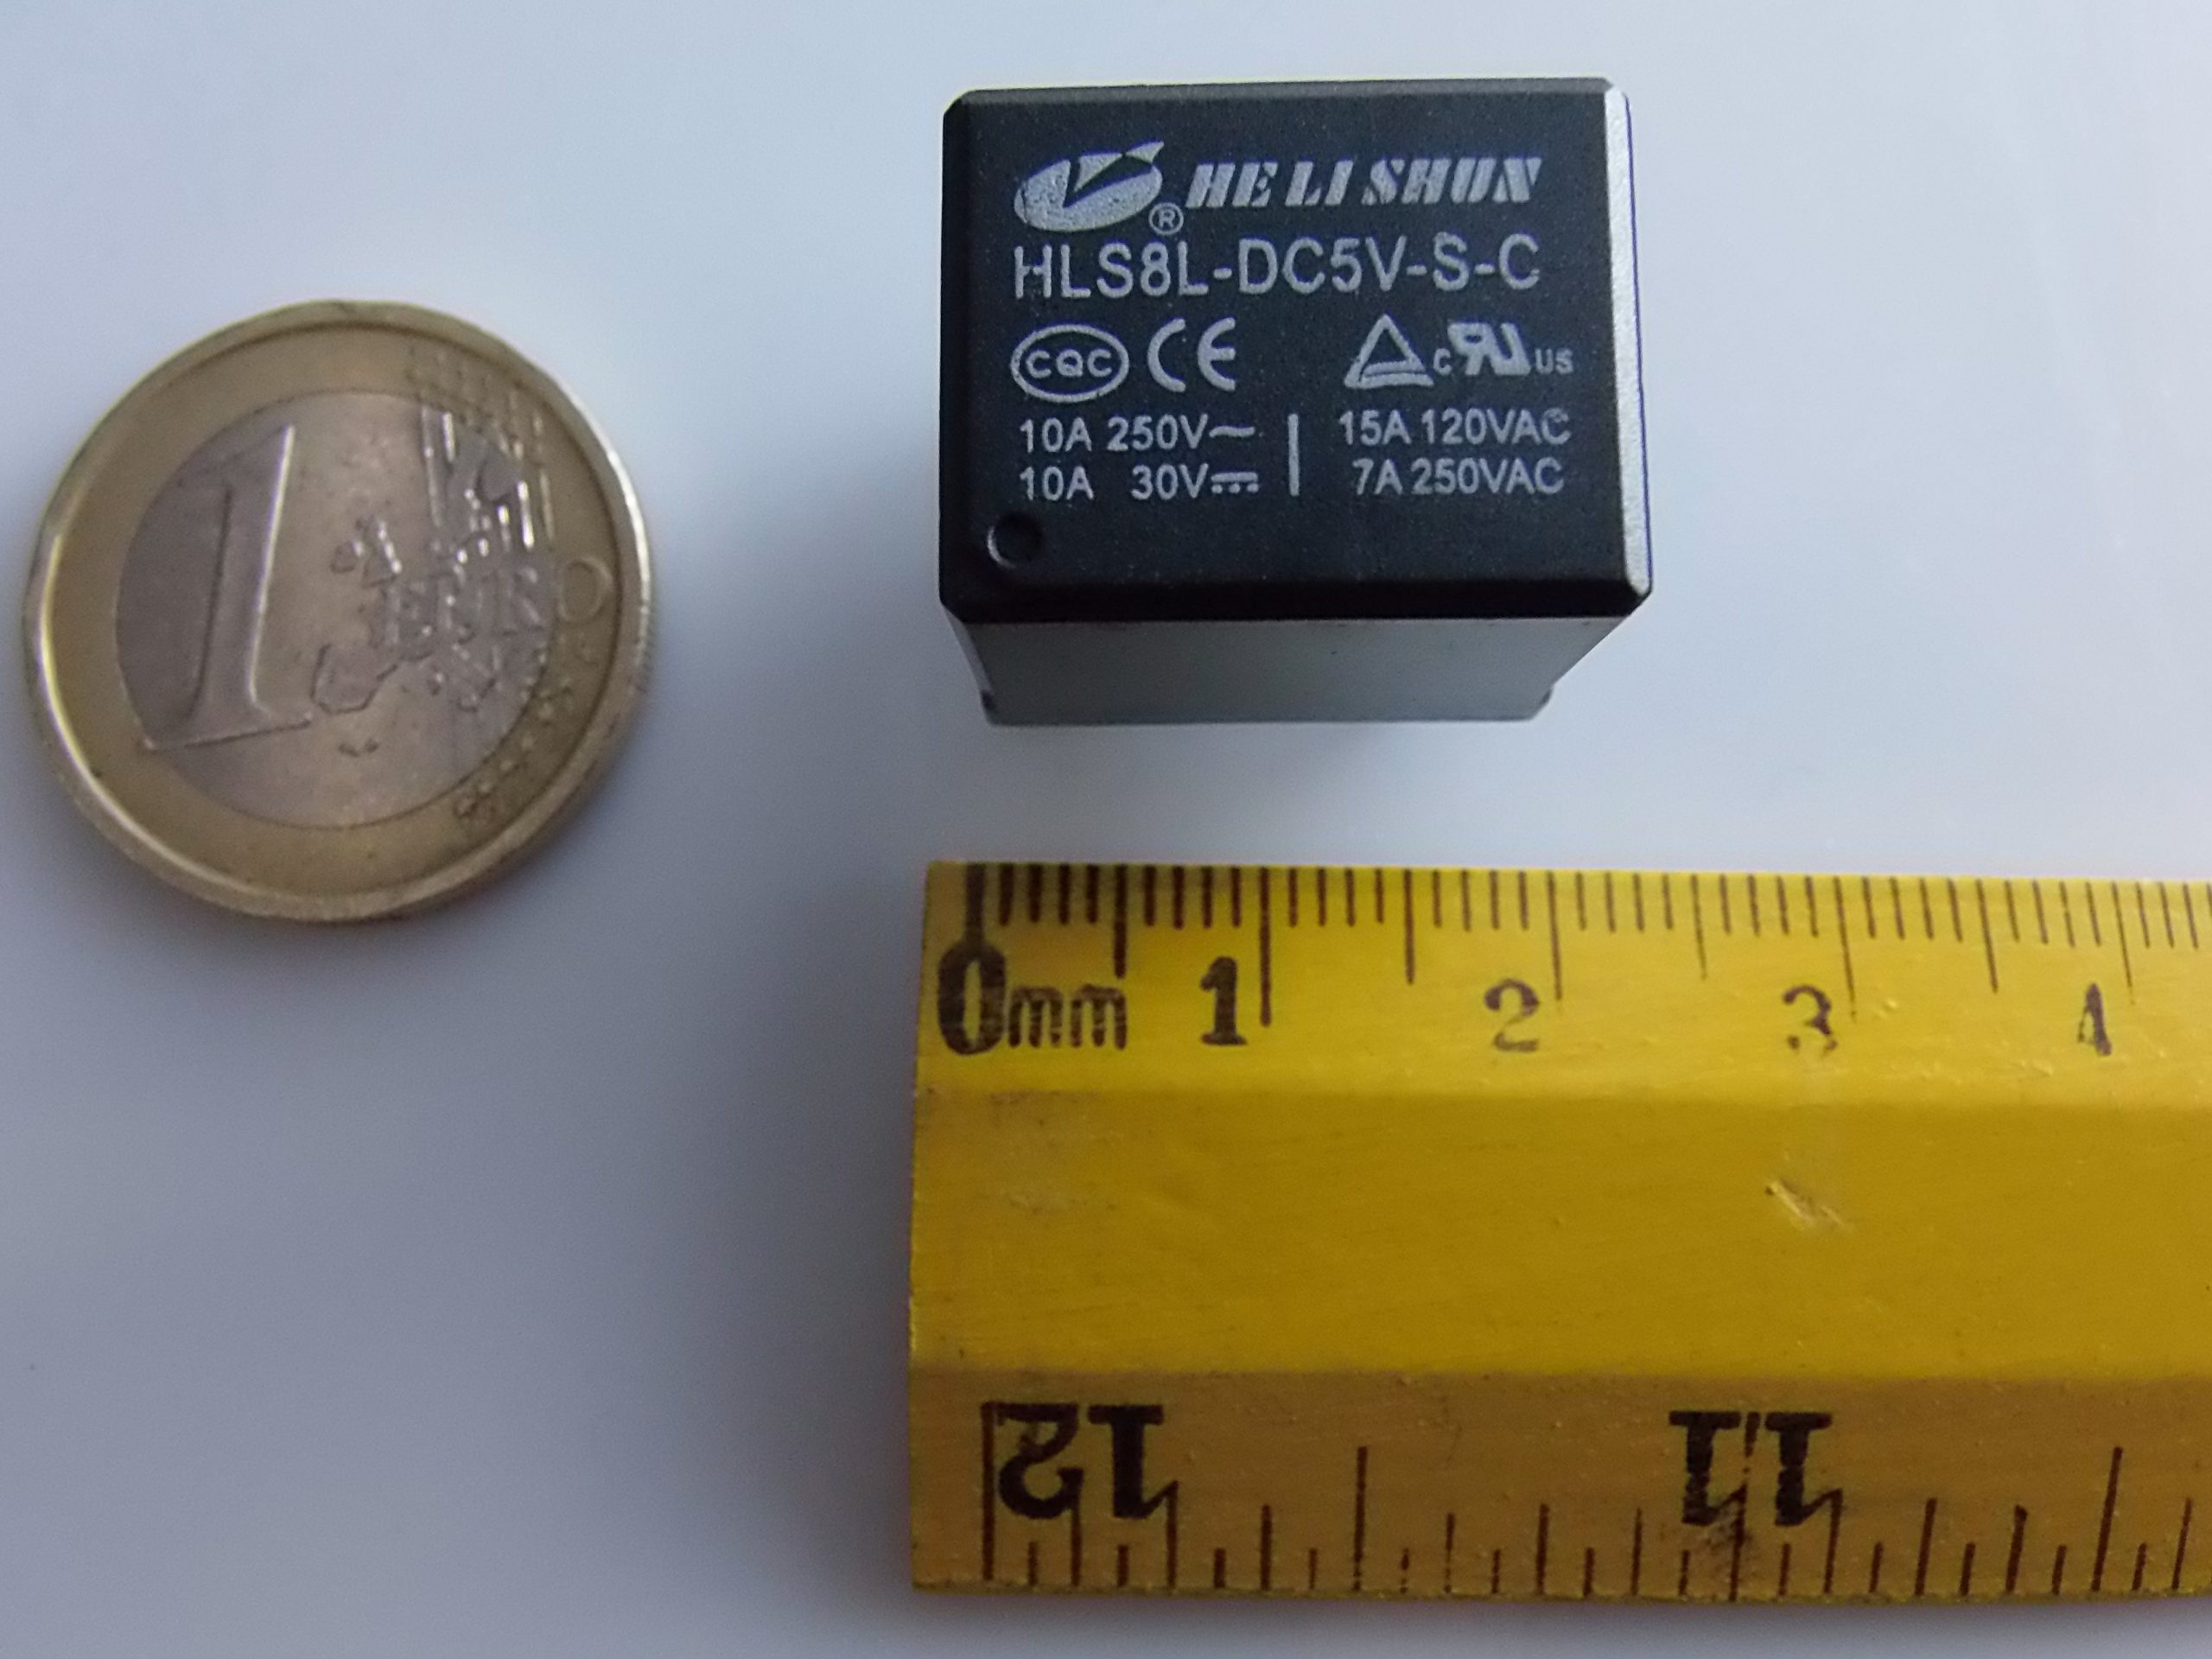
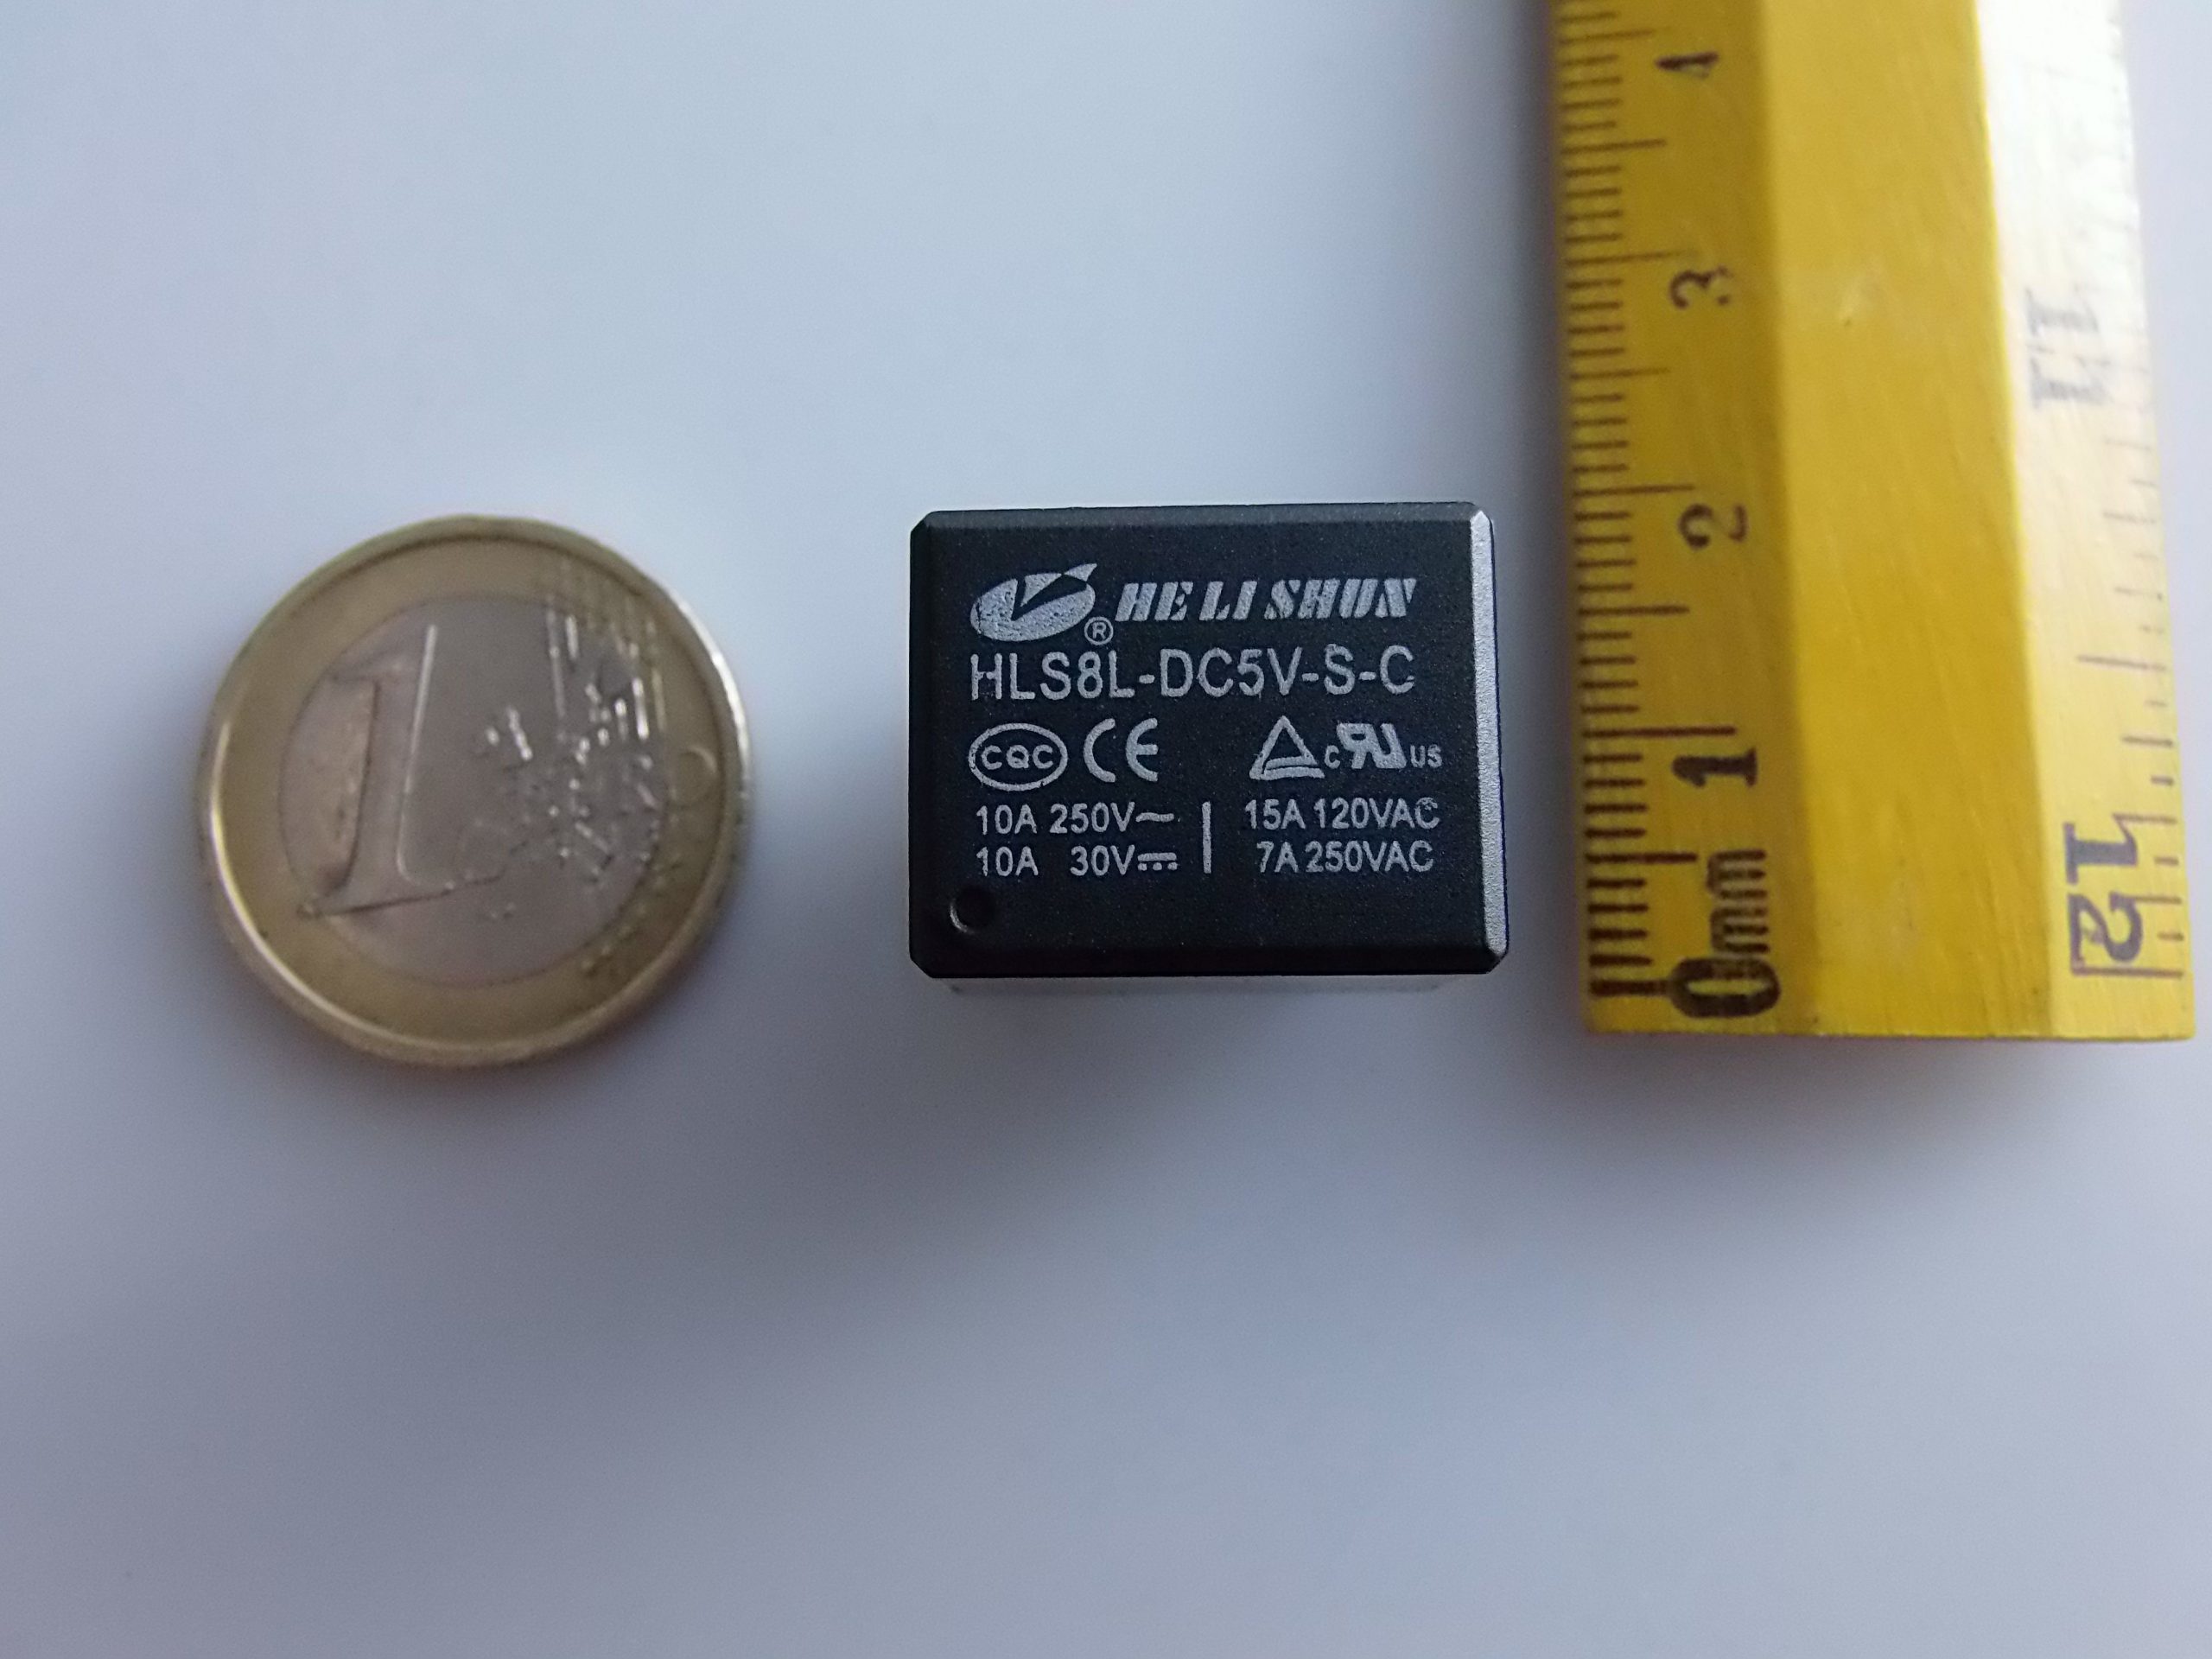
PRODUCT DIMENSIONS (L x P x A) |
1.9 x 1.6 x 1.6 cm |
|
|
PACKAGE DIMENSIONS (L x P x A) |
5 x 3 x 2 cm |
|
|
PACKAGE CONTENTS |
PACKAGE CONTENTS |
1 x Module |
We have available datasheet for all components, should it not be present in the product download sheet, send us a message through the contact form and we will publish it as soon as possible on our website.
Tutorial: How to use Miniature SPDT Relè HLS8L-DC5V-S-C
The HLS8L-DC5V-S-C relay is ideal for controlling electrical circuits with Arduino. It uses the 5V signal from the Arduino to activate or deactivate a 120VAC circuit, allowing the management of loads up to 10A.
What you need
- Arduino uno or compatible
- jumper cable
- external power supply 120VAC
- fuse
Steps
- Connect the relay pins to the Arduino using jumper wires: COM to the load, NC and NO to the external power supply terminals, VCC to +5V Arduino, GND to Arduino ground.
- Check the activation voltage on the datasheet for proper relay control with the Arduino.
- Write an Arduino sketch that controls the relay state (HIGH and LOW).
- Test the system by connecting a small load to COM and NC/NO, alternating its activation through the code.
- Verify that the fuse is adequate for the maximum current of the circuit to be controlled.
- Use line protectors if necessary to protect the Arduino from overheating.
Example code
const int relayPin = 7; // definisci pin dell'Arduino
void setup() {
pinMode(relayPin, OUTPUT);
}
void loop() {
digitalWrite(relayPin, HIGH); delay(1000);
digitalWrite(relayPin, LOW); delay(1000);
}
Mini project
Create an intelligent lighting system that turns on or off a lamp connected to the relay in response to Arduino commands.
Common mistakes
- Connect the load directly to the Arduino output port.
- Do not use an appropriate fuse to protect the power supply.
- Ignore the relay activation voltage on the datasheet.
- Omit line protectors between Arduino and the relay.
Recommended accessories
- Variable fuses
- Line protector
- 120VAC power supply
- Jumper wire
Frequently asked questions
How can I protect the Arduino?
Add a fuse and line protectors between the relay and the Arduino.
Which pin should I use to control the relay?
Use one of the Arduino’s output pins, usually 2-13.
Reviews
There are no reviews yet.