 EN
 IT Italiano
 ES Español
 FR Français
 DE Deutsch
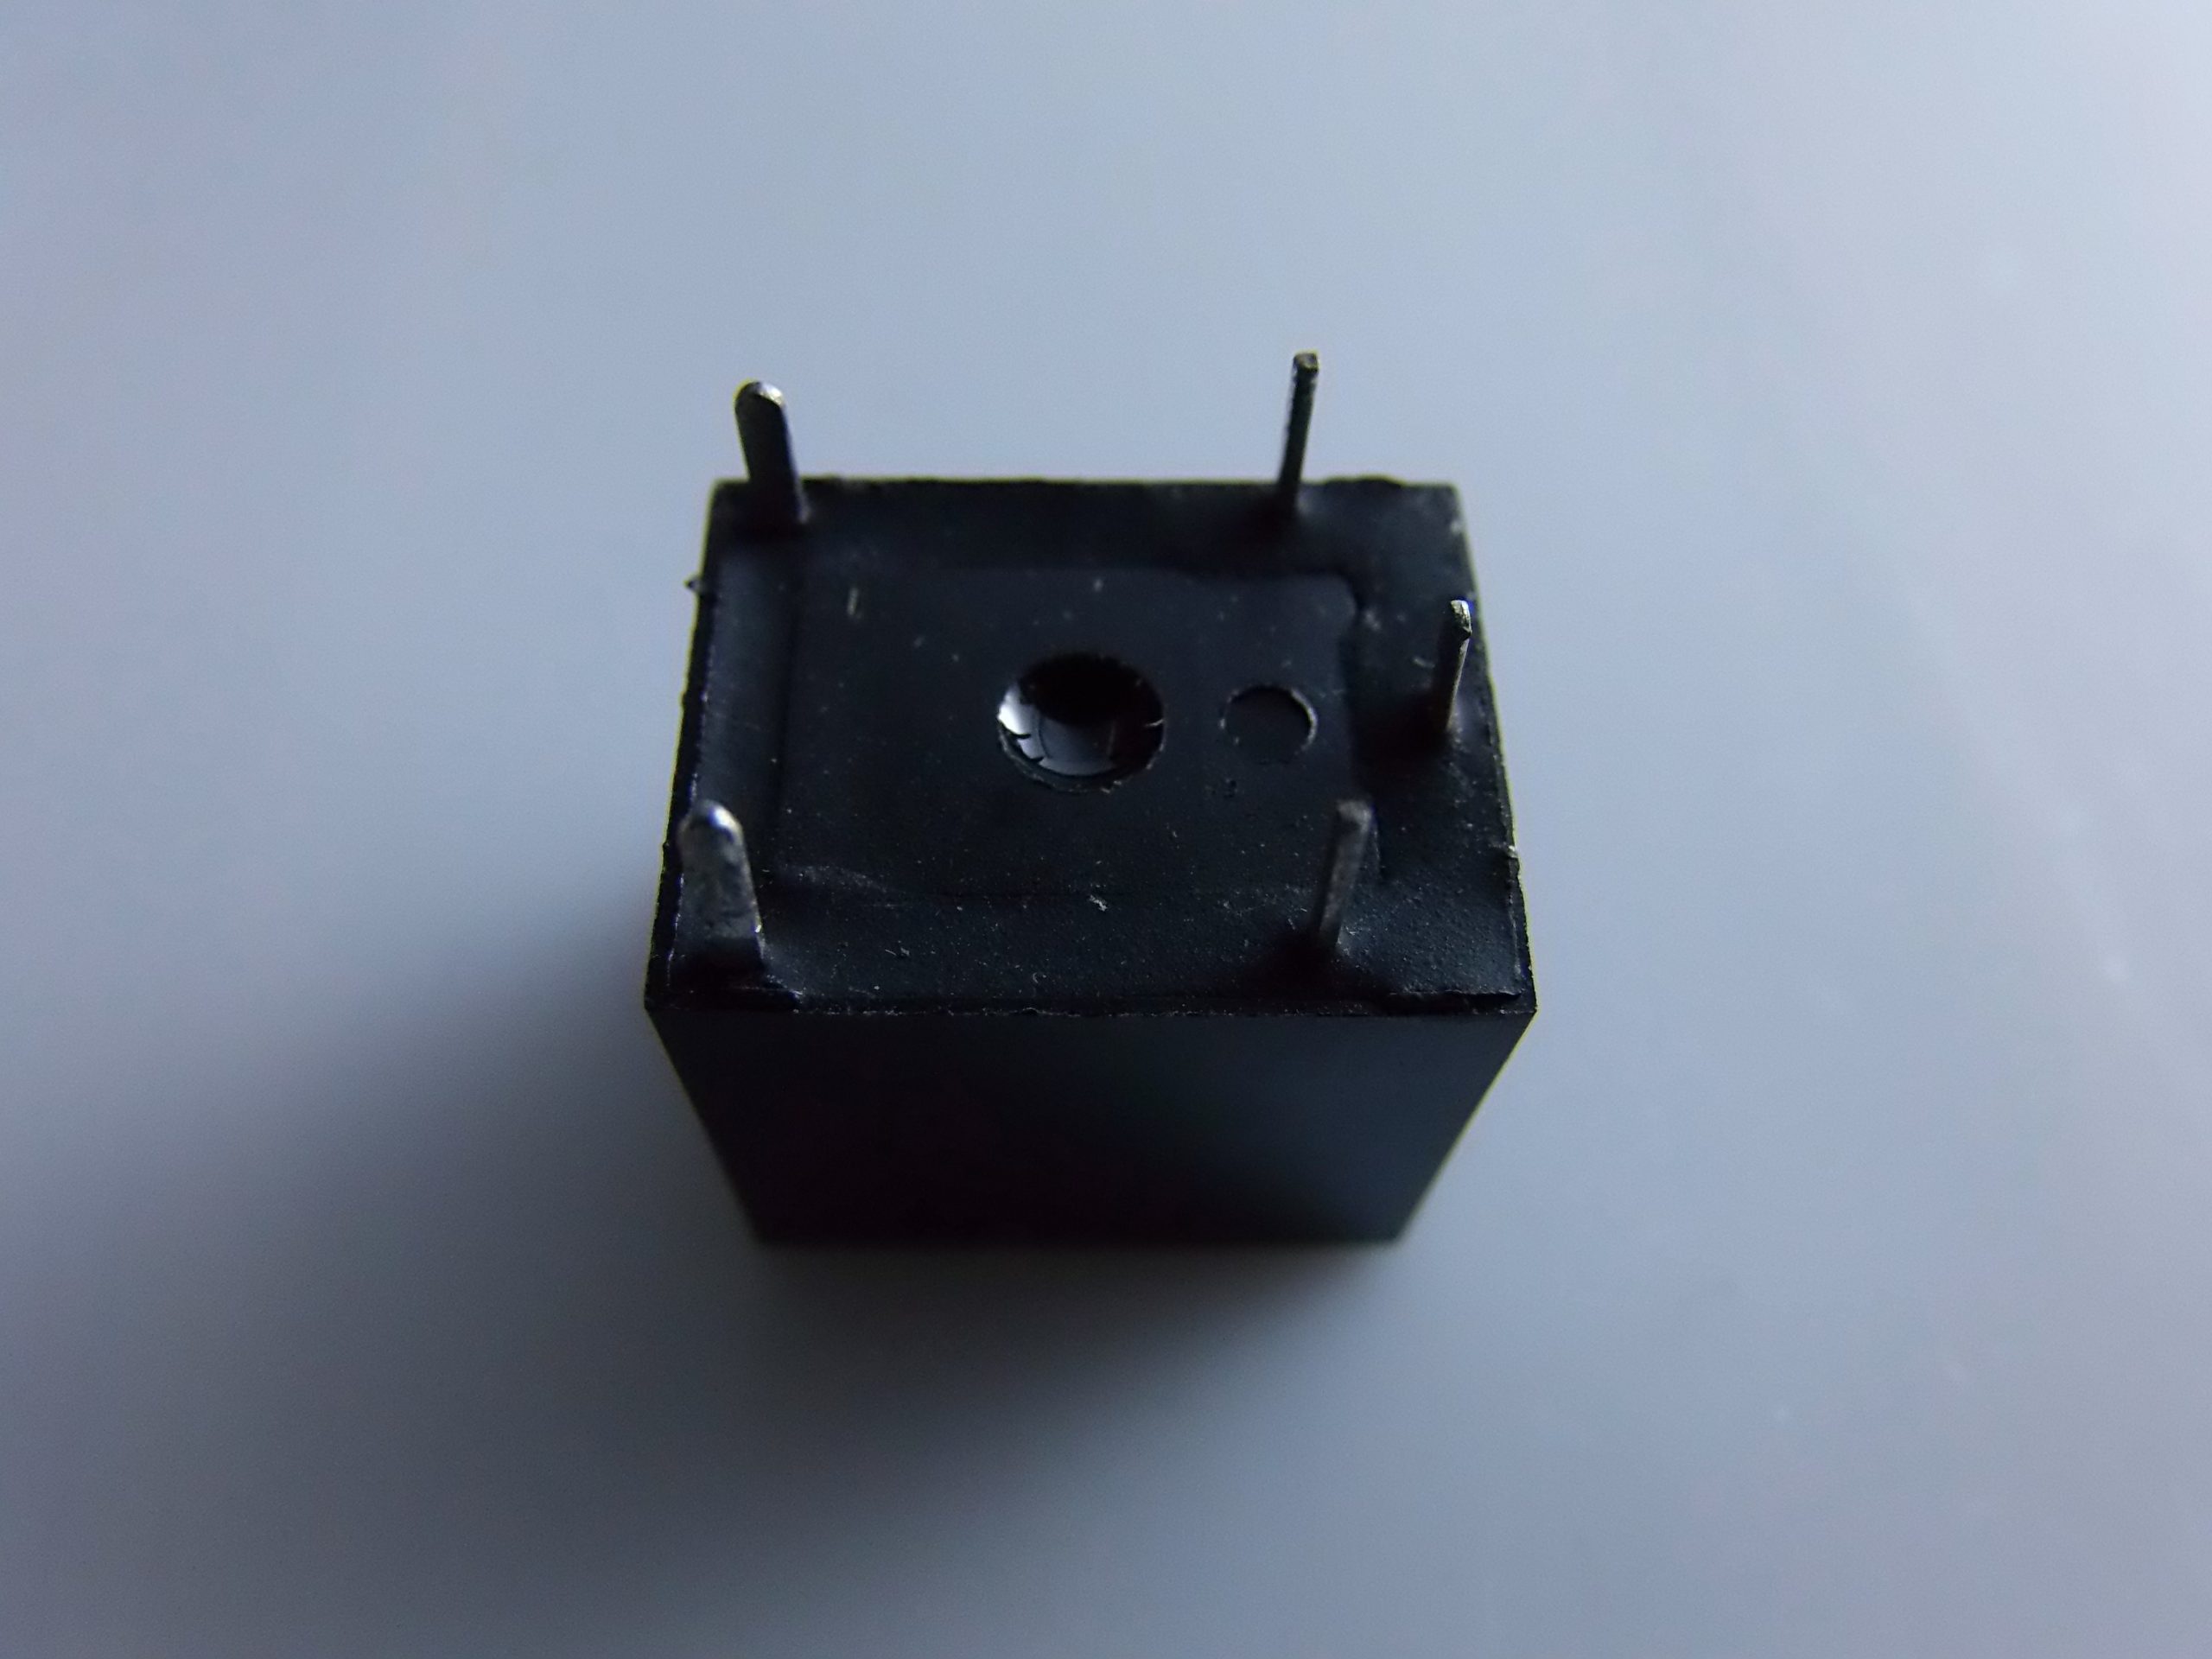
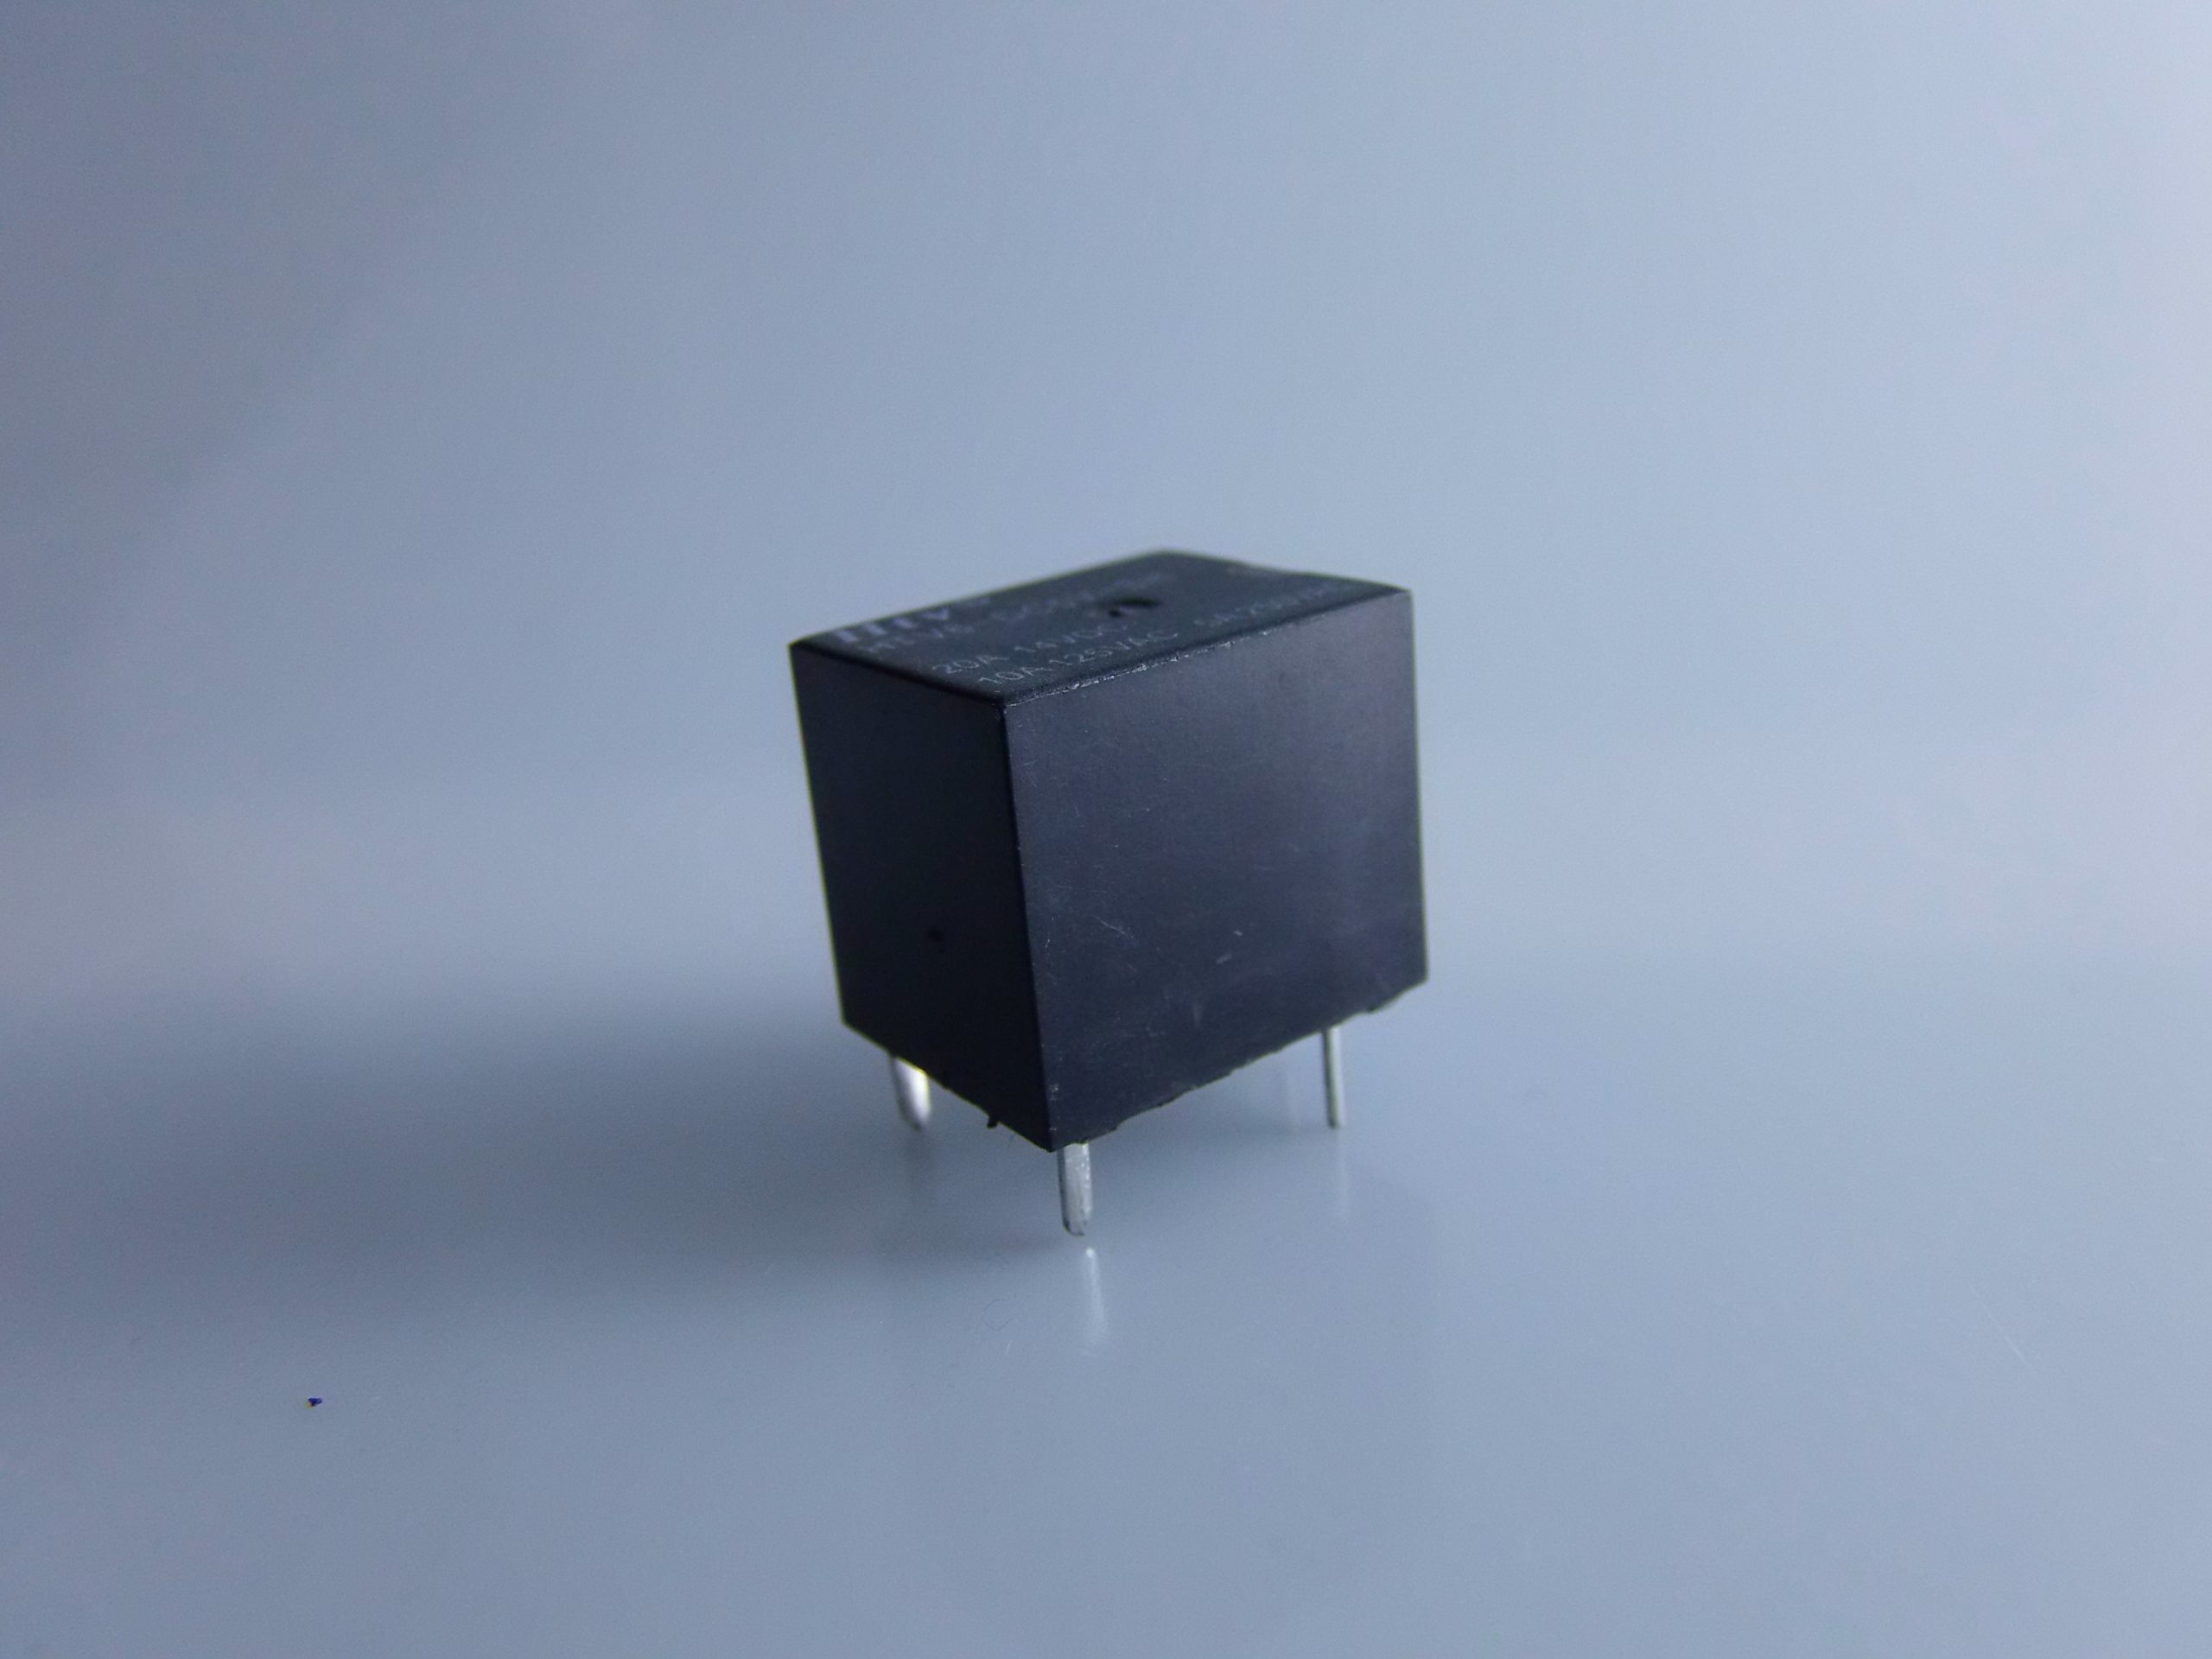
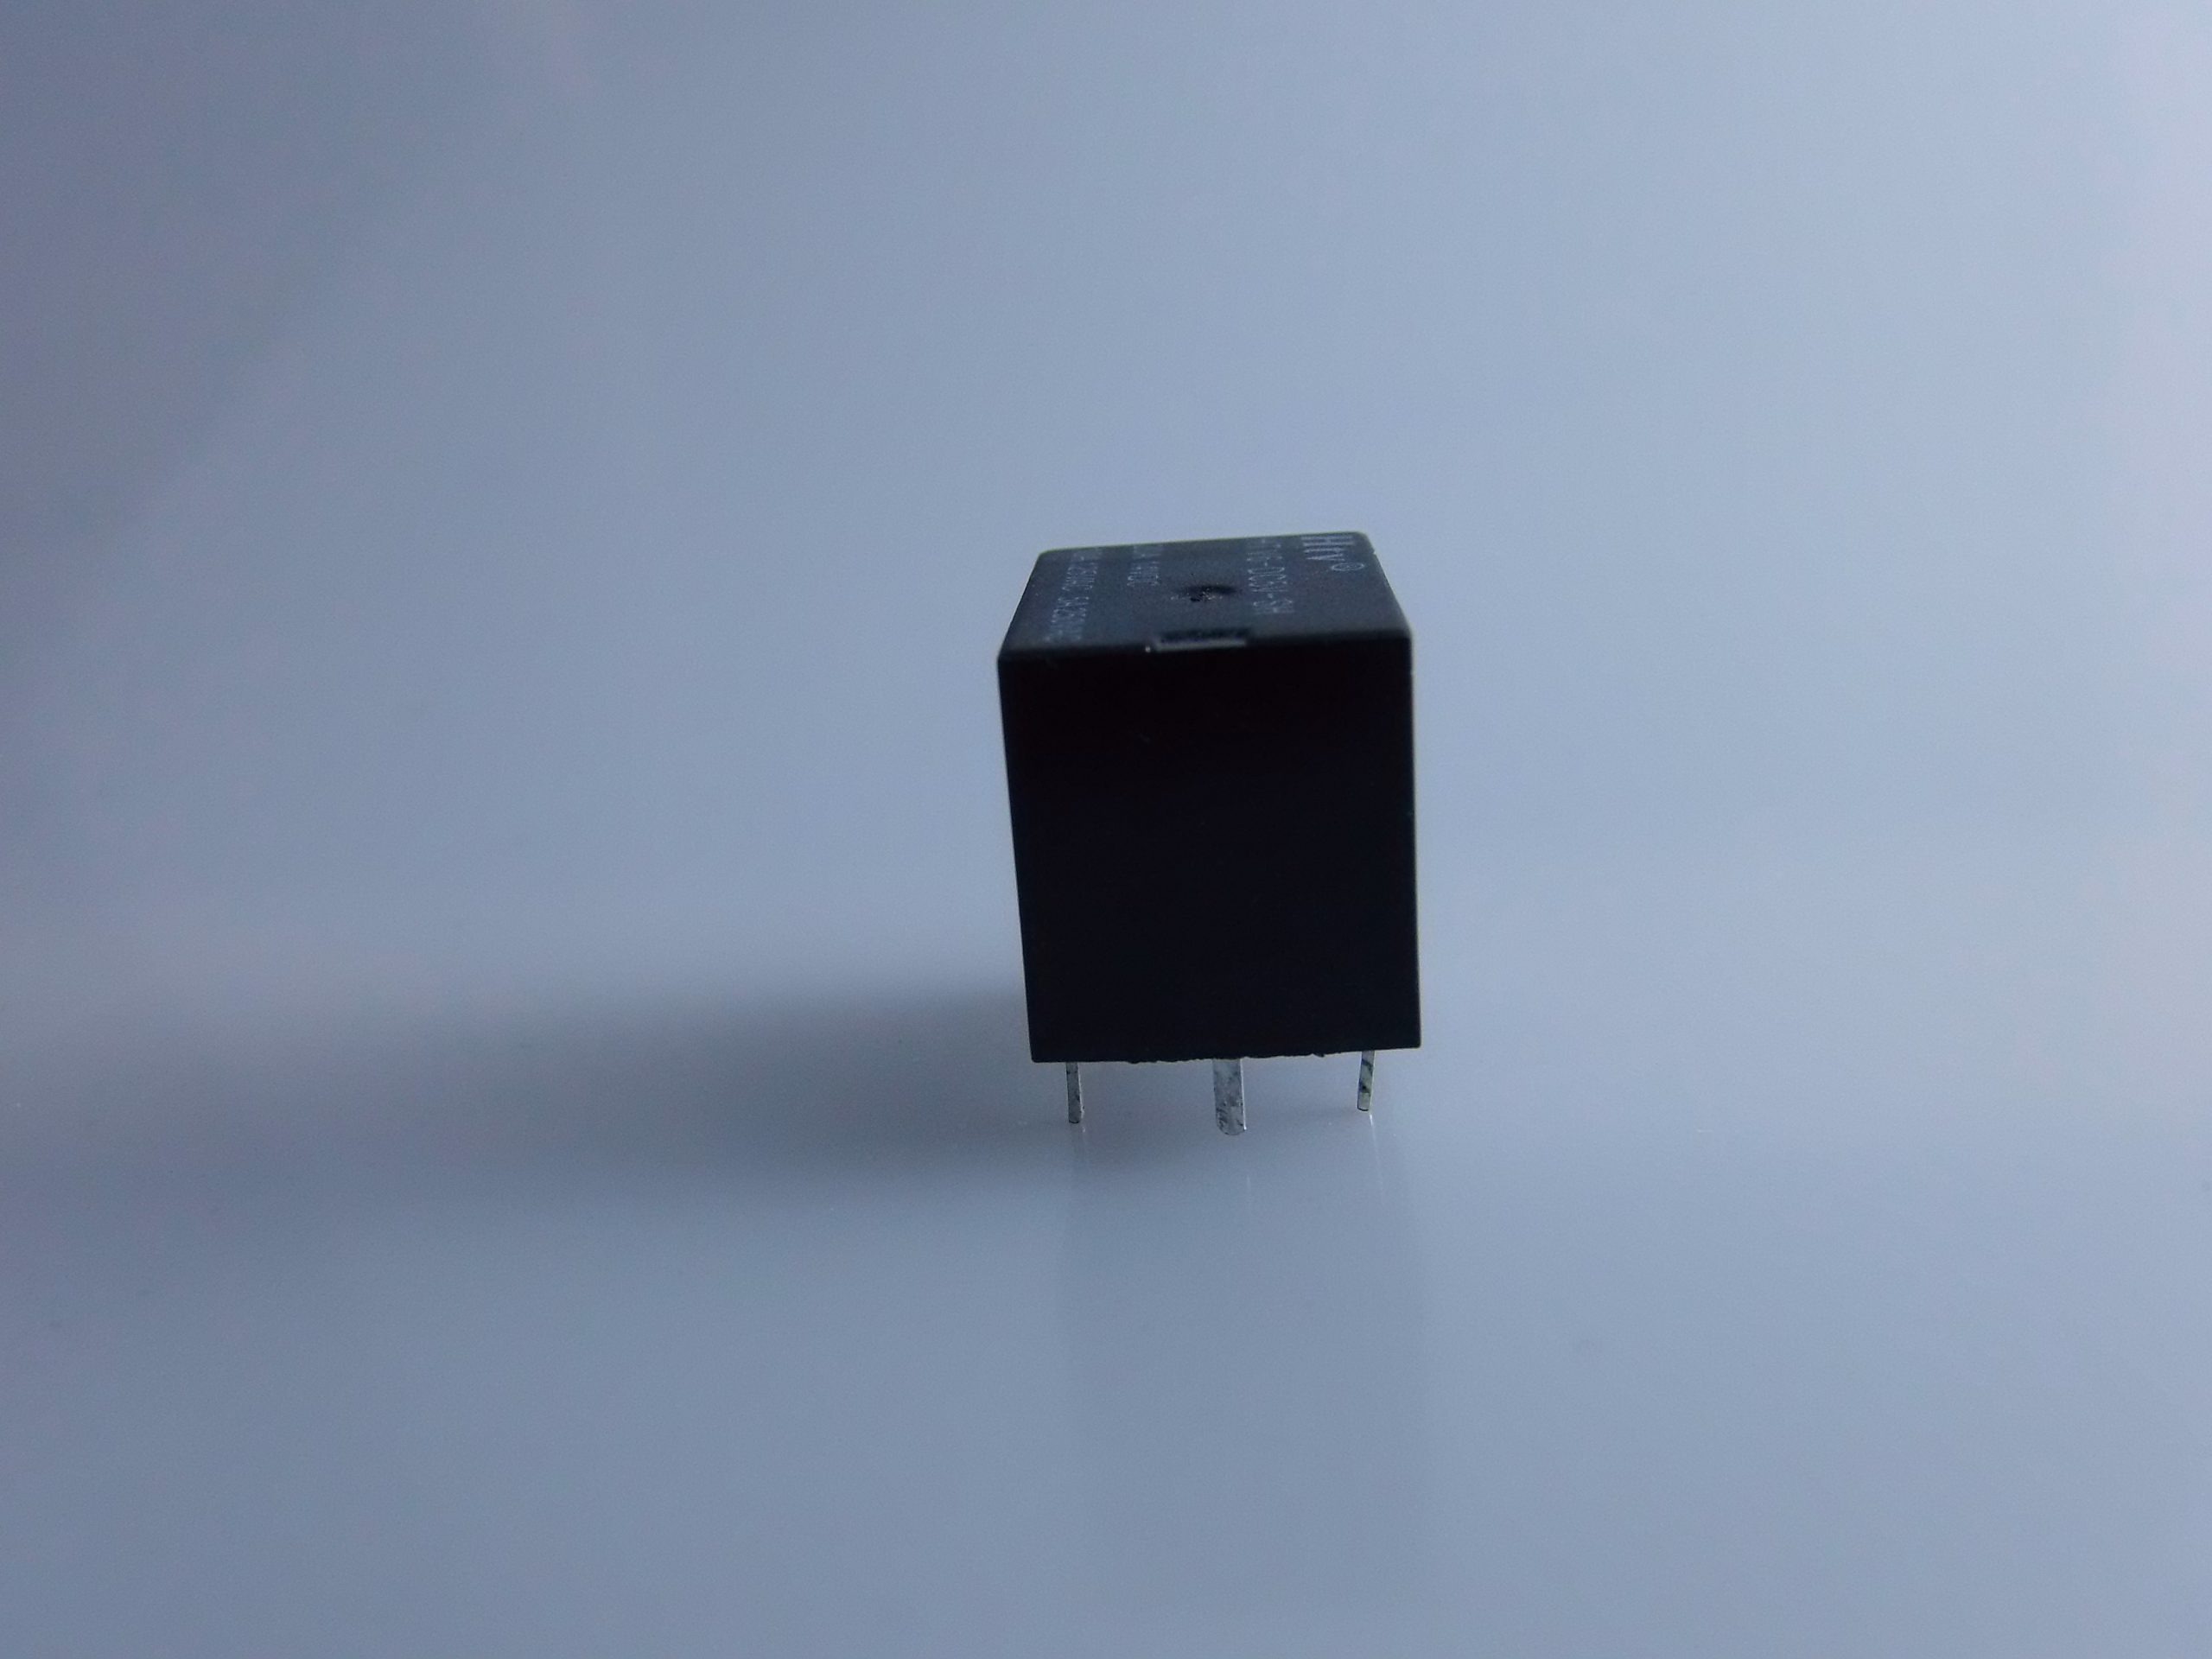
Description
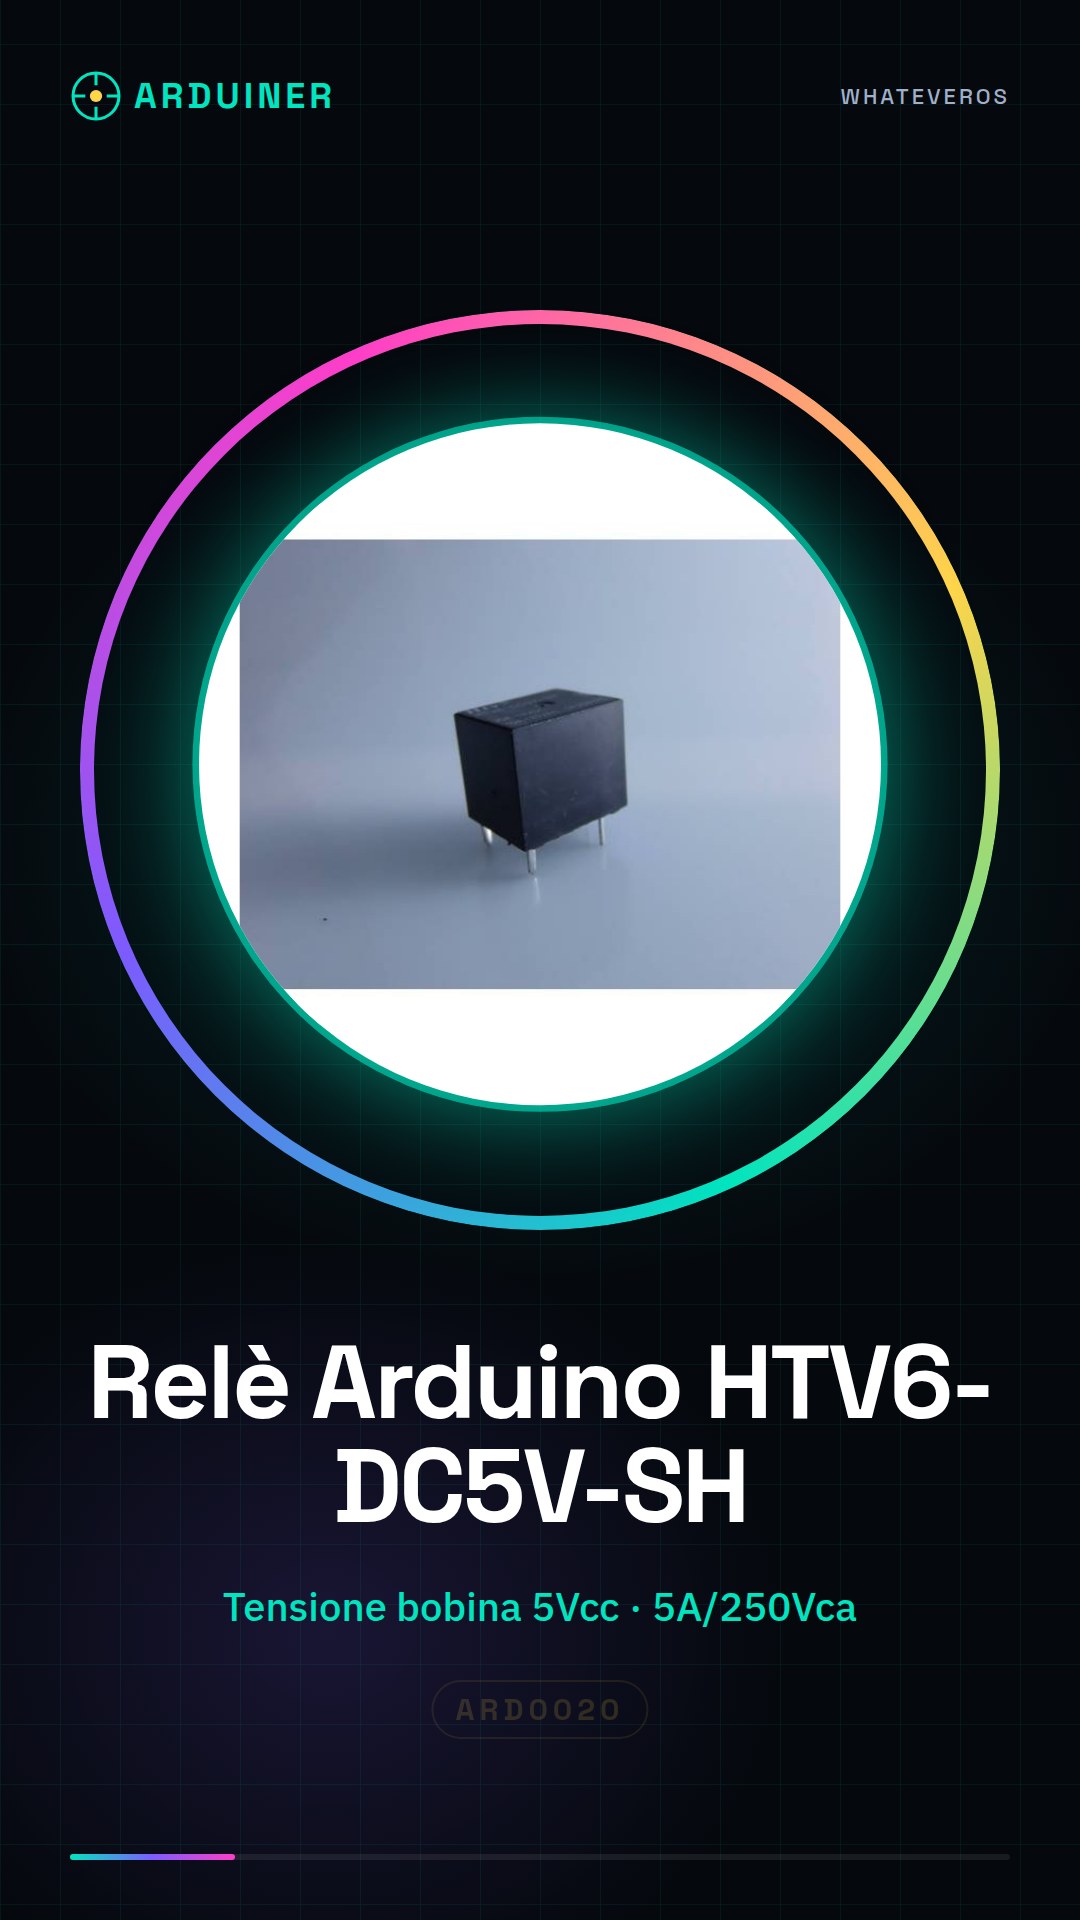
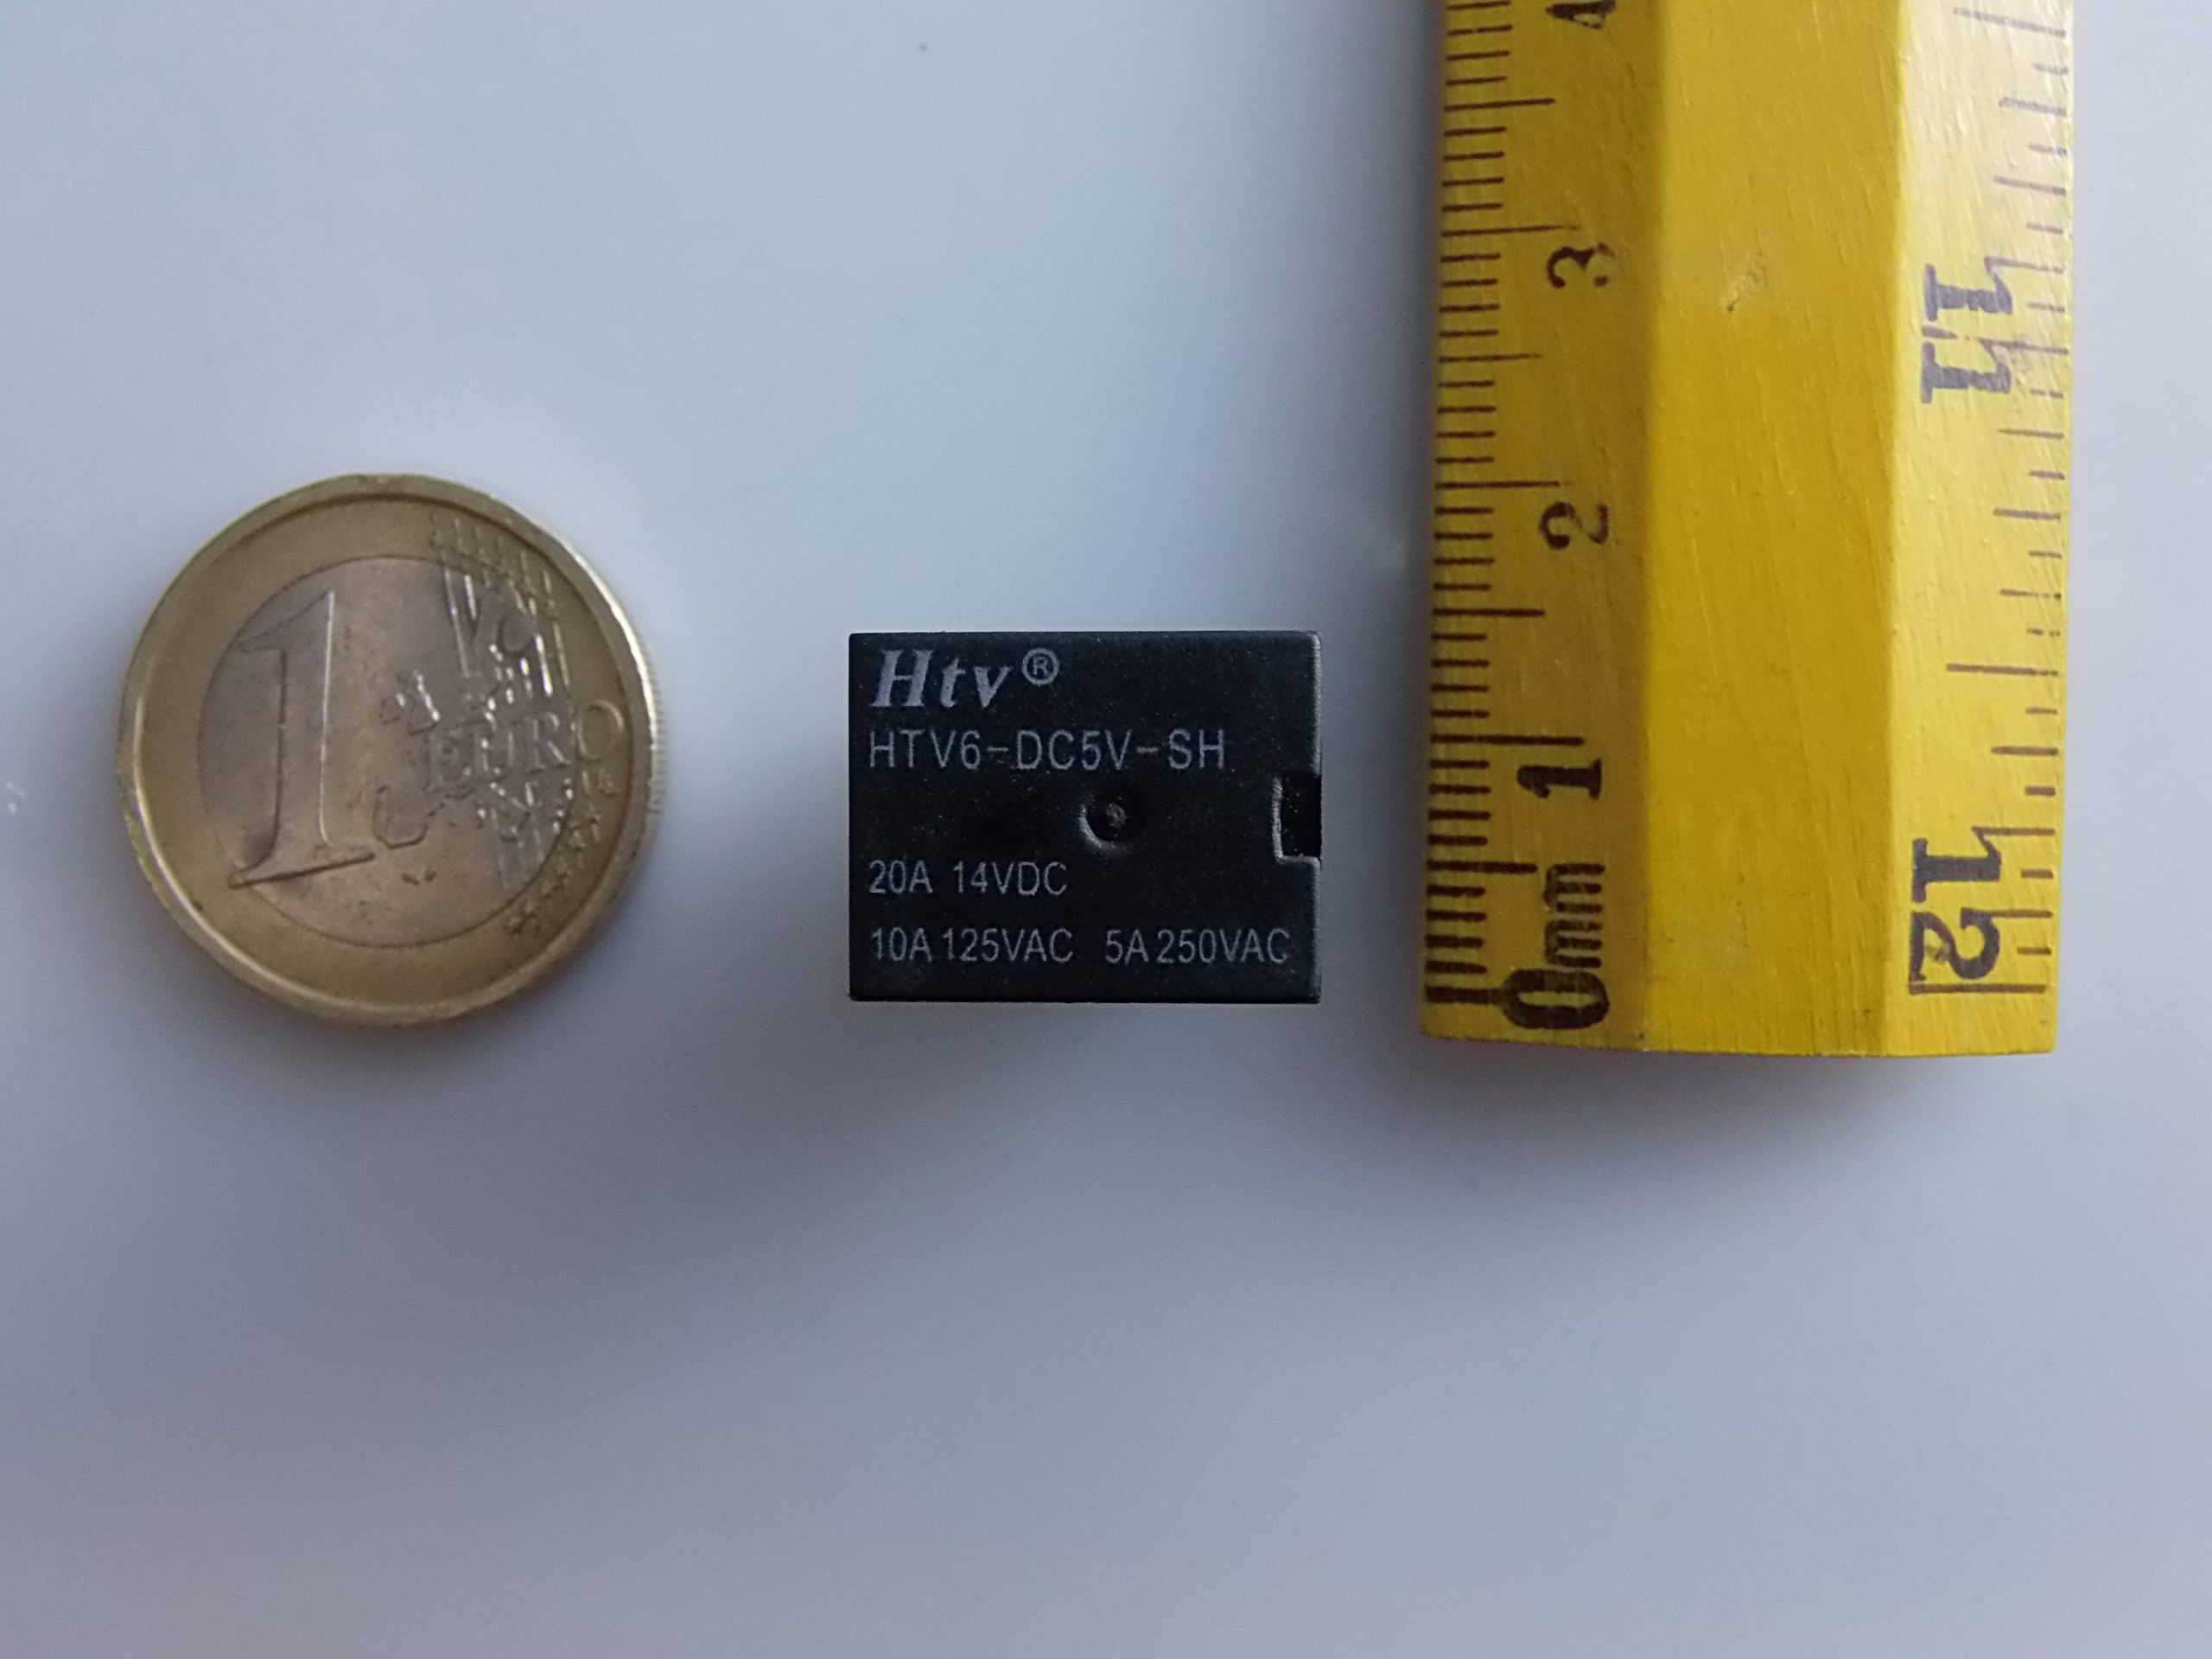
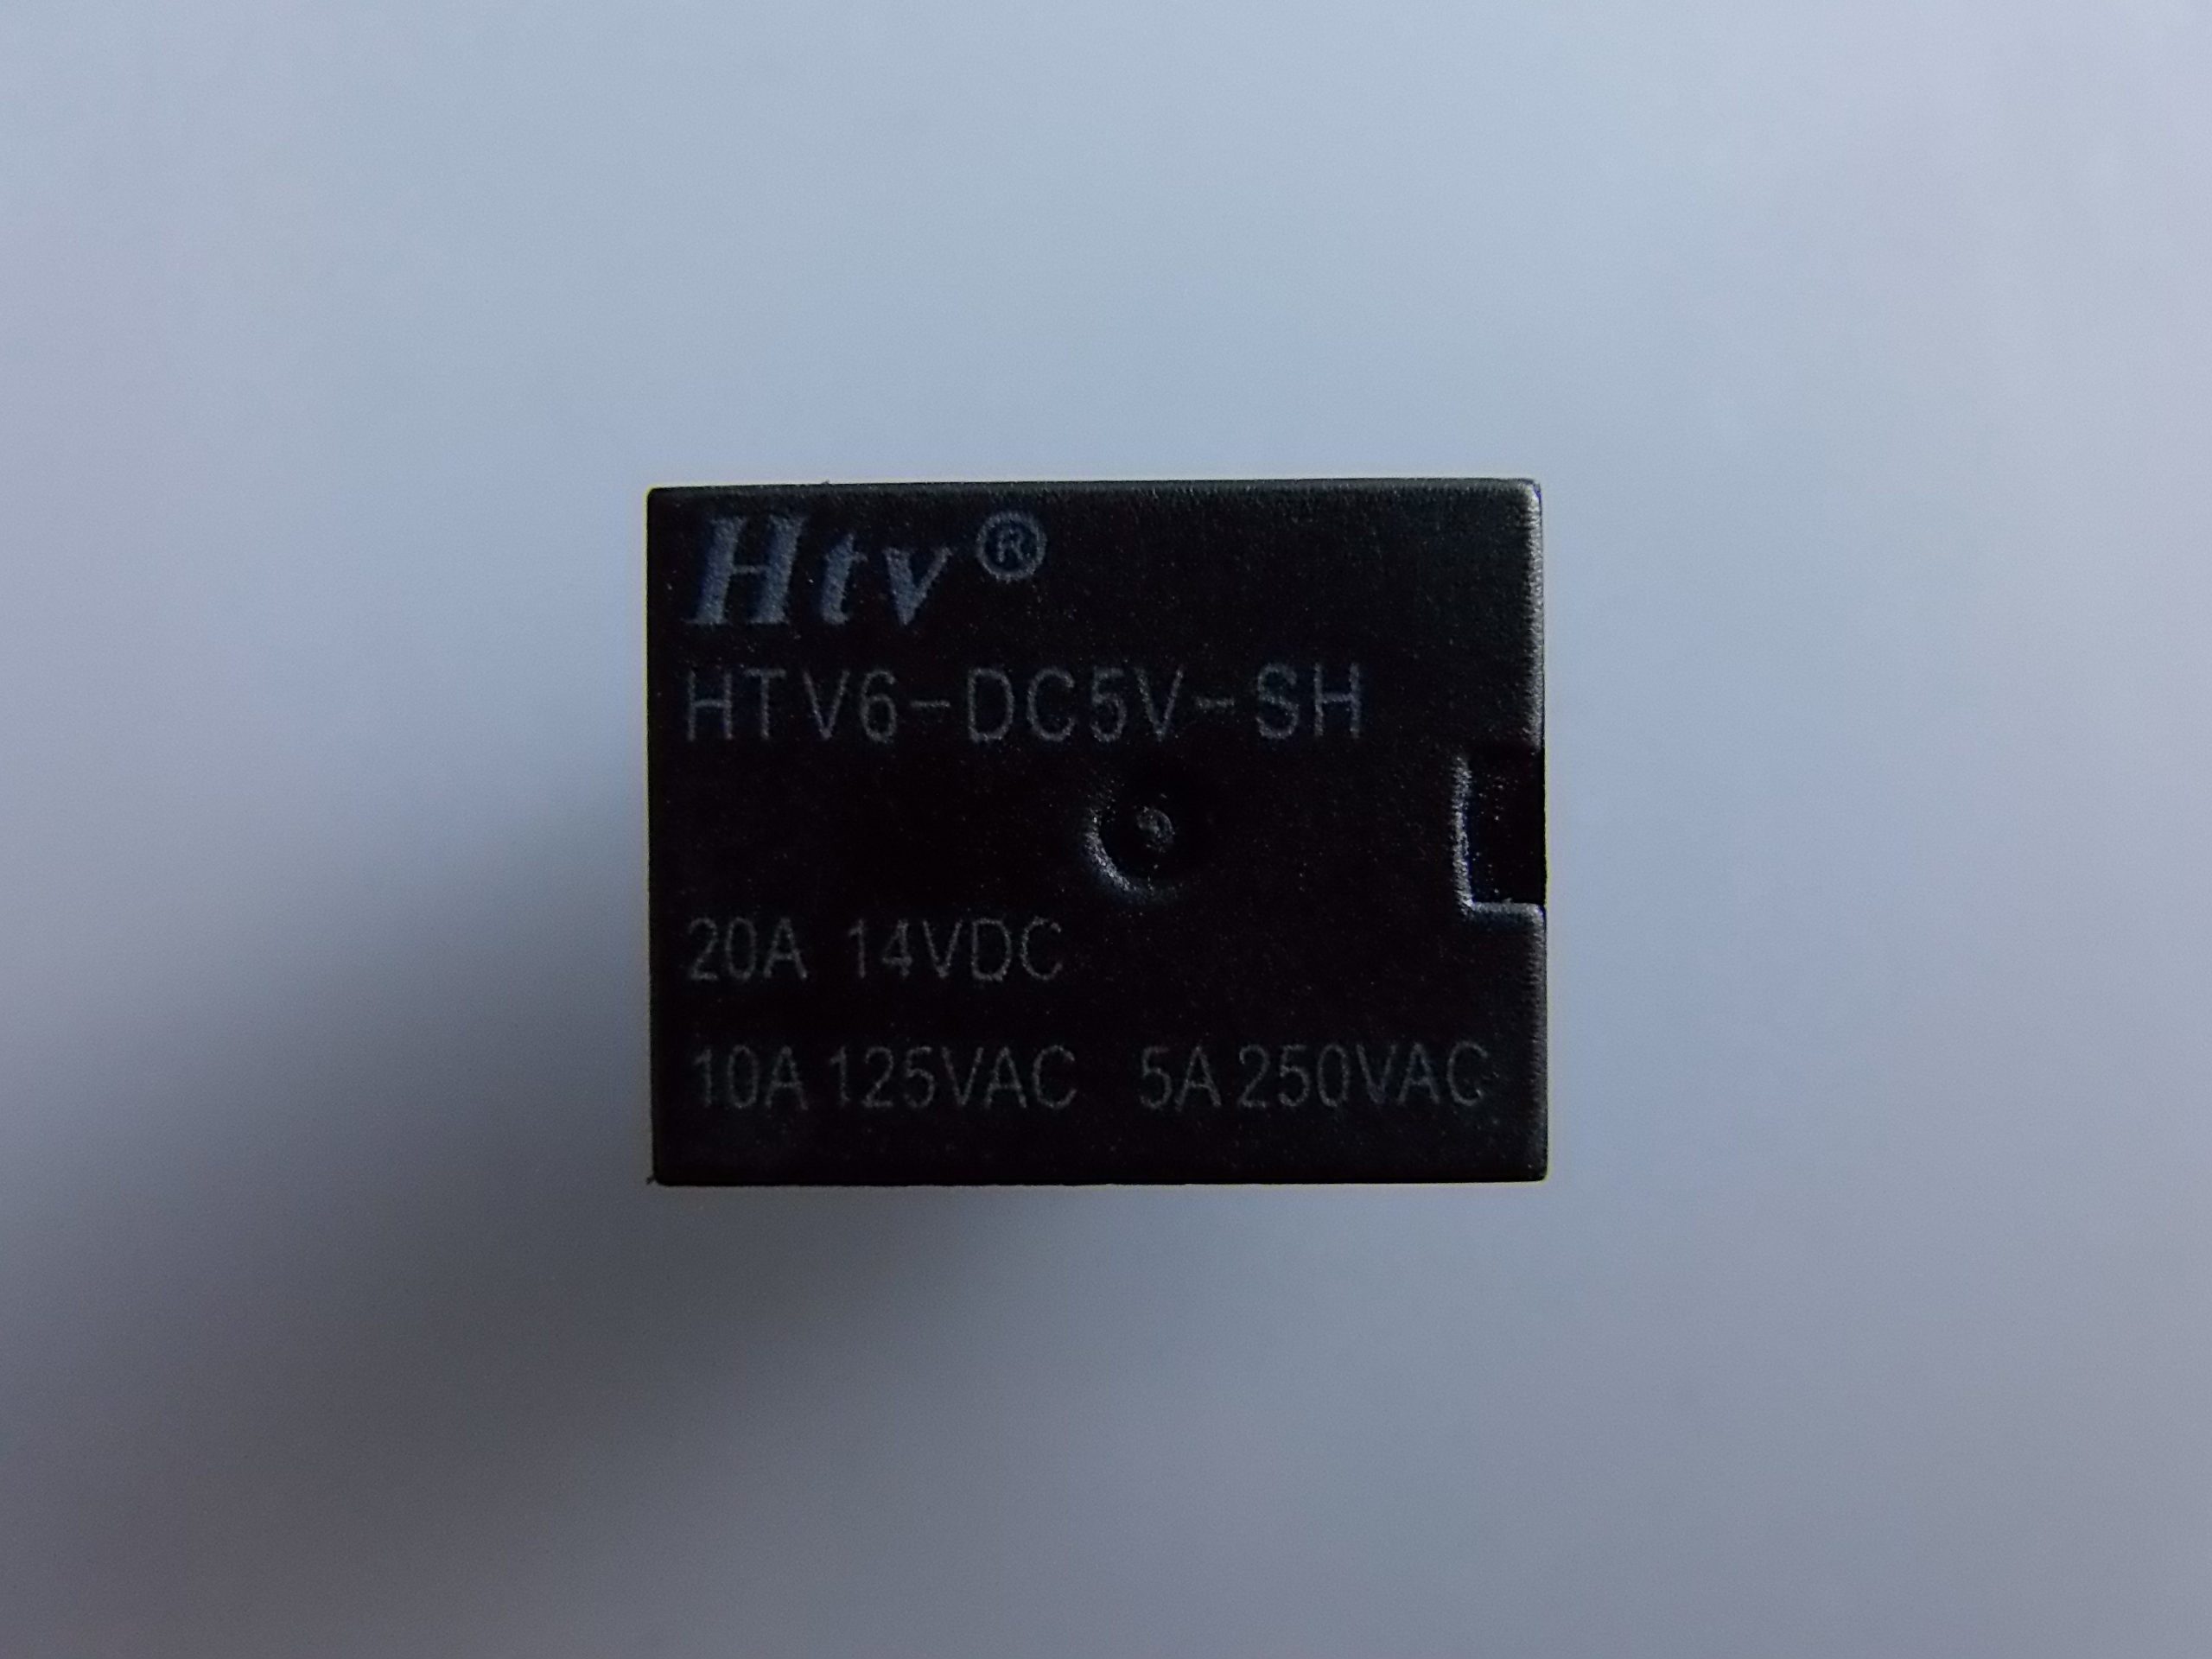
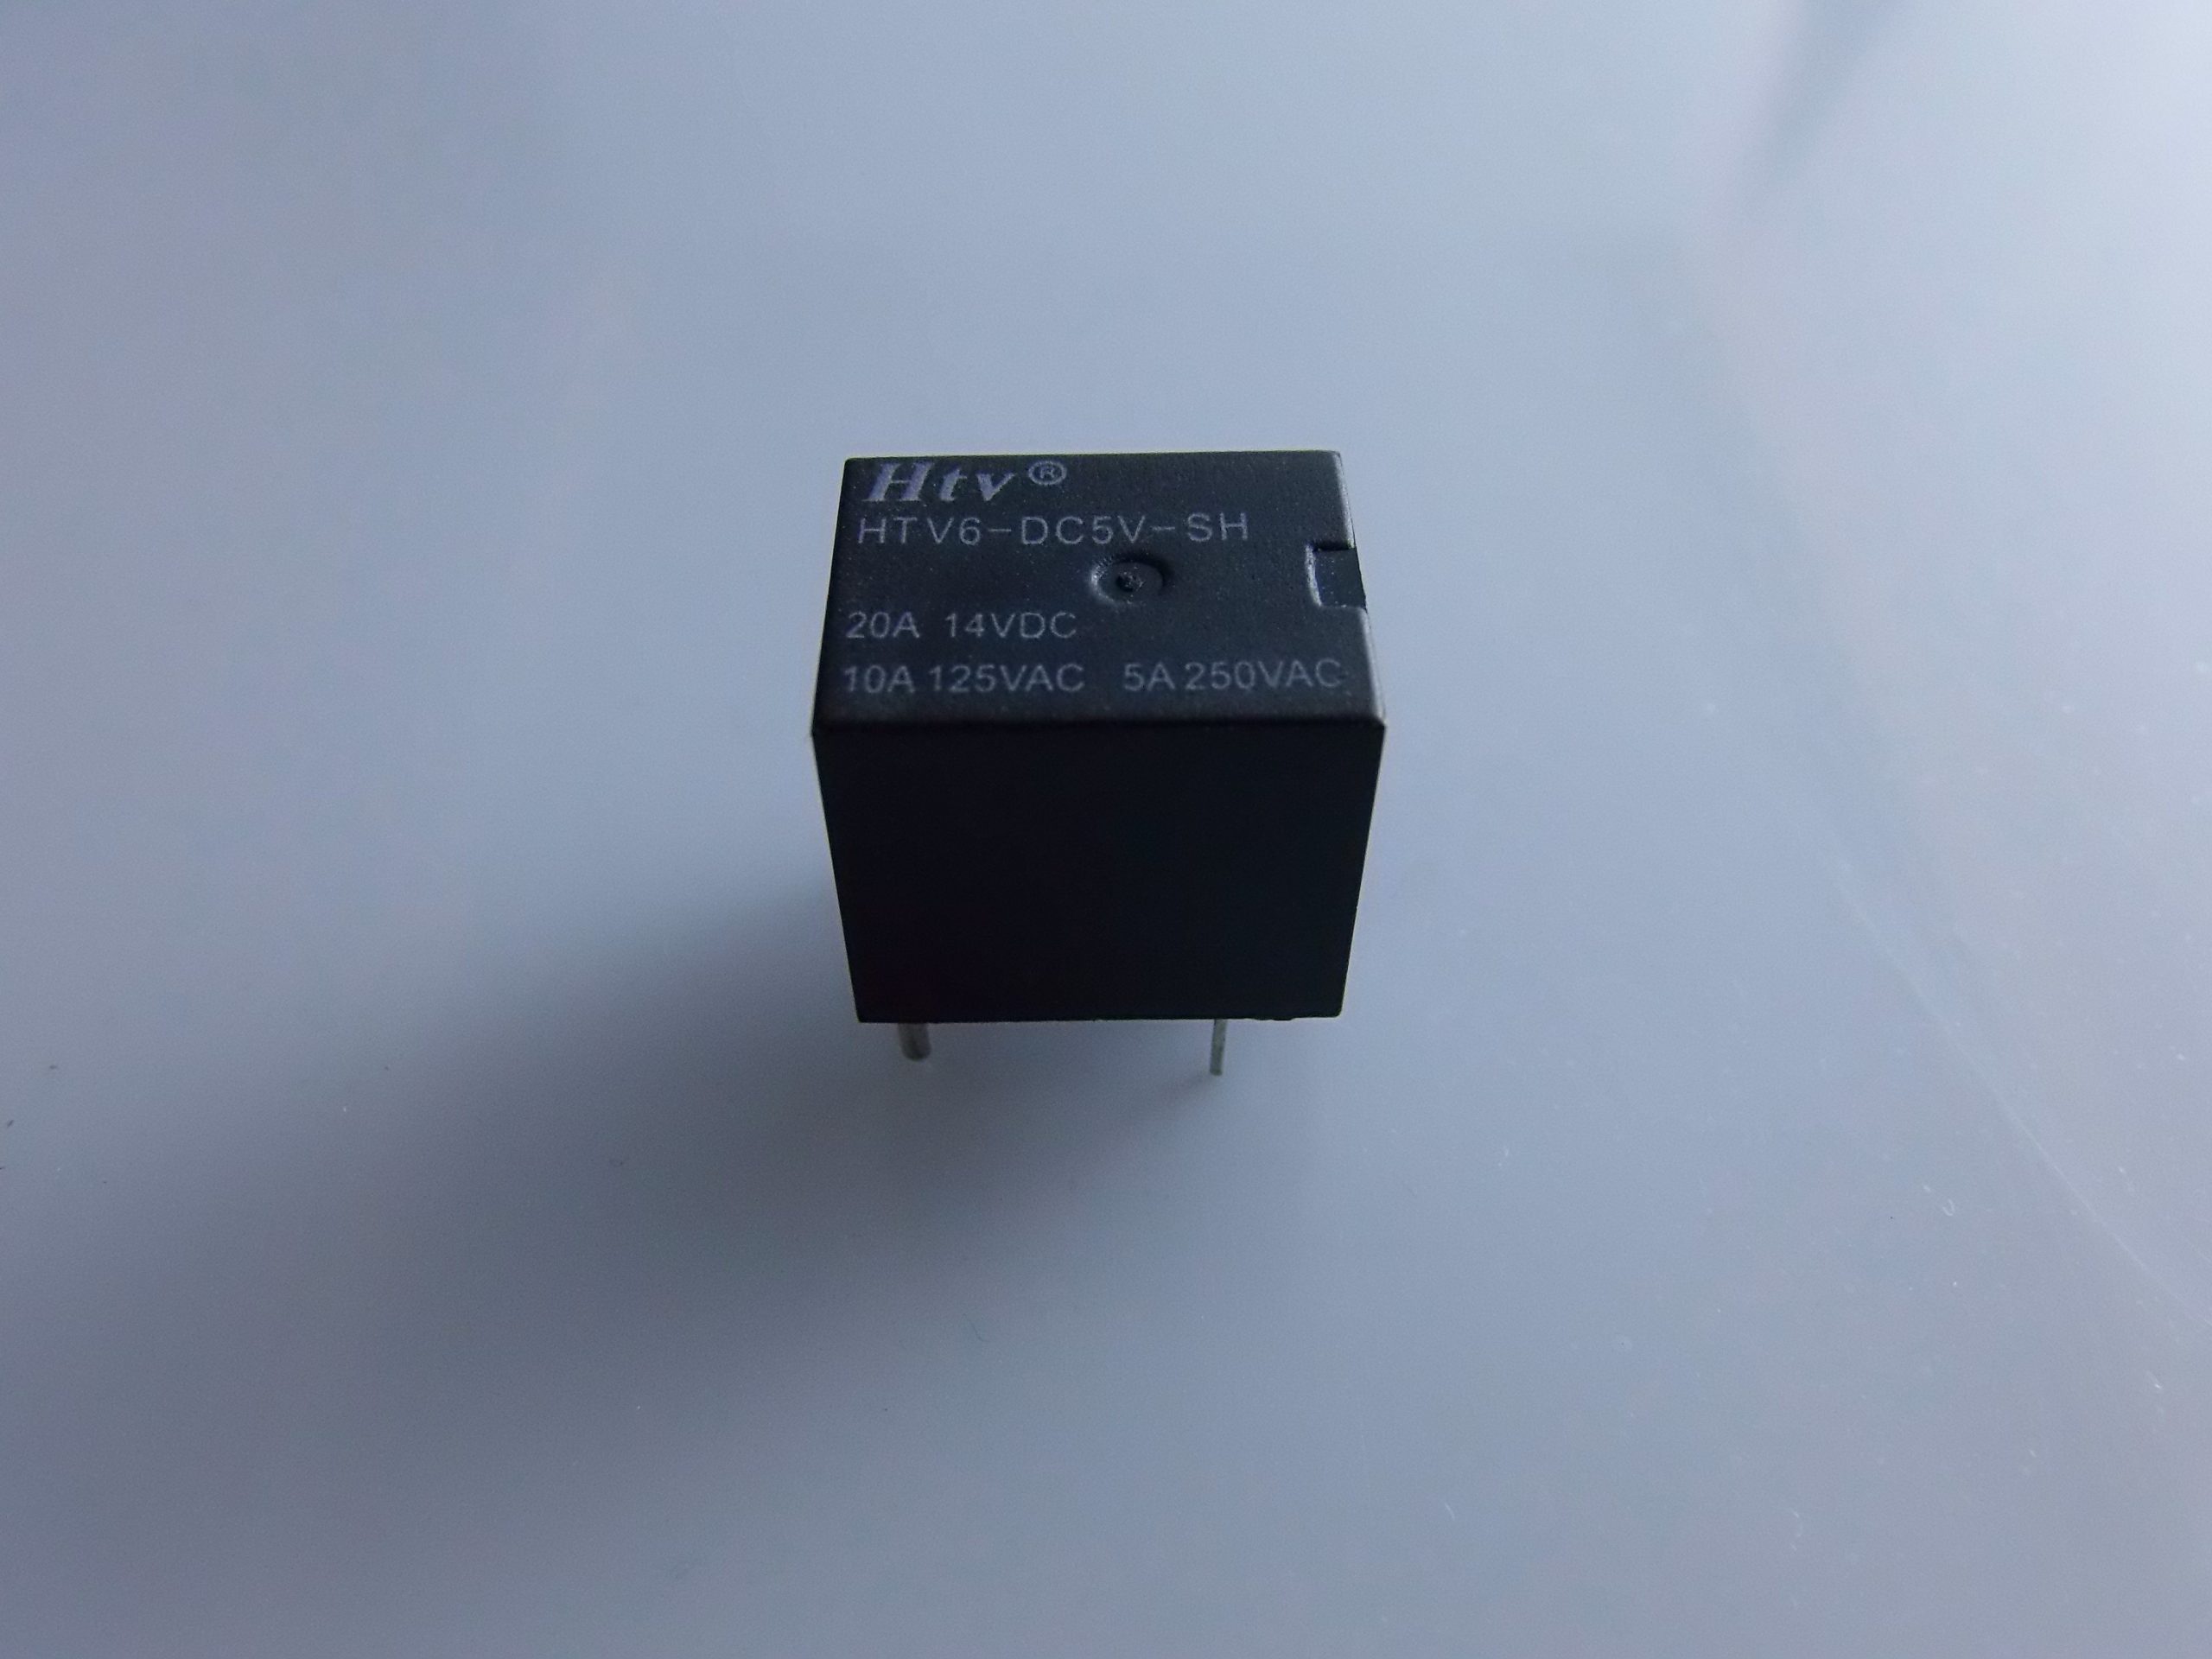
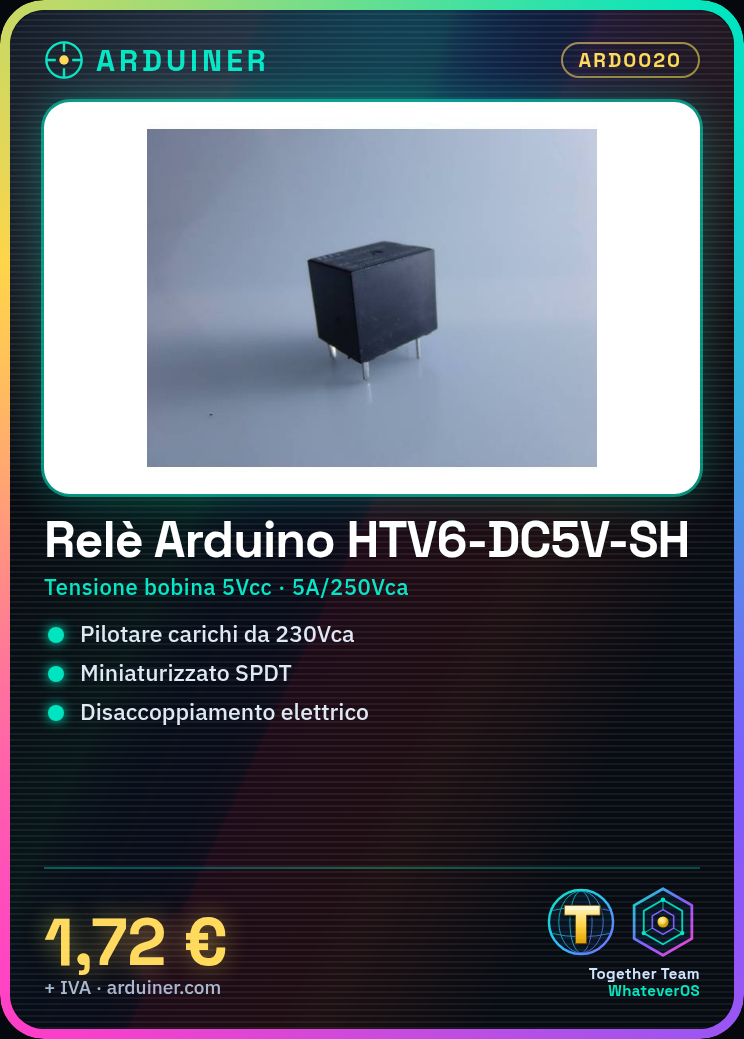
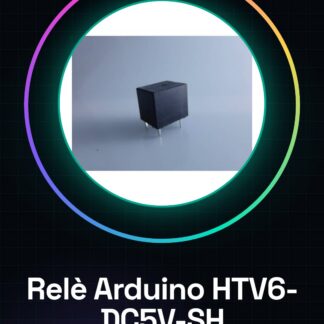
HTV6-DC5V-SH Arduino
MAIN CHARACTERISTICS:
Electromechanical single-pole changeover relay, controls loads up to (230Vca)
Type: SPDT miniaturized
Minimum release voltage of the contact mechanism: 0.5Vcc
Coil voltage: 5Vcc
Contact current: 5A at 250Vca, 10A at 125Vca, 20A at 14Vcc
Coil resistance: 70
Operating temperature: -40 ~ C
|
GENERAL |
MODEL |
HTV6-DC5V-SH Relay Arduino |
|
MATERIALS |
plastic + components |
|
|
COMPATIBILITY |
ARDUINO |
|
|
WEIGHT AND DIMENSIONS |
PRODUCT WEIGHT |
50g |
|
PACKAGE WEIGHT |
1 kg |
|
|
PRODUCT DIMENSIONS (L x W x H) |
1.9 x 1.6 x 1.6cm |
|
|
PACKAGE DIMENSIONS (L x W x H) |
5 x 3 x 1 cm |
|
|
PACKAGE CONTENTS |
PACKAGE CONTENTS |
1 x Module |
We have available datasheet for all components, should it not be present in the product download sheet, send us a message from the contact us form and we will publish it as soon as possible on our website.
Tutorial: How to use Arduino HTV6-DC5V-SH Relay
The Arduino HTV6-DC5V-SH relay is ideal for controlling 5V electrical devices. It is useful for beginner and intermediate makers who want to automate circuits.
What you need
- Arduino UNO or compatible
- 5V power supply cable
- 1kΩ resistor
- Connection cable
Steps
- 1. Install the relay on the circuit, ensuring that the metal part does not touch other components.
- 2. Connect Arduino pin 7 to relay pin 1 (Common).
- 3. Connect Arduino pin 8 to relay pin 2 (NO).
- 4. Connect Arduino pin 9 to relay pin 3 (NC).
- 5. Connect a 1kΩ resistor between relay pin 1 (Common) and ground.
- 6. Connect a device to be controlled between relay pin 2 (NO) and relay pin 3 (NC).
- 7. Connect ground to the relay.
- 8. Load the source code onto the Arduino.
Example code
```void setup() { pinMode(7, OUTPUT);}void loop() { digitalWrite(7, HIGH); delay(2000); digitalWrite(7, LOW); delay(2000);}```Mini project
Create an automatic lighting system. Connect an LED to relay pin 2 (NO) and 3 (NC), controlled by Arduino pin 7.
Common mistakes
- Do not check if the relay is properly installed.
- Do not use a compatible Arduino.
- Connect the relay directly to power supply without resistor.
- Neglect the order of connection.
Recommended accessories
- Arduino UNO
- LED
- 1kΩ resistor
- 5V power cable
Frequently asked questions
Can I use an Arduino Uno or compatible?
Yes, the Arduino UNO is compatible. Check the datasheet for other models.
Which resistor to use?
Use a 1kΩ resistor between pin 1 of the relay (Common) and ground.
Can I connect an electrical device directly?
No, connect the device between pins 2 (NO) and 3 (NC) of the relay.
Reviews
There are no reviews yet.