 EN
 IT Italiano
 ES Español
 FR Français
 DE Deutsch
Description
What it is
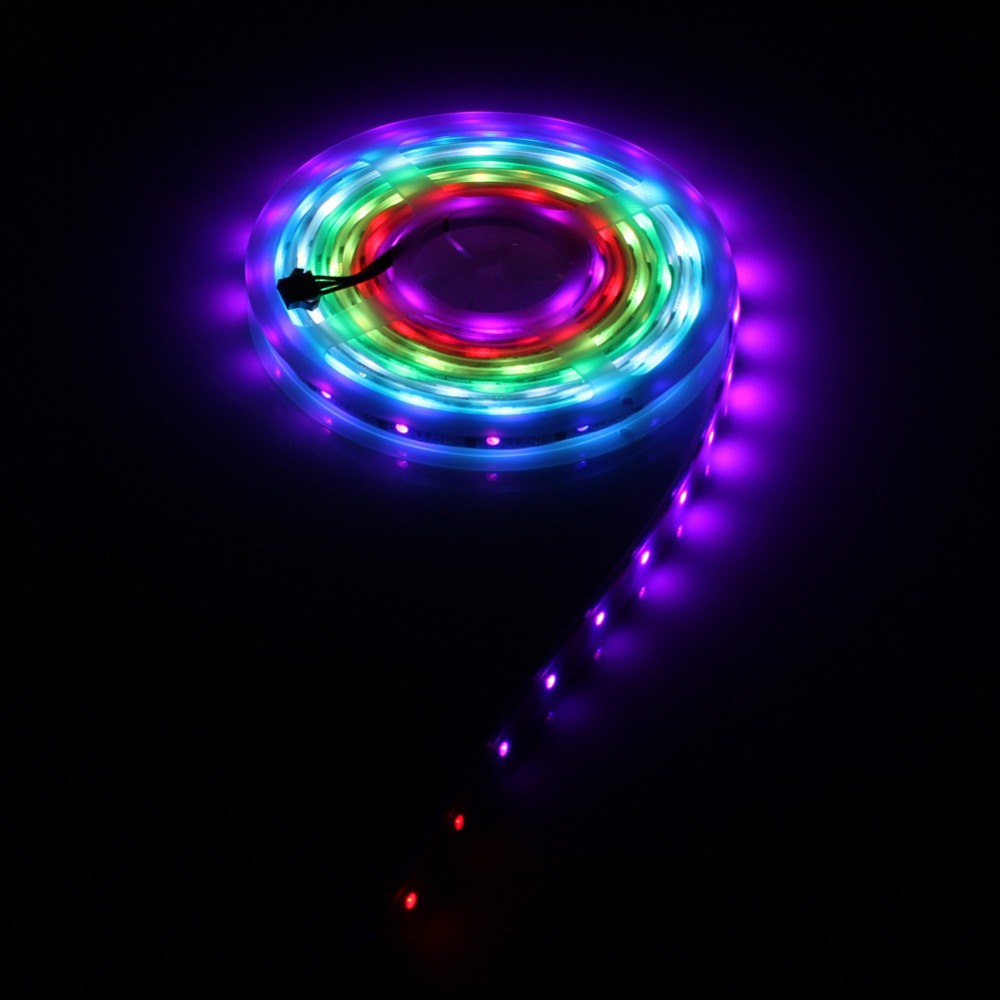
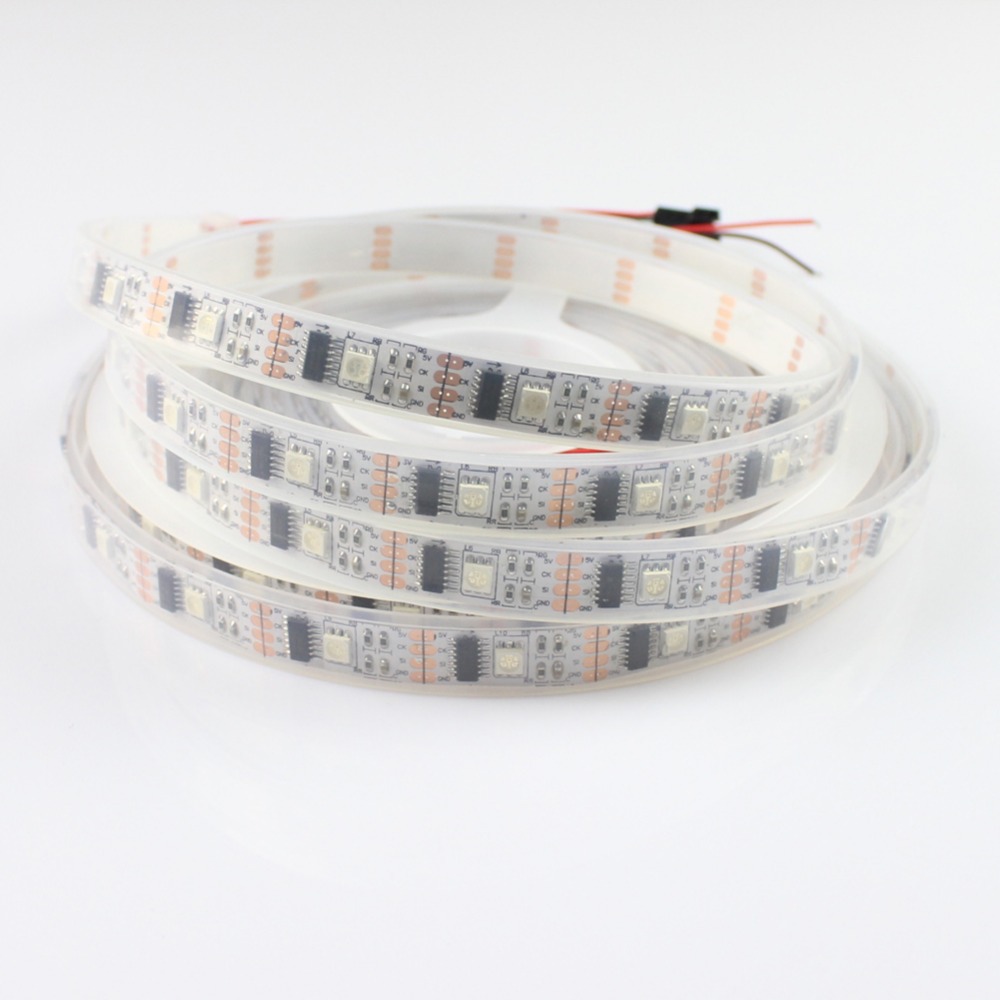
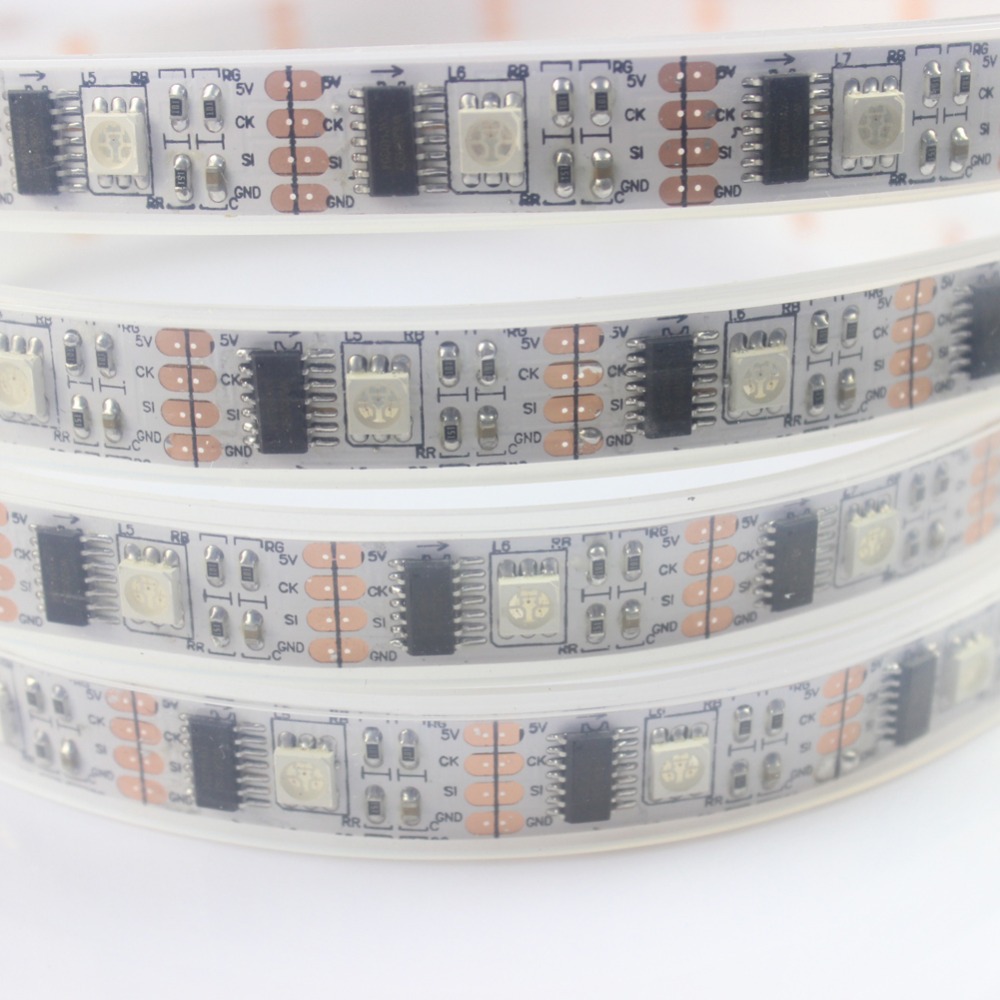
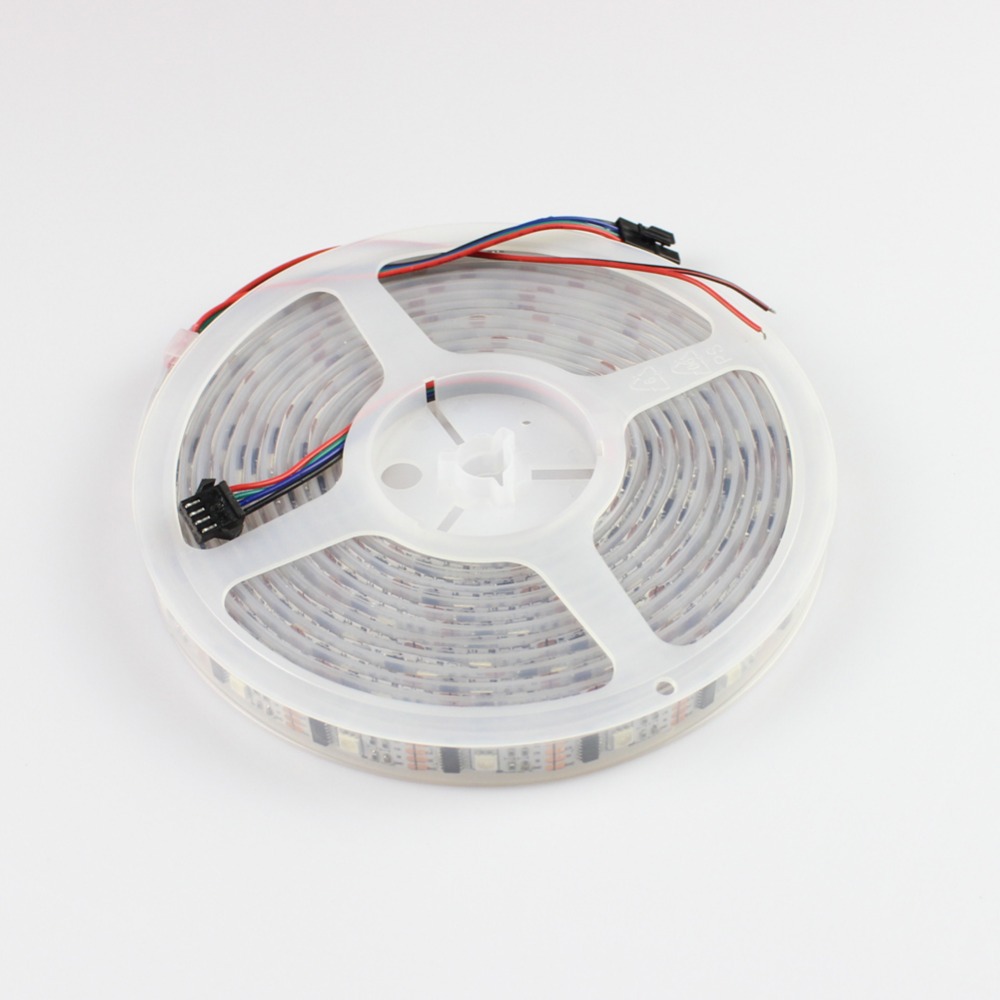
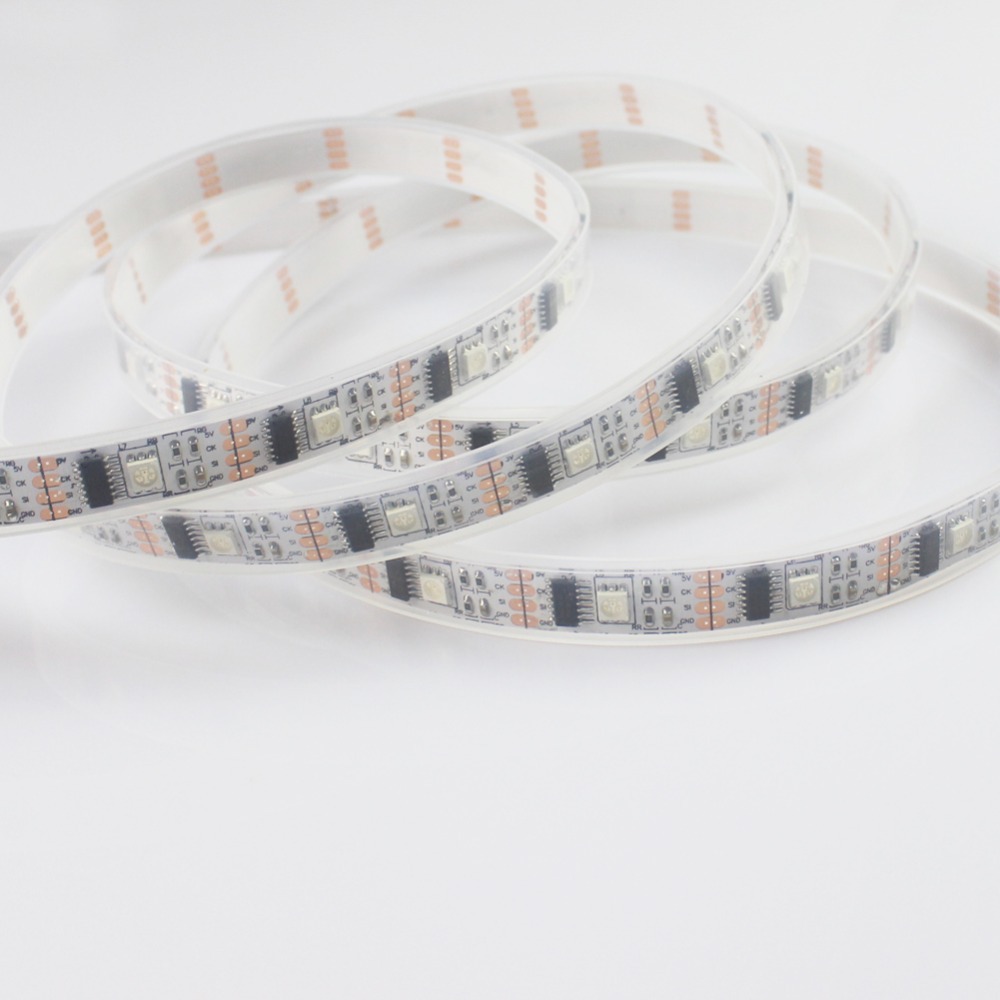
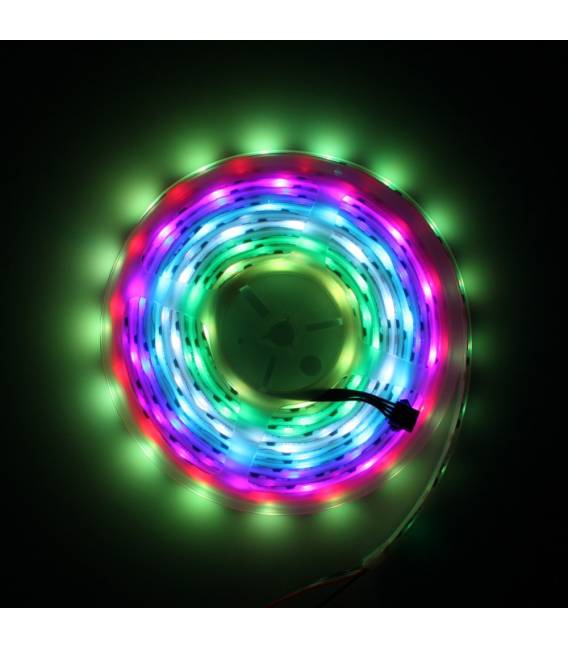
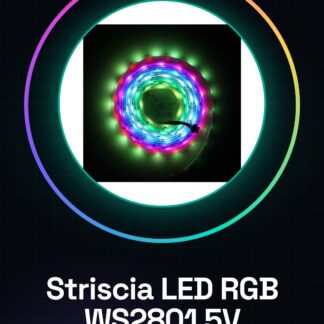
The WS2801 5V RGB LED Strip 5050 is an electronic component that allows for customized RGB lighting. It consists of 5050 LEDs with a 5V operating voltage and uses the WS2801 protocol for individual control of each LED.
Features
- Operating Voltage: 5V
- LED Type: 5050
- Control Protocol: WS2801
- Number of LEDs: 32
- Strip Length: 5 meters
What it is for
The WS2801 RGB LED Strip is ideal for customized lighting projects, such as interior lighting, object lighting, or creating visual effects. Thanks to the WS2801 protocol, each LED can be individually controlled, allowing for the creation of complex lighting effects. The strip is compatible with microcontrollers like Arduino and ESP.
Tutorial: How to Use WS2801 RGB LED Strip
The WS2801 RGB LED strip is a versatile component for custom lighting projects. Ideal for beginners and intermediates, it allows creating complex lighting effects with Arduino.
What you need
- Arduino Uno or compatible
- USB cable
- Potentiometer (optional)
- Jumpers
Steps
- Connect the LED strip to the Arduino board using jumpers. Connect VCC to 5V, GND to GND and DIN to pin 6 of Arduino.
- Install the Adafruit_NeoPixel module via managed libraries in Arduino IDE.
- Load the example sketch provided by the NeoPixel library.
- Modify the sketch settings to customize colors or lighting effects.
- If necessary, connect a potentiometer to an analog pin of Arduino (A0) and modify it in the sketch to adjust the light intensity.
- Verify the correct functioning of the lighting with the ‘Upload’ button in Arduino IDE.
- If everything is set up correctly, you should see various lighting effects along the entire length of the LED strip.
- Further explore customization options and create unique projects!
Example code
// Includi il modulo NeoPixel
#include <Adafruit_NeoPixel.h>

// Definisci i parametri del display
#define PIN 6
#define NUMPIXELS 32 //Numero totale dei LED sulla striscia
Adafruit_NeoPixel pixels = Adafruit_NeoPixel(NUMPIXELS, PIN, NEO_GRB + NEO_KHZ800);

void setup() {
pixels.begin();
pixels.show();}

void loop(){pixels.setPixelColor(1, pixels.Color(255, 0, 0)); //imposta il primo LED rosso
pixels.show();}
Mini project
Create a personalized night lighting for your room with color-changing and variable intensity effects.
Common mistakes
- Wrong pin or unstable connection
- NeoPixel library not installed
- Incorrect number of LEDs in the code
- Exceeds the maximum number of LEDs that the Arduino board can handle
Recommended accessories
- Arduino Uno
- Jumpers
- USB cable
- Potentiometer (10k ohm)
Frequently asked questions
What is the power supply voltage of the strip?
5V
How many LEDs are on the strip?
32, check the datasheet for confirmation.
Can I connect multiple strips together?
Yes, but make sure to respect the total pixel count limit that your Arduino board can handle.
Reviews
There are no reviews yet.